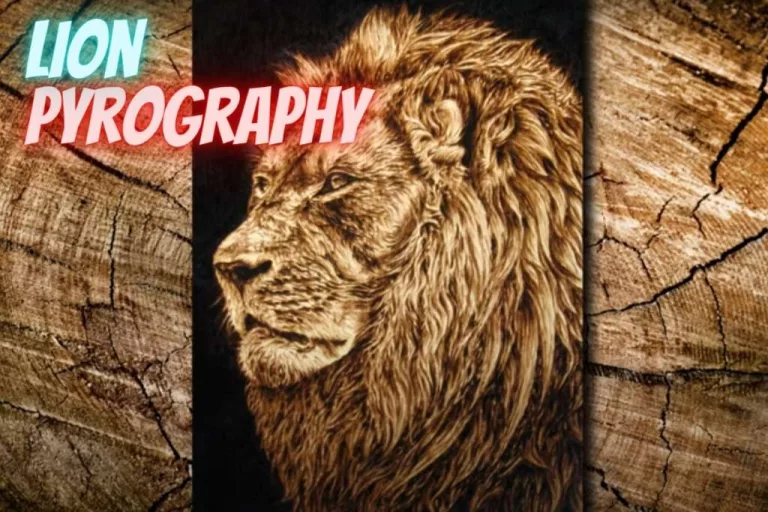
8 Pyrography Pattern Transfer Methods – Get the Stunning Starts
As you move along the path of learning pyrography, you move from basic wood burning things to something technical like pyrography pattern transfer methods. You got to know the varieties of pattern transfer methods to become an artist. Did you know that there are more woodburn pattern transfer methods other than using only carbon, graphite papers and pencils. And if you are a beginner, you are probably getting these as suggestions for pattern transfer.
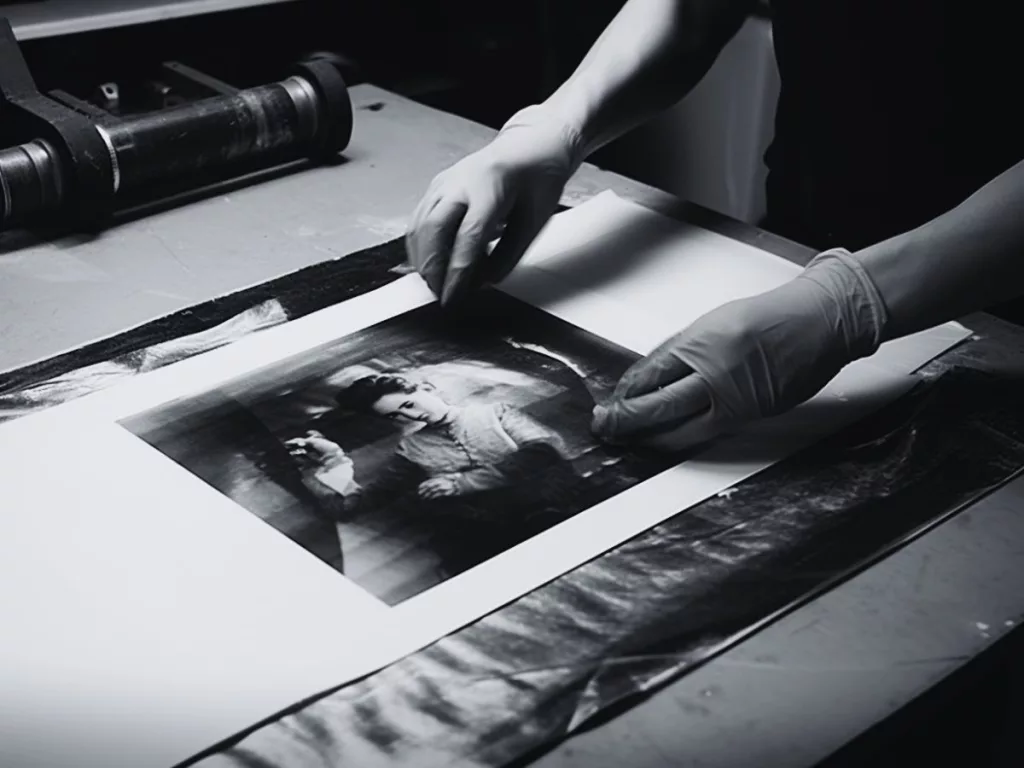
But of course, carbon and graphite papers are excellent and effective methods for transforming any image, text or pattern on wood for pyrography. But you can also use acetone, polycrylic, gel medium, etc. And if you don’t mind spending money on pattern transfer, you can go for the CNC laser printing method.
Since I have learnt that there are so many ways to transfer patterns on wood for pyrography, I could not help but try them all to see if all of them work great. And in this article, I have shared several such pyrography design and image transfer methods and my experience regarding them.
Pyrography Pattern Transfer Methods
I have tried 8 different methods for transferring images, texts, and various designs to wood for pyrography. Some are very cheap and easily accessible, while others are slightly costly, especially when you go for laser methods.
And the result also turned out pretty different for each of these methods. The methods I tried are-
- Acetone
- Polycrylic
- Gel Medium
- Carbon/Graphite Paper
- Graphite Pencil
- Clothing Iron
- LaserJet Print And Heat
- CNC Laser Printer
Here is a detailed description of how you can use them for pyrography image or pattern transfer and the outcomes.
Acetone
Acetone is easily found at stores and offers a quick yet one of the most effective pattern transfer methods. On top of that, they are quite cheap. However, you should know that the smell may not be very pleasing.
How To Use
- Print the mirror image of the design you want to transfer.
- Turn it outside and place it on the wood.
- Stick the paper on wood using masking tapes.
- Then pour some acetone on a cotton pad and slowly rub it on the paper.
- Let the paper soak in acetone.
- Once you are done, take the paper off the wood. It should come off easily.
Pros
- It is quick and cheap
- Prints any image or text almost perfectly
- Offers a darker shade when transferred, showing more details
- More suitable for transferring smaller text and designs
Cons
- Transferring images is good but not entirely perfect
- Acetone is chemical and emits a nasty odor
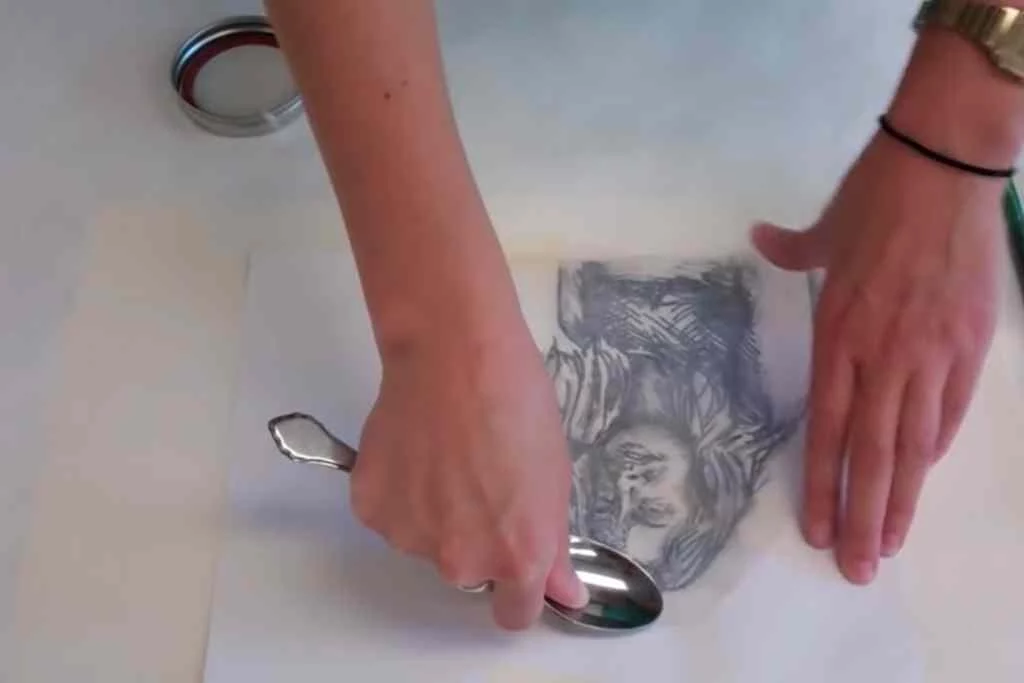
Polycrylic Sealer
Polycrylic is a durable wood finish that helps increase wood saturation. This method is slightly time-consuming but effectively transfers anything from images to designs with a darker shade.
How To Use
- Dip a small acid brush in polycrylic and apply a thin layer of the solution on the wood first.
- Then press the mirror print of the design on the wood piece.
- Use your fingers to rub the paper on the wood to remove any remaining air bubbles.
- Set it aside to dry for about an hour.
- Take a small container of water and a stiff toothbrush to remove the paper from the polycrylic.
- Dip the toothbrush in water and wet the entire paper first before gently scrubbing off the paper.
Pros
- Leaves more details with the print
- Highly suitable for transferring images
- Affordable option
Cons
- The process takes a bit longer time
- Scrubbing off the paper makes the workplace messy
Following video demonstrates transferring patterns with polycrylic sealers. (https://www.youtube.com/watch?v=uxN8mtJ-LF0), it is also given below if you want to play directly.
Gel Medium
One of the popular gel mediums for transferring design for pyrography is the acrylic one. This gel medium is usually used for sealing acrylic but can also be used for printing designs or images on wood. And the application process is similar to using polycrylic. The only difference is that polycrylic is a liquid while this one is gel.
How To Use
- Use a foam brush to apply an even layer of the acrylic gel on the wood piece.
- Like the previous method, press the mirrored print of the design or image on the gel.
- Then, gently rub the paper with your fingers and remove the air bubbles. Since the gel is thick, you can also use a card to remove the air bubbles.
- Wait an hour or so for the gel to try and transfer the design.
- Take a stiff toothbrush and a container of warm water. You will need warm water because the element is gel.
- Then wet the paper using the brush and scrub it off properly. You might need to scrub a little harder, as dried gel does not come off easily.
Pros
- Excellent for pattern and image transfer
- Can transfer everything with a darker shade
- Affordable option
Cons
- Creates a mess
- Leaving the gel on for longer will make it too hard and tough to scrub off
Carbon/Graphite Paper
Carbon paper or graphite paper, no matter which one you choose, will work very well to transfer design. It is yet another cost-friendly option, but transferring the design based on your design type can take some time. And you don’t have to print a mirror image when using graphite or carbon paper.
How To Use
- Print your design as it is.
- Place the printed paper on the wood and secure it with masking tapes.
- Then insert the graphite or carbon paper between the paper and wood piece.
- Use a pencil to draw over the printed image or pattern.
- Make sure to draw over the details if you want to engrave them too
- If there are any mistakes in the transformation, you can fix them with an eraser.
Here’s a video on this.
Pros
- Low-cost method
- Easy to work with
- Allows you to erase and fix mistakes
- Beginner-friendly option
Cons
- Can be time-consuming if you choose a complex design
- Transformation may not be perfect
Graphite Pencil
Graphite pencil is yet another low-cost design transfer method for pyrography. It can take almost the same time as you must spread the pencil graphite onto the paper before tracing the outlines to transfer the design.
How To Use
- Print your design using either a laser printer or a laser jet. Or, you can just choose to draw them rather than printing.
- Turn the paper over and fill the back using the pencil tip.
- Once you are done, place the paper on the wood with the graphite-filled side on the wood piece and the printed part on top.
- Then use masking tapes to secure the page on the wood.
- With the pencil, create outlines all over the design and transfer it.
Pros
- Cost-friendly option
- Easy to work with
- Transfers design effectively
- Helps fix mistakes with erasers
Cons
- Takes a bit longer
- Not exactly a hassle-free method
Clothing Iron
We all have a clothing iron in our home. While this iron is also used for transforming design for wood burning, I must warn you not to use the one you use to iron your clothes. The last thing you need is a soul-piercing scream from your parents or partners. So, I suggest you get one from a second-hand or thrift store because they are very cheap.
How To Use
- Print a mirror image of the image or design you want to transfer.
- Turn the page over and place it on the wooden piece.
- Then tape the piece to the wood so that it does not move.
- Heat the iron, slowly press it on the paper and move it around.
- Take the paper off the wood to see the result.
Pros
- Low-price method and quick result
- It is an efficient method
- Suitable for transferring texts
- You might burn yourself if you are not careful
Cons
- The result is not exactly great, especially if you want to transfer images
- Require high heat to transfer patterns
LaserJet Print And Heat
Using LaserJet print and heat to transfer design for pyrography is a quick and satisfyingly effective way. You don’t even need many tools and equipment for the process. All you need is a LaserJet (not inkjet) printed image and a wood burner with a transfer tip, and you are good to go.
How To Use
- Get a mirror image printed using a LaserJet printer.
- Turn the paper over and secure it on the wood piece using masking tape.
- Then turn on your burner tool and put on a transfer pen tip on the burner pen.
- Once the pen tip is hot enough, run it all over the paper until you are sure that the entire design has been transferred.
Pros
- Easy method
- Does not take very long
- Not expansive
- Suitable for beginners
Cons
- Inconsistency in heat can result in poor transfer
CNC Laser Printer
The CNC laser print is not exactly a beginner-friendly or DIY type of woodburn pattern transfer method. It is not just a design transfer method either. The CNC machine uses a laser to engrave designs and images in wood and is an expensive alternative.
How To Use
- Turn on your CNC and set everything up.
- Put the wood piece in the machine and align it with the red-dotted lights.
- Once it’s all set, press the printing button, just like your regular printer.
- The laser handle will work automatically to burn the wood and engrave the design.
Pros
- More control and flawless alignment
- You don’t have to do much yourself to transfer the design
- Suitable for texts
Cons
- These machines are very expensive
- Printing does not turn out darker like other methods
- May not offer density consistency if you do not use the right wood
FAQs
What is blue paper in a wood burning kit?
The blue paper in the wood burning kit is called the Chaco paper. The special paper is made of blue chalk paper and it is used to transfer patterns from paper to wood.
Final Words
One of the things I have liked most about pyrography is its versatility. This art form gives you the liberty to do it however you find it efficient and customize it with your imagination.
With so many wood burning pattern transfer methods, you can grab whatever you have and get it done. And transferring the design or image with more details allows you to create a perfect and detailed wood burning design.