How to Stop Sap from Coming Out of Wood: Expert Tips for a Flawless Finish

Summary
Understanding Sap Leakage: It’s a natural phenomenon, influenced by the type of wood and environmental factors.
Pre-Treatment Strategies: Choosing the right wood and proper drying methods are crucial first steps.
Practical Solutions: From immediate fixes to advanced techniques, we’ve covered how to tackle sap leakage effectively.
Sealing and Finishing: The right sealants and finishes not only protect your wood but also enhance its natural beauty.
Maintenance and Care: Regular checks and understanding the needs of different wood types will keep your projects in top shape.
Welcome, woodworking enthusiasts and professionals! Today, we’re dealing with a sticky situation that many of us face – sap leakage in wood.
Today’s comprehensive guide on ‘How to Stop Sap from Coming Out of Wood‘ offers practical solutions and expert advice to tackle this common issue effectively. It’s not just a minor annoyance; sap leakage can affect the integrity and appearance of your woodwork. Understanding this issue is crucial for anyone passionate about woodworking, whether you’re crafting a family heirloom or sprucing up your deck.
What is Sap?
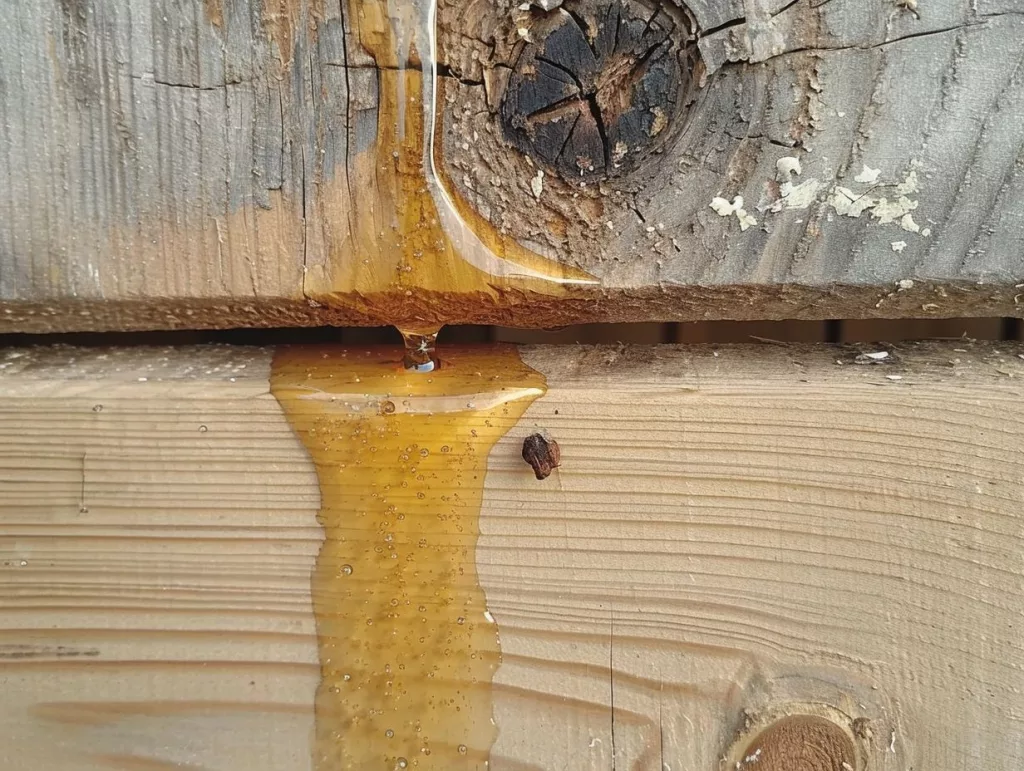
Sap is a fluid found in the vascular system of some plants, including trees. It plays a crucial role in the plant’s physiology, serving as the primary transport medium for water, nutrients, sugars, and other organic compounds. Essentially, it is to plants what blood is to animals.
There are two main types of sap in trees:
- Xylem Sap: This flows through the xylem (a type of transport tissue in plants) and primarily carries water and mineral nutrients from the roots to the rest of the plant. Xylem sap is typically more watery and less sweet.
- Phloem Sap: This travels through the phloem (another type of transport tissue) and is richer in sugars and organic substances. Phloem sap is responsible for distributing the sugars and nutrients produced by the plant’s leaves (via photosynthesis) to other parts of the plant.
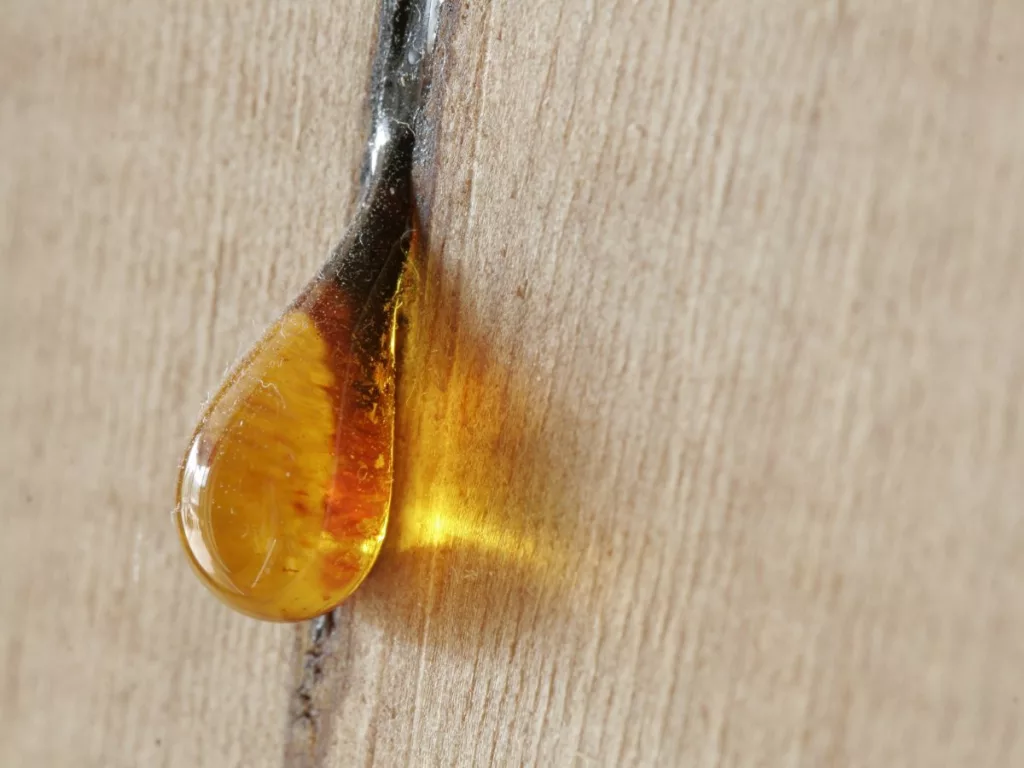
When woodworkers talk about sap in wood, they’re usually referring to the residual fluid that can continue to ooze or leak from the wood, especially from certain types of trees like pines and firs, long after the wood has been cut. This secretion can sometimes cause issues in woodworking and carpentry, as it can seep out of the wood, affecting finishes and the overall appearance of the wood product.
Understanding Why Sap Comes Out of Wood
The Science Behind The Leakage
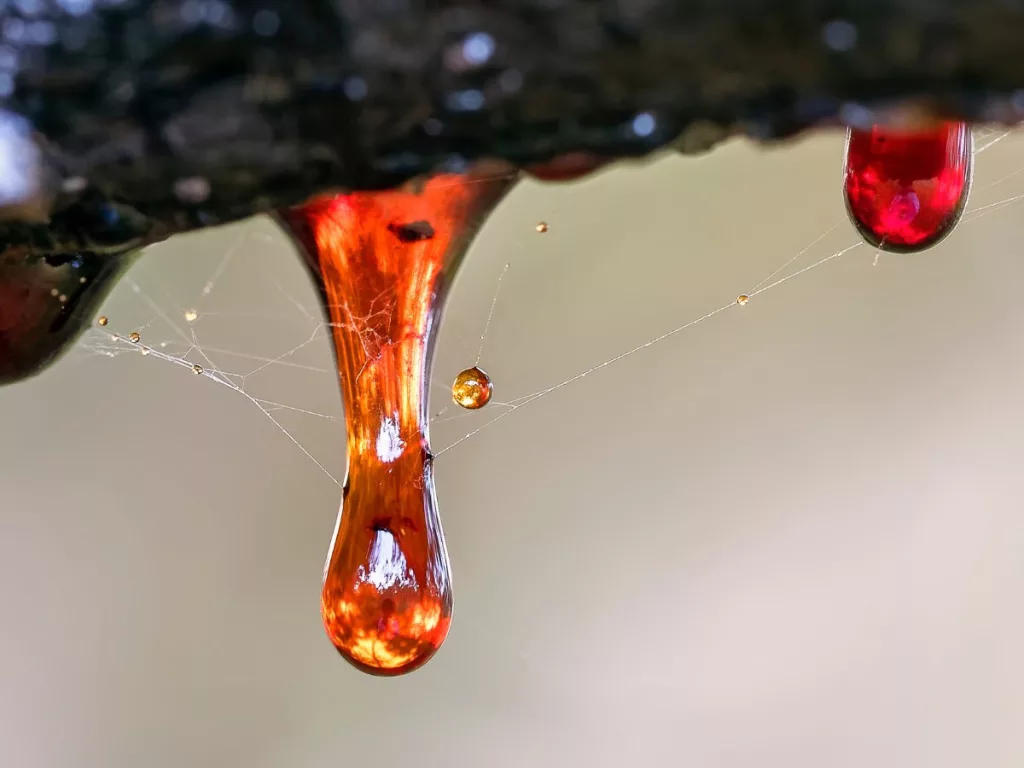
Let’s get to the root of the problem. Why does wood, which seems so sturdy and dry, suddenly start oozing sap? It all boils down to the tree species and their unique sap characteristics. Sap, essentially the lifeblood of a tree, varies significantly from species to species. For instance, pine and fir are notorious for their sap-heavy nature, especially when compared to hardwoods like oak or maple.
But it’s not just about the type of tree. Environmental factors play a huge role too. Fluctuations in temperature and humidity can cause sap to expand and contract, leading to that frustrating leakage. It’s like nature’s way of reminding us that wood is a living, breathing material, even long after it’s been cut.
Common Misconceptions About Sap in Wood
Now, let’s clear up some myths. First off, sap leakage isn’t a sign of poor quality wood. It’s a natural process, and even the highest quality lumber can experience it. Also, it isn’t harmful to the wood; it’s just a nuisance that needs to be managed. And no, painting over it won’t make it go away – it’s a bit more complex than that.
Pre-Treatment Strategies to Prevent the Leakage
Embarking on a woodworking project? Let’s talk about how to sidestep the sap issue before it even begins. Pre-treatment strategies are your first line of defense against sap leakage, ensuring your wood remains pristine and perfect for your project.
Selecting the Right Wood
Choosing the right wood is more than just picking the prettiest piece. Some woods are like sap time bombs waiting to explode. Softwoods like pine and spruce are sap-heavy, while hardwoods like oak and maple are more reserved in their sap content. When at the store, ask for woods known for lower sap content, and don’t shy away from asking for specifics about the wood’s origin and treatment.
The Role of Proper Wood Drying
Drying wood is like fine-tuning a musical instrument. It’s all about balance. Kiln drying is the go-to method for most woodworkers. It’s like putting the wood through a spa retreat, ensuring it sheds most of its sap and moisture in a controlled environment. On the other hand, air drying is the more traditional approach, slower but often preferred for certain types of wood. Both methods aim to stabilize the wood, making it less likely to surprise you with sap leakage.
Practical Steps to Stop Sap Leakage
Got sap? No worries. Let’s roll up our sleeves and get to work. Whether you’re a weekend warrior or a seasoned pro, these practical steps will help you tackle sap leakage head-on.
Immediate Solutions for Sap Leakage
Here’s a step-by-step guide to stop sap in its tracks:
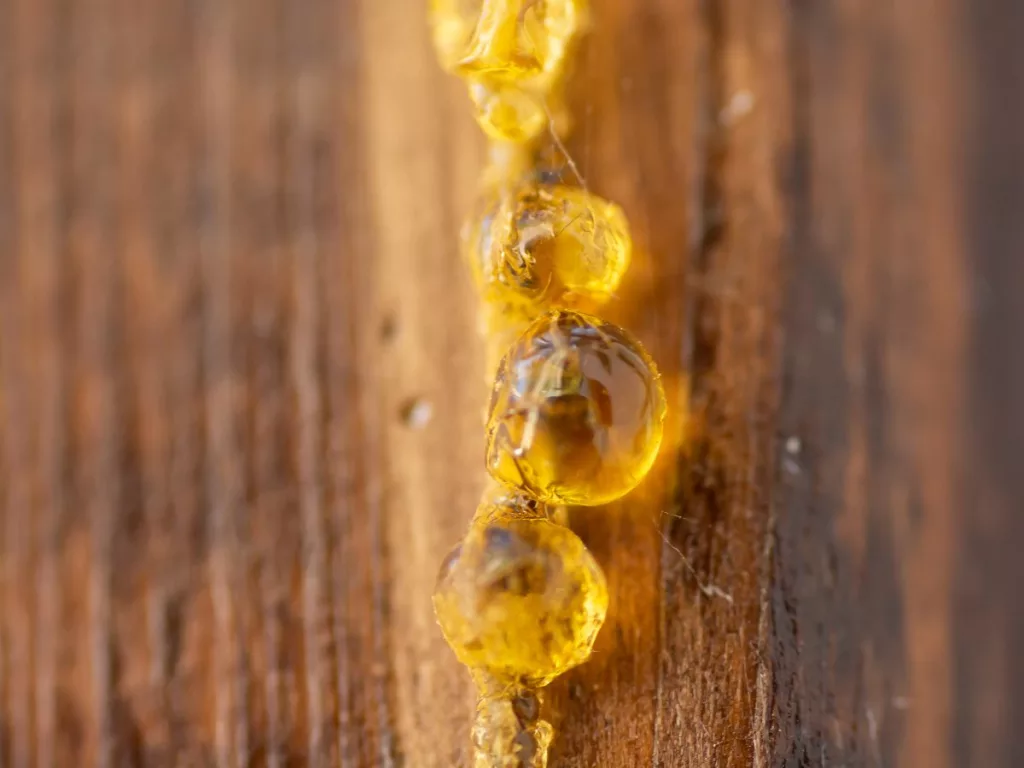
- Identify the hot spots for leakage. They’re usually around knots or cuts.
- Grab your tools – a heat gun, putty knife, and some good old-fashioned elbow grease.
- Gently heat the sap area with the heat gun. Keep it moving to avoid scorching the wood.
- Once the sap becomes gooey, use the putty knife to scrape it off.
- Clean the area with a solvent like mineral spirits to remove any residue.
Advanced Techniques for Professional Woodworkers
For those facing more stubborn sap situations, here are some advanced techniques:
- For large surfaces, consider using a drum sander to evenly remove the sap-infused top layer.
- In cases of deep sap penetration, a two-part epoxy can be used to fill and seal the wood.
- For a long-term solution, consider a sap-specific sealer that penetrates and stabilizes the wood fibers.
Remember, dealing with it is part art, part science. Each piece of wood is unique, and so is each sap situation. Stay patient, stay curious, and most importantly, stay creative in your approach.
Sealing and Finishing Wood Post-Treatment
After you’ve tackled the sap, it’s time to seal and finish your wood to perfection. This is where your craftsmanship really shines through, turning a good project into a great one.
Best Practices for Sealing Sap Pockets
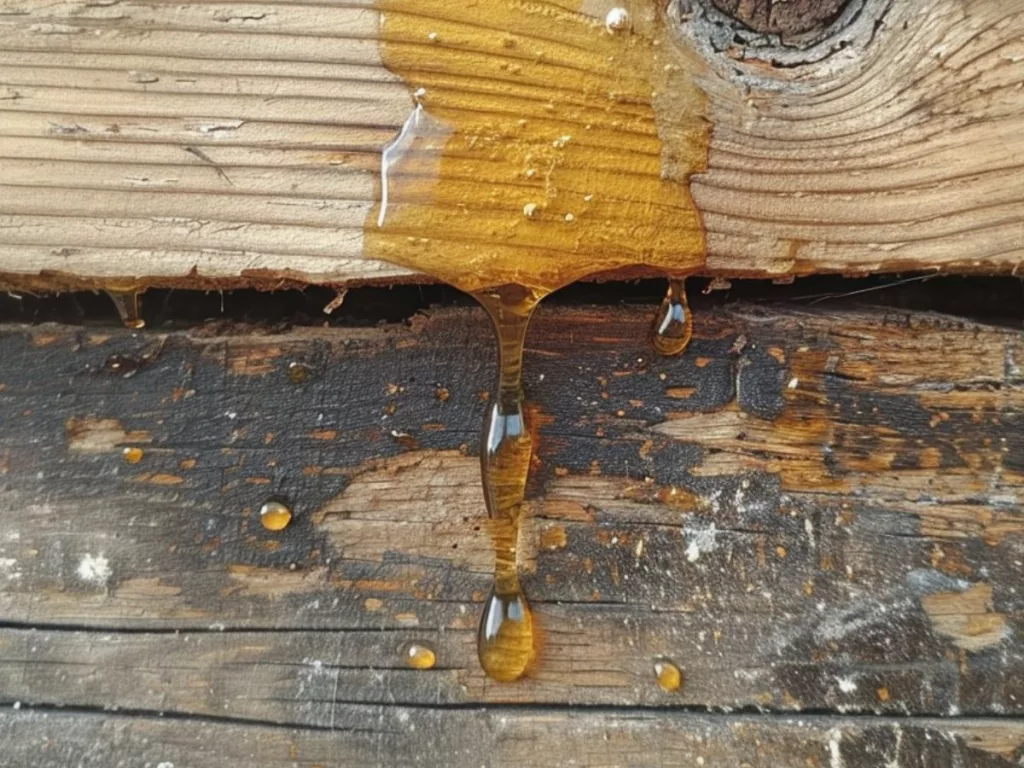
Sealing is your secret weapon against future sap surprises. Here’s how to do it right:
- Choose Your Sealant Wisely: Shellac-based sealants are a popular choice for their effectiveness and ease of use. They penetrate deep, sealing those pesky sap pockets.
- Application Techniques: Apply the sealant evenly with a brush or sprayer. For intricate areas, a small artist’s brush can be your best friend. Remember, thin, multiple coats are better than one thick coat.
- Achieving a Smooth Finish: Sand lightly between coats with fine-grit sandpaper. This not only helps with adhesion but also ensures a glass-smooth finish.
Finishing Touches to Enhance Wood Aesthetics
Now, let’s talk about making your project pop with the right finish:
- Staining Over Treated Areas: Choose a stain that complements the wood’s natural color. Test it on a small area first to ensure it blends well with the sealed sections.
- Maintaining the Wood’s Natural Look: If you love the wood’s natural beauty, opt for a clear varnish or a polyurethane finish. They protect the wood while letting its true character shine through.
Maintenance and Long-Term Care
Your wood project is an investment. Protect it with proper maintenance and care, ensuring it stands the test of time.
Preventing Future Sap Leakage
- Routine Checks: Regularly inspect your wood for signs of sap leakage, especially during seasonal changes.
- Seasonal Care: Different woods react differently to climate changes. For example, softwoods need more attention during hot summers, while hardwoods might need more care in humid conditions.
When to Seek Professional Help
Sometimes, a situation calls for a pro’s touch:
- Recognizing the Need for Expert Intervention: If you’re dealing with antique or highly valuable wood, or if the sap issue persists despite your best efforts, it’s time to call in the experts.
- Finding Woodworking Professionals: Look for reputable carpenters or restoration specialists. Check online reviews or ask for recommendations from fellow woodworking enthusiasts.
This video will help you in this issue.
You can also watch this video on sap removal.
Conclusion
Well, we’ve journeyed through the forest of sap-related issues and emerged with some solid strategies and solutions. To all the DIY enthusiasts and woodworking professionals out there, remember that every piece of wood has its own story and challenges. Embrace them, and let your creativity and skills shine!
Additional Resources
Further Reading and Educational Materials
- Books: “Woodworker’s Guide to Wood (Back to Basics): Straight Talk for Today’s Woodworker” by Skills Institute Press, ISBN-13 : 978-1565234642; and “Understanding Wood Finishing, 3rd Revised Edition: How to Select and Apply the Right Finish” by Bob Flexner, ISBN-13 : 978-1497101470; “Xylem Structure and the Ascent of Sap” by Melvin T. Tyree, Martin H. Zimmermann are great starts.
Community Forums and Expert Discussions
Join the conversation and learn from others:
- Online Forums: Woodworking Talk (https://www.woodworkingtalk.com/) and LumberJocks (https://www.lumberjocks.com/) are fantastic platforms for advice and sharing experiences.
- Social Media Group: Woodworking For Beginners (https://www.facebook.com/groups/woodworkingforbeginner)
FAQs
What causes sap to leak from wood?
Sap leakage is often due to the natural characteristics of certain wood types, especially softwoods like pine and fir, and can be exacerbated by environmental factors like temperature changes.
Can sap leakage be prevented?
Yes, choosing the right type of wood and ensuring it is properly dried, either through kiln drying or air drying, can significantly reduce the chances of sap leakage.
What are effective methods to stop sap from leaking?
Using a heat gun to crystallize the sap and then scraping it off is a common method. Sealing the wood with appropriate sealants, like shellac, can also prevent further leakage.
Is it possible to seal over areas where sap has leaked?
Yes, after removing the sap, you can seal the area with products like shellac-based sealers to prevent future leakage.
Does sap leakage affect the strength of the wood?
Sap leakage primarily affects the appearance and finish of the wood, not its structural integrity.
How do you clean sap off wood surfaces?
Sap can be cleaned off using solvents like mineral spirits or turpentine, followed by light sanding to ensure a smooth surface.
Can all types of wood experience sap leakage?
While all woods contain sap, softwoods are more prone to leakage compared to hardwoods.
What are long-term solutions for sap leakage in wood?
Apart from immediate treatments, using wood that is properly dried and less prone to sap leakage is a long-term solution.
Are there any specific tools required for removing sap?
A heat gun, putty knife, and cleaning solvents are commonly used tools for removing sap.
Can sap leakage recur after treatment?
It’s possible, especially if the wood wasn’t properly dried or if environmental conditions change, but proper sealing can minimize recurrence.


