Fix Chips in Wood: The Ultimate DIY Repair Guide
Key Takeaways
– Assess and clean wood damage before repair.
– Use sawdust-glue mix for small chips, wood filler or epoxy for larger ones.
– Sand the area smoothly post-repair to match wood texture.
– Apply matching stain or paint for a seamless finish.
– Regular maintenance and protective measures help prevent future damage.
Welcome to the world of DIY wood repair! Whether you’re a seasoned woodworker or just starting out, understanding how to fix chips in wood is a valuable skill that can save your favorite furniture or woodwork from the clutches of wear and tear. Let’s dive into the art of restoring beauty to your chipped wood pieces.
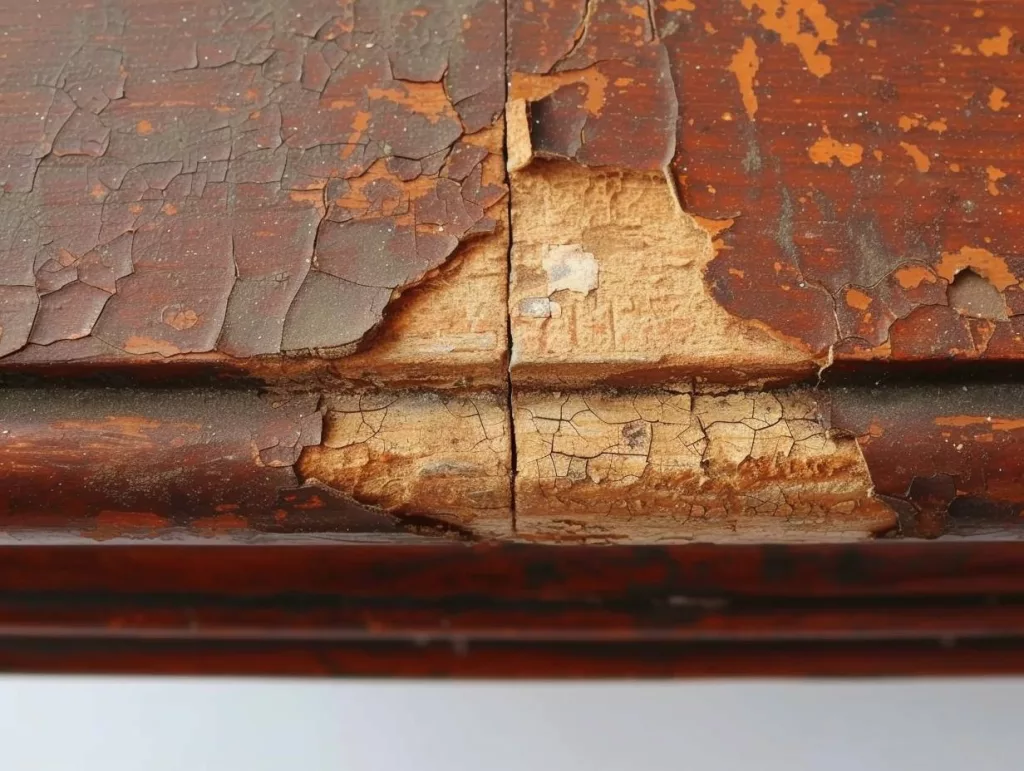
Understanding Wood Chip Damage
How Chips in Wood Occur
Chips in wood can happen to the best of us and our furniture. It could be a result of an accidental knock, the natural aging process, or even changes in humidity. Picture this: you’re moving a beloved wooden chair, and oops, it grazes the door frame, leaving a noticeable chip. It’s not just about aesthetics; these chips can be the starting point for further damage if left unattended.
Prompt and Effective Repair
Ignoring these little chips is like ignoring a small leak in a dam – eventually, it might lead to bigger issues. Prompt repair not only restores the look but also protects the integrity of the wood. Plus, there’s a certain satisfaction in bringing a piece of wood back to its former glory, don’t you think?
Essential Tools and Materials
Now, let’s gear up! You don’t need a whole workshop; just a few essentials will do the trick. Here’s what you’ll need:
- Wood filler: To fill in those pesky chips.
- Putty knife: Your trusty sidekick for applying the filler.
- Sandpaper: For smoothing things out.
- Stain or paint: To bring back the color and finish.
- A clean cloth: For wiping away any dust or debris.
Here’s a list of different wood fillers and their functions.
| Type of Wood Filler | Ideal Use | Characteristics | Example |
|---|---|---|---|
| Water-Based | Indoor use, especially on furniture | Easy to sand, paint, and stain; quick-drying; minimal odor | Elmer’s Wood Filler |
| Solvent-Based | Both indoor and outdoor use; durable repairs | Resistant to shrinking and cracking; stronger odor; longer drying time | Minwax High-Performance Wood Filler |
| Epoxy | Heavy-duty repairs; outdoor use | Two-part system; water and rot-resistant; suitable for larger gaps | Abatron WoodEpox |
| Stainable | Repairs requiring staining to match surrounding wood | Can be water-based or solvent-based; designed to be stained | Elmer’s Stainable Wood Filler |
| Wood Grain | Open-grained woods like oak or mahogany | Used before staining/finishing; fills pores in wood grain | Aqua Coat Clear Grain Filler |
Selecting Eco-Friendly and Effective Materials
In our quest to fix chips, let’s not forget our planet. Opt for eco-friendly wood fillers and stains. They’re not just good for the earth; they’re often better for your indoor air quality too. Plus, using sustainable products adds another layer of satisfaction to your DIY project, knowing you’re doing your bit for the environment.
Step-by-Step Process to Fix Chips in Wood
Let’s walk through the process step-by-step, ensuring your wood repair is not just a fix but a labor of love that brings your wood back to life.
Step 1: Assessing Damage
Evaluating the Severity
First things first, let’s play detective and assess the damage. Is it a superficial nick or a deep gash? Run your fingers over the chip; feel its depth and width. This tactile approach gives you a real sense of the task at hand. Remember, not all chips are created equal, and understanding the extent of the damage is key to choosing the right repair strategy.
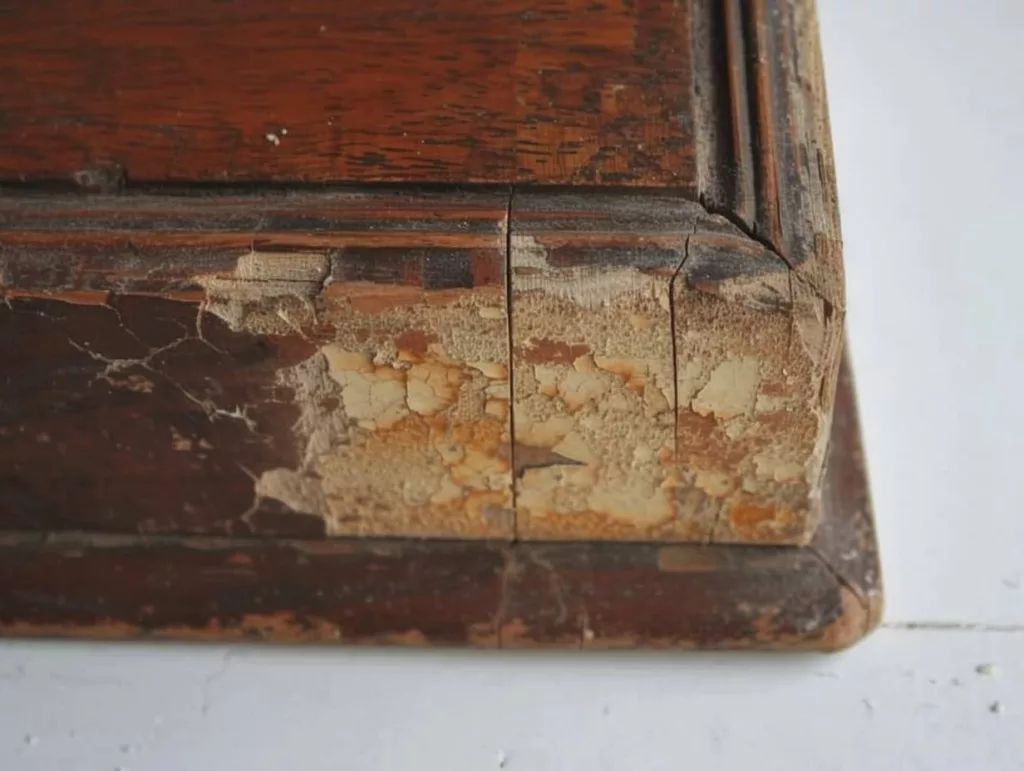
Deciding on DIY Repair or Professional Intervention
Now, be honest with yourself. If it’s a minor chip, a DIY approach is perfect. But if we’re talking about a significant chunk missing from Grandma’s antique table, it might be time to call in the pros. There’s no shame in seeking help for complex repairs – it’s all about preserving the beauty and integrity of your wood.
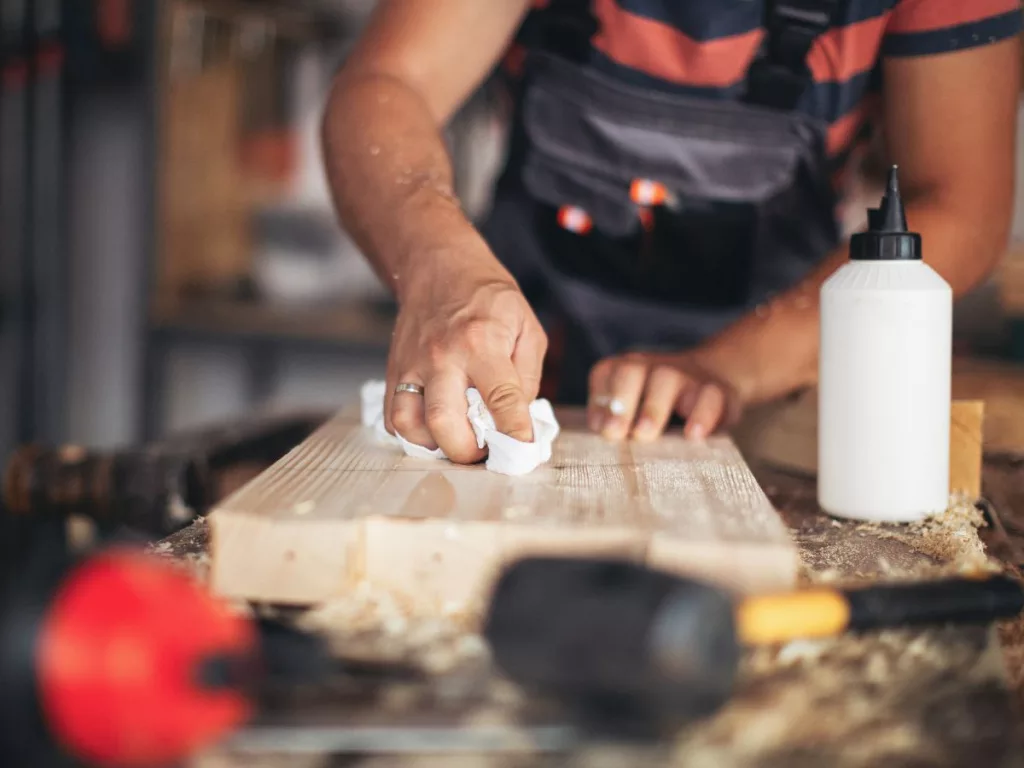
Step 2: Preparing the Chipped Area
Cleaning and Prepping
Cleanliness is next to godliness, especially in wood repair. Gently clean the chipped area with a soft brush or cloth to remove any dirt or debris. If there’s any old finish around the chip, lightly sand it off. You want a clean, smooth surface for the filler to adhere to.
Safety Considerations
Safety alert! When sanding, always wear a mask to avoid inhaling dust. Work in a well-ventilated area, and keep those safety goggles handy. Remember, safety is not just a protocol; it’s an act of self-care.
Step 3: Selecting the Right Wood Filler
Different Types of Fillers for Wood Chips
Wood fillers come in all shapes and sizes. Water-based fillers are easy to handle and great for indoor projects, while epoxy-based fillers are durable and perfect for outdoor use. Choose a filler that aligns with your project needs and the wood’s characteristics.
Color Matching and Consistency
Color matching can be tricky, but it’s crucial for a seamless repair. If possible, bring a piece of the wood when shopping for filler. Test the filler on an inconspicuous area first to ensure it blends well. Remember, it’s not just about filling the chip; it’s about making it disappear.
Mixing the filler material, if color is not matching with your wood, you can apply stains or colors finally on top of the filler.
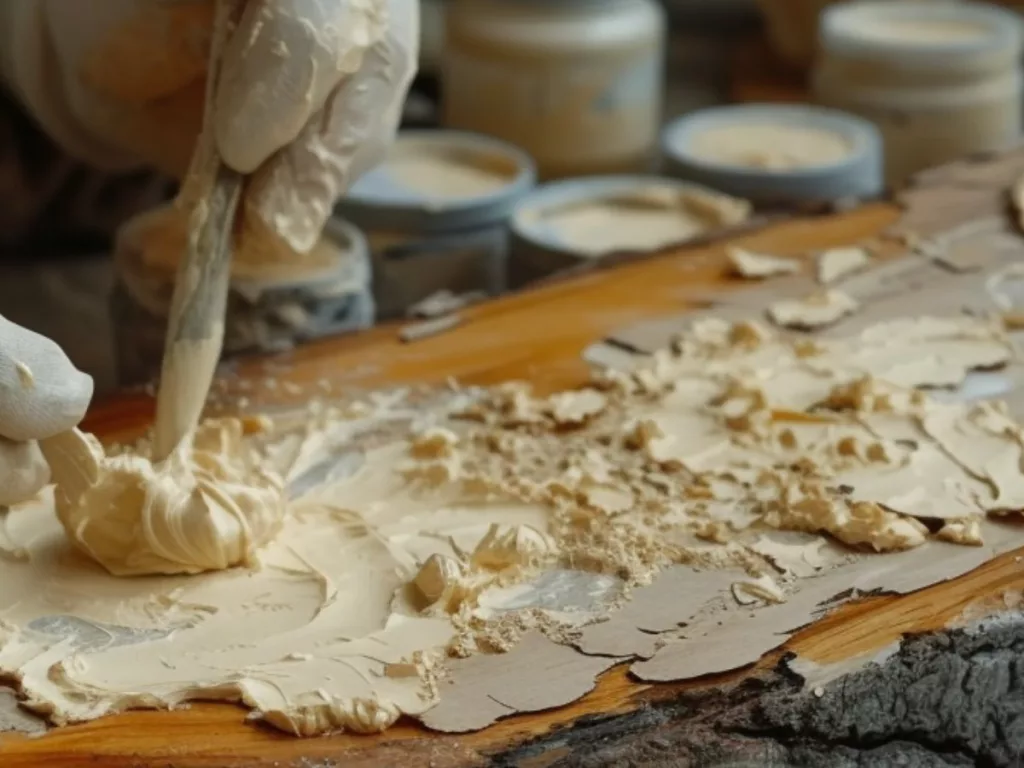
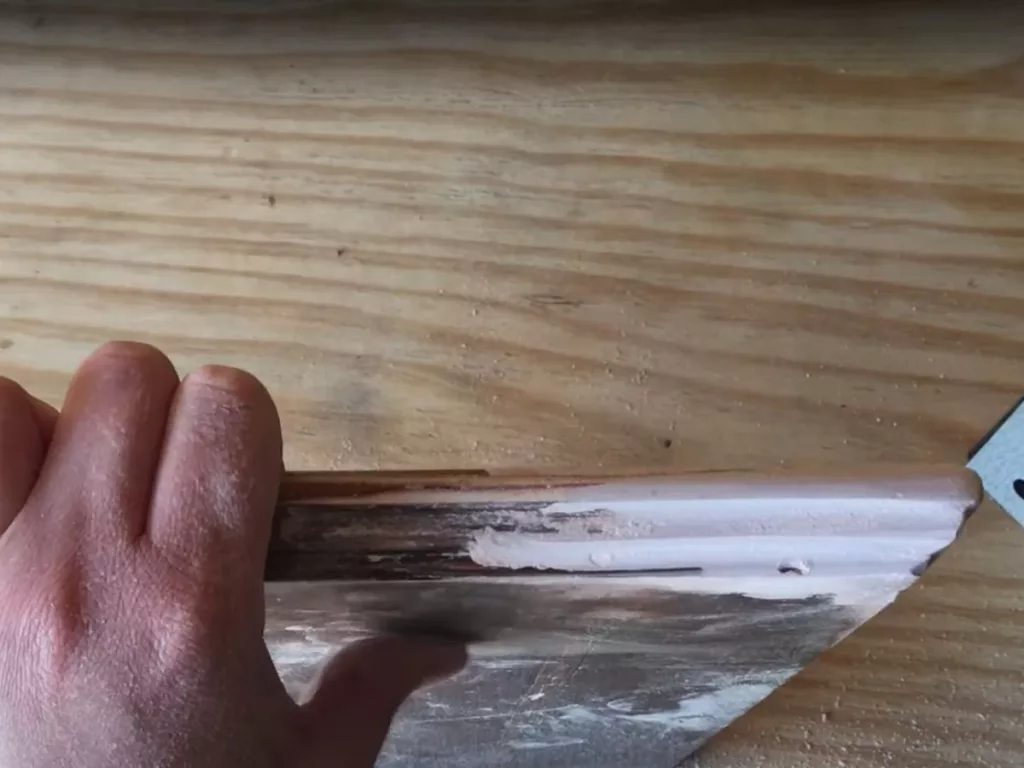
Step 4: Applying Wood Filler to Fix Chips
Guide on Filler Application
Let’s get filling! Apply the filler using a putty knife or your trusty old finger (gloved, of course). Press it firmly into the chip, ensuring no air pockets are left. Overfill it slightly; we’ll sand it down later to level it with the wood surface.
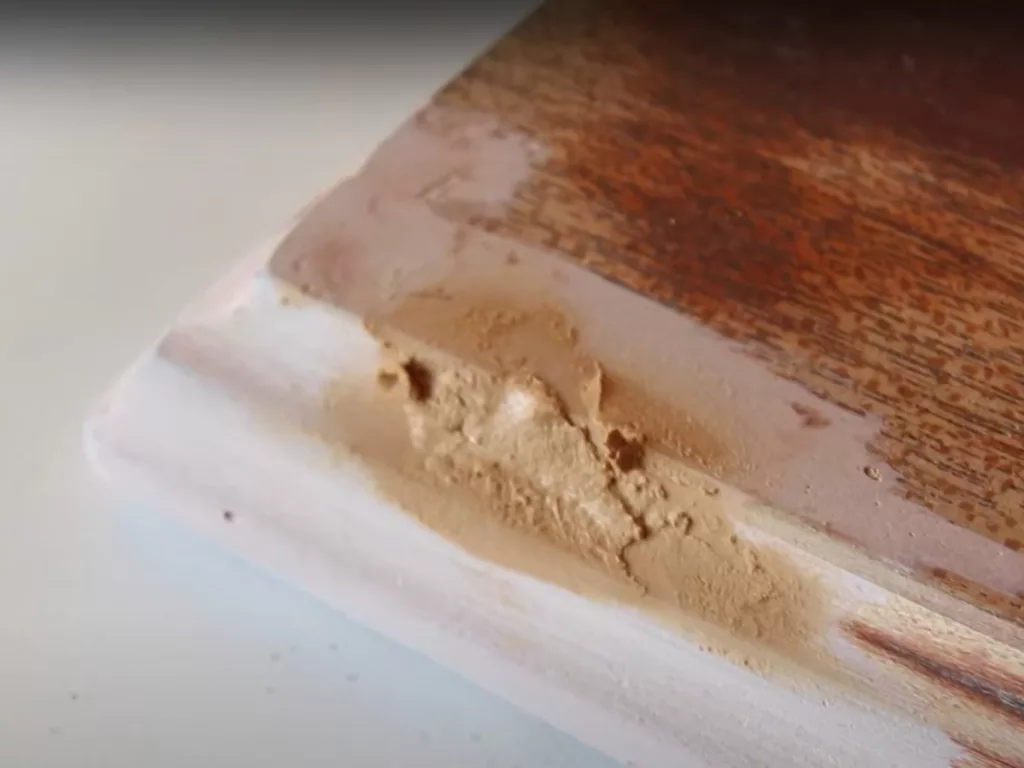
Techniques for a Smooth, Even Finish
Smooth out the filler with your knife or a damp cloth. Patience is key here – take your time to get a smooth, even surface. Think of it as sculpting; you’re not just filling a gap, you’re restoring a masterpiece.
Step 5: Sanding and Refining the Repaired Area
Effective Sanding Methods
Once the filler is dry, it’s sanding time! Start with a medium-grit sandpaper and work your way up to a fine-grit for a smooth finish. Sand in the direction of the wood grain to avoid scratches. It’s like giving your wood a mini spa treatment.
Shaping the Filler to the Wood’s Natural Form
As you sand, shape the filler to follow the wood’s natural contours. This is where your attention to detail really shines. Your goal is to make the repair blend so seamlessly that even you forget where it was!
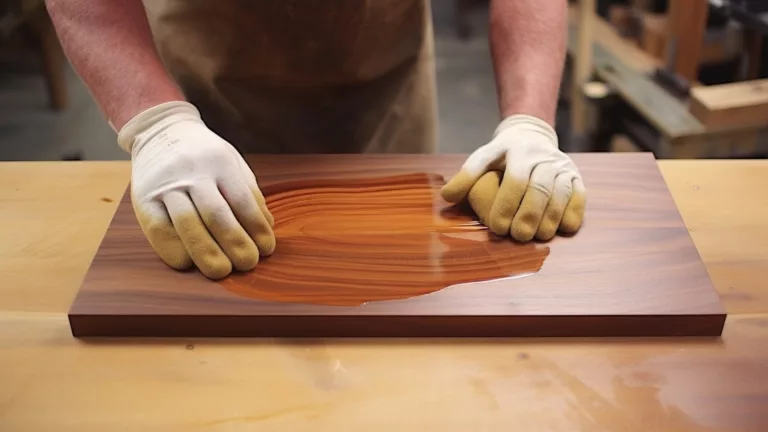
Step 6: Coloring and Finishing After Repair
Staining or Painting
Now for the fun part – coloring! If you’re staining, choose a shade that matches the original wood. Apply it with a soft brush or cloth, working it into the wood to achieve an even color. If you’re painting, apply thin, even coats, allowing each to dry before applying the next.
Techniques for a Seamless Match
The final touch is all about blending. Feather the edges of your paint or stain to merge with the surrounding area. It’s like makeup for wood – subtle, yet transformative. And there you have it, a chip-free, beautiful piece of wood, all thanks to your hard work and dedication.
Innovative DIY Repair Method
Welcome to the world of DIY wood repair, where a little creativity can bring your cherished wood pieces back to life. Let’s explore some innovative methods that are not only effective but also quite satisfying to execute.
Using Sawdust and Wood Glue for Small Chips
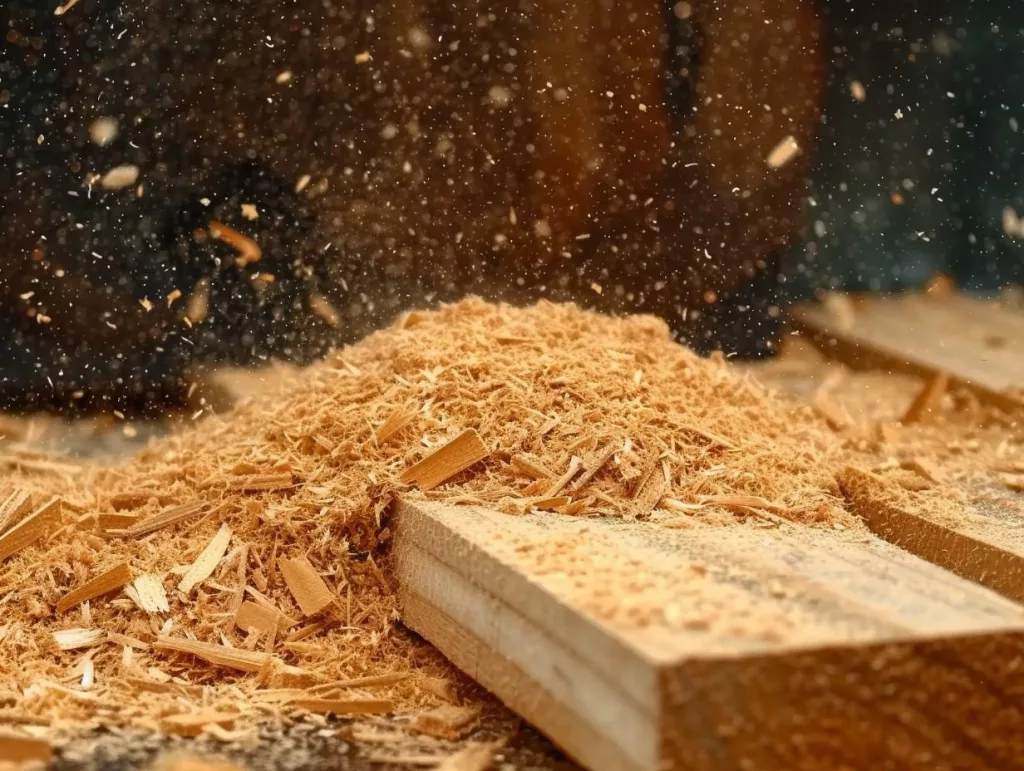
Creating a Custom Filler with Sawdust and Glue
Got a small chip in your wood? No worries! A great DIY solution is right at your fingertips. Mix some sawdust from the same type of wood with wood glue to create a custom filler. This mixture is perfect for small chips, as it blends seamlessly with the original wood. It’s like making a mini batch of wood dough – simple and surprisingly fun!
Application and Drying Process
Apply this homemade filler into the chip using a putty knife or even your finger. Press it down firmly to ensure it fills the entire space. Then, let it dry. The drying time might vary, but patience is key here. Once it’s dry, you’ve got a repair that’s not only effective but also maintains the integrity of the wood’s appearance.
Sanding and Refining the Repaired Area
Effective Sanding Methods for Wood Chips
After the filler dries, it’s time to sand. Start with a coarser grit and work your way up to a finer one for a smooth finish. Sanding is an art – it’s all about blending the repair into the surrounding wood. Remember to go with the grain; this way, you’re respecting the wood’s natural pattern.
Shaping the Filler to Blend with the Wood’s Natural Form
As you sand, shape the filler to match the contours of the wood. This step is where your attention to detail really shines. You’re not just fixing a chip; you’re sculpting the wood back to its original form.
Coloring and Finishing After Repair
Staining or Painting the Repaired Wood Chip Area
Now for the final touch – coloring. If you’re staining, pick a shade that matches the original wood. Apply it gently, and watch as the repair blends into the rest of the piece. If you’re painting, choose a color that complements the wood’s character. This step is like the grand finale of your repair project.
Techniques for a Seamless Match with Existing Surfaces
Use light, even strokes to apply the stain or paint. The goal is to make the repair indistinguishable from the rest of the piece. It’s not just about fixing a chip; it’s about restoring the wood’s beauty and character.
Advanced Repair Techniques
Welcome back to our wood repair workshop! Now, let’s tackle those bigger challenges – large chips and deep gouges that require a bit more finesse and some advanced techniques.
Managing Large Chips and Deep Gouges
Advanced Methods
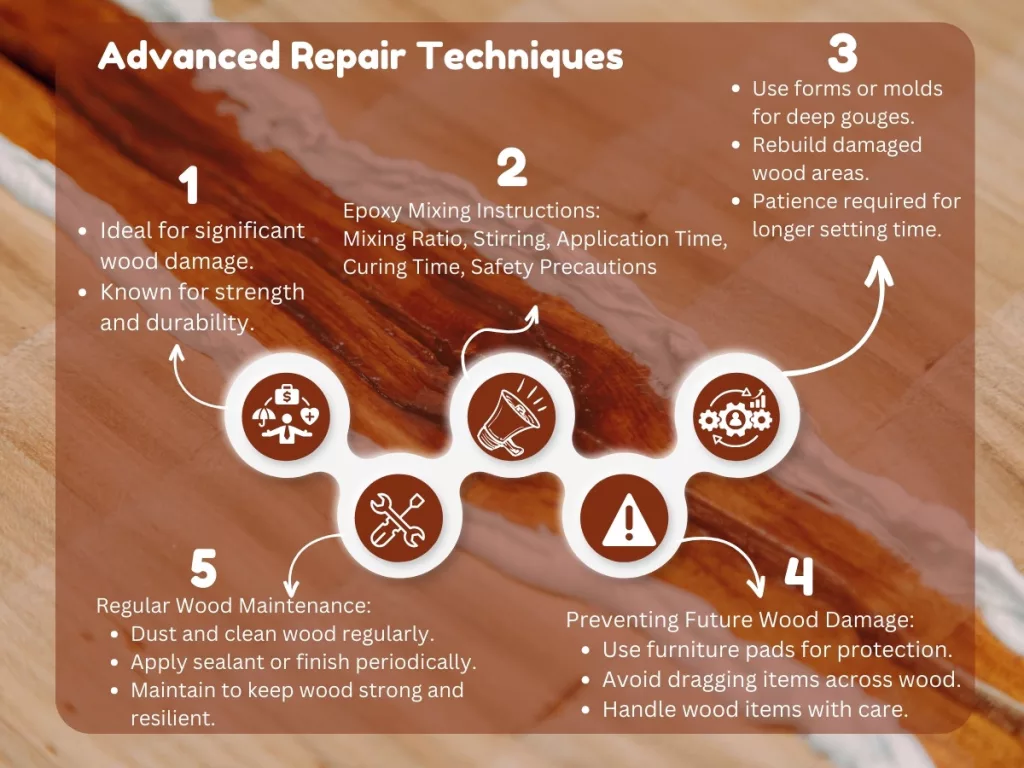
When dealing with more significant damage, standard wood filler might not cut it. This is where epoxy resin, known for its strength and durability, comes into play. It’s like the superhero of wood repair materials – tough and reliable. Mix the epoxy according to the instructions, apply it to the damaged area, and shape it to conform to the original wood profile. It’s a bit like being a sculptor, only your medium is wood and epoxy! The epoxy mixing instructions will be containing following things.
- Mixing Ratio: Combine resin and hardener in the correct proportions.
- Stirring: Thoroughly mix the components for the time specified.
- Application Time: Use the epoxy within its ‘working time’ before it starts to harden.
- Curing Time: Allow the epoxy to fully harden as per the given duration.
- Safety Precautions: Use gloves, work in a ventilated area, and avoid skin contact.
Using Epoxy and Other Specialized Materials
For those deep gouges, you might need to create a form or mold around the area to hold the epoxy in place while it sets. Think of it as a mini construction project. You’re not just filling in a gap; you’re rebuilding a part of your cherished wood piece. And remember, patience is key – epoxy takes longer to set than regular wood filler, but the wait is worth it for the strength and finish it provides.
Preventing Future Chips in Wood
Tips to Avoid Damage
Prevention is better than cure, right? To protect your wood from future chips, consider using furniture pads, avoiding dragging items across wood surfaces, and handling your wood items with care. It’s about respecting and protecting the wood, much like you would any valuable item in your home.
Regular Maintenance and Care for Wood Items
Regular maintenance can go a long way. Dust and clean your wood items regularly, and consider applying a fresh coat of sealant or finish periodically to keep the wood strong and resilient. It’s like giving your wood a regular health check-up to ensure it stays in top condition.
Expert Advice
Now, let’s glean some wisdom from those who know wood best – the experts and DIY champions who’ve been in the trenches of wood repair.
Insights from Woodworking Experts
Professional Advice
I’ve had the chance to chat with some woodworking pros, and here’s a nugget of wisdom: “Understand the wood you’re working with.” Each type of wood has its quirks, and knowing these can make your repair work more effective. Oak, for example, is quite forgiving, while mahogany demands a bit more finesse.
Walkers Woodworks is expert on this, as I had referred to the expert just a while back. You can have an idea in this video.
Case Studies and Real-Life Repair Examples
One expert shared a story of restoring a vintage oak table with a massive gouge. By using a combination of epoxy and careful color-matching, they were able to make the table look as good as new. It’s stories like these that inspire and guide us in our wood repair journey.
DIY Success Stories in Wood Repair
Community Contributions with Before-and-After Photos
In our DIY community, there’s a treasure trove of before-and-after photos that showcase incredible transformations. From coffee tables brought back from the brink of disposal to heirloom chairs that now look showroom new, these stories are not just inspiring – they’re educational.
Personal Experiences and Advice from DIY Enthusiasts
One of my favorite stories is from a first-time DIYer who turned a chipped family heirloom into a stunning centerpiece. Their advice? “Take your time, and don’t be afraid to try.” Sometimes, the best teacher is experience, coupled with a dash of courage.
Extra Tips for Successful DIY Fixes
- Always test your filler and color match on a small, inconspicuous area first.
- Invest in good quality sandpaper – it makes a big difference.
- Don’t rush the process. Good things take time, and that includes wood repair.
Wrapping Up
Hey there, DIYers! As we wrap up our journey into the world of fixing chips in wood, let’s take a moment to reflect on what we’ve learned and gear up for your next wood repair adventure with confidence and skill.
Remember, fixing chips in wood is all about patience, precision, and a bit of creativity. Start by assessing the damage, then clean and prep the area. Choose the right filler, apply it carefully, and sand it down for a smooth finish. Finally, color match and finish off with a protective coat. It’s like nurturing a plant – with the right care, you’ll see beautiful results.
Don’t let the fear of making mistakes hold you back. Every chip you fix is a step towards becoming a more skilled DIYer. Embrace the process, learn from each experience, and remember – the most important tools in your kit are patience and persistence.
Additional Resources and Learning
Further Reading and Tutorials on Wood Repair
To keep honing your skills, dive into the wealth of resources available online. Websites like This Old House and Fine Woodworking are goldmines of information, offering tutorials that range from beginner to advanced levels.
Recommended Books and Courses for Deeper Learning
For those who love to learn through reading, “The Complete Manual of Woodworking” (ISBN-13 : 978-0679766117) by Albert Jackson and David Day is a fantastic resource. And if you’re more of a visual learner, consider online courses on platforms like Udemy or Skillshare, where you can find in-depth lessons tailored to your skill level.
FAQs on Fixing Chips in Wood
Got questions? You’re not alone! Here are some answers to the most common queries we get about fixing chips in wood.
Can I fix chips in all types of wood?
Absolutely! Each wood type might require a slightly different approach, but the basic principles remain the same.
How long does it take for the filler to dry?
It varies depending on the filler type, but generally, it takes a few hours. Always check the manufacturer’s instructions for the best results.
How to Fix Chips in Wood Table?
Clean the chipped area. Fill it with wood filler that matches the table’s color. Let it dry, sand it smooth, and finish with a matching varnish or sealant.
How to Fix Chips in Wood Floor?
Clean the area. Use a wood filler or putty that matches the floor color. Apply it to the chip, let it dry, then sand it down. Finish with a protective coat if necessary.
How to Fix Chips in Wooden Furniture?
Clean the damaged spot. Fill the chip with color-matched wood filler. Allow it to dry, sand it to blend with the surrounding area, and apply a finish to match the furniture.
How to Fix Chips in Laminate Wood Flooring?
Clean the chipped area. Use a laminate repair kit or color-matched filler. Fill the chip, wipe away excess, and let it dry. Avoid sanding as it can damage the laminate’s surface.