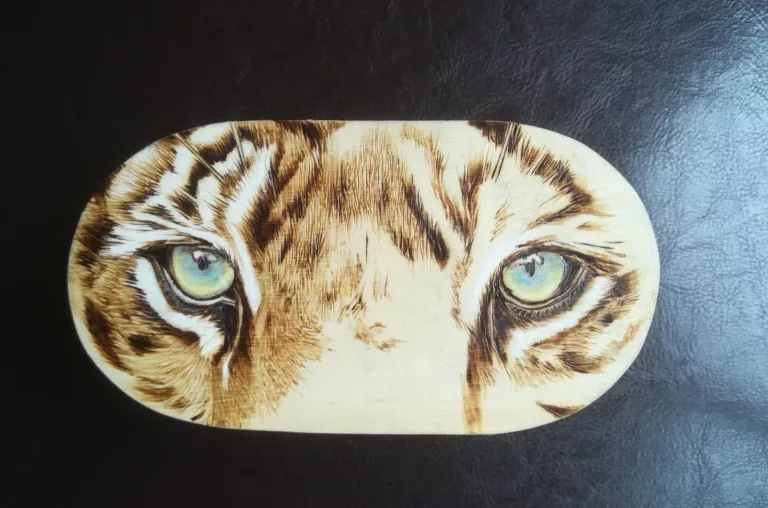
Everything About Bone Pyrography & 2 Easy Ways To Do It
By this time, you know a lot about pyrography. And got an intense hunger for doing bone pyrography. Even though the thought of having one’s hands on dead animals’ dried bones gross some people out, engraving burn designs on bone or wood burning on bone is actually an enigmatic thing.
For this type of pyrography, you can use cow, goat, or deer bones. The most common bones used for pyrography are the skull, jaw bone, horns, femur, toes, etc. You can either pre-curve the design before burning it or use a pyrography pen to engrave the designs.
This article will give you basic yet essential ideas regarding this pyrography. Go ahead!
Bones For Pyrography
Since you are here to know about bone pyrography, let’s see which animal bones are more suitable for pyrography.
- Cow bone
- Bison bone
- Goat bone
- Deer bone
- Red fox bone
- Black bear bone, etc.
The next question is, which bone do you choose for pyrography? Because bones can be delicate and burning them will obviously bring some changes. So you can choose the following types of bones.
- Skull ( skull is a special formation of multiple bones, this bone system covers the brain and is most commonly used and popular for bone burning art)
- Femur
- Jawbones
- Toe bones (Phalanges)
- Horns (horns are true bones covered with a sheath of keratin)
- Pelvic bone
- Vertebrae bone, etc.
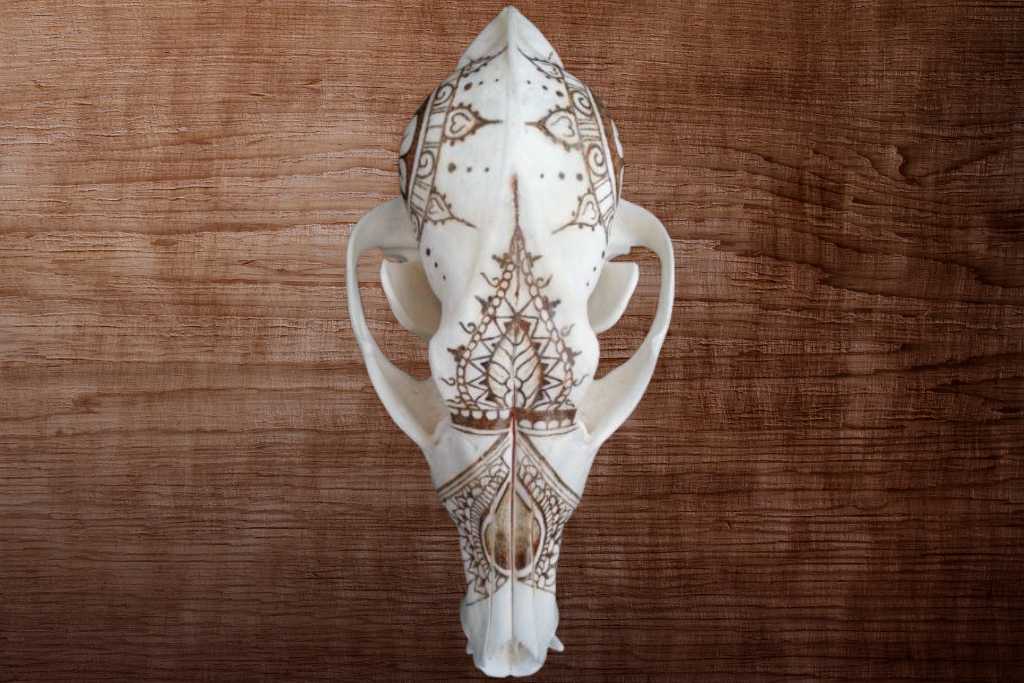
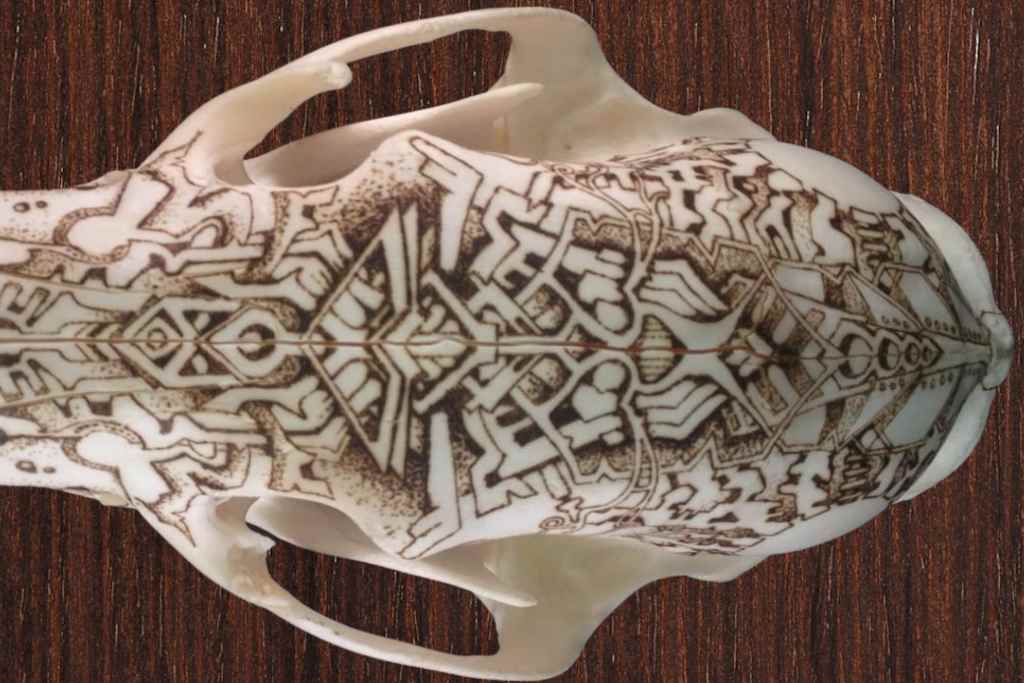
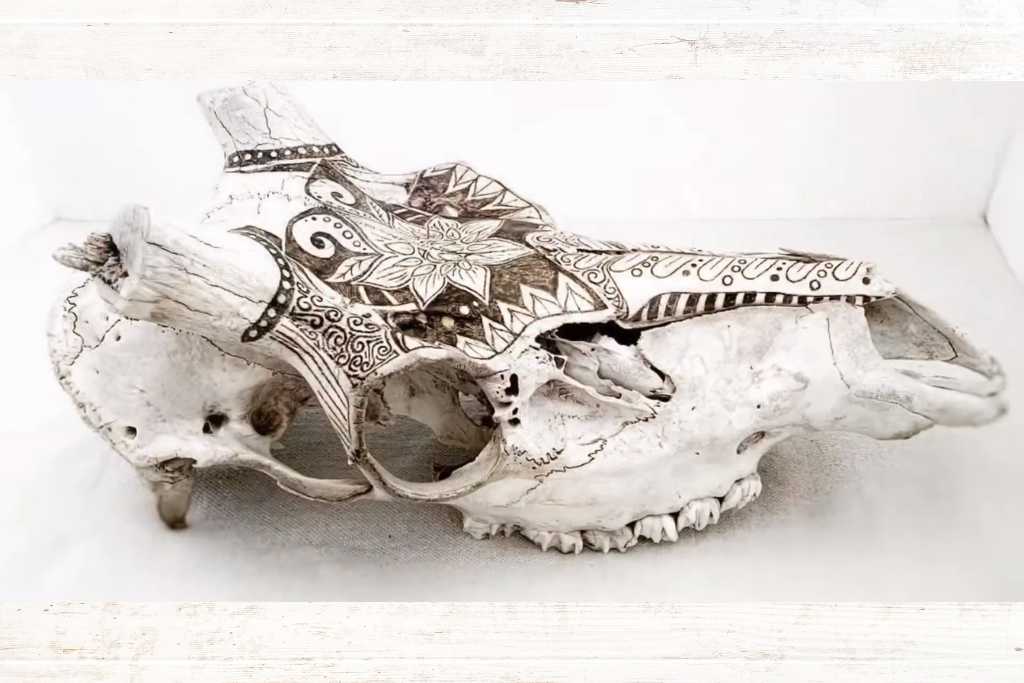
Pyrography on Skull (A Collective Form Of A Bone Set)
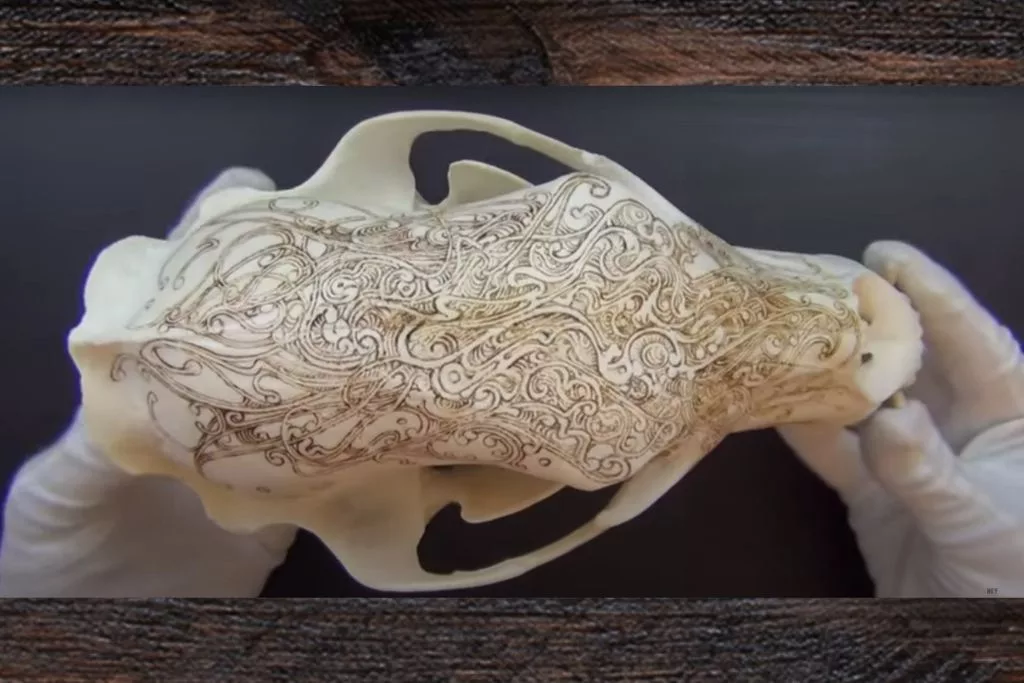
- Burning temperature: 471 Degree Celsius (880 Degree Fahrenheit) to 500 Degree Celsius (932 Degree Fahrenheit)
- Burning Time Taken: 6 hours
- Tip used: Ball Tip
- Difficulty level: Professional
Here is a detail discussion on deer skull pyrography.
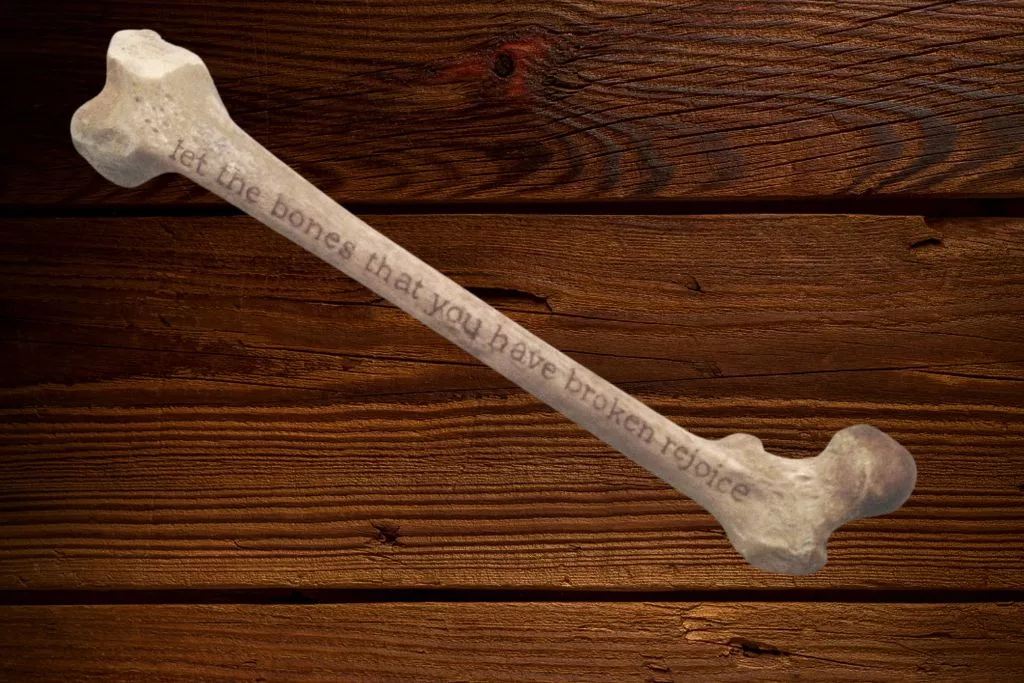
Pyrography on Femur
- Burning temperature: 475 Degree Celsius (887 Degree Fahrenheit) to 500 Degree Celsius (932 Degree Fahrenheit)
- Burning Time Taken: 1.5 hours
- Tip used: Ball Tip
- Difficulty level: Intermediate
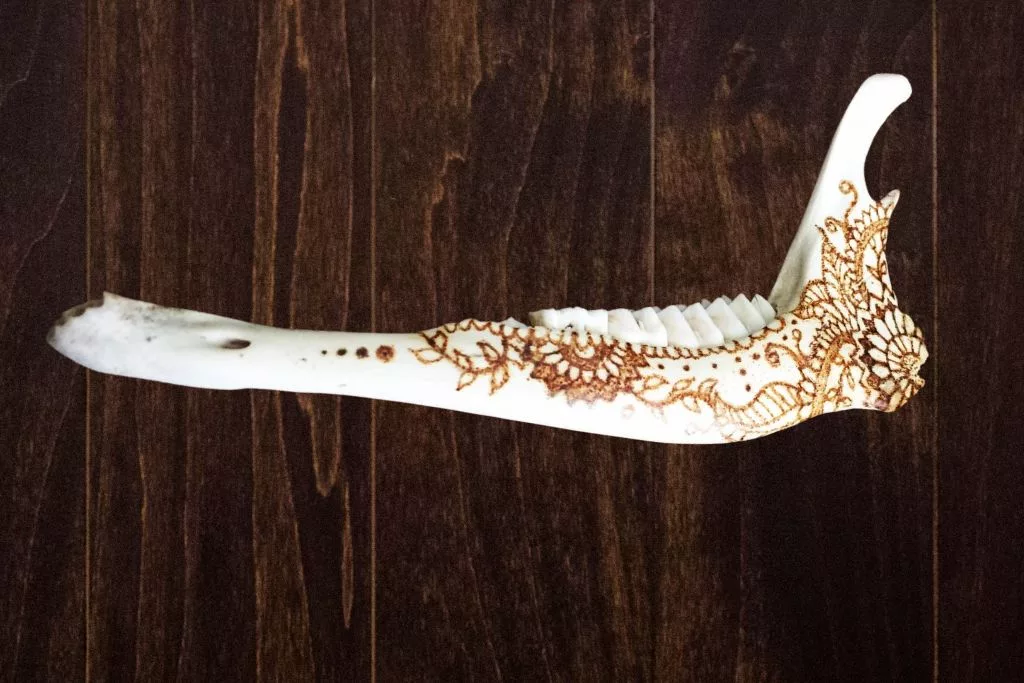
Pyrography on Jawbone
- Burning temperature: 480 Degree Celsius (896 Degree Fahrenheit) to 510 Degree Celsius (950 Degree Fahrenheit)
- Burning Time Taken: 3 hours
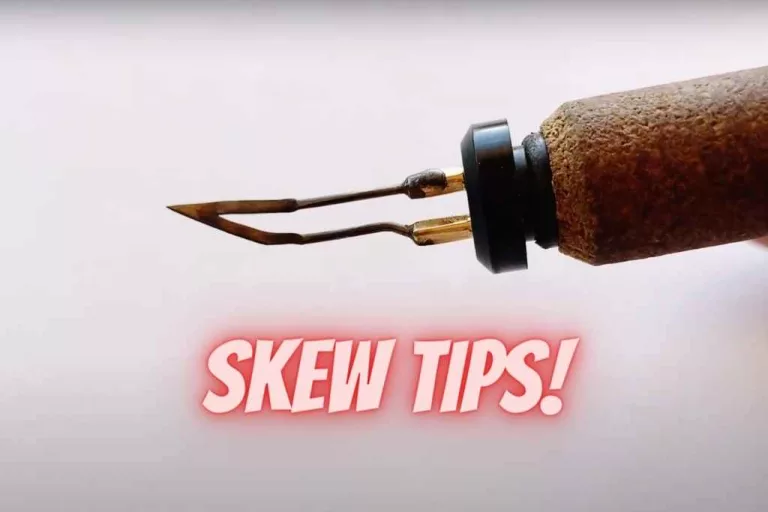
- Tip used: Ball Tip & Skew Tip
- Difficulty level: Intermediate
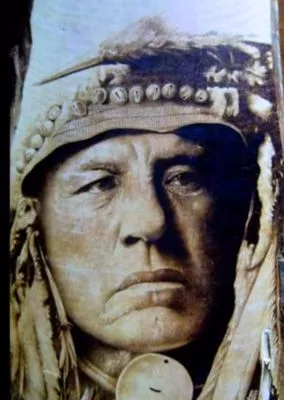
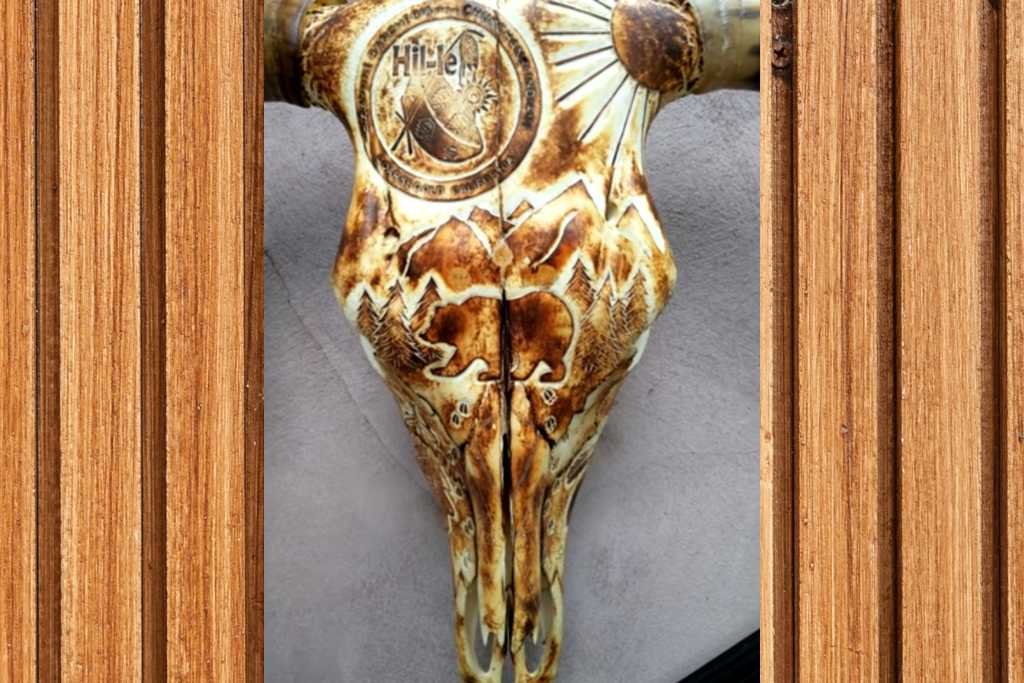
Pyrography on Horns (Horn is a Special Bone)
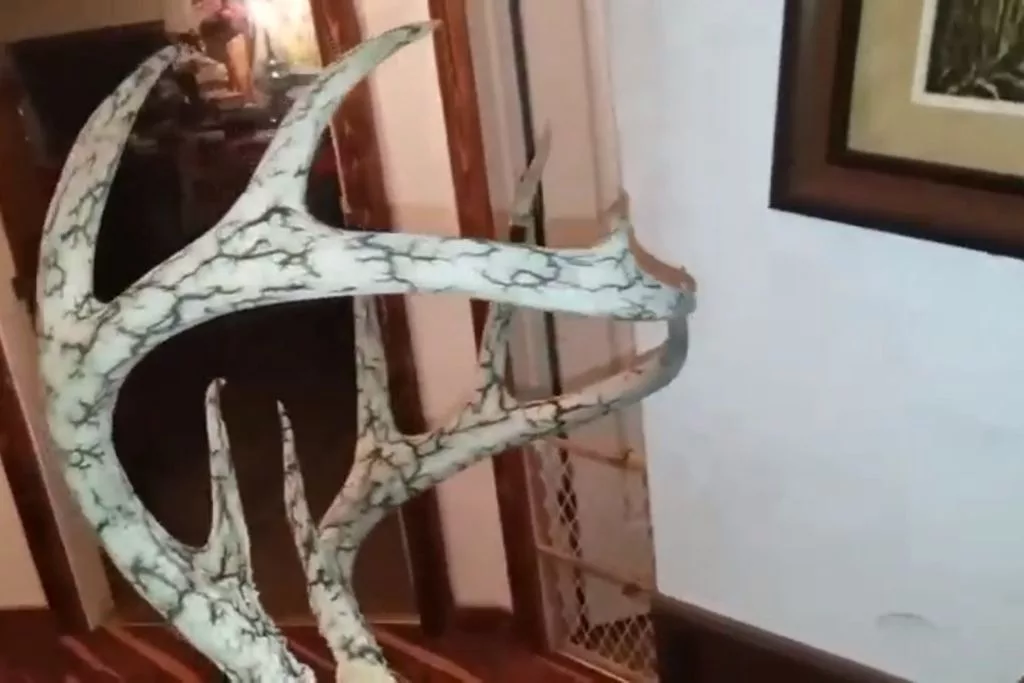
- You can do Lichtenberg pyrography or regular pyrography on bones
- The picture above is an example of Lichtenberg pyrography on horns
- Burning Voltage: 1200 volts
- Burning Time Taken: 10 minutes for each horn on an average
- Difficulty level: Professional ( Newbies should never try this, this burn art can be fatal)
Bone Preparation and Burning Process
You need to follow 2 things:
- Bone preparation
- Pyrography process
The preparation part involves everything from cleaning the bones to washing and drying them. On the other hand, the pyrography part is about burning the bones using heat or a burner tool.
I will discuss these in detail in the next parts of the article.
Bone Preparation
The bone you collected for pyrography, where is it from? Did you get it from road kill or any other source? Nevertheless, the bones might still have flesh, fat, or tissue on them. You do not want them to stink later. That’s why it is necessary to follow the steps below to prepare the bones.
Step 1: Wash The Dirt And Blood
- No matter how you got the bones, they must still have things on them unless you got yourself fully processed and ready bones. Assuming you got the first type, you must make sure they are cleaned properly.
- Put the bones in a large bowl, sink, or tub and keep them soaked in the water for a while.
- Then use a brush or scrubber to clean off the dirt and other contaminants. But don’t scrub the bones too hard lest you should break or crack them.
This process might not take everything off the bones. So you need to move on to the next step.
Step 2: Boil In High Heat
- After you wash off most of the dirt and grisly substances off the bones, you must remove the rest.
- Put them in a large pan with boiling water and boil for long enough for the sticking flesh, tissues, and fat to come out. This process can take several hours, depending on the condition of the bones.
Step 3: Clean Again
- Carefully take out the bones from the pan and place them in a container or sink.
- By now, most of the sticky substances will be gone. And if there is still something left, you have to remove them manually.
- Then use a butter knife or anything that would work to remove the remaining tissues. But be careful when you do that, even if the butter knife seems harmless. And if the tissues are too stubborn to come out, you must repeat steps 2 and 3.
Step 4: Wash The Bones
- After you are sure that there are no more fat or tissues left on the bone, set them in a container or the sink full of warm soapy water.
- Wash the bones well enough, so no more oily substances are left.
- And just to be safe, you can leave the bones in hot soapy water overnight.
- That will clean them even better. But do wash the bones well afterward, so they do not have soapy water on them.
Step 5: Let The Bones Dry
- Then leave the bones to dry for as long as they need.
- If you want to whiten them for a better appearance, you can use a whitening product, such as hydrogen peroxide. For that, you can use any hair developer, which is more effective as it contains a good concentration of hydrogen peroxide.
- You can mix some baking soda with the solution and then apply it to the bones using a brush. Then cover the bones with something, like a cardboard box, because the solution works more effectively when kept away from light.
Here is a video demonstration bone preparation prior doing the pyrography.
How To Do Bone Pyrography – 2 Effective Ways
In this part, you will learn two different but easy, and effective ways of this burn process. And you won’t even need many tools for these.
Method 1: Using Carver And Blow Torch
This is how you can do the pyrography on bone using a blow torch after curving the design.
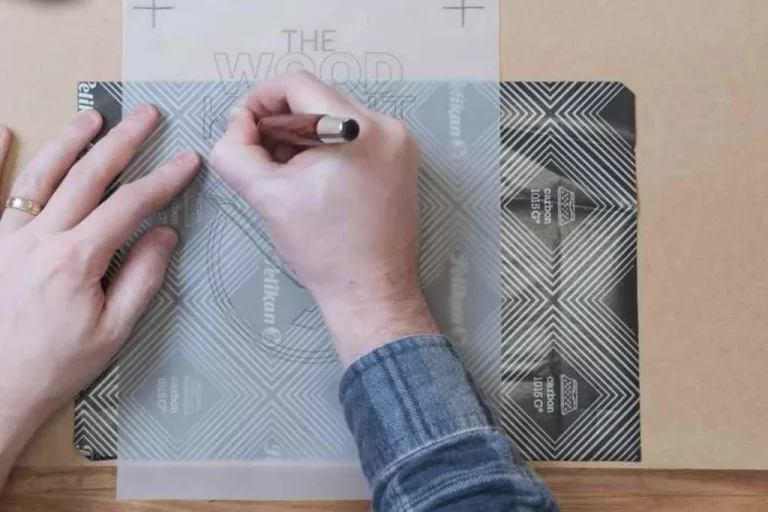
Design Transfer
Draw your design on the bones using a pencil. Or, you can just do it freely with your imagination.
Carving
Use a carver tool with a flex shaft to curve the design on the bone.
Dusting the Bone
Then use a bristle brush or fabric to clean off the dust from the bone.
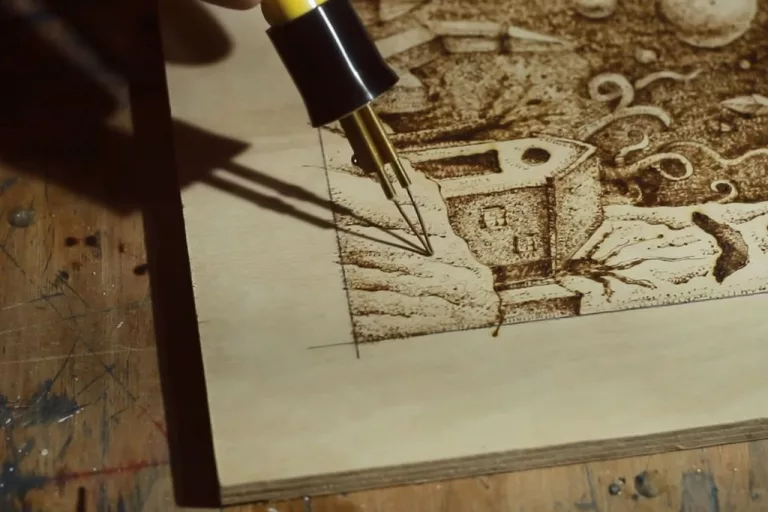
Apply Heat
After that, hold the blow torch closer to the design on the bone and start burning around.
Cool It Off
Take a break for some time after burning some parts of the bone, especially if it is a skull. Let it cool off before continuing.
Sharpen The Edges
Once the burning part is over, you can again use a diamond Dremel bit to clean off the edges or create borders around the designs to make the curving and design more eye-catching.
Use Sealant
Apply spray sealant or wax to make the design more durable.
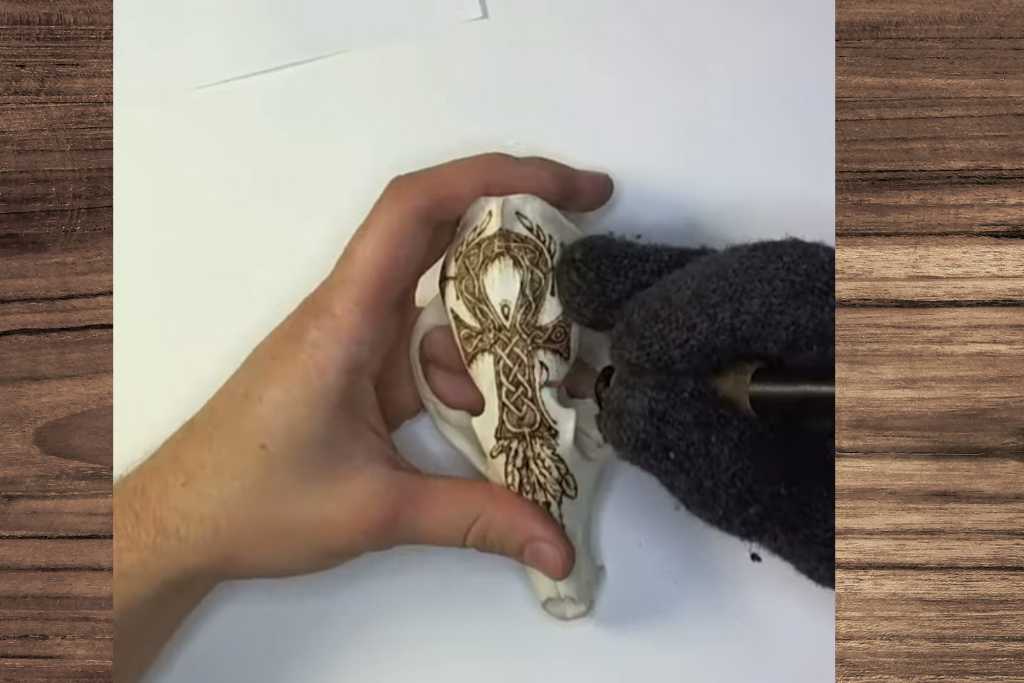
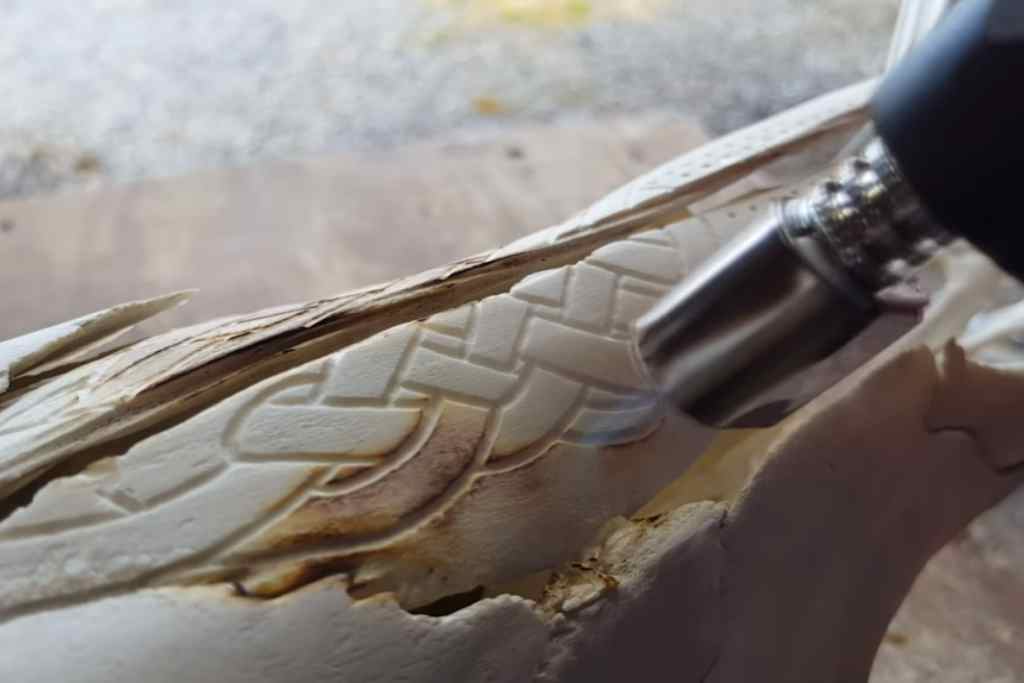
Method 2: Using Burner Pen
If you are not into curving, you can follow this method using a burner tool and pen.
Transferring The Design
Get a template of choice after deciding what design you want to burn. Then use carbon or graphite paper to transfer the design on the bones with a pencil. Or, you can just go with anything without requiring any tracing first.
Fire Up Your Burning Pen
Connect the burner tool and wait for the pen to heat up.
Perform The Burn
Start burning the design at a slightly low temperature, then gradually increase the heat. It is done between 470 degrees Celsius to 1200 degrees Celsius. But the shade darkness of the burn marks depends on the time, pressure, tip type, and bone type.
You can use various pen tips and add shades if needed.
Dust The Bone
After you are done burning the design, clean the bone to ensure there is no dust left.
Apply Sealant
Then apply a good-quality spray sealant. You may have to apply multiple coats to make the layer even and smooth. You must ensure that the cracks and fissures are sealed as well. You must apply the sealant to the entire surface (top, bottom, sides, everywhere) of the bone to have a long lasting piece of art.
This video will demonstrate bone pyrography via the second method
I experimented with the burner pen method, which involved transferring a design onto the bone using carbon paper, then burning it in at temperatures ranging from 470 to 1200 degrees Celsius. This method was a bit more straightforward but required a steady hand and patience to achieve the desired shading and detail.
Useful Tips
Let’s say you have started the first method, and you are using a carving tool. It is fun until the noise seems ear-piercingly screeching , and you realize you have been inhaling bone dust. Here are some essential tips to remember when doing it.
- Pay extra attention to the cleaning process if you are washing skulls with teeth.
- Always wear a respiratory mask and gloves when doing bone pyrography. And if you are doing carving, make sure to use earplugs.
- It is best if you choose an open or well-ventilated area.
- Be prepared for flying dust if you are using a Dremel bit for curving.
- When applying the heat, do not hold the blow torch too close for too long. Otherwise, it can crack or break the bones.
- If the bone is too large for you to work from one angle, try rotating the bone instead of moving your arms a lot.
- Applying sealant is not mandatory, but it can certainly help you preserve your work longer.
- If you are applying multiple sealant layers, make sure to give the previous layer enough time to dry.
Moreover, you can learn about the patterns and the dos and don’ts of pyrography here in this article.
FAQs
Can you woodburn a skull?
Yes, you can woodburn a skull. In this case, you will need comparatively more powerful pyrography tools that can produce higher temperatures. Burning temperature for bones: 470 degrees Celsius to 1200 degrees Celsius ( 878 degrees Fahrenheit to 2192 degrees Fahrenheit)
Can you wood burn antlers?
Yes, you can burn antlers using a high heat producing pyrography pen. Antlers are true bones, and they burn at high temperature.
EndNote
Bone pyrography is an excellent way of making display items. And some people do go as far as doing pyrography on dead human bones and skulls. But I would say it is best not to go that far.
But if you do have a fascination for burning designs on wood, my suggestion is to start burning on animal bones now. Just remember to clean and dry the bones well before engraving and burning to ensure they last longer.