How to Preserve Live Edge Wood Slab With Bark
In recent years, the allure of live edge wood has grown significantly, captivating designers and homeowners alike. With its raw, organic contours and a distinctive rustic charm, it’s no wonder that it has skyrocketed in popularity. But with this rise in demand, there’s an increasing need to understand its nuances and ensure that this beauty and functionality is preserved for generations to come.
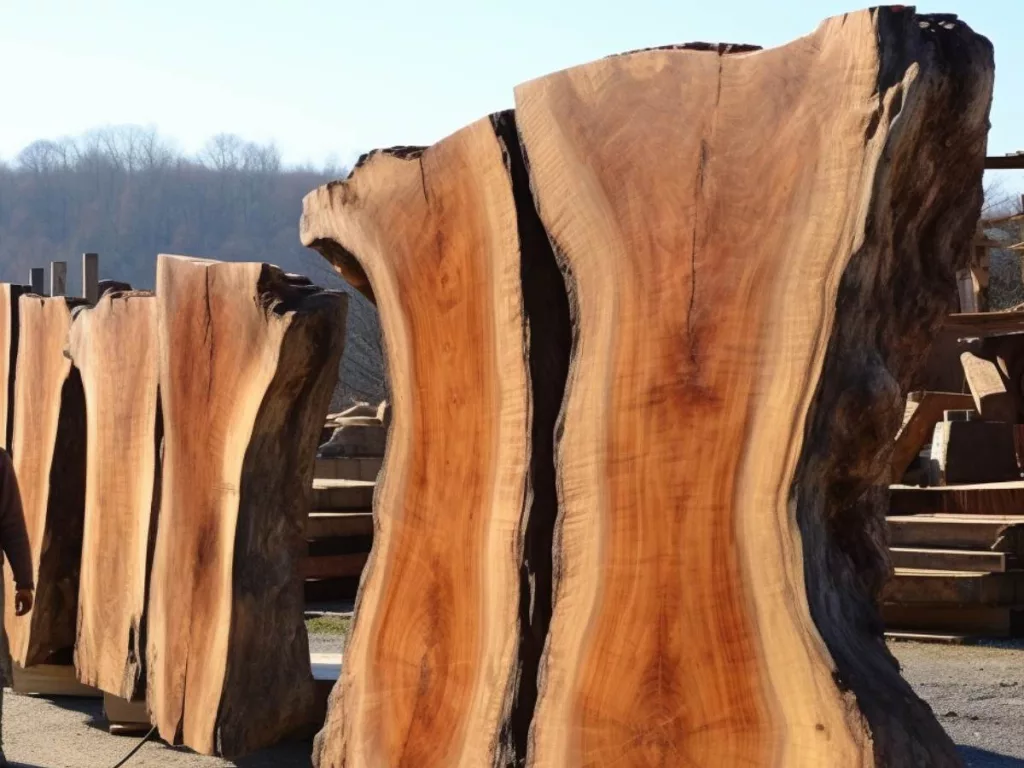
Understanding Live Edge Wood
The unique characters set this wood apart from regular cut woods. It contains following features –
Physical Aspects
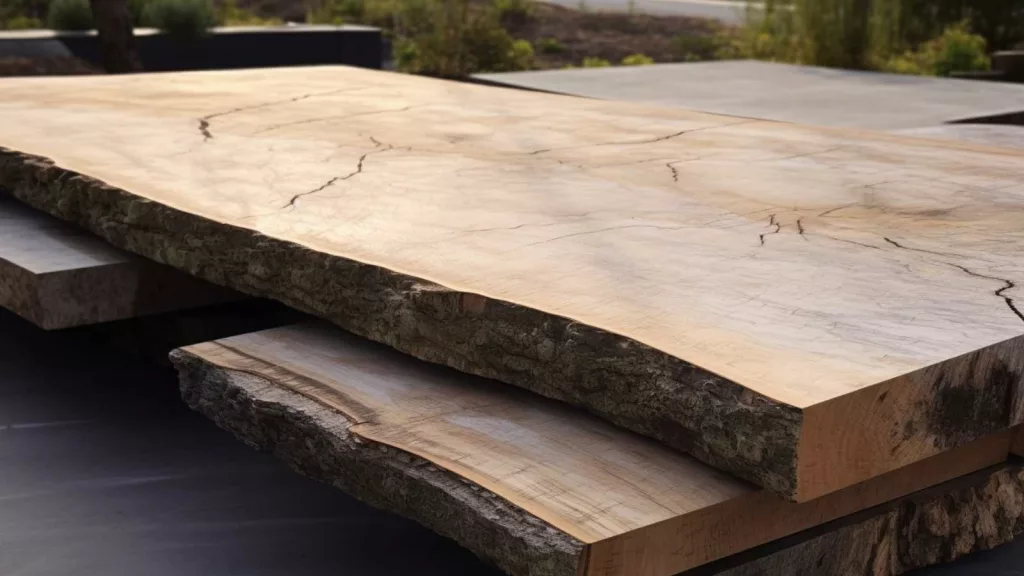
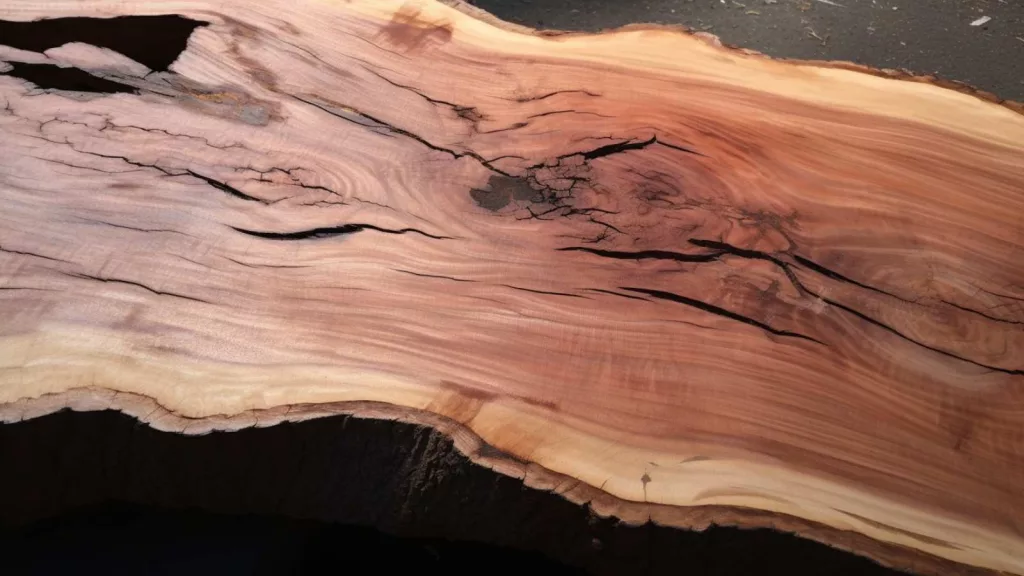
- Retains the wood’s natural edge, often with bark and irregularities.
- Showcases the tree’s genuine form.
- Key features include unpredictable wavy edges.
- These edges complement the grain, highlighting the tree’s life visually.
- Distinctive grain patterns or edge characteristics are key attractions.
Natural and Unique Look:
- Raw and organic appearance.
- Edge connects directly to the tree’s natural form.
- Results in an authentic, unique and rustic look.
- Standard milled lumber can’t replicate this authenticity.
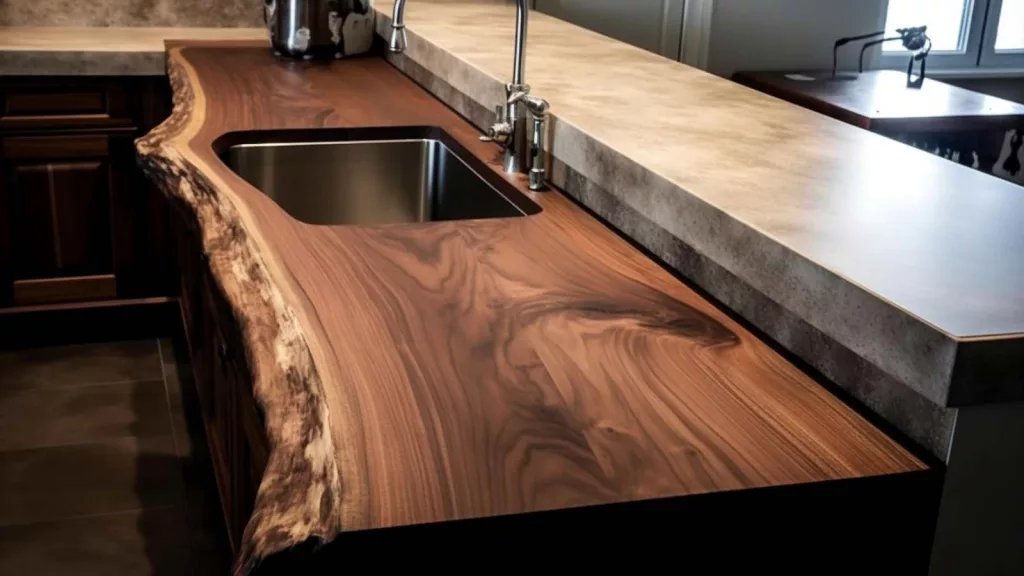
Functional and Decorative Items
- Edge commonly used in decorative items like lamps, mirrors, lighting fixtures etc.
- Functional furniture usage includes tables, benches, shelves, desks, headboards.
Finishing:
- Edge remains natural.
- Methods include staining, sealing, or oiling.
- Rest of the piece can undergo various finishes.
- Type of finish depends on the desired appearance and texture.
Sustainability:
- Often utilize the entire wood slab.
- Results in reduced waste in woodworking.
Maintenance:
- Live edge items might demand periodic attention.
- Maintenance can include oiling or re-sealing.
- Aim is to retain appearance and durability.

It’s worth noting that while live edge wood is popular and often associated with modern rustic or organic interior design, it’s a timeless style that’s been appreciated in various cultures for centuries.
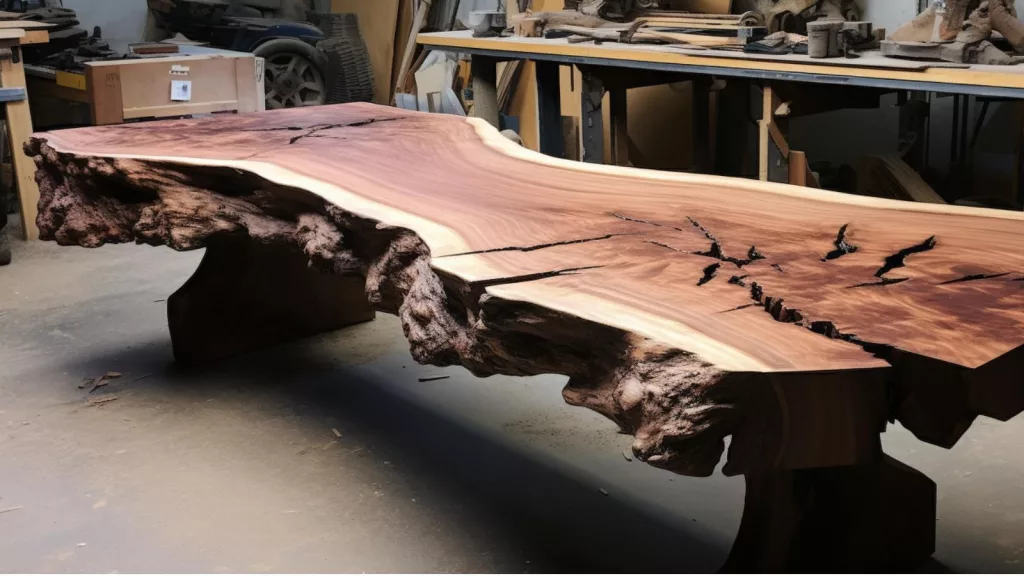
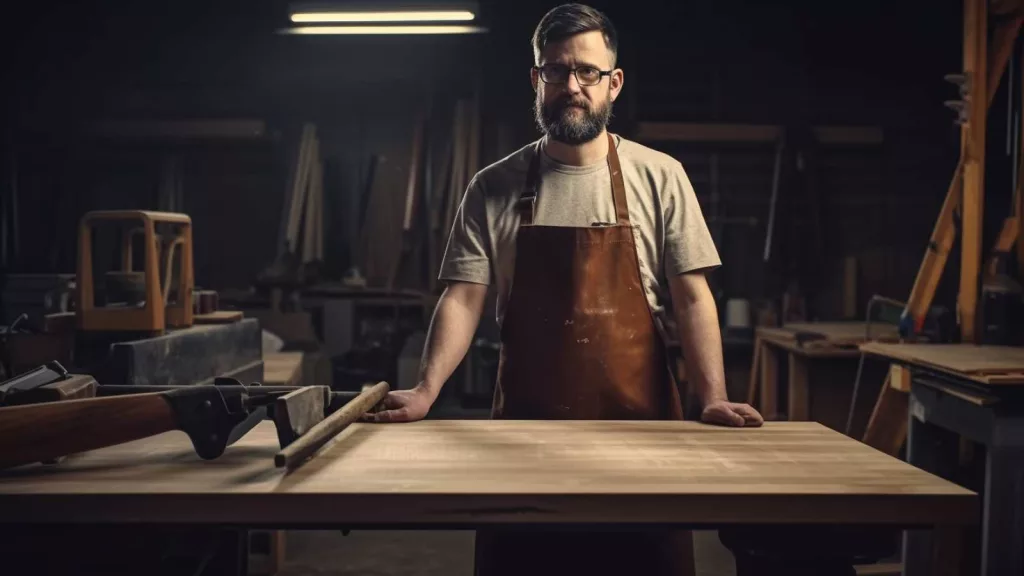
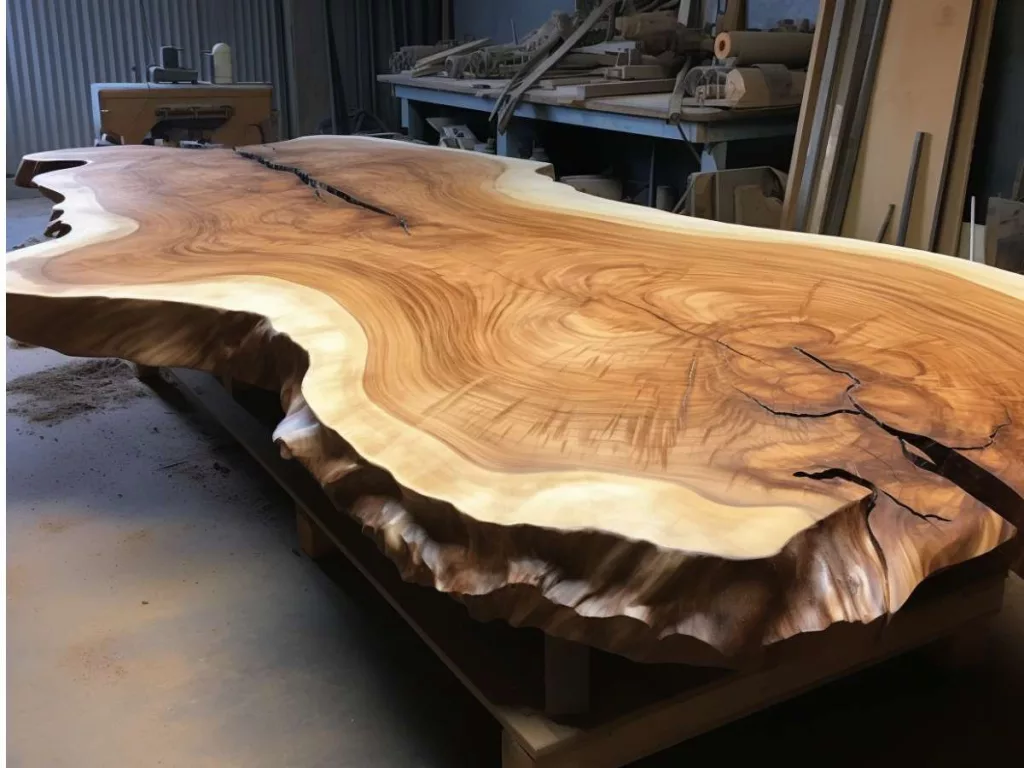
In my workshop, a fallen black walnut tree transformed under my hands. Its intricate patterns became a coffee table, narrating nature’s tales. Every guest paused, captivated by its story, a testament to my love for live edge wood.
Challenges in Working With Live Edge Slabs
The natural edges can be tricky, with tools wearing out faster and the constant battle against moisture. It’s these intricacies and potential hurdles in live edge woodworking that make preservation not just optional but essential.
While working on the coffee table I made, the wood’s unpredictable behavior—its tendency to warp, the occasional hidden insect damage were really tough to manage. The challenge of maintaining a perfect balance between preserving its rawness and ensuring its durability gave me a fantastic experience.
Here are some of the common challenges faced by woodworkers when dealing with live edge slabs:
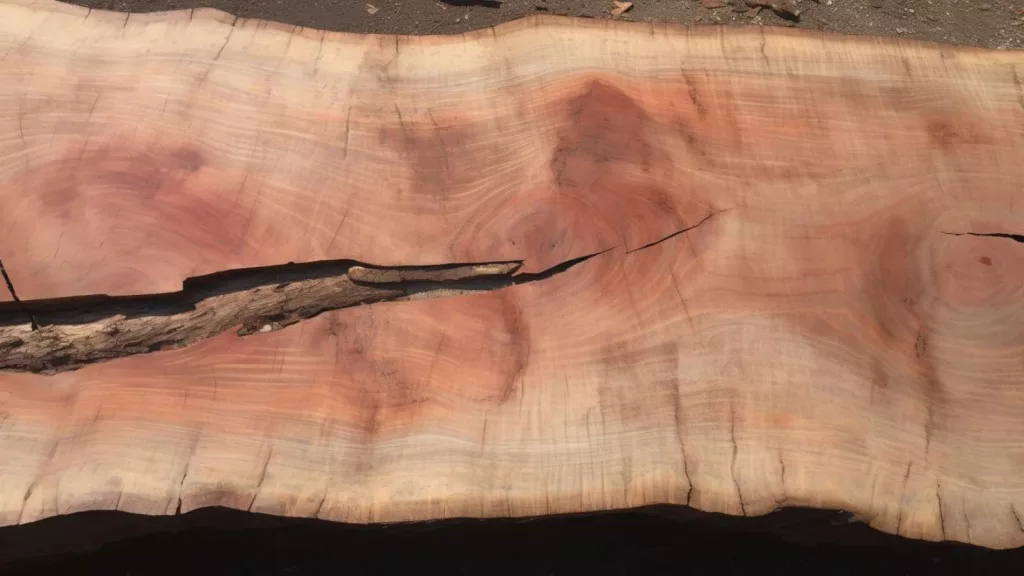
- Stabilization: They may contain cracks, pores, and voids that need to be stabilized.
- Warping and Movement: If dry, they can warp, twist, or cup. Proper drying methods are crucial, and additional flattening may be required during the woodworking process.
- Thickness Variations: Unlike milled lumber, they can have significant thickness variations across the piece.
- Bark Attachment: If the woodworker decides to keep the bark on the live edge, it can sometimes be loose or prone to chipping off. I am always careful in these cases as to whether to stabilize, reattach, or remove the bark entirely.
- Irregular Shape: The natural edge can make it challenging to achieve symmetrical designs or to fit the slab into a predefined space.
- Weight: Large slabs can be very heavy, making them difficult to handle, move, and work with, especially in smaller workshops.
- Tool Wear: The natural edges, especially with bark, can be harder on tools than milled lumber. This can lead to increased tool wear and the need for more frequent sharpening.
- Finishing Challenges: The varied surface, combined with potential resin pockets and other natural irregularities, can make finishing (sanding, staining, sealing) more challenging than with regular lumber.
- Cost: Good quality, large slabs, especially from certain sought-after species, can be expensive. This raises the stakes for making mistakes.
- Insects: Some pieces of live edge wood, if not properly treated or dried, can harbor insects. It’s essential to ensure that the wood is free from pests before use.
- Drying: If the slab isn’t already kiln-dried when purchased, the woodworker might need to air-dry it for an extended period or find a kiln that can accommodate its size.
Despite these challenges, many woodworkers are drawn to live edge woodworking because of the unique beauty and character that the pieces can bring to a project. With careful planning, attention to detail, and an understanding of the wood’s properties, these challenges can be successfully managed.
Preservation Techniques
Once the wood is cleaned and assessed, you can embark on the preservation journey. This ensures the wood not only looks its best but also stands the test of time.
How to Preserve Live Edge Wood – Primary Steps
Before diving deep into preservation techniques, it’s vital to ensure that the wood is ready to receive any treatments. “How to preserve wood slices with live edges” needs a bit mastery to learn. The two primary steps in this phase are cleaning the wood and assessing its condition.
Cleaning the Wood
- Dusting off Surface Debris: Prior to any other treatments, ensure the wood is free of loose dirt and dust. Using a soft brush or cloth, gently remove any particles to prevent potential scratches or damage during subsequent cleaning or treatment.
- Gentle Washing Techniques: While live edge wood can benefit from a gentle clean, it’s crucial to avoid over-wetting the material. Using a damp cloth, wipe down the slab, followed immediately by a dry cloth to ensure no moisture is left behind.
Assessing the Slab
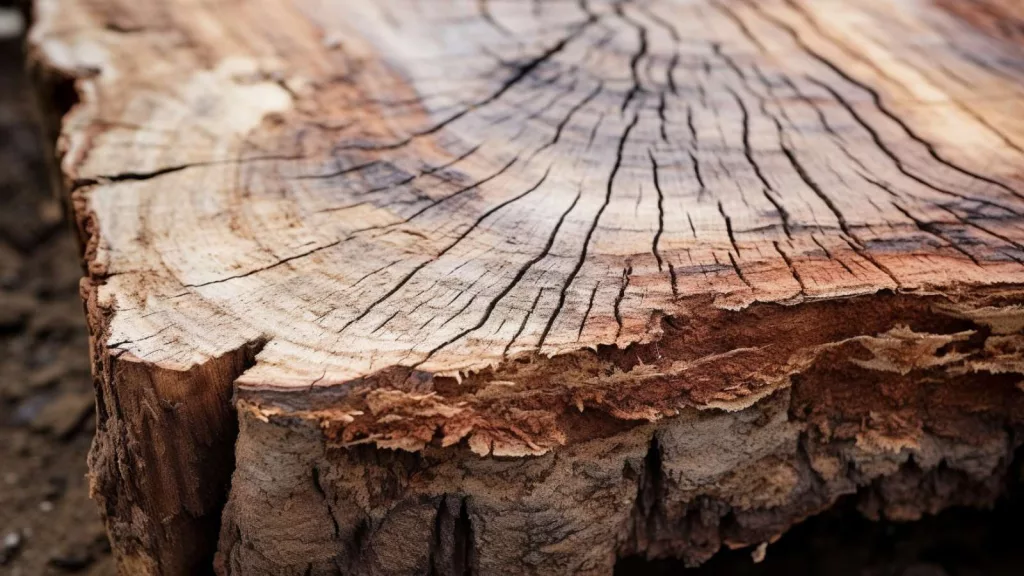
- Identifying Cracks, Voids, and Weak Spots: A close inspection of the wood can reveal areas that need special attention. These might be natural fissures or areas where the wood’s structure is compromised.
- Checking for Insect Damage or Signs of Decay: Beyond the surface, ensure that the wood is healthy throughout. Look for signs of insect activity or decay, which could jeopardize both the aesthetics and the structural integrity of the piece.
Drying Methods
- Importance of Moisture Reduction: Maintaining the right moisture content is pivotal. Wood that’s too wet can be prone to rot, while wood that’s too dry might crack. Ideally, indoor furniture should have a moisture content of around 6% to 8%.
- Pros and Cons of Air-Drying vs. Kiln-Drying:
- Air-Drying: A natural method, but it’s slow and might lead to uneven drying.
- Kiln-Drying: Faster and offers better control over the final moisture content, but it can be costly and might not always be accessible to hobbyists.
Stabilizing the Wood
Stabilization, in the context of woodworking, refers to the process of reinforcing and protecting wood, especially more porous or fragile varieties, to enhance its strength, durability, and resistance to environmental factors.
This is typically achieved by impregnating the wood with stabilizing resins and chemicals under pressure, which then harden, filling voids and adding structural integrity. The result is a wood that is less prone to warping, cracking, or degradation due to moisture or other external factors.
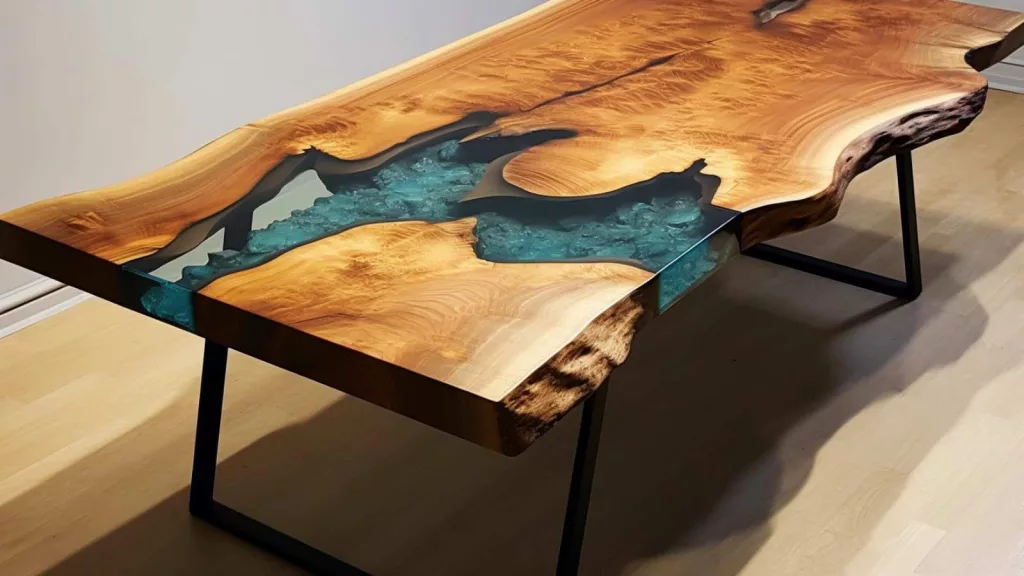
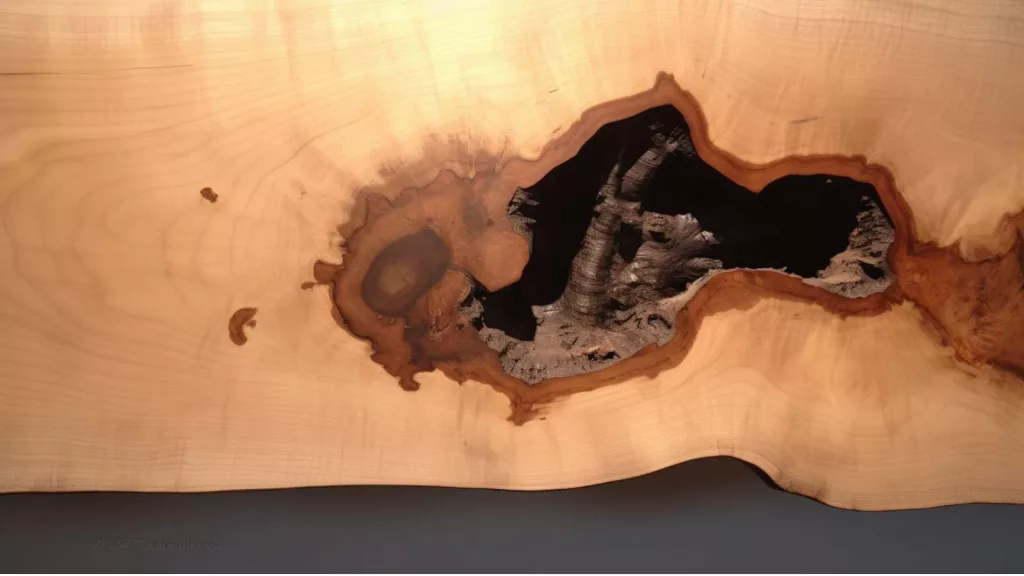
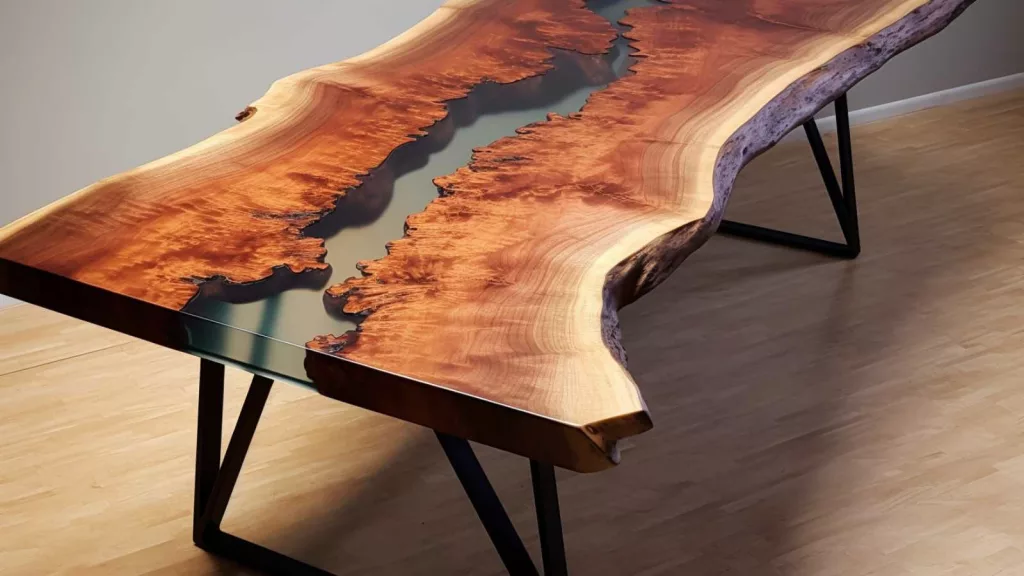
Using Fillers like Epoxy Resins for Cracks and Voids
Epoxy can help fill and seal areas where the wood is cracked or has voids, reinforcing these areas and preventing further degradation.
The Role of Wood Stabilizers
Beyond fillers, wood stabilizers permeate the wood, providing reinforcement from within. They’re especially useful for more porous wood varieties, ensuring they remain robust and beautiful over time.
Sealants and Finishing
Bringing out the best in live edge wood often hinges on the finish. The right finish not only accentuates the wood’s natural beauty but also ensures its longevity.
Different Suitable Finishes
From glossy lacquers that provide a sheen ( I don’t mind a coat of Shellac 🙂 )to matte finishes that preserve the raw, organic feel, the options are numerous. Each finish imparts a distinct look, and your choice will often depend on the desired aesthetic and where the piece will be placed.
Oil-Based Finishes
These penetrate deeper, offering a rich, warm glow. They tend to be more durable but might yellow over time. Common examples include linseed and tung oil.
Water-Based Finishes
Typically dries faster and retains the wood’s natural color. They’re less toxic and have a lower odor but might not offer the same depth as oil-based finishes.
If You Like to Keep the Bark
I will walk you through the process how to preserve wood slices with bark.
Considerations for Keeping the Bark in Place
Choosing Wood:
- Some woods, like black walnut or cherry, have better bark adhesion.
- Logs cut in winter often have more tightly bonded bark.
Cleaning & Drying:
- Gently brush off dirt and debris.
- Prefer air-drying. If kiln-drying, do so slowly to reduce bark separation.
- Drying may cause wood shrinkage and bark detachment.
Fixing the Bark: For slightly loose bark, use wood-safe adhesive and clamp until set.
Slab Placement:
- Avoid direct sunlight and heat to prevent drying and separation.
- Guard against drastic humidity changes to prevent bark damage.
Maintenance: Dust gently and refresh protective finishes as needed.
Epoxy Application:
- Consider clear epoxy or resin for added stability and protection.
- Ensure slow stabilization for thorough resin absorption.
Challenges / Trade-offs
- Aesthetic and Structural Considerations: While bark adds a rugged, untouched feel, it can sometimes be loose or brittle. Its presence or absence can significantly impact the piece’s look and feel.
- Securing Loose Bark or Deciding to Remove: Glues or clear epoxy can be used to secure bark that’s partially detached. However, if it’s too loose or deteriorating, removal might be the best option to preserve the wood underneath.
Special Considerations
Live edge wood, while beautiful, requires keen attention to detail, especially in varying environmental conditions.
Climate and Environment Impacts
No two settings are alike, and understanding environmental impacts can be pivotal for live edge wood preservation.
Humidity’s Role
Humidity has a silent, significant impact on wood.
- Excess moisture can result in: Wood expansion, Warping and Fungal growth
- Low humidity risks: Wood contraction and Cracking
- Monitoring ambient humidity is crucial
- Adjustments may include changing wood placement or using humidifiers/dehumidifiers.
Dealing with Temperature Fluctuations
- Rapid temperature fluctuations are harmful to wood.
- Live edge furniture near radiators or AC units risks premature aging.
- Strive for a balance in temperature conditions.
- Understanding wood’s natural environment is crucial.
- Replicating the wood’s original conditions often ensures longevity.
Selecting Appropriate Tools
Having the right tools at your disposal not only eases the preservation process but also ensures the wood is treated with the care it deserves.
For Application of Sealants and Finishes
- Brushes, Rags, Sprayers, and More: The method of application can affect the finish’s final look. Brushes offer control, rags can be great for oils, and sprayers ensure an even coat for larger pieces.
For Sanding and Smoothing the Surfaces
- Grit Matters: Starting with a coarser grit (like 80) to smooth rough patches and gradually moving to finer grits (up to 220 or even 320) ensures a silky-smooth finish, ready for sealing.
Here’s an amazing demonstration of a coffee table making using live edge slab.
Maintenance
Like any treasured possession, these wood pieces require continuous love and care. The journey doesn’t end once a piece is created and finished; in fact, that’s only the beginning.
Regular Cleaning and Upkeep
- Consistent cleaning ensures these pieces shine and age gracefully.
- Numerous cleaning products exist, but selecting ones for natural wood is crucial.
- A light, damp cloth effectively wipes away dust and accumulated residues.
- Specific wood cleaners offer a deeper, occasional cleanse.
- Always prioritize gentle care: avoid vigorous scrubbing or prolonged moisture exposure.
Addressing Wear and Tear
- Live edge pieces naturally show wear over time.
- Signs of wear are not just blemishes but badges of honor, reflecting the wood’s history.
- Minor scratches can be addressed with wood polish or spot treatments.
- Significant wear, such as deep scratches or stains, may necessitate refinishing.
- Refinishing, though intensive, rejuvenates and refreshes the wood’s appearance.
- Some pieces benefit from simple buffing or sanding to regain their original luster.
Conclusion
As we wrap up this guide, it’s crucial to appreciate the intrinsic beauty of live edge wood. Each piece sings a song of the tree it once was. But its enduring charm isn’t just in its aesthetics. Hence, it is genuinely satisfying to learn how to preserve live edge wood. It’s in its testament to time, standing robust as years turn to decades. Through consistent maintenance, regular care, and occasional repairs, live edge wood doesn’t just last; it thrives, ready to tell its story to future generations.
Additional Read
FAQs
What is the best way to protect live edge wood?
For woods like those with live edges or those with inherent vulnerabilities (like spalted wood), stabilizers, often in the form of a penetrating resin, are used to impregnate the piece of wood. Once inside, the resin hardens, making the entire piece more resilient and less susceptible to environmental changes.
What is stabilization?
Stabilization involves placing the wood in a vacuum chamber with the stabilizing resin, ensuring the resin deeply penetrates. After the impregnation, the wood is cured, often using heat, to harden the resin inside, rendering the wood more stable and durable. This process is beneficial for woods having live edges that will be crafted into thin or delicate items, or woods that are naturally soft.
Does live edge wood need to be treated?
Yes, treating live edge wood with appropriate oils or sealants helps protect it from pests, decay, and environmental factors, while maintaining its unique appearance.
How do you preserve bark on live edge wood?
Gently clean the bark with a soft brush, then stabilize it by applying a clear, matte-finish lacquer or a specialized bark preservative. It is better if you do this in vacuum chamber.
How do you keep live edge wood from cracking?
Ensure slow, controlled drying after milling, maintain consistent humidity levels in its environment, and consider using stabilizers or fillers for existing cracks. Steps here: Proper Drying, Seal the Ends, Maintain Humidity, Avoid Direct Heat, Stabilization, Regular Inspection and Maintenance.