15 Easy and Fun 4×4 Wood Block Christmas Crafts for the Whole Family
Christmas crafts can bring warmth, joy, and some delightful creativity into your home. With just a few 4×4 wood blocks, you and your family can make beautiful, festive decor that’s perfect for your Christmas celebrations. From Santa blocks to snowman stacks, these projects are simple, fun, and bursting with holiday spirit! So, gather your paints, glitter, and holiday inspiration, and let’s dive into 15 creative ideas for transforming plain wood into holiday magic.
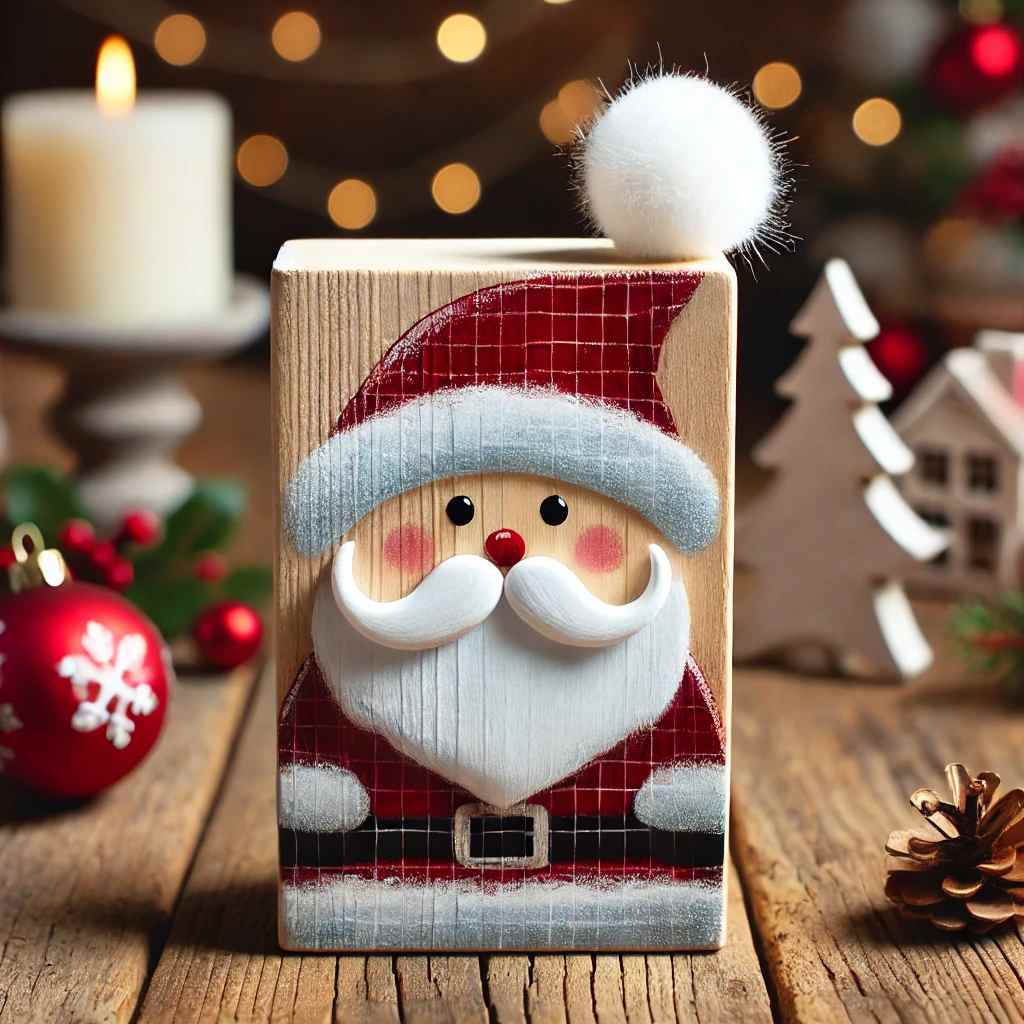
1. Santa Clause Wood Block
Transform a wood block into Santa himself! All it takes is a little red and white paint, some faux fur, and a tiny pom-pom for his hat. Your Santa block can sit on the mantel or peek out from under the tree, adding a playful holiday vibe.
Pro Tips:
- Use hot glue to secure the faux fur to Santa’s hat.
- Paint on rosy cheeks for an extra cheerful look.
- Add a bell to the hat tip for a little jingle!
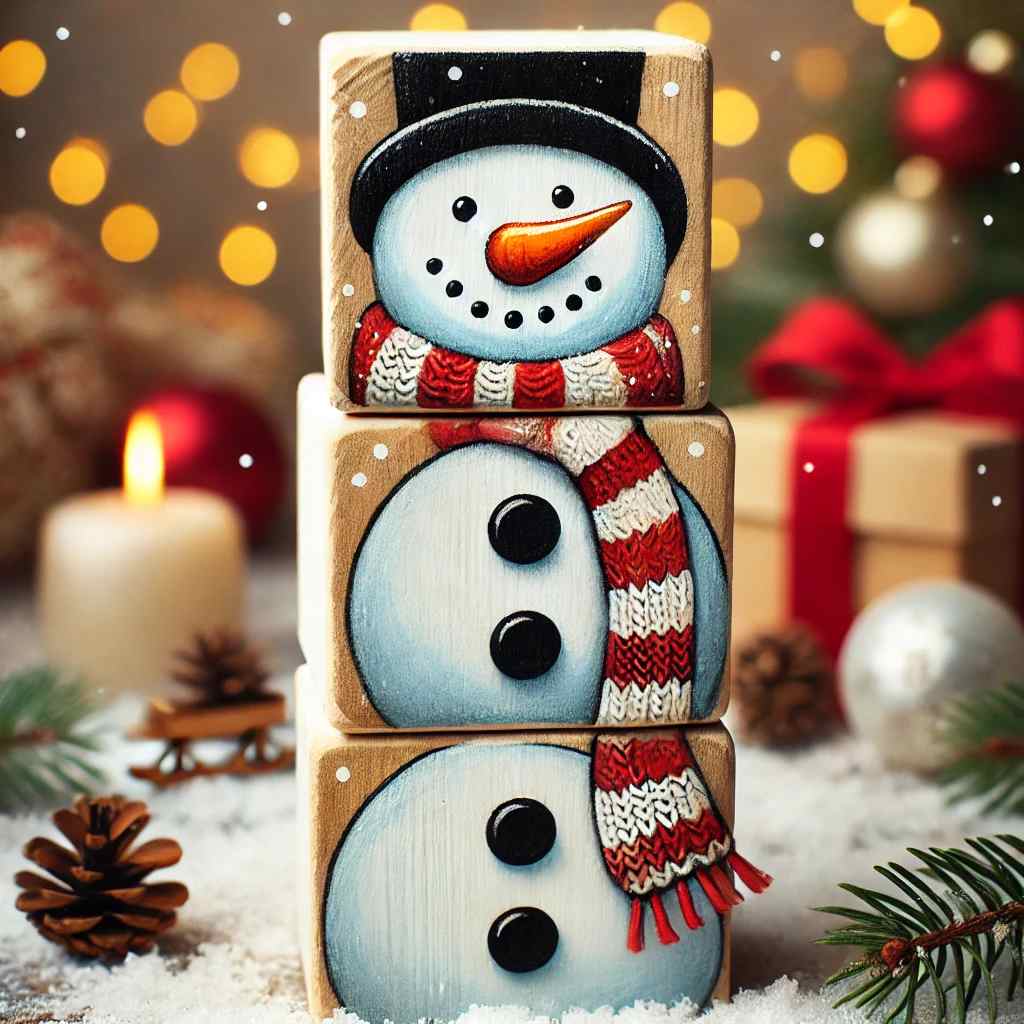
2. Frosty the Snowman Stack
Stack a few wood blocks to make a charming snowman family. Paint each block in bright white, add a carrot nose, and don’t forget the scarf! These can be arranged by size for a “snowman family” feel.
Pro Tips:
- Use ribbon or twine for scarves for a cozy touch.
- Stack blocks with double-sided tape for stability.
- Add googly eyes for a playful, cartoonish look.
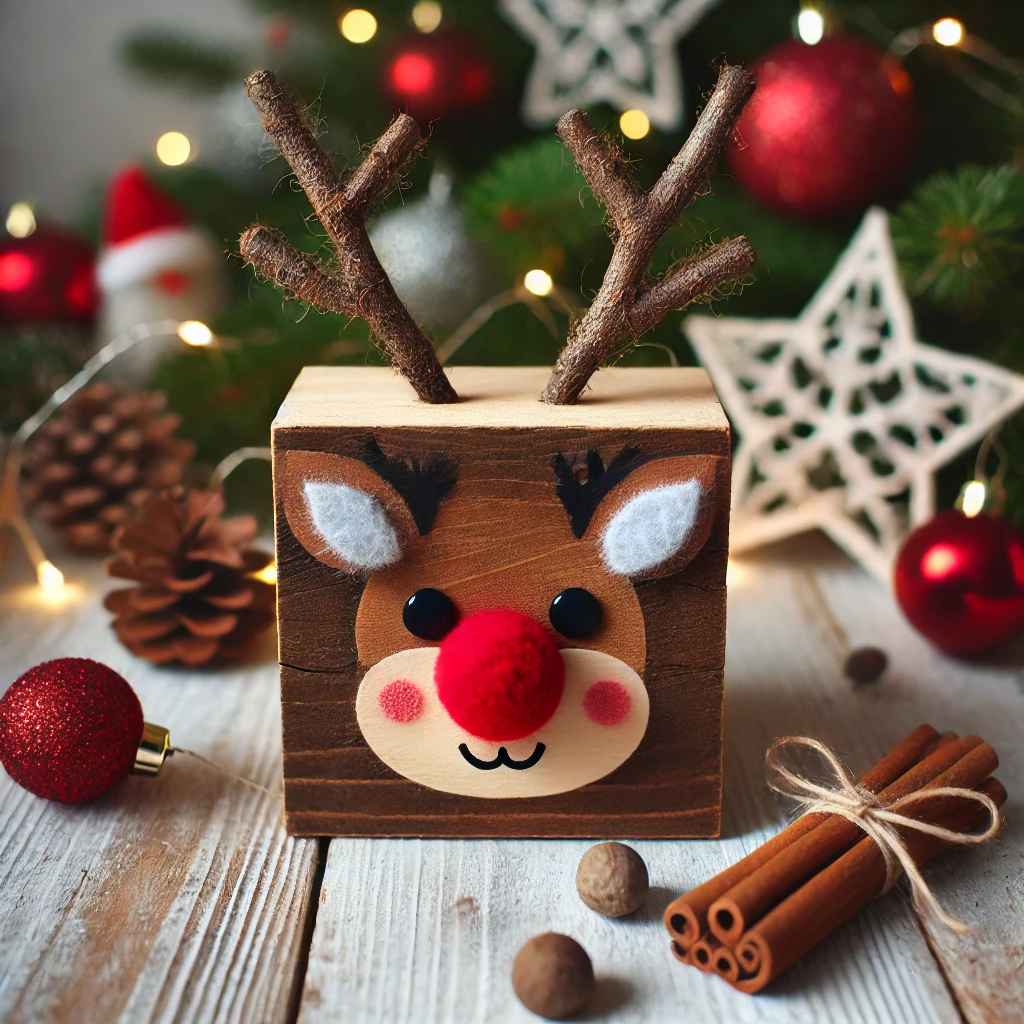
3. Reindeer Block Buddy
Turn a 4×4 wood block into a cute reindeer with antlers! Paint it brown, add felt ears, and attach some twigs or small sticks as antlers. A red pom-pom nose finishes this adorable reindeer craft.
Pro Tips:
- Try using craft wire for adjustable antlers.
- For Rudolph, add a red LED light for his nose!
- Use pipe cleaners for a sparkly antler effect.
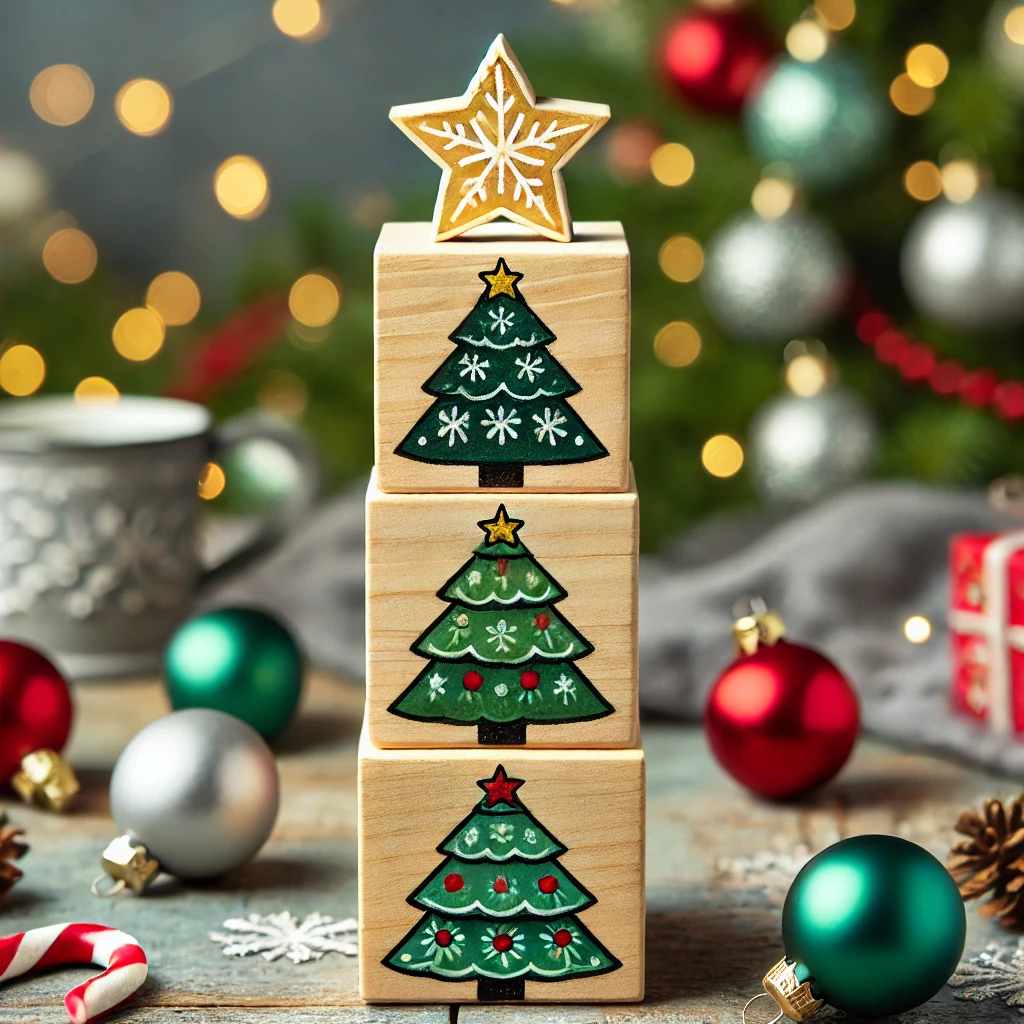
4. Christmas Tree Blocks
Stack wood blocks into a tiered “tree,” painting each block in shades of green for a layered look. You can top it off with a painted star or even a small tree topper ornament.
Pro Tips:
- Paint ornaments on the blocks for added detail.
- Use glitter paint for a shimmering tree effect.
- Attach a tiny wooden star on top for a finishing touch.
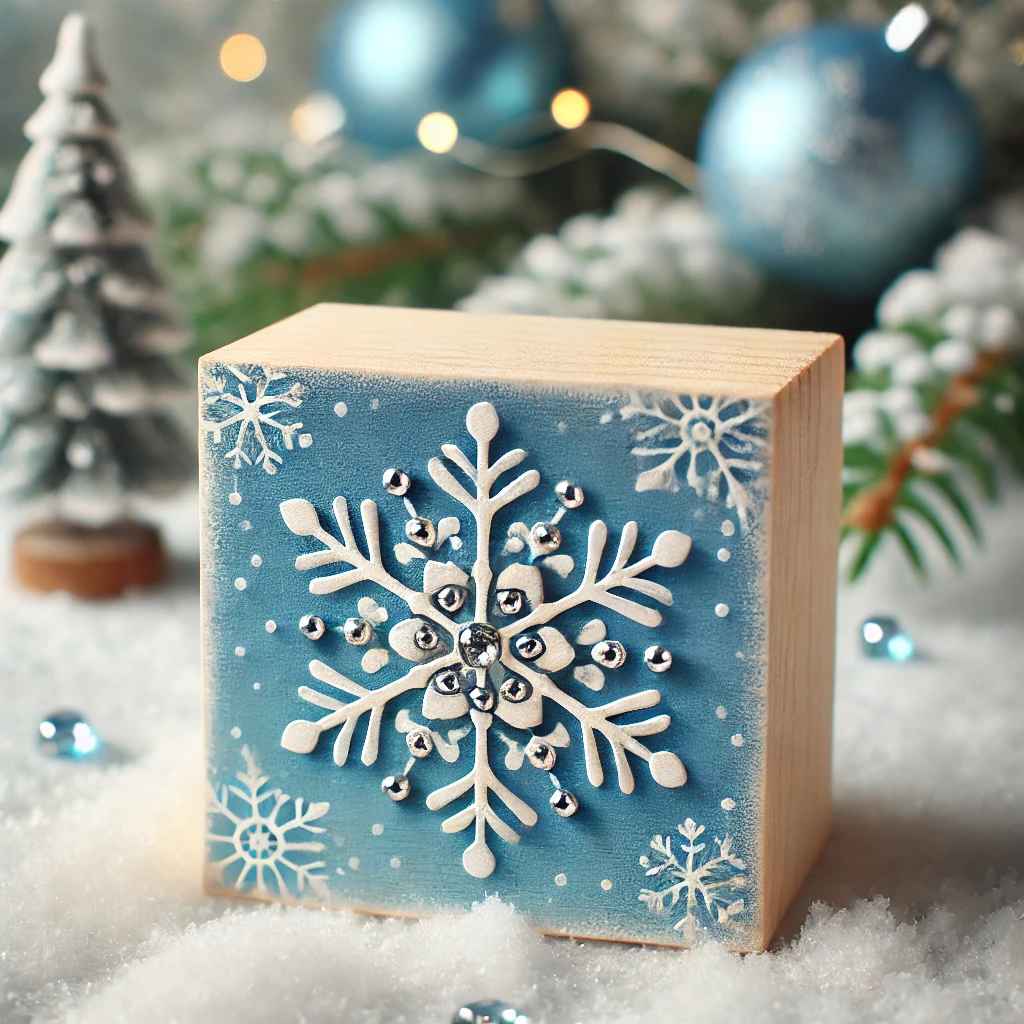
5. Snowflake Art Blocks
Paint snowflakes on your wood blocks for a classic winter look. You can use white, blue, or silver, and each snowflake can have a unique design for an elegant, wintry charm.
Pro Tips:
- Use a stencil for precision with snowflake shapes.
- Add tiny rhinestones for a sparkling snow effect.
- Layer paint with a sponge for a frosty texture.
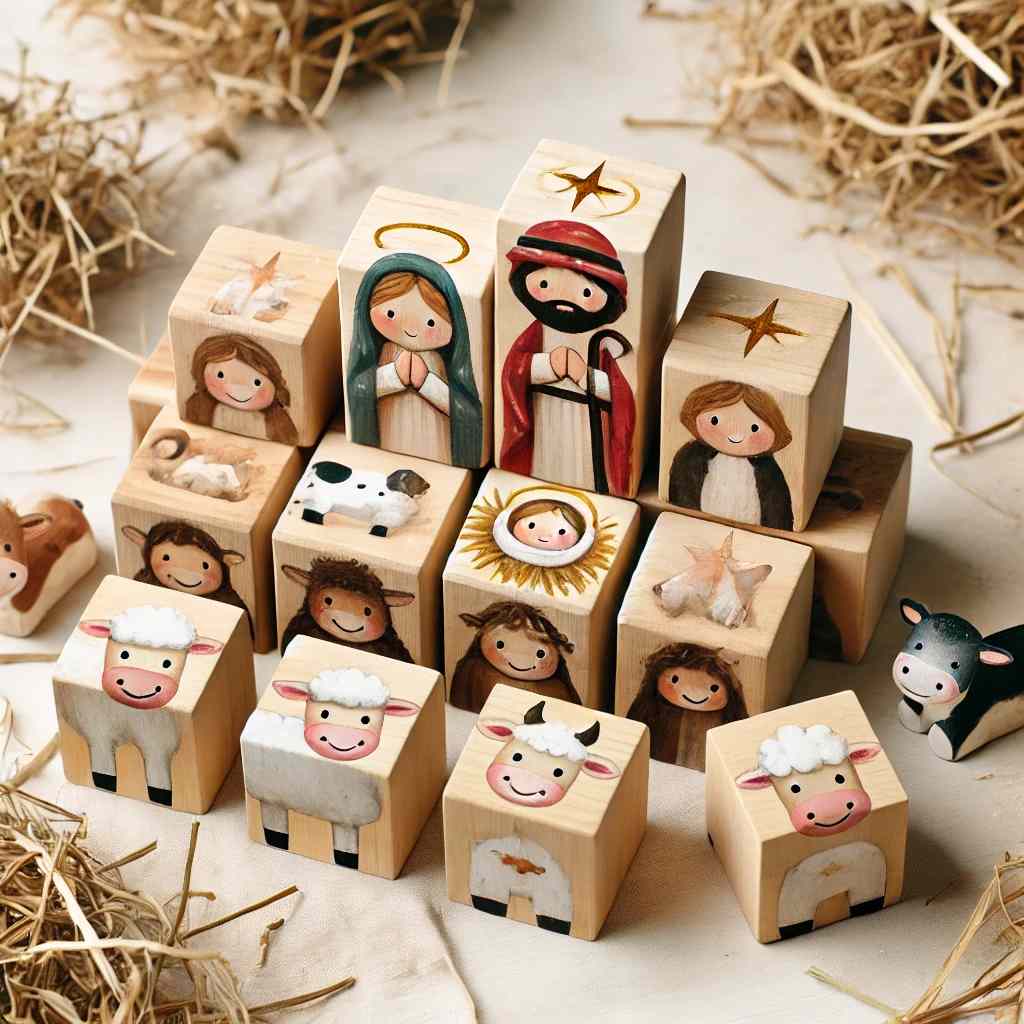
6. Nativity Scene Blocks
Create a mini nativity scene using wood blocks for each character. Mary, Joseph, baby Jesus, and a few animals can each have their own block. Paint them with simple details for a charming, rustic look.
Pro Tips:
- Add hay or straw at the base for an authentic feel.
- Use metallic paints for halos on angel figures.
- Arrange in a stable shape with a taller block for the “barn.”
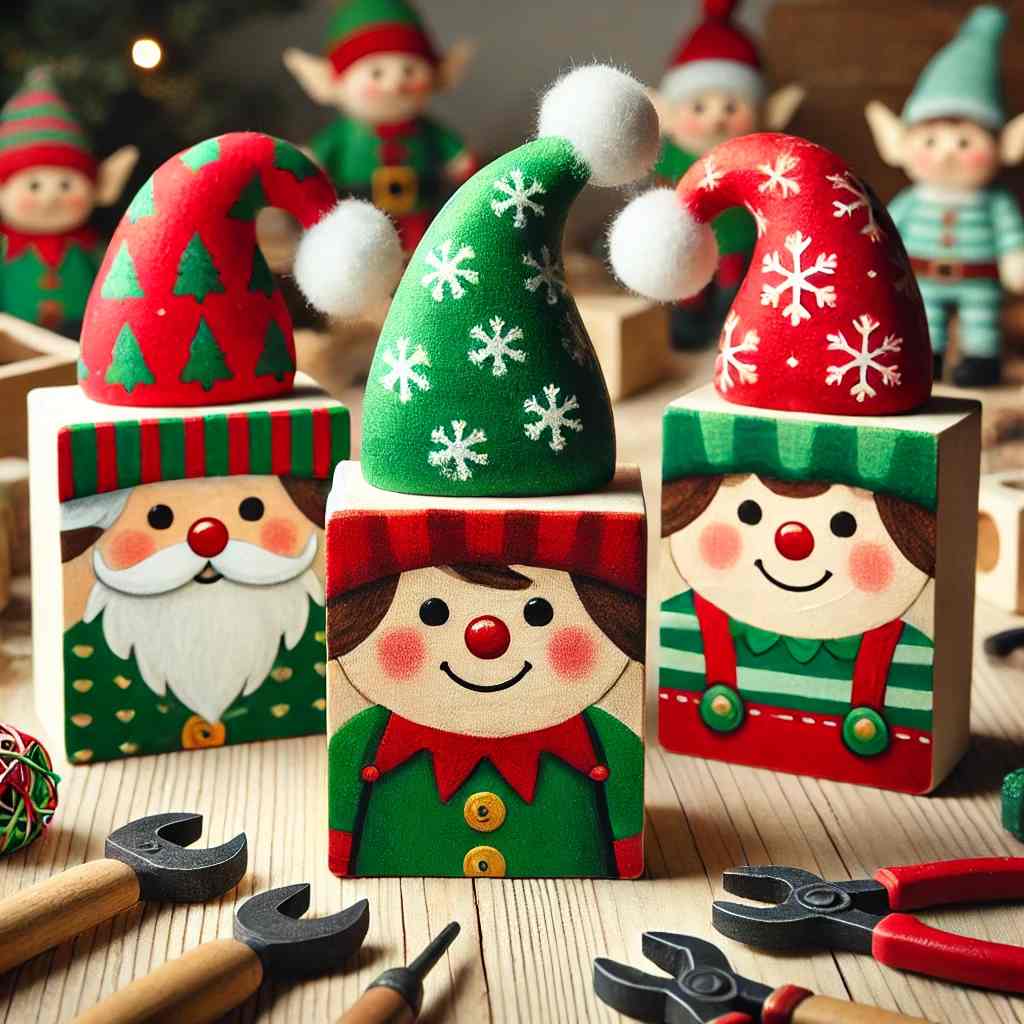
7. Elf Block Characters
Transform your blocks into adorable elves with red and green outfits, pointy hats, and rosy cheeks. Each block can have its own personality, making them fun to line up in a “workshop” setup.
Pro Tips:
- Use felt or paper for tiny elf hats.
- Paint on different expressions for variety.
- Add “tool” accessories with tiny painted items.
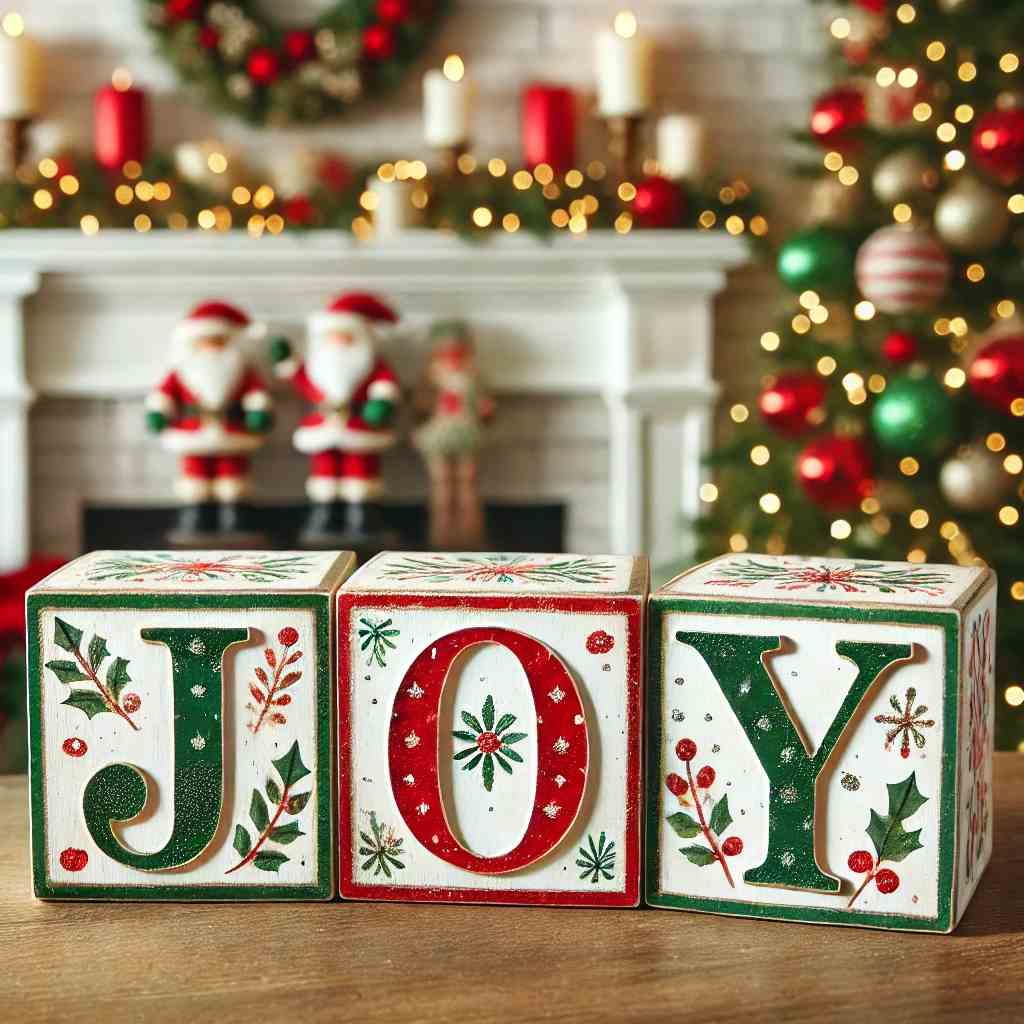
8. Holiday Word Blocks
Paint words like “JOY,” “PEACE,” or “NOEL” on your blocks. These simple word decorations add a meaningful touch to your Christmas decor and can be customized with colors to match your decor theme.
Pro Tips:
- Use stencils for clean lettering.
- Add glitter glue for a festive sparkle.
- Stack letters vertically or horizontally for variety.
9. Candy Cane Blocks
Paint red and white stripes around your wood block to create a giant candy cane effect! These blocks look cute standing near the front door or stacked by the fireplace.
Pro Tips:
- Use painter’s tape for perfect stripes.
- Add a gloss coat to make them extra shiny.
- Tie a large ribbon around for added flair.

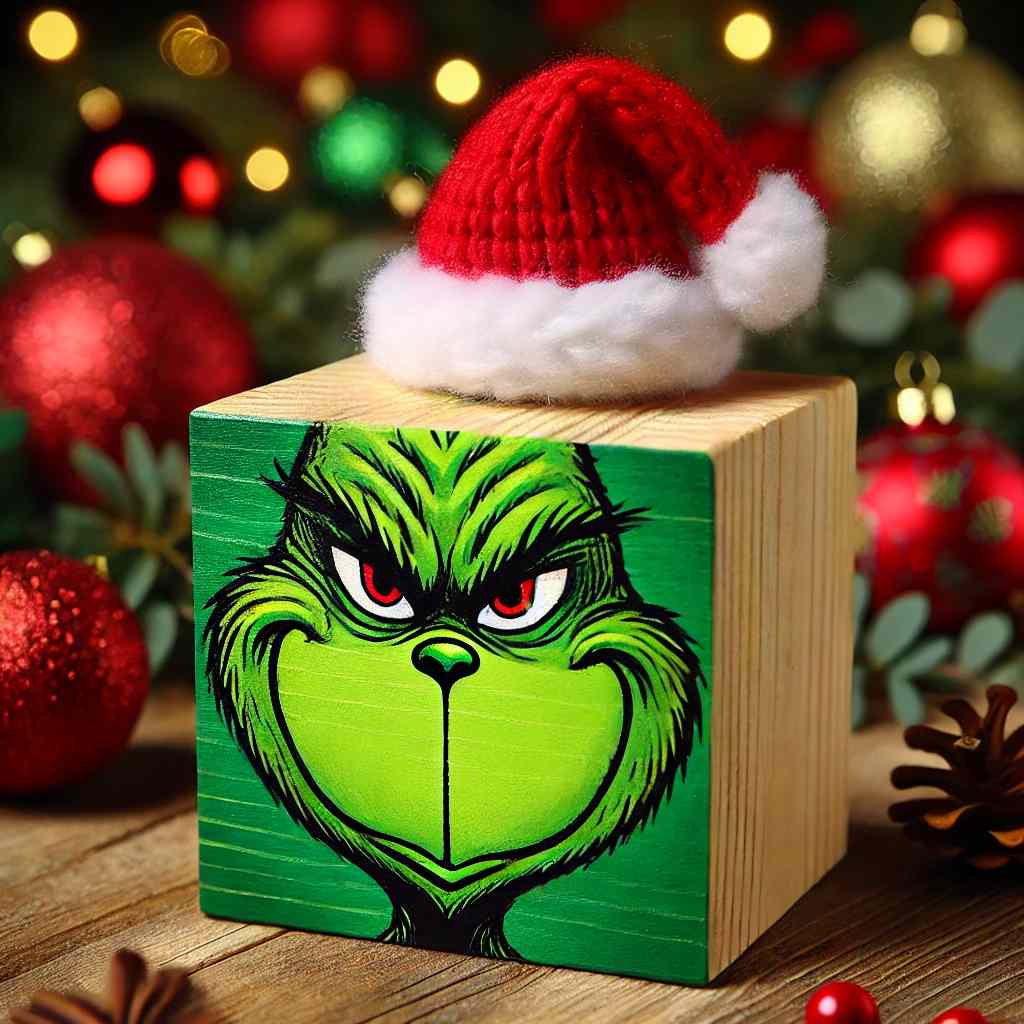
10. Grinchy Green Blocks
Bring out the holiday mischief with Grinch-themed blocks! Paint your blocks Grinch green and add his iconic smirk. Kids will love this silly holiday character, and they’re perfect for a playful decor touch.
Pro Tips:
- Draw the Grinch face with a fine-tip marker.
- Add faux fur on top for his “fuzzy” look.
- Paint his Santa hat with red and white details.
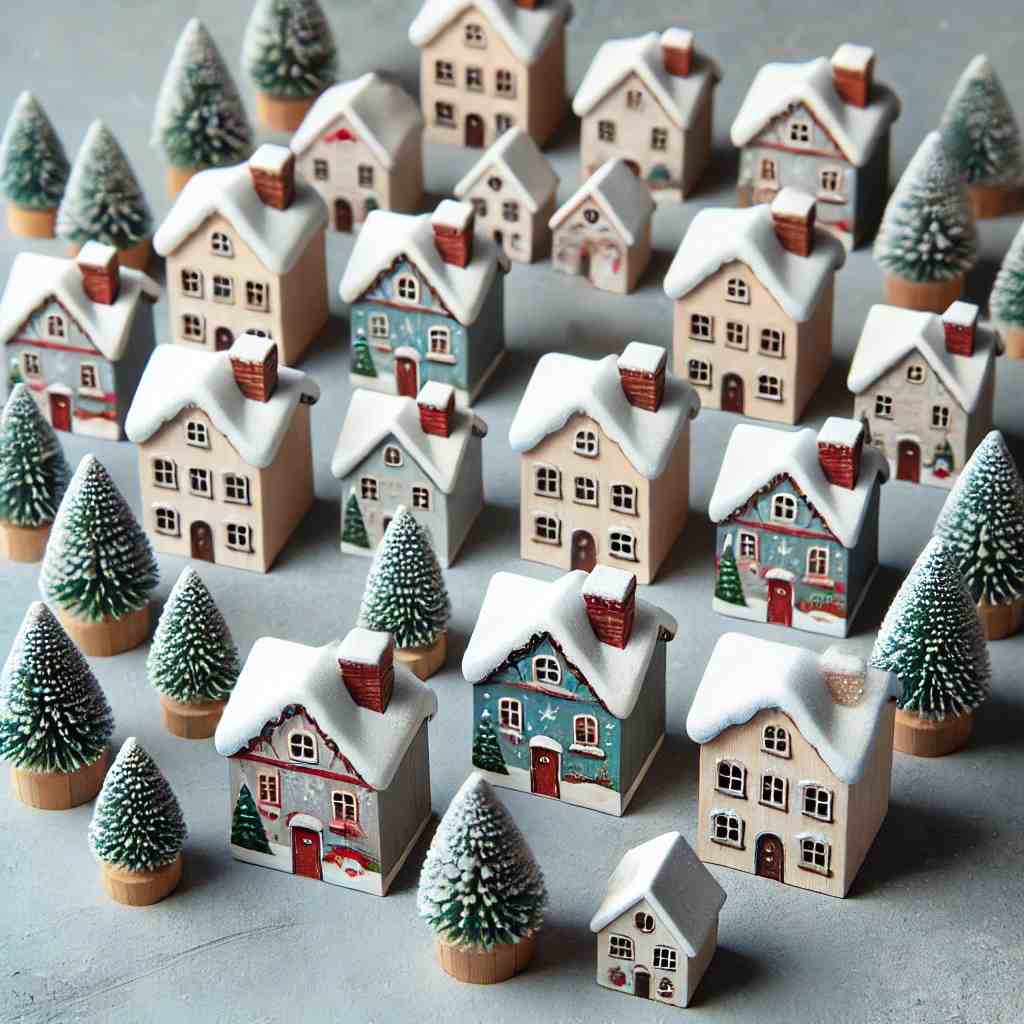
11. Cozy Christmas Village
Make a miniature Christmas village using wood blocks as tiny houses. Paint doors, windows, and snowy roofs, and you’ll have a delightful little holiday town.
Pro Tips:
- Use white paint on the roof for snow caps.
- Glue on mini bottle-brush trees for charm.
- Add tiny “wreaths” made of green pipe cleaners.
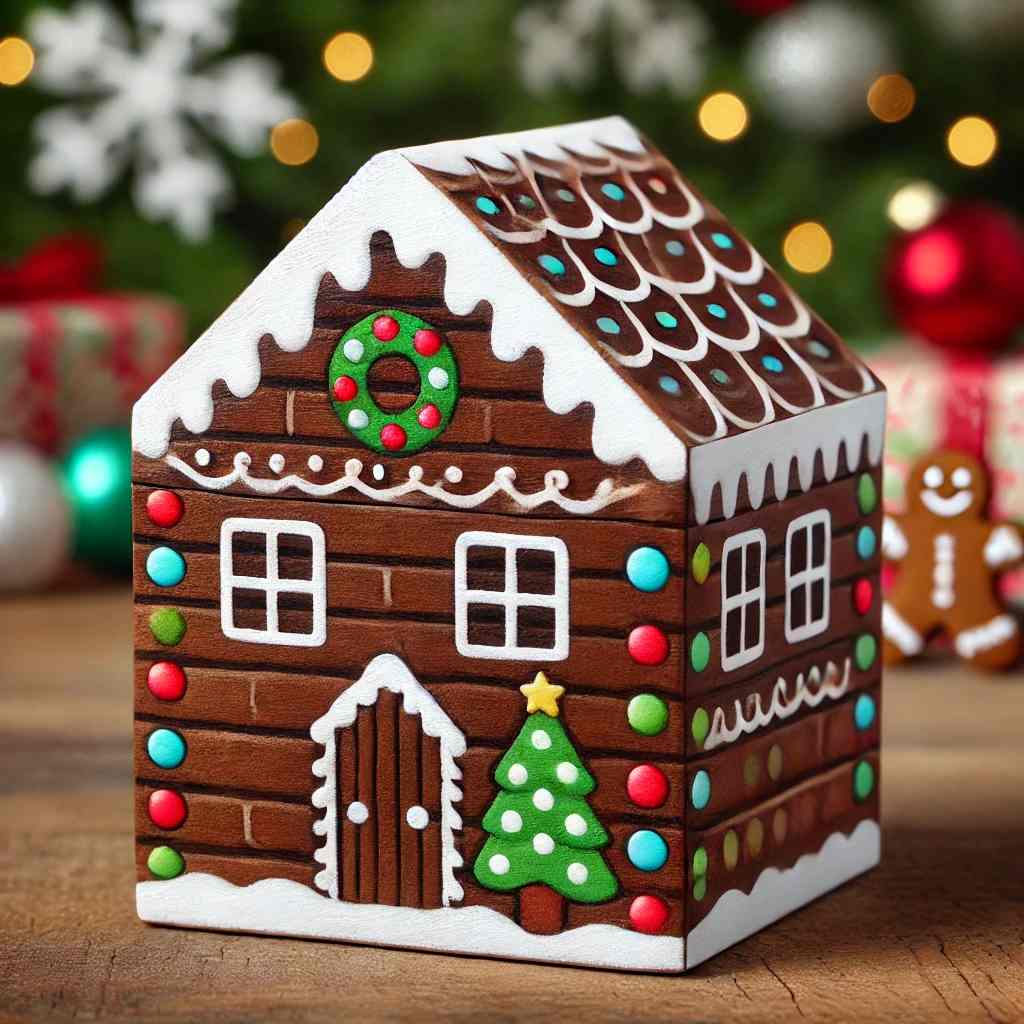
12. Gingerbread House Blocks
Paint each block to look like a gingerbread house! Use shades of brown with colorful candy dots and “icing” details to bring these blocks to life as a sweet addition to your decor.
Pro Tips:
- Use puff paint for realistic icing effects.
- Add glitter for a sugar-dusted look.
- Use real candy glued on for extra fun.
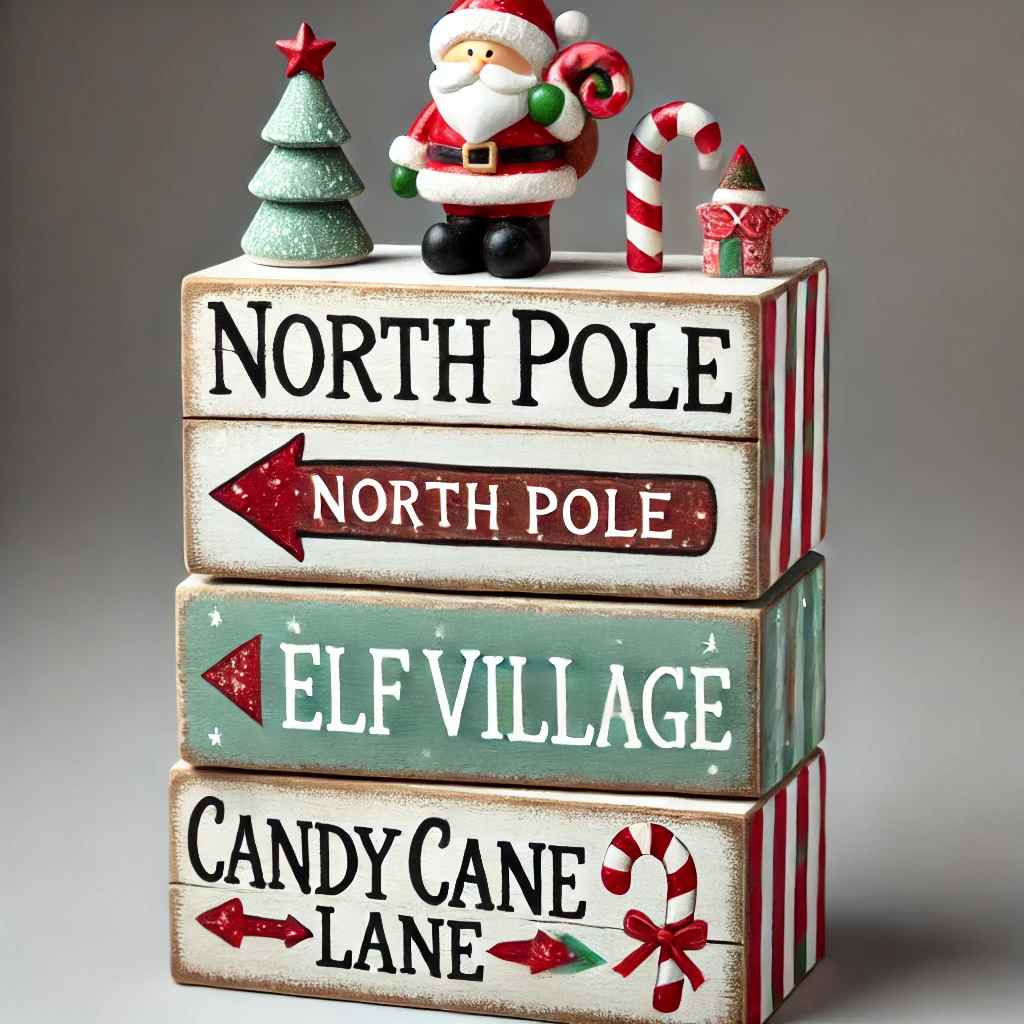
13. North Pole Directional Sign
Paint a few blocks to look like a signpost with directions to the North Pole, Candy Cane Lane, or Elf Village. Stack them up, and you’ll have a festive holiday sign for the entryway or fireplace.
Pro Tips:
- Use a stencil for neat lettering.
- Add arrows for the “sign” effect.
- Top with a small Santa figurine for a finishing touch.
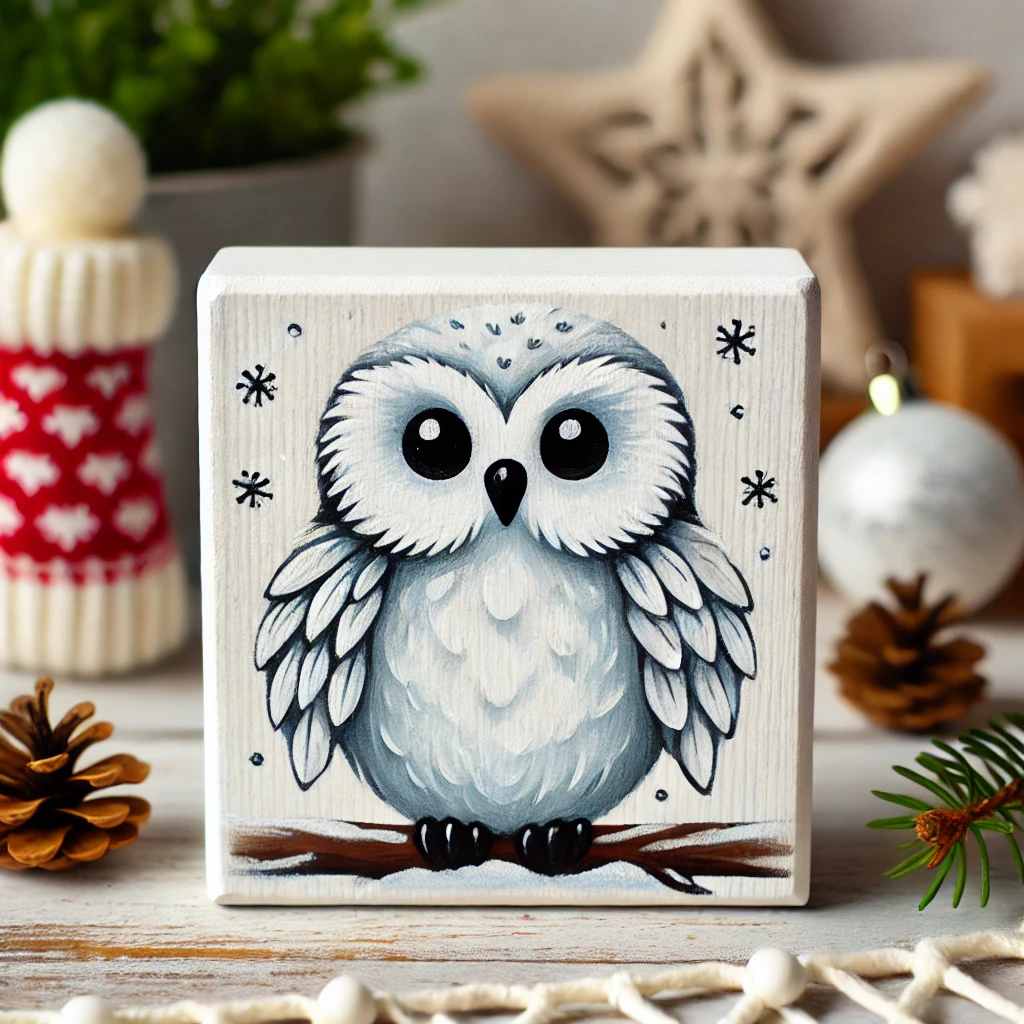
14. Snowy Owl Blocks
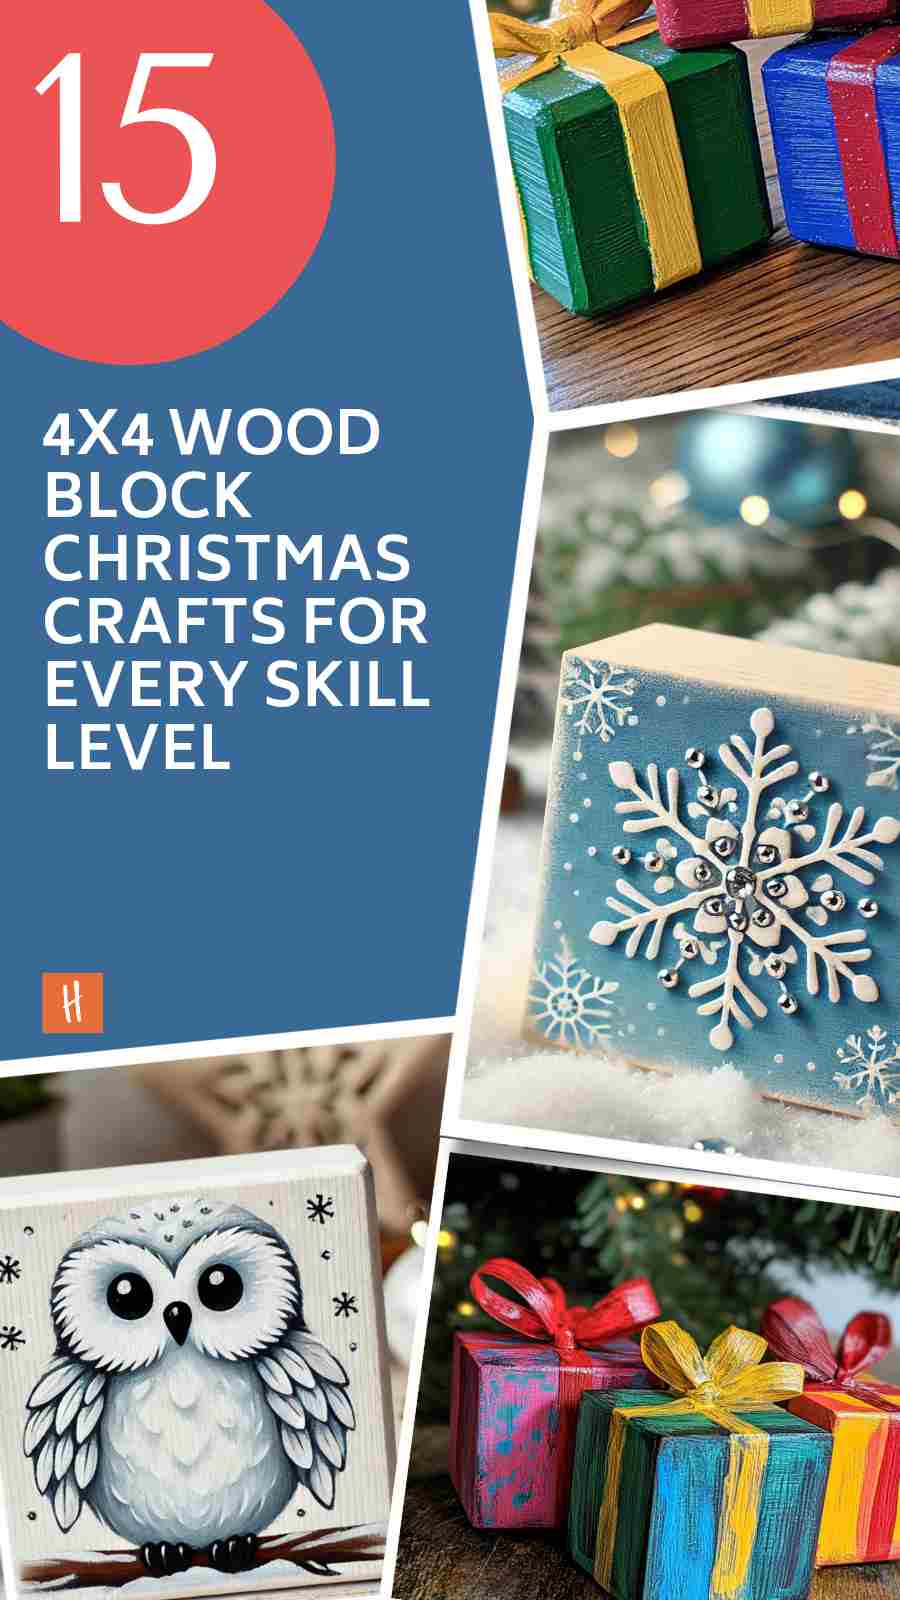
Paint your blocks white and add big eyes, a little beak, and some feather details to create snowy owls. These little guys look super cute perched on a shelf or under the tree!
Pro Tips:
- Use felt or craft feathers for a fluffy texture.
- Paint on bright, wide eyes for a whimsical look.
- Sprinkle glitter for a frosty effect.
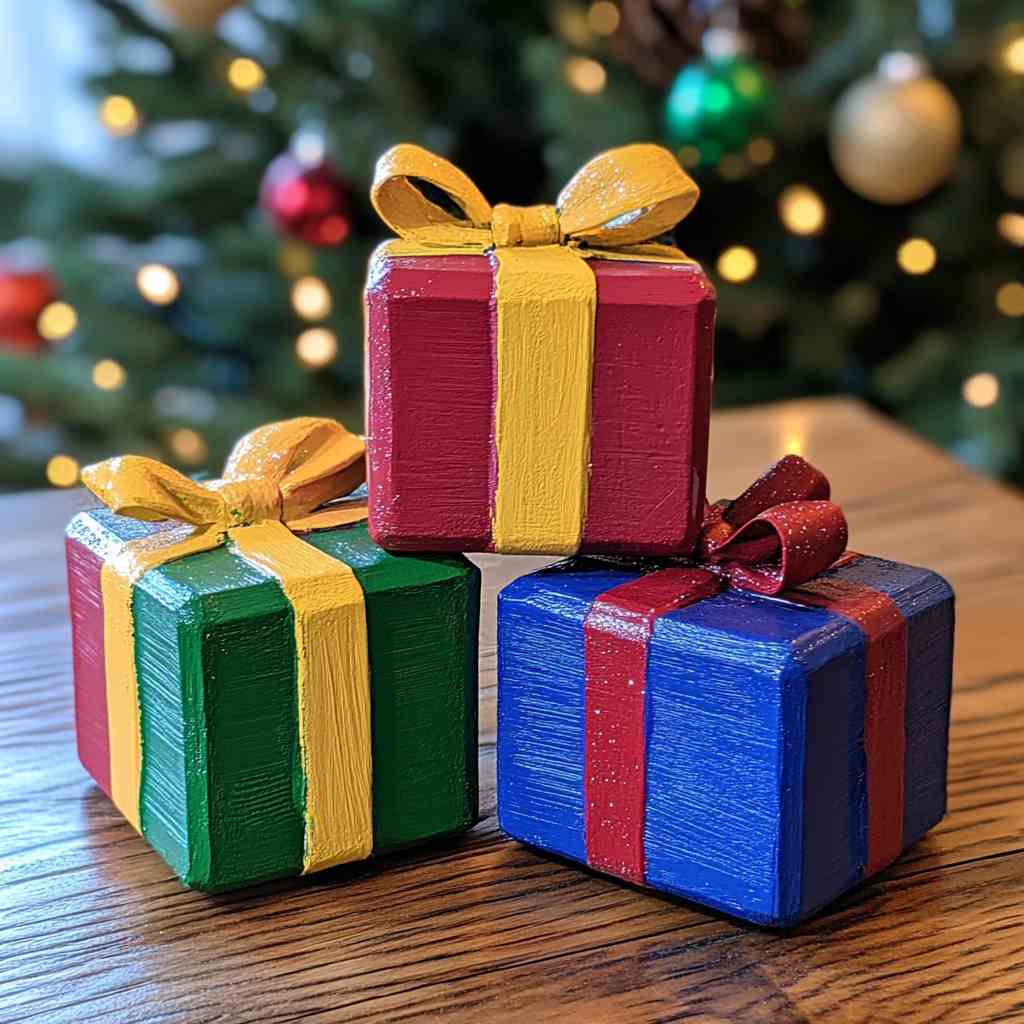
15. Christmas Present Blocks
Wrap your blocks like little gifts with paint and ribbon, making them look like mini presents! Stack them under the tree or on a table to bring a cozy, wrapped-up vibe.
Pro Tips:
- Use metallic paints for a shiny “wrapping” look.
- Add real ribbon or twine for added detail.
- Stack blocks in different sizes for a gift “pile” effect.
Conclusion
These 4×4 wood block Christmas crafts are perfect for adding a personal, handmade touch to your holiday decor. Easy enough for kids yet charming enough for adults to appreciate, these projects can turn crafting into a fun holiday tradition. Whether you’re creating Santa, snowmen, or a cozy village, these ideas will fill your home with creativity and cheer. Grab your materials, and let the holiday crafting fun begin!
You can also check these crafts ideas with wood blocks

