How to Fix Splintered Wood: A Comprehensive Guide
Key Takeaways
Identify splinter type for appropriate repair method.
Prep area before applying any filler.
Select filler based on damage severity and indoor/outdoor use.
Apply filler, sand smooth, and finish as needed.
Use dowels/splines for severe structural repairs.
Maintain wood to prevent future damage; control humidity and temperature.
Seek expert advice and utilize resources for best practices.
Choose commercial fillers (e.g., epoxy, water-based) tailored to repair needs.
Welcome to the world of DIY wood repair! Whether you’re a seasoned woodworker or a home repair enthusiast, fixing splintered wood can be a rewarding project. It’s not just about aesthetics; it’s about preserving the integrity and extending the life of your wood items. Let’s dive into what splintered wood is and why it’s crucial to fix it.

Understanding Splintered Wood
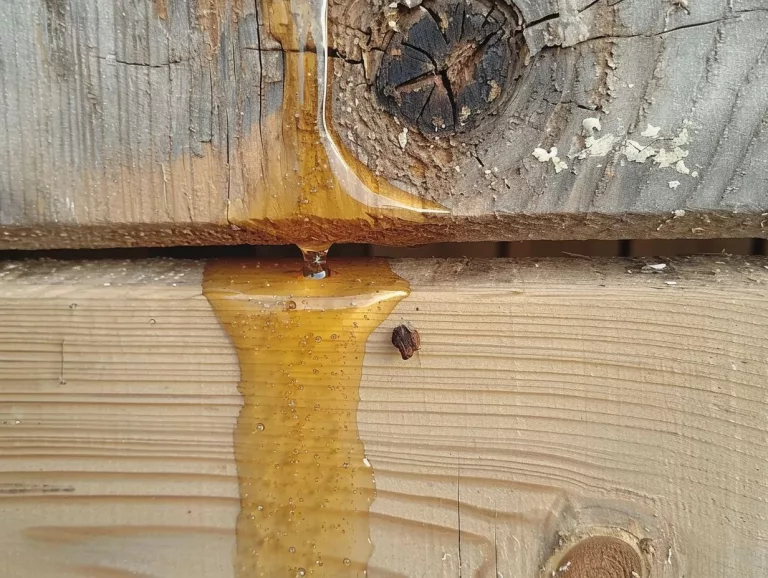
Splintered wood occurs when the fibers of the wood separate due to impact, wear, or environmental factors. It can range from minor surface damage to deep cracks that compromise the wood’s structure. Recognizing the type of splintering is the first step to a successful repair.
Importance of Repairing Splintered Wood
Ignoring splintered wood can lead to further damage, weakening the wood over time. Repairing it not only restores its beauty but also its functionality. Plus, it’s a sustainable choice—repairing instead of replacing reduces waste and saves resources.
Assessing the Damage
Before grabbing your tools, take a moment to assess the damage. This will help you choose the best repair method and ensure a lasting fix.
Types of Splintered Wood Damage
- Surface Splinters: These are shallow, often caused by minor impacts or scratches. They’re the easiest to fix.
- Deep Splinters: These extend into the wood, requiring more extensive repair to restore strength.
- Structural Damage: When the splintering affects the wood’s load-bearing capacity, it’s crucial to address it promptly and with the right technique.
Here’s a video on identifying splintered wood, and the solution thereby.
Understanding the extent of the damage is key to a successful repair. It’s not just about making it look good but ensuring it lasts.
Tools and Materials Needed for Repair
To tackle splintered wood, you’ll need some basic tools and materials. Here’s a quick list to get you started:
- Wood glue: For reattaching loose splinters.
- Putty knife: To apply wood filler.
- Sandpaper: For smoothing the repaired area.
- Wood filler: To fill in gaps where wood has been lost.
- Clamps: To hold pieces in place while the glue dries.
- Fine-grit sandpaper: For final smoothing.
Having the right tools and materials at hand makes the repair process smoother and ensures a professional-looking finish.
Step-by-Step Guide to Fixing Splintered Wood
Roll up your sleeves, because we’re diving into the nitty-gritty of fixing that splintered wood piece you’ve been eyeing. This guide is your roadmap to restoration, blending expert advice with practical, hands-on tips.
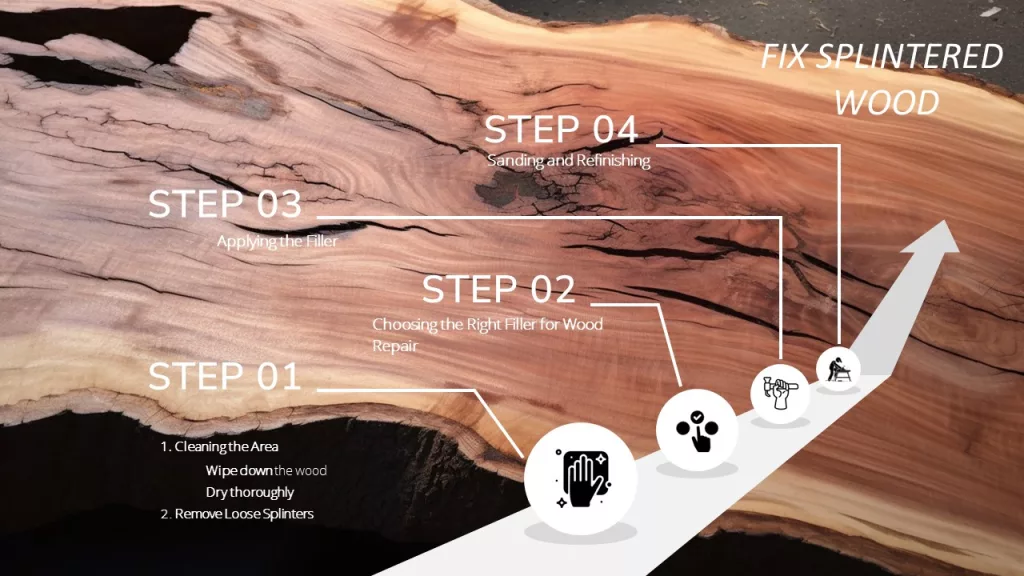
Cleaning the Area
Before we start, let’s ensure we’re working with a clean canvas.
Preparing the Wood Surface
- Wipe down the wood with a damp cloth to remove dust and debris. If it’s an outdoor piece, consider a gentle brush to get into the nooks.
- Dry thoroughly. Moisture and repair don’t mix well, so give it time or help it along with a dry cloth.
Removing Loose Splinters
- Gentle does it. Use tweezers for precision removal of loose bits without causing more damage.
- Secure what stays. If a splinter is partially attached and can be saved, a bit of wood glue and a clamp will make it as good as new.
Choosing the Right Filler for Wood Repair
Now, let’s talk fillers. Not all damage is created equal, and neither are fillers.
Types of Wood Fillers
Wood fillers come in various formulations, each suited to different types of repair tasks:
- Water-Based Wood Fillers: Easy to apply and clean up with water. They dry quickly and are ideal for small repairs, like nail holes or minor scratches. They can be sanded, painted, or stained once dry.
- Solvent-Based Wood Fillers: More durable than water-based fillers, solvent-based fillers are used for larger repairs or areas that require a stronger bond. They take longer to dry and often require solvents for cleanup.
- Epoxy Fillers: A two-part system that consists of a resin and a hardener. Epoxy fillers are extremely strong and are used for structural repairs, such as fixing splintered wood or rebuilding missing wood sections. They adhere well to wood and other materials, making them versatile for various repair tasks.
- Wood Putty: Often confused with wood filler, wood putty is a softer, more pliable material used for filling in small imperfections on wood surfaces. It’s typically used on finished wood and may not require sanding.
Wood Filler vs. Epoxy: Pros and Cons
- Wood Filler: Great for small, superficial repairs. It’s easy to sand and matches well but might not hold up in high-stress areas.
- Epoxy: Your go-to for structural damage. It’s tougher and adheres well, but it can be a bit trickier to work with and requires precise mixing.
Here are some commercially available wood fillers.
| Brand/Product Name | Category | Ideal Use |
|---|---|---|
| Minwax High Performance Wood Filler | Epoxy-based | Structural repairs, outdoor use |
| Elmer’s Carpenter’s Wood Filler | Water-based | Interior repairs, easy to sand and finish |
| DAP Plastic Wood All Purpose Wood Filler | Solvent-based | Interior and exterior repairs, mimics real wood |
| Bondo Wood Filler | Epoxy-based | Large repairs, rotted wood, indoor/outdoor use |
| FamoWood 40022126 Latex Wood Filler | Water-based | Quick repairs, easy cleanup, sandable |
| Ronseal High Performance Wood Filler | Epoxy-based | Quick drying, strong for various repairs |
| J-B Weld WoodWeld Epoxy Syringe | Epoxy-based | Strong bond, indoor and outdoor repairs |
| LePage Interior Wood Filler | Water-based | Interior wood repairs, easy sanding |
| Timbermate Wood Filler | Water-based | Interior repairs, non-shrinking |
| Aqua Coat Clear Grain Filler | Water-based | Filling wood grain and pores, smooth finish prep |
Watch this video to understand the fixing process.
Applying the Filler
With the right filler in hand, it’s time to get down to business.
Step-by-Step Application Process
- Mix or knead your filler according to the instructions. Consistency is key.
- Apply with a putty knife, pressing firmly to ensure it gets into every crevice.
- Overfill slightly, as fillers tend to shrink a bit when they dry.
Tips for a Smooth Finish
- Smooth as you go. A wet finger or a damp cloth can help shape the filler before it sets.
- Patience pays off. Allow ample drying time before sanding to avoid dents and divots.
Sanding and Refinishing
The final steps are where your repair really starts to blend in.
Sanding Techniques for a Seamless Look
- Start with a coarser grit to level the filler, then move to finer grits for a smooth finish.
- Sand in the direction of the grain to avoid scratches that stand out like a sore thumb.
Choosing the Right Finish for Your Wood
- Match your original finish as closely as possible, whether it’s a specific stain, varnish, or paint.
- Test in an inconspicuous area first to ensure you’re happy with the look.
Advanced Techniques for Severe Damage
When the going gets tough, the tough get going—especially true for tackling severe wood damage. Let’s explore some heavy-duty repair tactics.
Using Dowels or Splines for Structural Repairs
- Dowels: Not just for IKEA furniture, dowels can be a game-changer for rejoining split wood. Drill matching holes on either side of the break, apply wood glue, insert the dowel, and clamp it tight. It’s like giving your wood a bone graft.
- Splines: Think of splines as the stitches in wood surgery. For a crack that runs deep, cutting a slot and inserting a glued spline not only fills the gap but also adds strength. It’s woodworking’s answer to reinforcement bars in concrete.
When to Replace vs. Repair
- Decision Time: Sometimes, you’ve got to know when to fold ’em. If the piece is more glue than wood or if fixing it compromises its integrity or safety, it might be time to say goodbye. It’s a tough call but think of it as an opportunity for a new project.
Preventing Future Splintering
An ounce of prevention is worth a pound of cure, and that’s never been truer than in wood care.
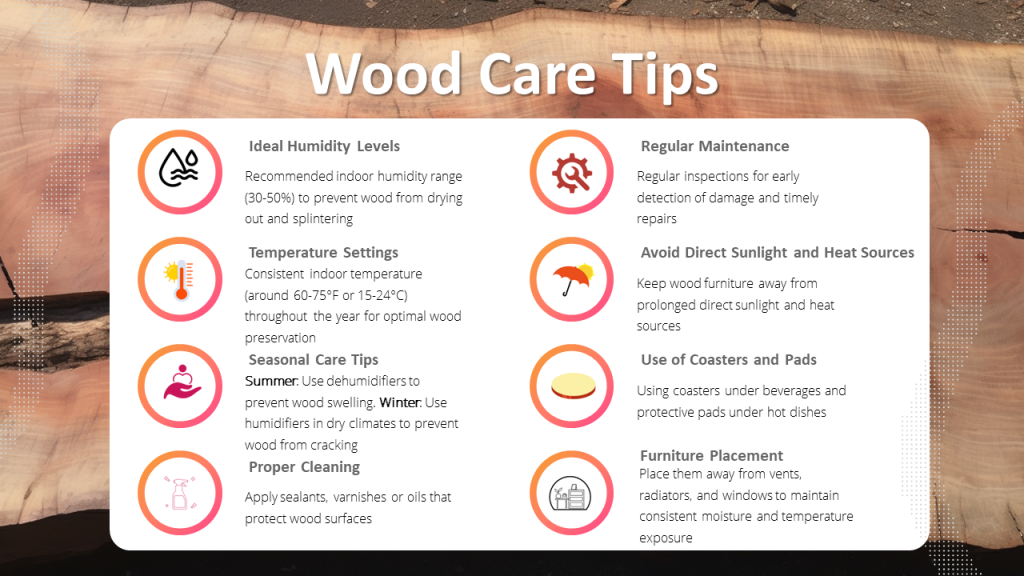
Proper Wood Maintenance Tips
- Regular Check-ups: Like any good relationship, keeping an eye out for early signs of wear and tear can prevent heartbreak down the line. A little sanding and resealing can go a long way.
- Immediate Care: Spotted a small chip or crack? Don’t wait for it to become a gaping wound. A bit of glue and clamp action can save you a lot of trouble.
The Role of Humidity and Temperature in Wood Care
- Climate Control: Wood expands and contracts with changes in humidity and temperature. Keeping your precious pieces in a stable environment can prevent them from acting out.
Expert Advice

The consensus among the pros?
Patience, the right tools, and a bit of creativity can solve almost any wood woe. And yes, sometimes less is more.
Behind every great wood repair is a wealth of knowledge and experience.
Case Study: Before and After Repairs
From disaster to masterpiece, these stories not only showcase the potential for recovery but also inspire. Seeing is believing, and these makeovers are a testament to the art of repair.
Check this video for an amazing splintered/ cracked table repair.
Additional Resources
Recommended Products
- Wood Glues: Titebond III Ultimate Wood Glue is renowned for its strength and versatility, suitable for both indoor and outdoor repairs.
- Wood Fillers: Elmer’s E855 Carpenter’s Wood Filler is a water-based, paintable, and easy-to-sand option, perfect for fixing furniture and interior surfaces.
- Epoxy Resins: J-B Weld 8257 KwikWood Wood Repair Epoxy Putty is ideal for rebuilding and bonding wood surfaces, especially for exterior use.
- Clamps: IRWIN QUICK-GRIP Clamps offer a range of sizes and pressures, essential for holding pieces together while glue dries.
- Sanding Tools: 3M Sanding Sponge, Fine Grit, is flexible and convenient for smoothing out repaired areas without damaging the wood.
Further Reading and Tutorials
- Books: “The Complete Manual of Woodworking” (ISBN-13 : 978-0679766117) by Albert Jackson, David Day, and Simon Jennings provides a comprehensive guide to woodworking techniques, including repair.
- Online Courses: Woodworkers Guild of America offers video tutorials and classes covering a range of topics from basic repairs to advanced woodworking techniques.
- YouTube Channels: Steve Ramsey – Woodworking for Mere Mortals, offers accessible and engaging tutorials on woodworking projects and repairs, suitable for all skill levels.
- Blogs: The Wood Whisperer blog combines articles and videos on woodworking techniques, including detailed guides on wood repair and finishing.
Conclusion
In summary, fixing splintered wood across various surfaces like floors, decks, doors, and furniture is achievable with the correct techniques and materials. This guide outlines simple yet effective methods for repairing and maintaining wood, ensuring its longevity and aesthetic appeal. By selecting the right repair approach and executing it carefully, anyone can restore their wood items to their former glory, maintaining the beauty and functionality of their wooden possessions with ease.
FAQs on Splintered Wood Repair
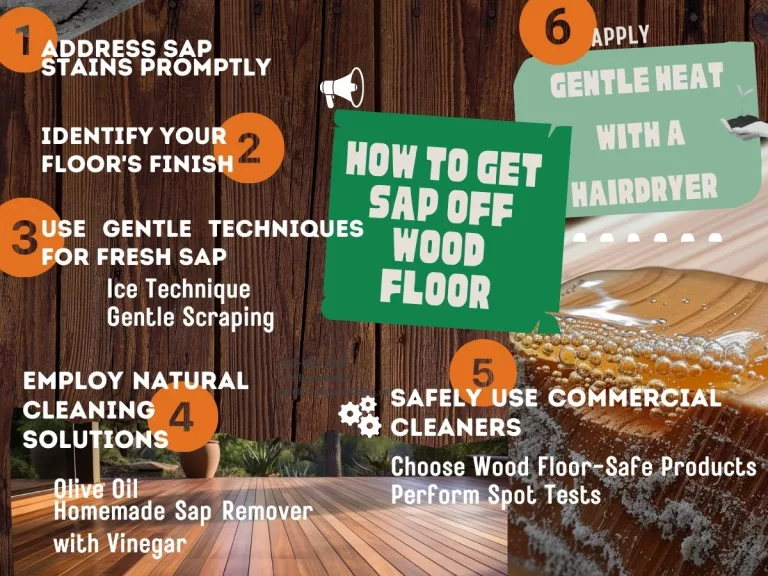
How to fix splintered wood floor?
Fill splinters with wood filler, sand smooth, then finish to match the floor.
How to fix splintered wood deck?
Apply exterior-grade wood filler or epoxy, sand down, and seal with deck finish.
How to fix splintered wood door?
Use wood glue for small splinters or wood filler for larger areas, sand, and paint.
How to repair splintered wood furniture?
Fill with wood filler, sand until smooth, and apply matching stain or paint.
How to fix cracked wood furniture?
Apply wood glue into the crack, clamp until dry, sand, and finish as needed.
How to fix split wood from screw?
Remove screw, apply wood glue in the split, clamp to dry, then redrill if necessary.
How to fix split wood door hinge?
Fill the split with wood filler and use longer screws to reattach the hinge securely. Don’t forget to apply finish after repairing.
Can all types of splintered wood be repaired?
Yes, most types of splintered wood can be repaired, from minor surface splinters to deep structural damage, using appropriate fillers and techniques.
What’s the best wood filler for indoor furniture repairs?
Water-based wood fillers are ideal for indoor furniture repairs due to their easy application, sanding, and clean-up.
How long does it take for wood filler to dry?
Drying times vary by product, but water-based fillers typically dry within a few hours, while epoxy-based fillers may need 24 hours or more.