How to Prepare Wood for Pyrography: 4 Golden Rules
It is important for you to learn about the necessary tasks that are a part of wood burning, such as how to prepare wood for pyrography. For anyone who has decided to try his/her hands on pyrography, the pursuit would certainly be fun and exciting.
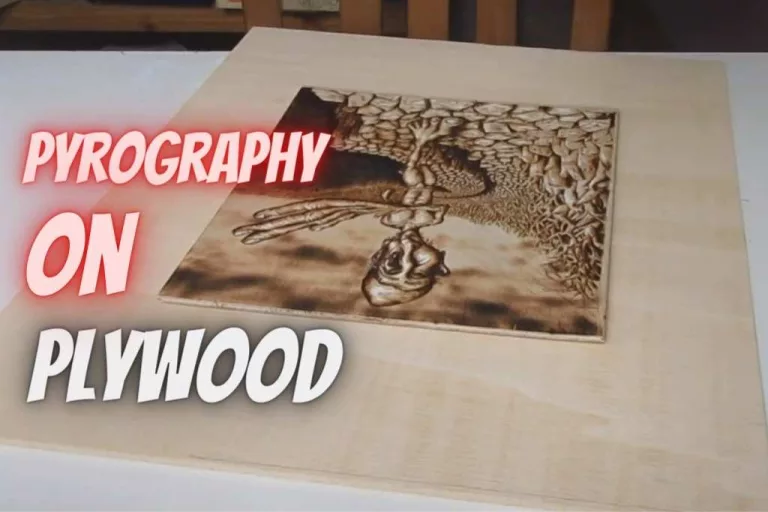
I assume that you already have some basic idea of woodburn art. Before you jump into action, you need to prep your canvas, so to say. More often, pyrography is done on wood. Here’s a comprehensive guide on what you should do with wood before even starting work.
Preparing Wood For Wood Burning Art
Rules To Follow – How to Prepare Wood for Pyrography
Rule 1: Choosing The Wood
You cannot choose any reclaimed or finished wood or wood having sap in it because the heat will create harmful fumes during burning.
Rule 2: You Must Avoid Synthetic Base Or Finished Wood
Any kind of synthetic wood also can produce toxins so they are not safe to use in pyrography either. The safest option is to burn on natural wood. You got to avoid any finished or painted or stained wood as well, or else it will create toxic fumes while burning.
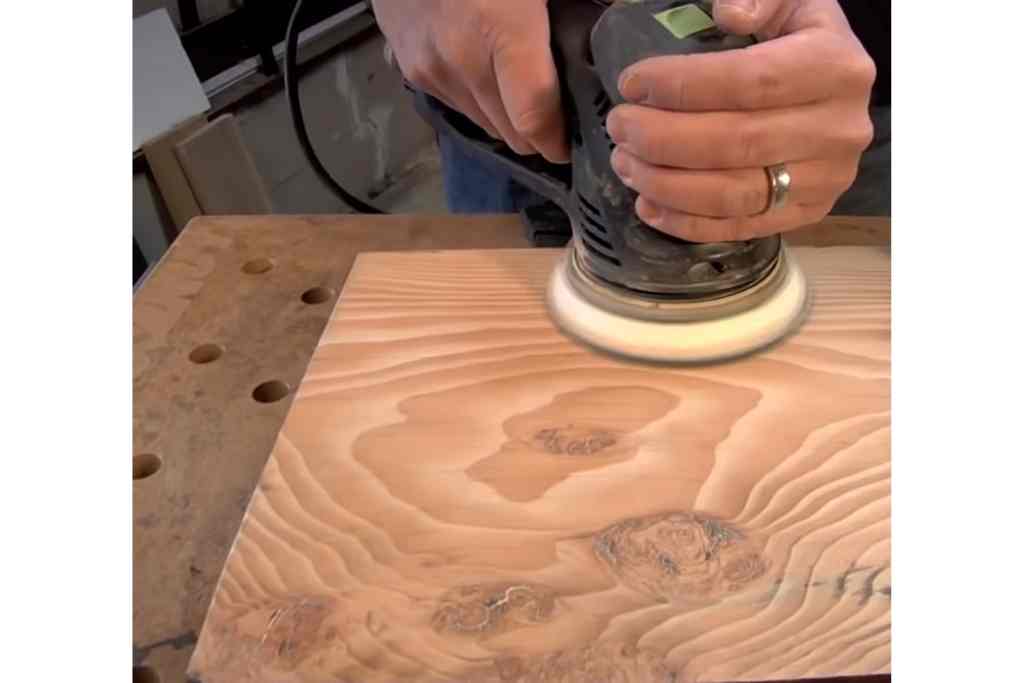
Rule 3: Sand It
To prepare the wood, you need to sand your wood to even out the texture and grind down any rough patches. There are a number of options and combinations of equipment to do that, and everyone has their own favorite. The most popular option is to use sandpaper.
Rule 4: Choose Your Sand Paper Correctly
You will find different grit numbers when you look to buy sandpapers. To give some context on grit, it signifies how finely it would sand the grain of the wood. The higher the number on the sandpaper, the finer the grain would be.
Here are the methods and steps you should follow for SANDING—
- Starting off, you want to start with a lower grit i.e., coarser sandpaper to get rid of larger irregularities. I recommend using the 100-grit sandpaper for most cases but switch to 80-grit if the wood is especially rough. Sand out the whole wood until you don’t feel any resistance anymore.
- Next, switch to a higher grit until you you’ve sanded it down to up to 240 grit. Any higher than that and the finish might not sit well on the too-smooth surface. After you’re done with the sanding, use a brush or better yet, an air compressor to get rid of the dust.
- At this point, you need to wet the wood without soaking it. Use a wet sponge to wipe down the wood until it feels slightly damp. Leave it to dry for a few hours and then sand it down again with the 240-grit sandpaper. Rinse once more and dry. Afterwards, you should be left with a nice, silky-smooth surface ready for use.
- Always rub the sand paper on the direction of the wood grain. Never across. But if the wood is too grainy and having big bumps, you can start off sanding in any direction.
And, don’t miss to watch this video.
Some Additional Reads
- While sanding the woods, better to wear a mask, it is for your breathing safety. Read this article on safety measures for woodburning.
- For gaining confidence on the sanding activity, you can take a look at this video tutorial
Sand It Better
Most common wood types should be sanded and rinsed twice before use. And you must ensure that the wood is dry to start the burn work. Some tips for sanding I would recommend are-
- Use an electric sander: It makes the process way faster. But on the downside, people do complain about itchiness on their hands when they use it. My advice is to use it for larger pieces of wood that would otherwise take forever. Also using hand protection that won’t affect your grip will help with the itchiness.
- Use sanding blocks: They are better for grip and less straining on your hands. You can make a makeshift sanding block by wrapping a sheet of sandpaper over a scrap of wood.
Last Words
The difference between burning on a prepped and unprepared piece of wood is astronomical. Preparing the wood beforehand makes the whole process faster and easier.
The feeling of gliding your pen over a smooth surface is an experience you don’t want to miss. Now, you’re one step closer to efficiently tackling this craft. So, practice it!