How to Seal Pyrography and What are the Sealants?-7 Steps
Depending on the sealant, you will get a host of methods of SEALING PYROGRAPHY. Nevertheless, you must dry and sand the wood well before applying the chemical following the instruction. For sealing the pyrography piece, you can use various sealants, such as varnish, polyurethane, paste wax, oil, shellac, etc.
Wood burning projects are not something you just do for nothing or throw it away later. Apart from having the basic knowledge on pyrography or wood burn art, you must learn the technical aspects to be an artist. This artwork is used for personal to business purposes. As a result, ensuring the wood burn lasts longer is essential. And the best way to do that is to use a good-quality material. But do you know how to seal pyrography and what are the sealants?
I have discussed the sealing process in detail in today’s article. So if you are looking for a way to make your pyrography piece more durable and less prone to fading, I urge you to read the entire article.
Sealing Prerequisites- Essential Tips
Lacquer is the only type of sealant or finish that does not require any prep work before application. But if you are applying anything other than that, the pyrography piece will have to go through some preparation steps.
You will find more about various types of sealants in the latter part of the article. But before that, check out the following part to learn how to do that.
- Sand the Wood
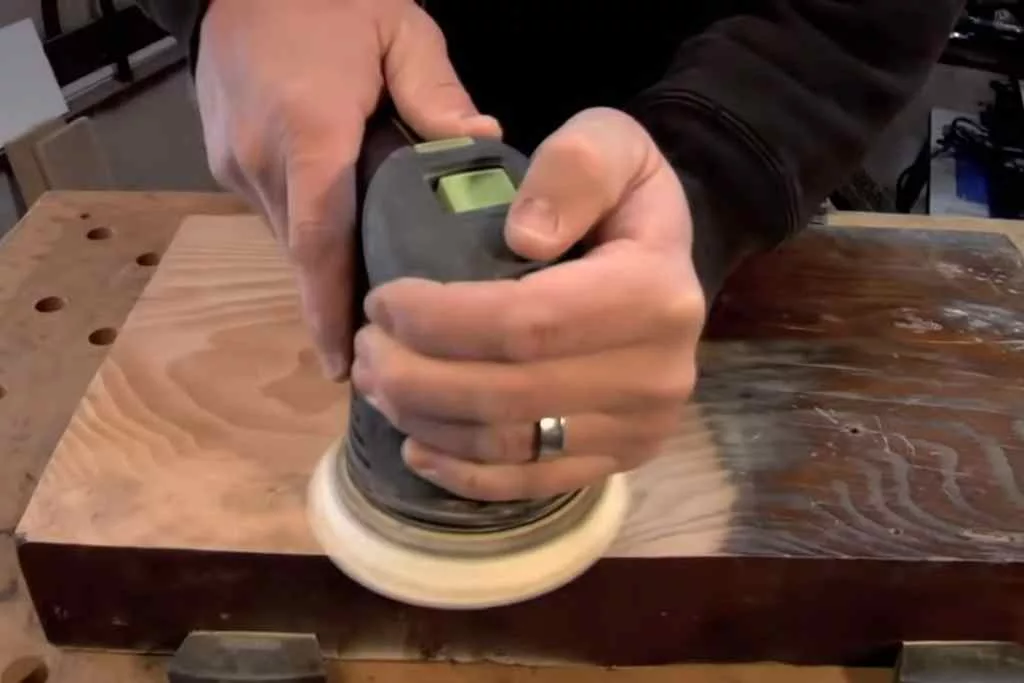
Some people choose to sand the wood before doing pyrography. But sometimes, even if you sand before, the wood piece may still have raised grain that can ruin the piece’s appearance. So if that is the case, you must sand it before doing anything. Use a gentle and circular motion to sand the wood until the surface seems smooth.
- Dry the Wood Piece In the Sun
Wood is notorious for absorbing moisture, and that can easily make it prone to damage. That is why it is important to dry the wood for 24-48 hours in the sun before applying it. It will help remove moisture and make the wood warm enough for applying the sealant more easily.
- Ensure Proper Ventilation And Safety
Most sealants contain chemical and toxic elements that can be harmful to your skin and your respiratory system if inhaled. So it is essential to apply the sealant in a well-ventilated or open space. And you should also wear protective gloves and mask and even safety glasses if necessary.
- Make Sure The Environment is Dry and Warm
In most cases, the instruction on the sealant will tell you that you will have to work in a dry and warm environment to allow the product to work and dry properly. Besides, if you are using something like wax to seal the wood without a warm environment, it will start drying before you even finish a coating.
- Do Not Use It Directly From the Can/Container
Every time you apply a stroke of sealant coating on wood, the brush gets contaminated with whatever you had on the wood. That is why it is unwise to dip the brush again directly in the can. Use a smaller container to put some sealant so that you won’t have to spoil the bulk.
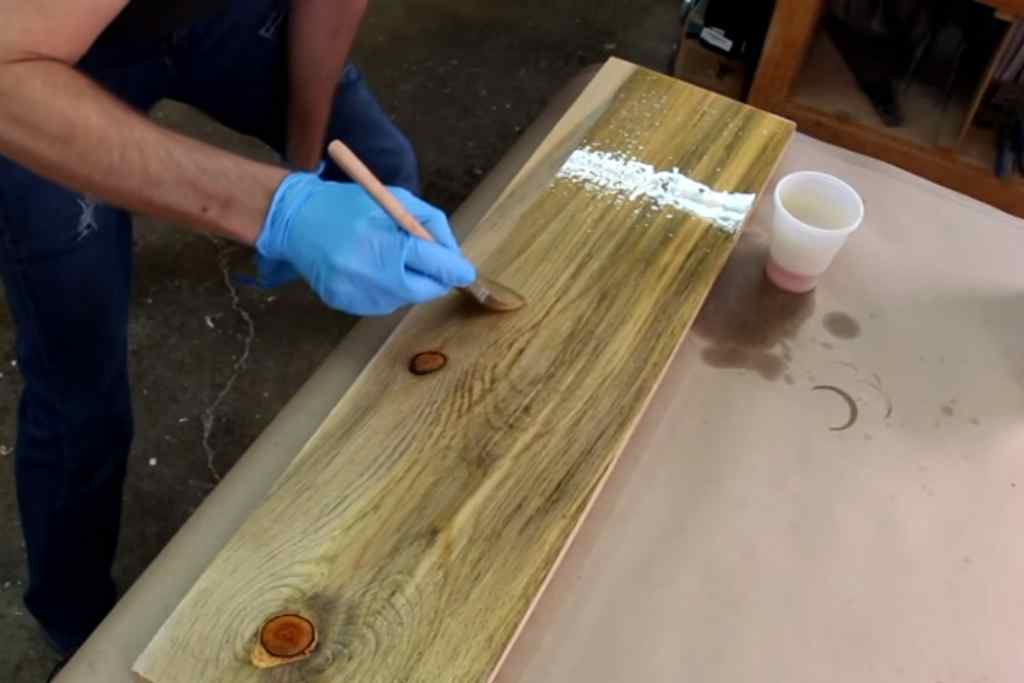
- Use New Brush
While dipping the brush directly in the container contaminate the entire container’s sealant, using an old brush for application can contaminate both the sealant container and the wood. An old brush can have old and dried-up paint and other things. And no matter how well you think you have cleaned it, it can still damage your hard work.
- Do Not Mix
I understand if you are ready to try several types of sealant at once for multiple projects. However, you should remember the rule to use not just new but also separate brushes for each type of sealant. However, it will not be an issue if you are using spray-on type only. And do not apply multiple sealants on the same piece, each of those work differently.
How to Seal Pyrography Project
You have arrived at the most important part: how to seal pyrography wood. Now, remember that there are several types of pyrography or wood sealants out there, and the method to apply them varies based on the product type and its ingredients.
Though the sealant package or container will contain an instruction, here is a step-by-step guideline that will help you understand how the basic application process works. A video demonstration will give you better understanding on this.
Step 1: Prepare The Wood
You have already learned about preparing the pyrography wood in the previous section. The wood will need sanding to remove grain, and drying it will help remove moisture.
And right before the application process, lay the piece on a flat surface for your convenience and wipe it with a clean fabric to remove any remaining dirt or sanding dust. If the wood surface is not cleaned thoroughly, the sealant will have a hard time sitting on the wood.
Step 2: Put On Your Safety Gear
Not all sealants are made from natural substances. Some even contain harsh chemicals, harmful to our skin and lungs. So before you open the container or can, make sure to put on essential safety gear. And the essential ones are gloves and masks.
The gloves will protect your skin from coming in direct contact with the sealant, as it may cause skin irritation. On the other hand, inhaling the vapor can be toxic to your respiratory system, making it essential to wear a respiratory mask. You can also wear a pair of safety glasses if you are applying a spray-on sealant.
Step 3: Apply The First Coat
Let’s start with the first coat. But before you apply, know your sealant because brush-on and spray-on sealants have different application method.
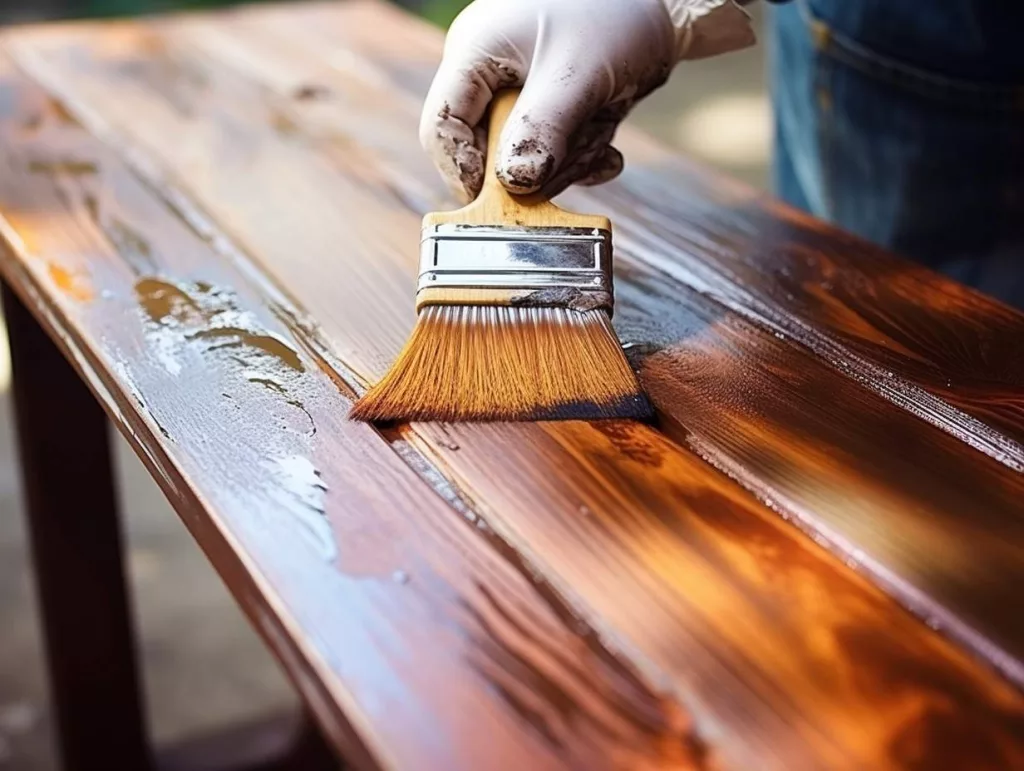
- If it is a brush-on sealant, put some of the solutions in another container. And apply the sealant from there by dipping the brush. Apply the first layer using the brush stroke in the same direction by covering the wood surface with an even layer.
- If it is a spray-on coat, shake the can a little first and then hold it at least 12 inches away from the wood and spray by holding the can at a slightly tilted angle as you spray all over the wood surface. It will help the chemical spread evenly and apply in a thin layer.
Step 4: Let It Dry
Depending on the type of sealant and wood, the dying time will always vary. The instruction on the container will tell you how long you must for each layer to dry, and you must follow that. And it could be between 30 minutes to 12 hours or more.
Step 5: Sand The Wood
Sealant, like polyurethane, often makes the remaining wood grains more visible after drying. So it is essential to sand the wood after the first coat dries, even if you sanded it during prep work. Use mid-grit sandpaper and sand the wood gently in a circular motion to make it smooth.
Step 6: Apply The Next Coats
After that, wipe the wood surface with a clean fabric and apply the second coat. The process should be similar to step 3, as each layer should be thin and even. Keep repeating steps 3 and 4 to apply multiple layers of sealant until you are satisfied with the primary result.
Step 7: Wait To Dry Completely
After the final layer is applied, it is best to wait at least 24 hours. It will give both the wood and the sealant enough time to dry and heal completely and make the pyrography piece suitable for display and use.
Here’s a nice demonstration of sealing burn projects.
What Are The Mostly Used Sealants?
So what are the best sealants for sealing pyrography wood and making it more durable? Well, for your convenience, here are some of the most commonly used and highly recommended sealants that you should check out.
Varnish
The most popular and affordable brush-on sealant for wood that you will come across is varnish. This transparent liquid sealing material contains three main items that offer maximum protection, and they are drying oil, resin, and thinner. Though varnish appears colorless without the slightest hint of color, it still leaves a yellowish glossy shade on the wood.
Polyurethane
If there is one sealant that can give varnish a run for the money, it is the polyurethane sealant. It comes at a slightly higher price but offers different application processes, such as spray-on and brush-on. Moreover, you can also choose from matte, semi-matte, and glossy finish options. But unlike varnish, polyurethane dries more quickly.
Oil
Oil is yet another budget-friendly option for sealing pyrography woodwork. You can choose any oil like tung oil, Danish oil, mineral oil, lemon oil, walnut oil, etc. Among these, mineral oil is the most non-toxic option and can be used on kitchen items. However, oil sealants tend to attract dust and other particles.
Shellac
Shellac comes from nature, and more precisely, it comes from the female lac bug. It does not contain any harmful or toxic chemicals, but it is best not to apply the sealant on kitchen items. The brush-on application method is pretty straightforward. But leaving shellac-applied wood exposed in the sun can cause discoloration.
Lacquer
Lacquer is one of the most commonly used sealants by professional pyrographers because of its ability to protect woodwork and last a long time. It comes in both brush-on and spray-on options and dries extremely faster. The best part is you don’t even need to sand the wood before applying it.
Paste Wax
Paste wax is different from the rest of the sealants I have mentioned today in terms of appearance and application process. Paste wax is a great and affordable sealant that comes in wax form, and you apply it on your pyrography piece using a clean piece of cloth. However, you must be careful when applying it. Because if not applied in a thin and even layer, the wax may appear cloudy after drying.
Spray-On vs. Brush-On Types – Which One Is The Best?
For a pyrography artist, the sealant’s application process is important as much as its quality. As you might have already learned from the application methods I described, there are two basic application methods: brush-on and spray-on sealants.
And even if you are a professional, you must pick a method that seems efficient, budget-friendly, and straightforward to you. So let’s get to know a bit more about these two types of sealants.
Spray-On Method
They come in aerosol cans. You will find polyurethane, shellac, and lacquer in a spray can form for sealing your pyrography work. These seals are accessible in most stores but not as available as brush-on ones. Moreover, the method is pretty simple and easy, making it more convenient.
However, spray-on types have certain drawbacks. You must wear protective gear like gloves and masks to prevent inhaling the spray fume or getting it on your skin because sometimes they can be toxic. On top of that, they are more expensive and not exactly beginner-friendly, as you must spray the layers with precision.
Brush-On Method
Varnish, oil, paste wax, etc., are applied using the brush-on method to seal pyrography wood. These also come in cans but of different types and are available in liquid form, except paste wax. The brush-on method is also quite convenient when it comes to the application as you apply it layer by layer. Moreover, this type is easily available everywhere and comes at a comparatively low price.
And brush-on sealants also have certain drawbacks. Since it is in liquid form and you must use a brush, there is certain prep work involved, making the process a bit of a hassle. If you do not use thin and even slayer strokes, there are big chances of you leaving uneven marks and coloring when the sealant dries.
Here is a comparison table to help you understand the advantages and disadvantages of using spray-on and brush-on products.
| Method | Advantages | Disadvantages |
| Spray-On | Easy to apply and is pretty convenient. Suitable for sealing small projects. Dries pretty quickly. | Comparatively more expensive. Not suitable for beginners. |
| Brush-On | Beginner-friendly application process. Easily available everywhere, Low-cost option. Ensures even spreading. | Time-consuming due to the slow-drying process. Require using a separate container and a new brush, making it a hassle. |
Reasons To Use Sealant For Wood Burning
If you are still unsure of whether you should or should not apply sealants on your wood burning projects, here are some reasons
Improves Appearance
Sealing the wooden piece changes its appearance in a good way. Before sealing, the wood may look rough and contain visible grains and harsh edges. But as it goes through various prep steps before sealing, the final result turns the piece into something more beautiful and perfect.
Less Prone To Fading
Keeping the wood burning piece in the sun or outdoors for too long can make the burn and shade sooner than you can expect. But since many sealants are resistant to UV rays, the quality helps protect the pyrographed wood from the sun.
Less Prone To Damage
Other than UV ray resistance, sealants also offer resistance against heat and water. As a result, the wooden piece remains less prone to damage and lasts a very long time.
And, this video will assist you for applying sealants.
FAQs
Can you sand off wood burning?
Yes, you can sand off wood burning after your burning tool work is all done and there is raised fibers and grains. The sanding process even gives your artwork a crisper and better outline.
Can you stain over pyrography?
Yes, you can and add paint of your preference. But make sure to stain it after all your wood burning work is done.
EndNote
Not everyone prefers using sealant to ensure higher durability and fading protection for the pyrography artwork and the wood. However, using this is one of the wisest decisions to make if you want your artwork to be around for a long time or use them for business.
I believe that you have a clear idea now. Now you can consider which sealant you will choose to glam up your pyrography project.

