Pyrography Eyes : A 6-Step-Guide For The Superb Art
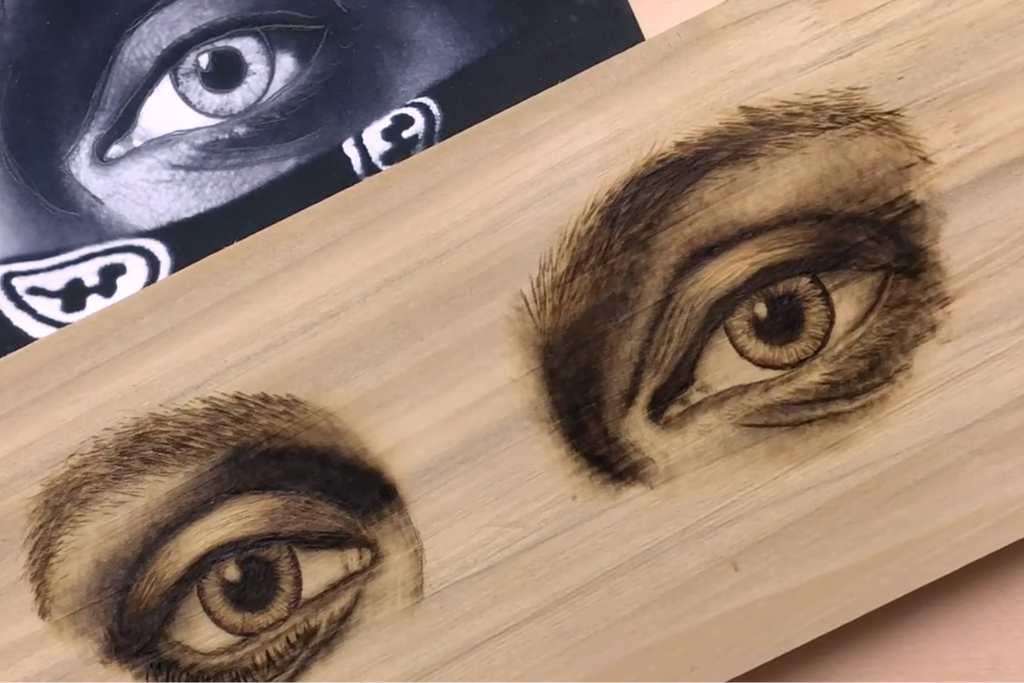
PYROGRAPHY EYES is a theme that pyrographers often revere and fear. This amazing organ is said to be the window to the soul, so they are naturally very expressive. But that also makes them hard to burn.
Even on a whole face or body template, the eyes are the focal points. So the question is, how can you properly and consistently burn a beautiful pair of these organs? Let’s find out.
Types of Eyes To Burn On Wood
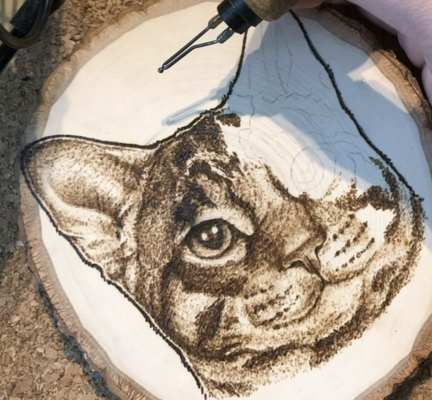
Human and animal eyes are done in pyrography in most of the time. Whether you’re burning a human or animal one, all types are structurally somewhat similar, so you can apply the same process. We will go over the whole procedure of burning them and also add tips and tricks that might make the end result better.
How To Do It?
Trace The Design First
The first step is always to trace the design on your chosen medium. Realistic images tend to have more lines to trace and so this step is more important.
- Tracing the image first helps you work more confidently later.
- Since these organs call for a lot of details, there’s more room for mistakes. Tracing reduces that chance.
- How well you trace the image will significantly affect the whole process and the outcome.
- For photo-realistic images, try not to draw every detail. Instead, give yourself reference points to work around.
- Remember to outline the different shade sections.
Make An Outline
It is best to start the process of burning by outlining the pupil and the outer shape. Then you can also go ahead and outline the area around the eyes.
- You can burn the outline a bit thicker to give the impression of tissues.
- Depending on the design, you can move on to filling the surrounding dark parts.
Darken The Pupil
Depending on the design, next you will want to fill the pupil. This is where the detailing starts.
- If there are sections of different shades, start with the darkest shade. That way you can continue layering the dark sections depending on how the lighter sections look.
- Be careful not to burn the pupil too much and form a pit. Keep the surface as smooth as possible.
Include Shades Inside
- Always start by shading the eye itself first before moving on to the surrounding area.
- The upper area is usually darker, so start from underneath the upper lid and lightly pull down. It gives the look of naturally fading out below.
Shade and Line Outside
We gradually move on to shading the whole image. This is where the importance of tracing earlier really shines. It will make shading so much easier to separate the different sections. You can finish lining the rest of the area as well.
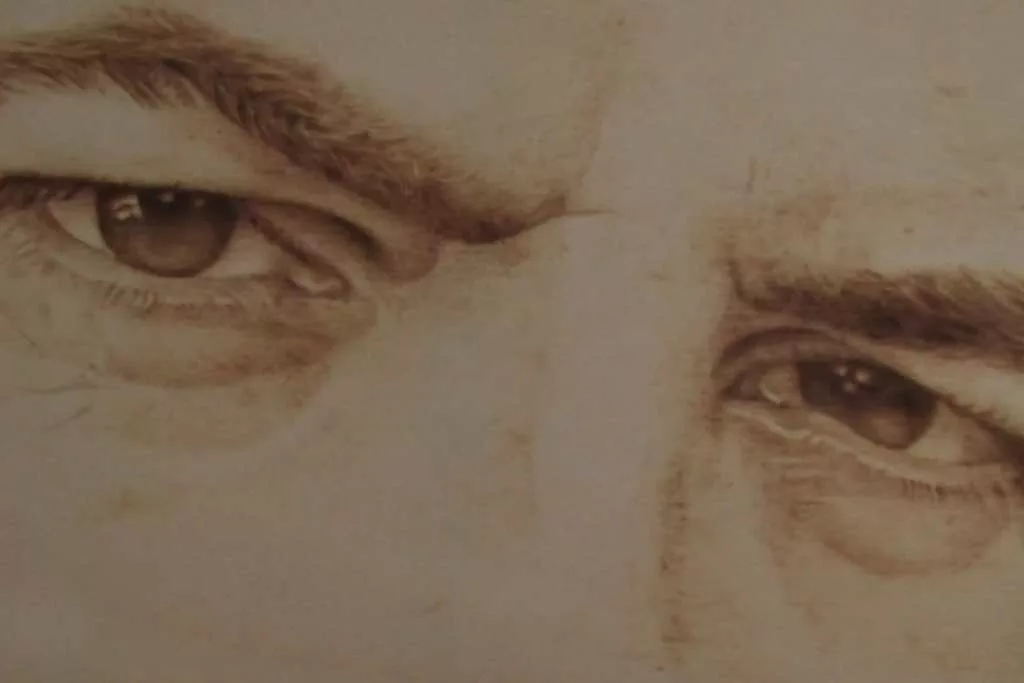
Put Down Details
By now, you should have a somewhat-complete image. Now it is time to enhance the look of your project by adding details.
- You don’t want the pupils to have hard lines, they should fade into the iris.
- Be mindful about the details. Sometimes it can lead to mistakes or even an uncanny appearance.
- It will add value if you can include a few white spots to resemble the glints or reflections of lights around.
And voila, you are done!
Here’s a small video on this amazing wood burn art.
Conclusion
Eyes will always be one of the most interesting subjects to burn. It is the part that gives a full-faced image soul, so it may feel like a burden. Hopefully, you’ll feel more confident after following this article.
Happy burning!
Related Resources
- Fur pyrography for the furs to burn around animal eyes
- A good technique for animal eye burn art is here in this video
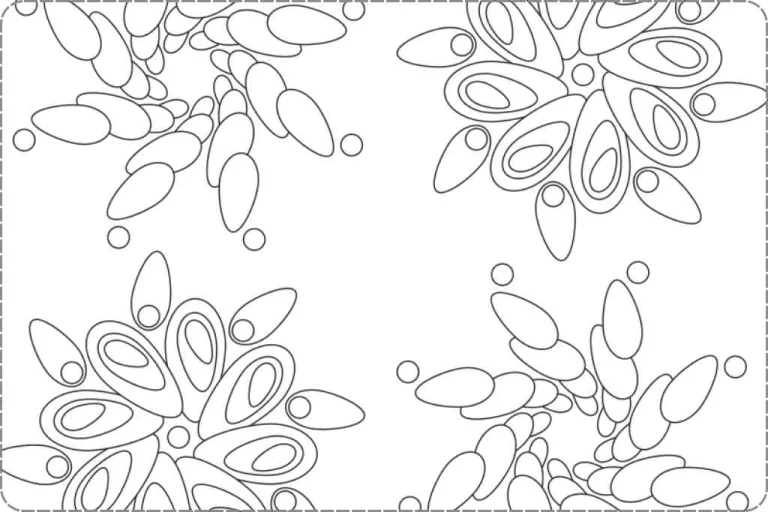
- How to sketch Native American motifs
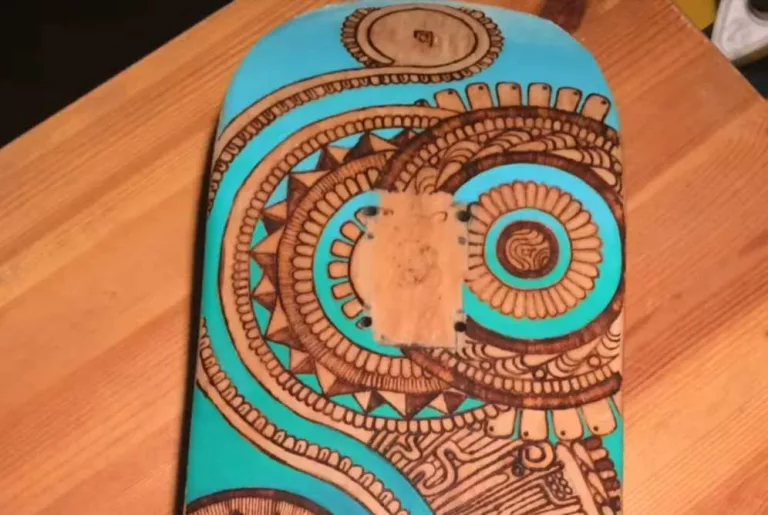
- Heart designs in pokerworks