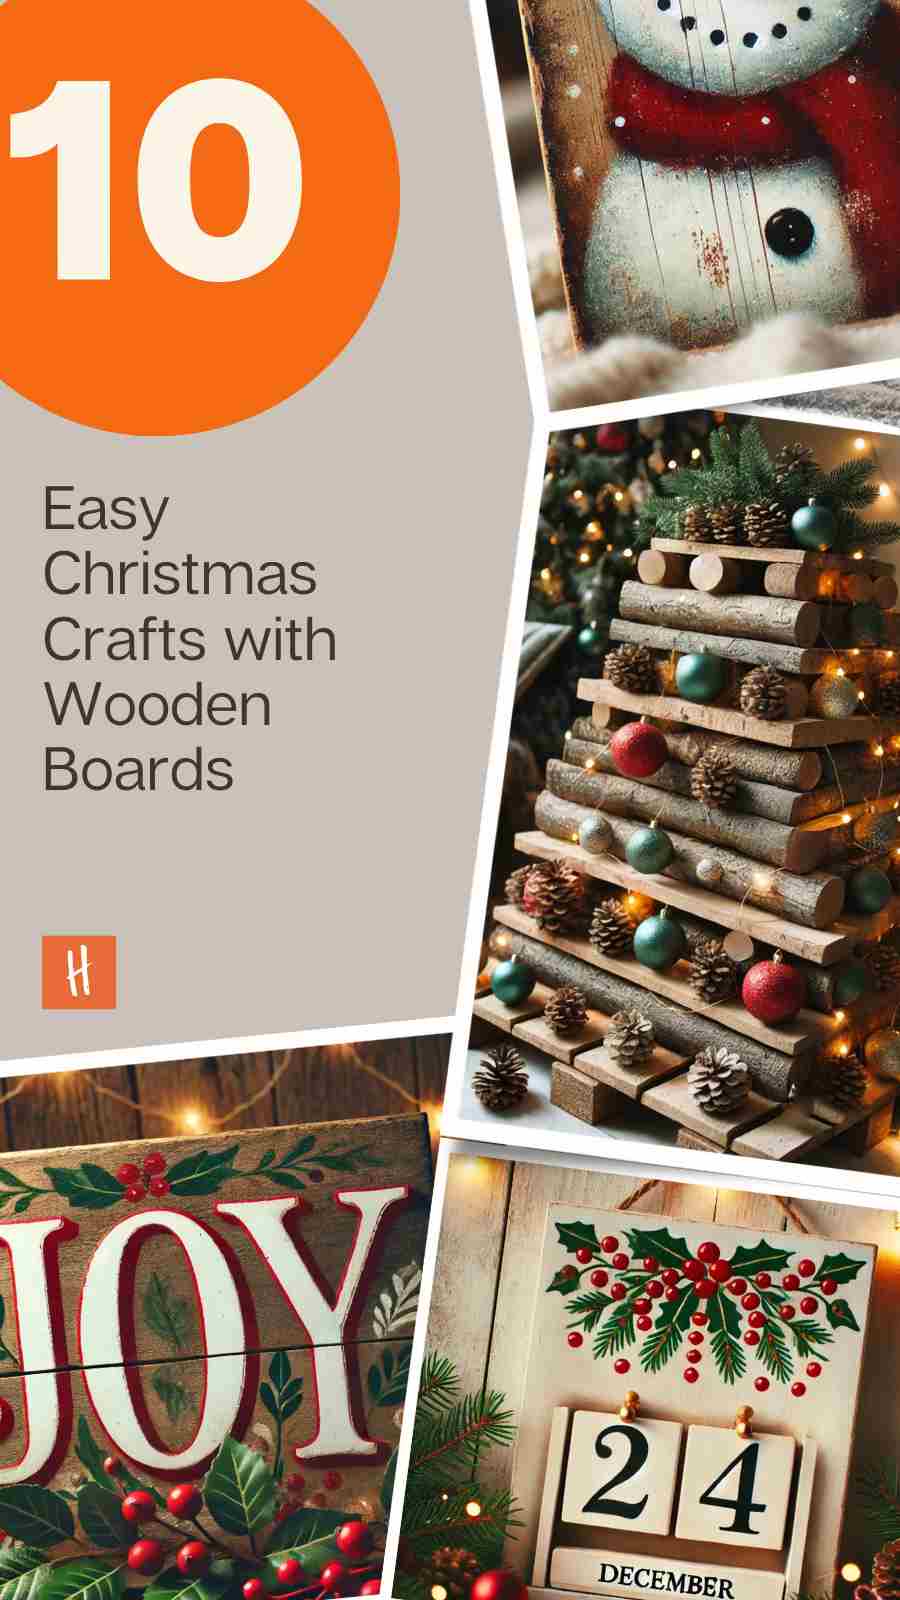
10 Simple DIY Christmas Crafts with Wooden Boards
As the holiday season approaches, it’s the perfect time to transform ordinary wooden boards into charming Christmas decorations. With a few materials, a dash of creativity, and a bit of patience, you can make delightful, rustic crafts that add warmth to your holiday décor. Whether you’re new to DIY or a seasoned crafter, these easy wooden board ideas will bring festive cheer to your home!
1. Rustic Wooden Christmas Tree
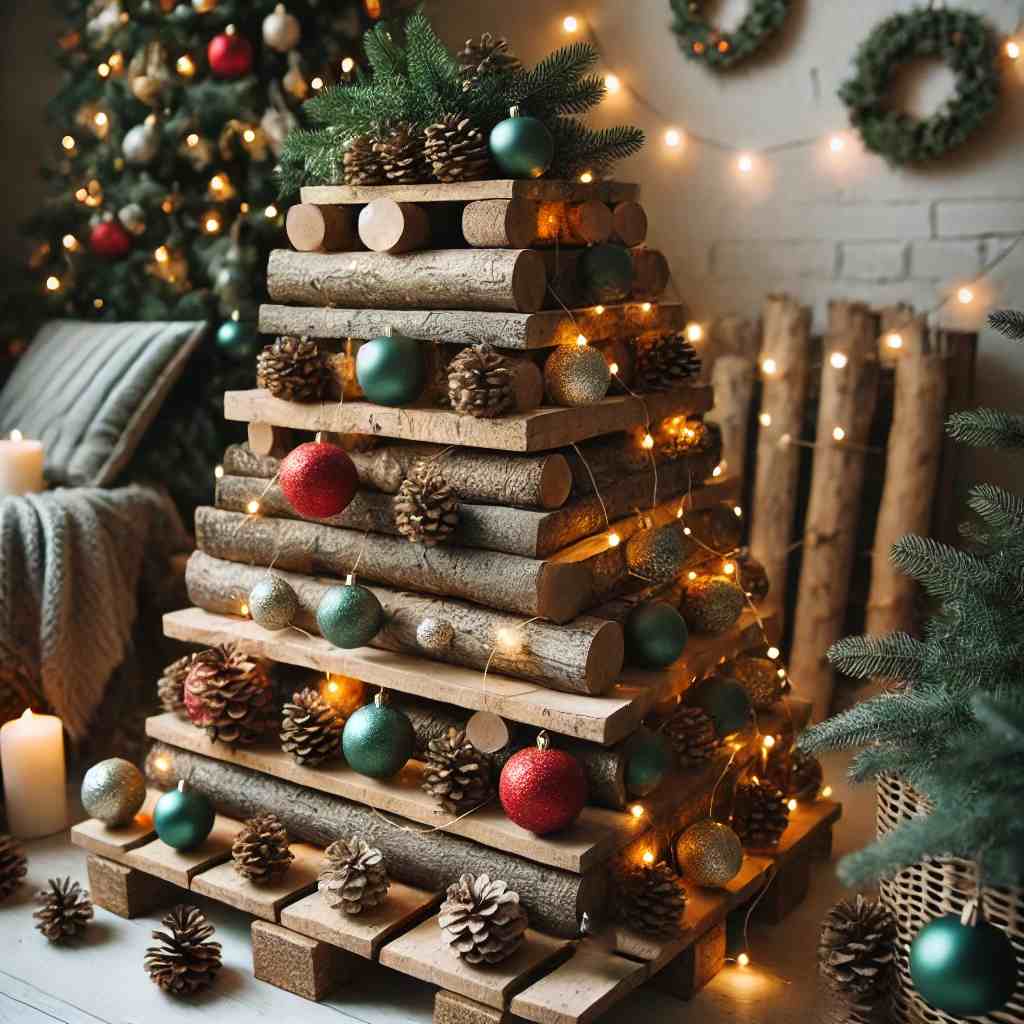
A wooden Christmas tree brings rustic charm without the mess of a real tree! Start by cutting wooden boards in varying lengths to stack them in a tree shape, then add festive colors or leave them natural for a woodsy vibe. Decorate with small ornaments or string lights to complete the look.
- Pro Tips:
- Use sandpaper to smooth out edges for a clean finish.
- Choose green, red, or white paint for a holiday twist.
- Hang small baubles or pinecones on “branches” for added flair.
2. Joyful Wooden Sign
Craft a simple yet impactful “JOY” sign with three small wooden boards or one long piece divided into three sections. Paint the letters “J,” “O,” and “Y” and decorate each letter with holiday-themed accents like holly or stars for a cheerful touch.
- Pro Tips:
- Use stencils to keep letters sharp and professional.
- Add glitter or metallic paint to make it sparkle.
- Finish with a coat of sealer for durability if displaying outdoors.

3. Countdown to Christmas Calendar
A countdown calendar adds excitement to the holiday build-up! Paint a wooden board in festive colors and add hooks or clips to hold mini bags or tags for each day leading up to Christmas. It’s a practical, decorative piece the whole family will enjoy.
- Pro Tips:
- Use chalkboard paint to write in countdown numbers easily.
- Add small gift pouches with treats for a daily surprise.
- Mount it by your entryway for a welcoming touch.

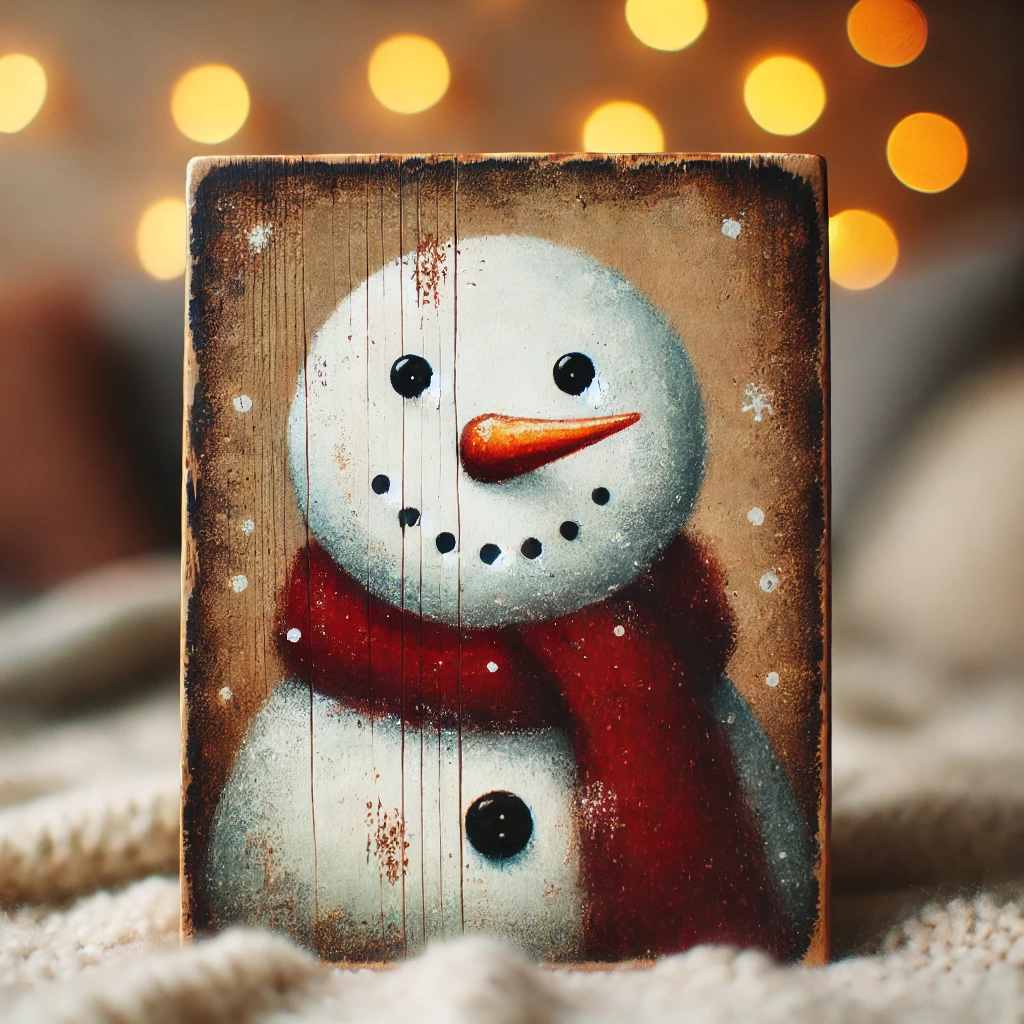
4. Snowman Wooden Plaque
Create a friendly snowman plaque that will last through the holiday season and beyond. Paint or draw a cheerful snowman face on a round or square piece of wood, using a piece of fabric or felt for a cozy scarf.
- Pro Tips:
- Use buttons for the snowman’s eyes for a 3D effect.
- Paint a carrot nose for extra character.
- Add a small hook at the back to hang it easily.
5. Wooden Christmas Ornaments
Use smaller wooden slices to create rustic Christmas tree ornaments. You can paint, wood-burn, or stencil holiday shapes like stars, reindeer, or angels on each slice, then add a loop of twine to hang them on your tree.
- Pro Tips:
- Drill small holes at the top for easy hanging.
- Paint designs with acrylics for bright, lasting colors.
- Add a bit of glitter or faux snow for a festive sparkle.
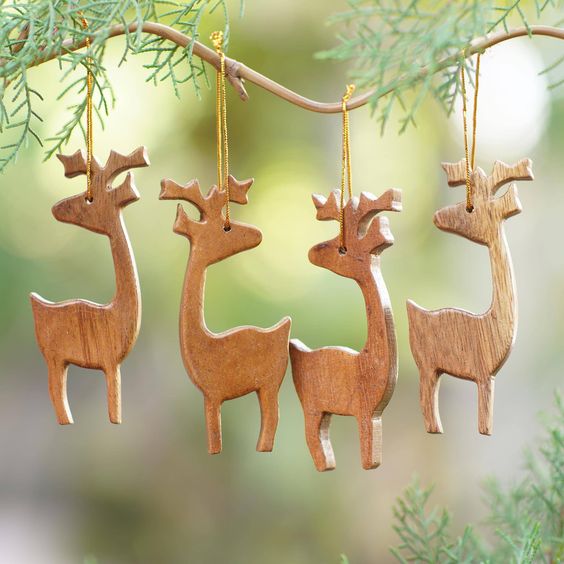
Image Credit: here
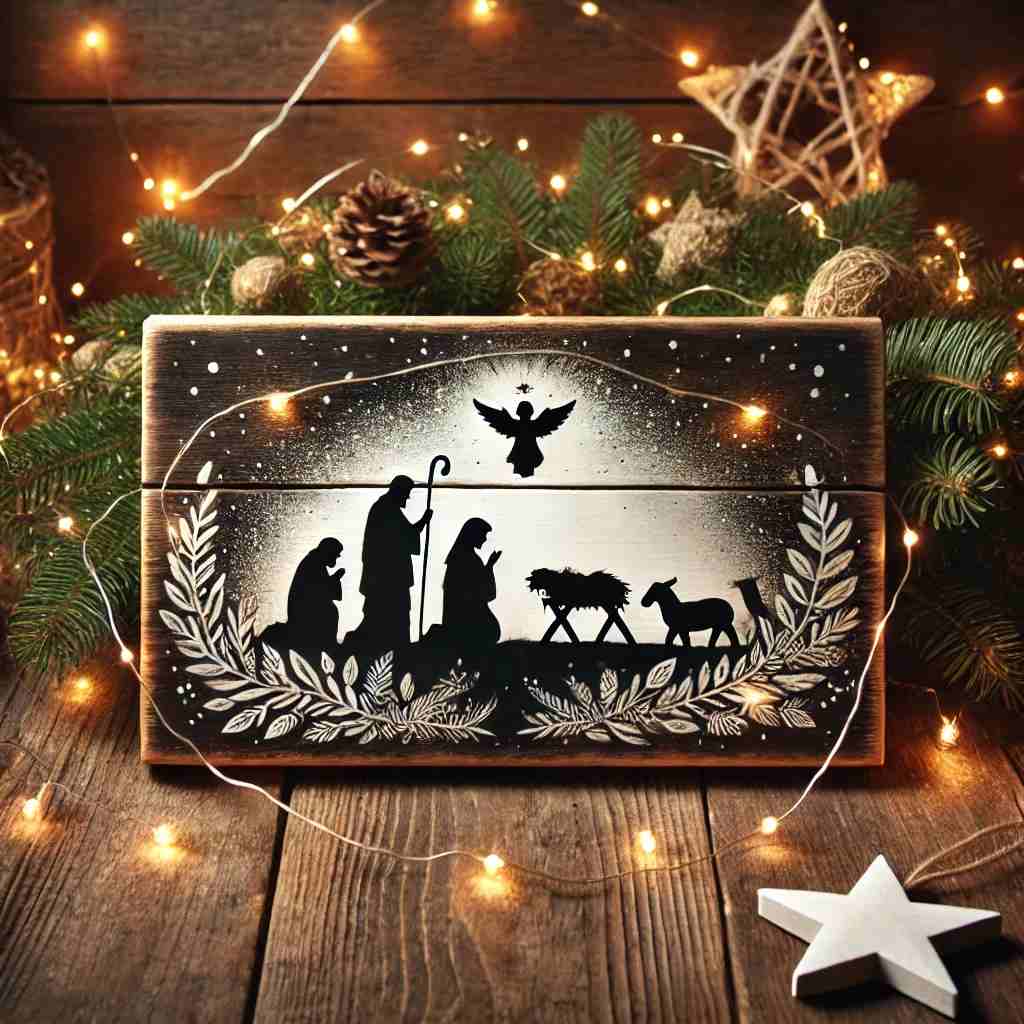
6. Nativity Scene Silhouette
For a traditional touch, create a silhouette of a nativity scene on a rectangular wooden board. Paint the scene in black or white for a simple yet striking decoration that celebrates the true meaning of Christmas.
- Pro Tips:
- Use masking tape for clean lines on your silhouette.
- Add a string of small lights to highlight the scene.
- Seal it with a clear coat to protect your work.
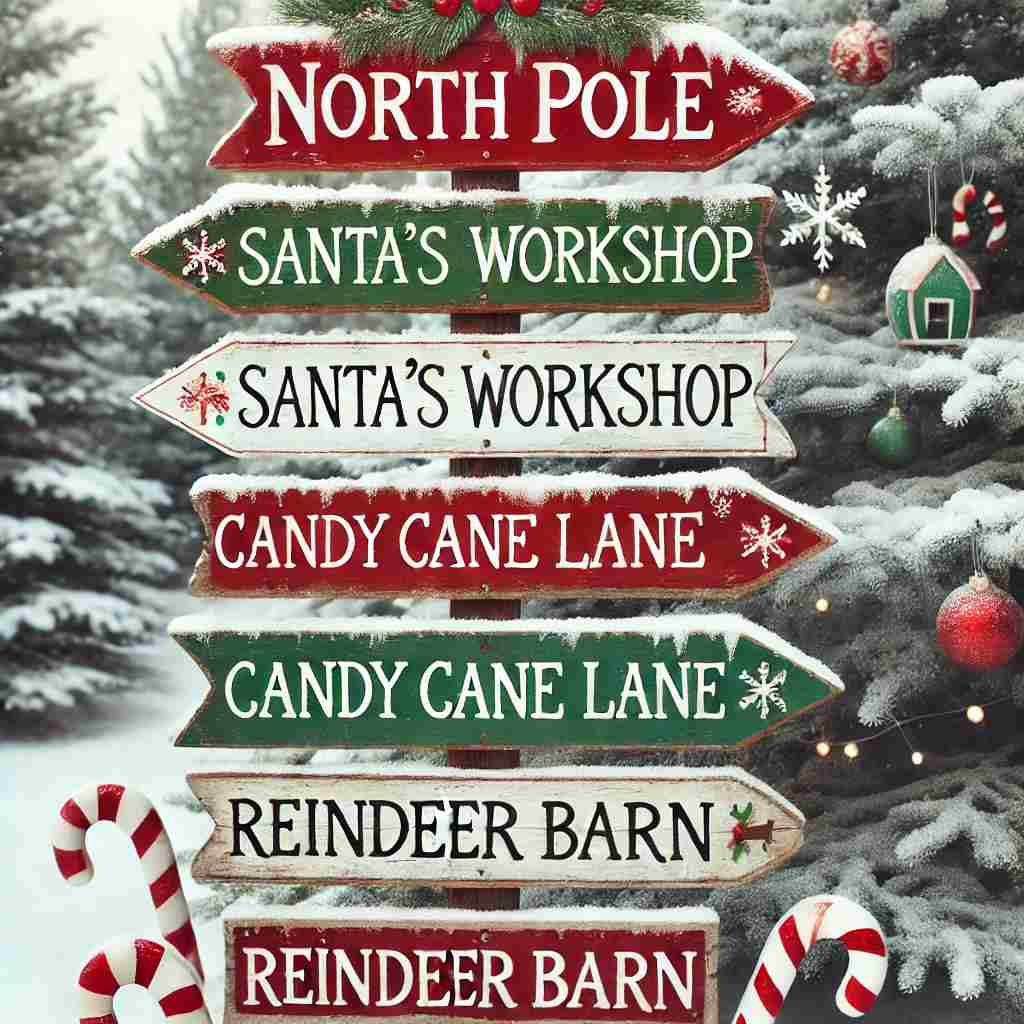
7. North Pole Directional Sign
Add some North Pole magic with a fun directional sign! Cut and paint small wooden boards to look like arrows pointing to “Santa’s Workshop,” “Candy Cane Lane,” and “Reindeer Stables.” Attach the signs to a vertical post for an eye-catching outdoor decoration.
- Pro Tips:
- Use bright red and white paint for a candy cane effect.
- Add glitter on the letters for extra shimmer.
- Place it in your front yard for a warm holiday welcome.
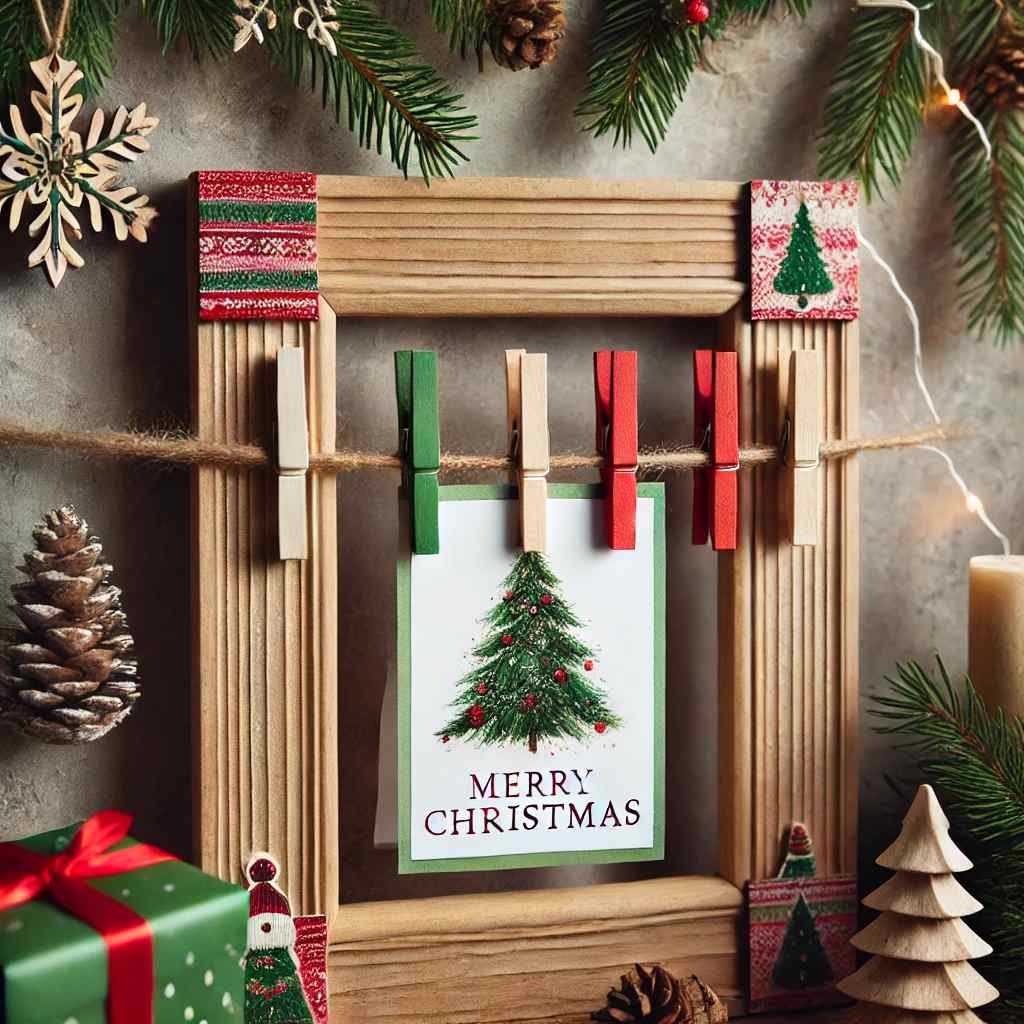
8. Christmas Card Holder
Display holiday cards in style by turning a wooden board into a card holder. Paint it in festive colors, add some twine or string across the board, and use mini clothespins to hang your cards for all to see.
- Pro Tips:
- Add tiny bells on the strings for extra holiday cheer.
- Use red and green clothespins for added color.
- Hang it near the entryway to showcase cards from friends and family.
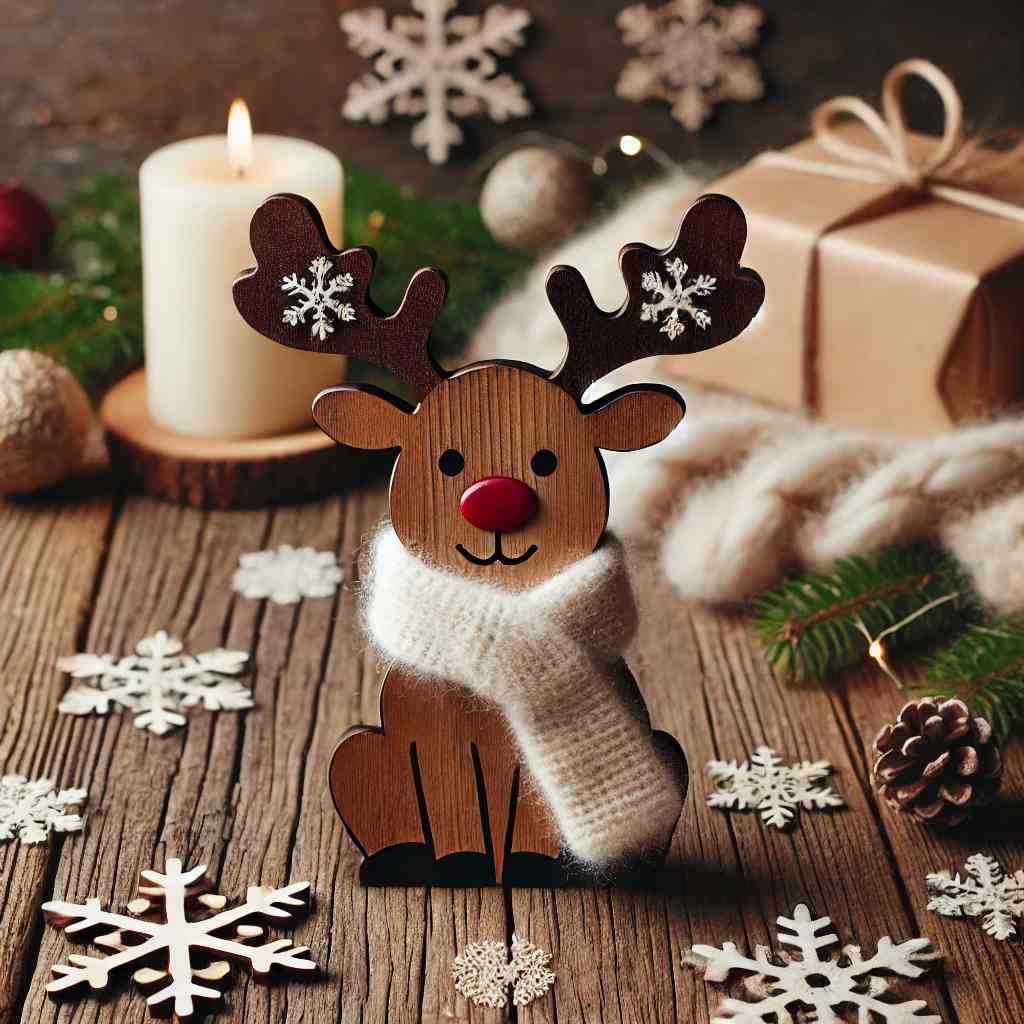
9. Reindeer Wooden Decor
Cut a reindeer shape from a wooden board or use a template and paint it. Decorate with a red nose, cute antlers, and add some faux fur around the neck for a charming, rustic reindeer decoration.
- Pro Tips:
- Use a stencil if drawing freehand feels tricky.
- Glue on a small red pom-pom for Rudolph’s nose.
- Place it on a shelf or hang it near the fireplace.
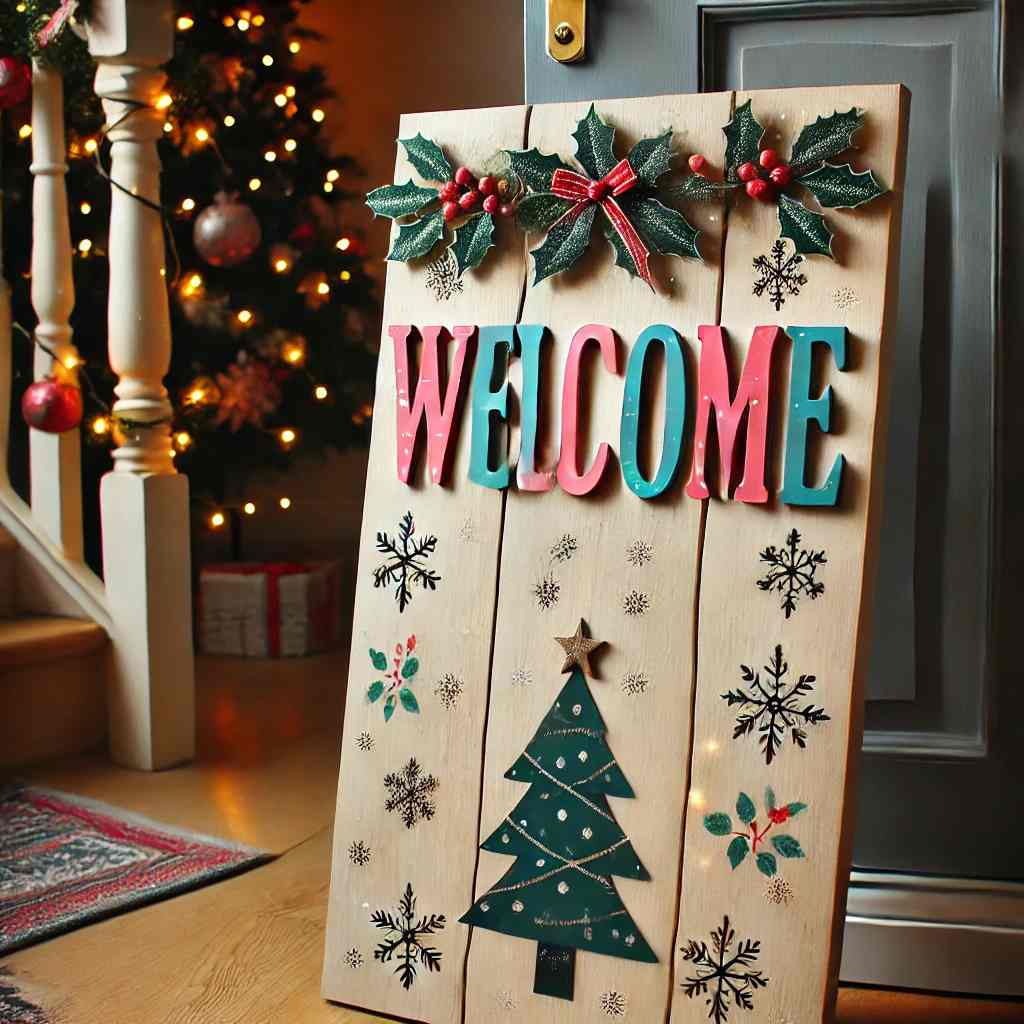
10. Holiday Welcome Sign
A wooden welcome sign adds a festive greeting to any doorway. Paint the word “Welcome” with a holiday twist—add snowflakes, holly, or Christmas lights around the letters. Place it by your front door for instant holiday charm.
- Pro Tips:
- Seal it with waterproof paint if placing it outdoors.
- Use gold or silver for an elegant touch.
- Frame it with garlands or lights for extra warmth.
Conclusion
With just a few wooden boards and some holiday spirit, these DIY projects will add character and warmth to your Christmas décor. Each craft is simple to make and offers room for personal touches, making them great for family activities or gifts. Whether you’re aiming for rustic charm or whimsical fun, these wooden board crafts bring the magic of the season to life. Happy crafting and happy holidays!

