Color Pyrography – 4 Amazing Ways to Color Wood Burning Projects
If you are willing to try color pyrography, I say go ahead without hesitation. I heard from several pyrographers that adding color steals away the original vibe of pyrography work. However, on the contrary, I have learned through my experience with wood burning that adding color only makes the projects more eye-catching.
Primarily, you can use various colored pencils, such as crayons, watercolor pencils, markers, etc. But if you want to add versatility, you can use watercolor paint, acrylic paint, oil paints, and even wood stain to color your pyrography projects.
In this article, I will give details on the colors you can use to introduce hues your pyrography projects. I have also discussed how you can add such pigments to wood burning artwork.
Details of Color Pyrography
Instead of colored pencils, paints are one of the best ways to try adding color to pyrography. Why? Because, they are more long-lasting, offers a vibrant color pigment, and are suitable for covering larger areas.
Here are the types of paints you can use for coloring pyrography.
- Watercolor paint
- Acrylic paint
- Oil paint
- Wood stain
- Colored pencils ( colored pencils for pyrography may interest you) are a whole big world, hope you will like it also, I have covered it separately)
Watercolor Paint
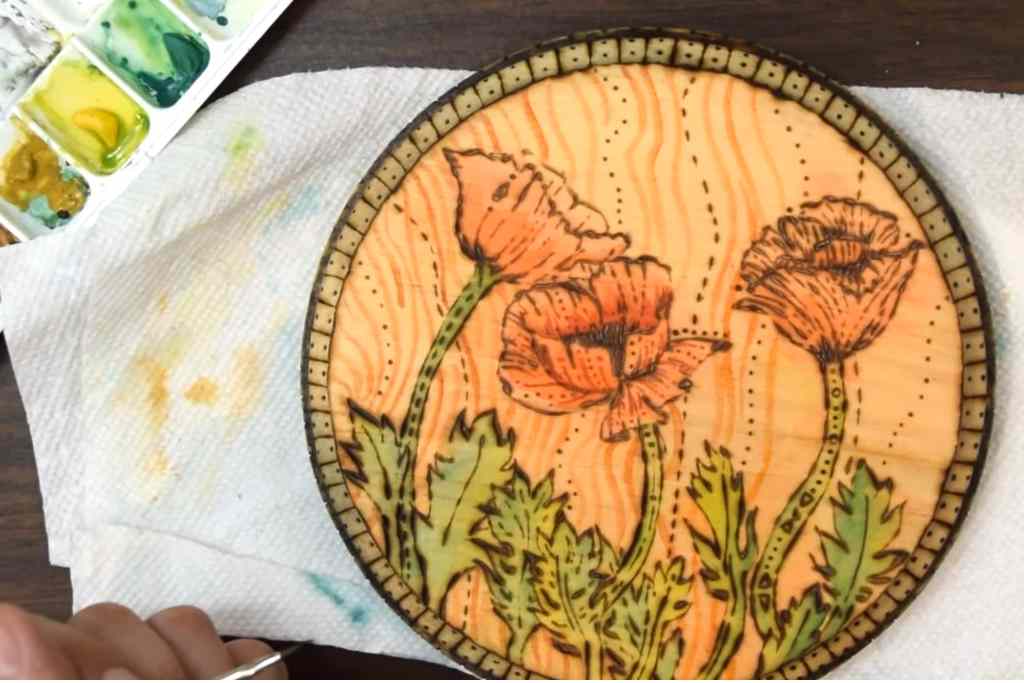
Coloring wood or any other surface with this is pretty challenging. But that did not prevent them from becoming one of the most popular pigmentation materials, used by all, from beginners to professionals.
This paint offers innumerable tones, and is easier to blend and create more tonal variations, and is also highly suitable for covering larger areas. It also dries really fast, even on wood, and you can quickly remove them if necessary. Following is a fabulous example of painting pyrography.
Pros
- Affordable paint
- Easier to work with, compared to acrylic paints
- Offers versatility and a variety of tones
- Easier to blend and create more shades
- Suitable to use with other media
Cons
- Can crack and lighten over time if not sealed
- Erasing the entire paint is easier than fixing mistakes
Acrylic Paint
Acrylic paints are one of the best options for painting pyrography work as it is long-lasting and more vibrant. They are exceptionally preferable if you want to add details and depth to your painted work. Besides, painting woodwork with acrylic paint is relatively less of a hassle than most other options.
Based on your preference, you can opt between thin and thick paint works to color your pyrography project. And it is best if you choose an acrylic paint that is manufactured specifically for wood.

Pros
- Not toxic and is safer to use
- Dries pretty quickly, even if they look thick
- Affordable price
- Offers lots of vibrant color and a versatile look
- Very long-lasting
Cons
- Cannot fix or alter the paint once it dries
- Can change pigment shade after drying
Oil Paint
Oil paint has two major elements: thinner and binder (oil). And both these elements make the paint toxic and release a strange smell or fume. Yet, oil paint is one of the widely used paint types for wood, making it suitable for pyrography wood as well.
You must be patient with oil paint as its oil base takes time to dry. But that works as an advantage in case you need to make corrections or carry on with your work after a break. And a beautiful painting pyrography is done after all your hard works and patience.
Pros
- Slow drying can be an advantage if you need to take breaks and consume working
- Color stays accurate even after drying
- Lots of varieties
- Does not require a finish after drying
- Easier to work with
Cons
- Takes longer to dry
- As the paint grows old, it loses its consistency and becomes yellowish
Stain
When it comes to “color” and “paint”, wood stain is the last thing that comes to mind. Well, no wonder why it is the last one on the list today. But yes, wood stain can be a medium to paint wood to your pyrography work if you mix it with colored paint.
But you must remember that the stain and paint must have the same base. It means if you are using an oil-based stain, the paint needs to be oil-based. The same goes for using water-based paint and stain.
Pros
- Makes the pyrography work and the paint color appear more vibrant
- Can leave either a glossy or matte finish
- As the stain ages, it does not peel oddly
- Stain is beneficial for the wood
- Enhances the overall appearance of the woodwork
Cons
- Stain requires reapplication after some years
- If the wood rejects the stain, you have to discard the entire work piece
How to Add Color to Pyrography
Pyrography coloring process can vary depending on the type of pigment medium you apply. But since all the mentioned pigmentation materials are paints, it will be easier to understand how they work.
Nevertheless, like all pyrography projects, here you also start by doing your wood burning artwork and then move to the coloring part. And here is a step-by-step guide on how it’s done.
This video will help you to understand the process.
Step 1: Gather Your Supplies
First, gather all the supplies for the project. For that, you will need-
- A wood piece of your choice
- Pencil and eraser
- Printed art or design paper
- Graphite paper
- Burner tool (pen and power supply, various tips)
- Coloring paint of your choice
- Safety gloves, masks, glasses, etc.
Step 2: Print Your Artwork
If you want to engrave something you came across on the internet, print that image, artwork, or design first. But if you want to do something on your own that is fine too.
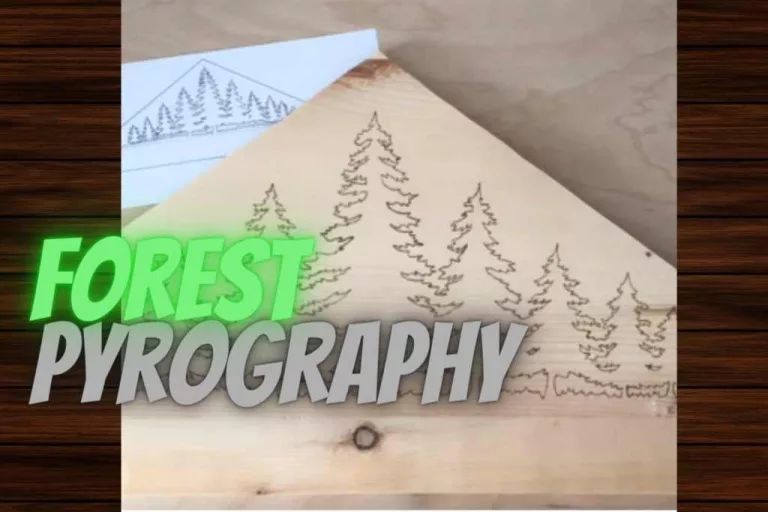
Step 3: Transfer Your Art on Wood
If you are using a printed design, you will need to transfer the design onto the wood piece using graphite paper and a pencil. Place the graphite paper on the wood and then the printed paper on top of it. After that, use a pencil to trace over the outlines of your chosen design to transform it on the wood.
Step 4: Wear Safety Equipment
Before you start burning wood, make sure to wear your safety equipment. It is essential you wear leather gloves or finger gloves to protect your hand from heat and burn hazards. You can also wear a respiratory mask to ensure you do not inhale the fume. And wearing safety glasses will help you from the fume as well.
Step 5: Burn The Design And Add Shading
Now that everything is prepared, start burning your design with the pyrography pen connected to the burner tool. Start with burning the outlines and then gradually work your way to other areas.
You can also change the shading tip to add shades where you want to add details. And before moving to the next step, make sure to remove the carbon from your wood piece using a rubber.
Step 6: Prepare To Add Color
Now choose the paint of your choice. If you are painting a wider design area, you can go for a medium or large painting brush. But you will also need a narrow brush tip to paint the smaller areas.
And no matter what type of paint you are using, make sure to have a small container of clean water and some tissues nearby to clean the paint off the brush occasionally if you are applying multiple colors.
Step 7: Apply Color
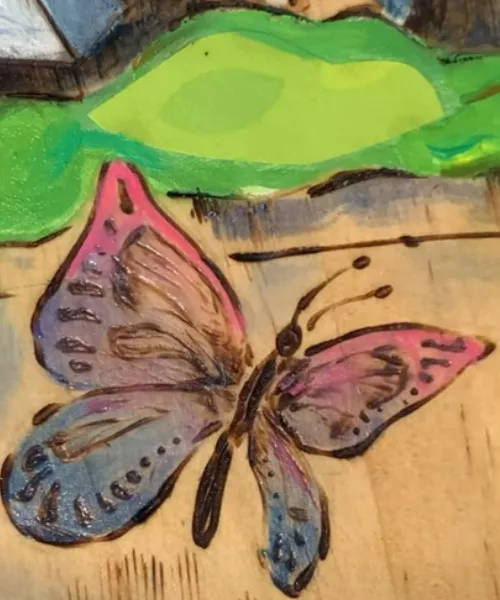
Start painting the wood piece with any color of your choice. You can start by working on the outer areas or outlines first before painting the other parts. Apply multiple layers of paint if necessary.
If you are using watercolor, make sure to dab the brush a little on a piece of tissue to remove the excess water to avoid unnecessary spreading. If you get the paints smeared on areas you did not want them on, you can scrap them off using a knife or blade tip.
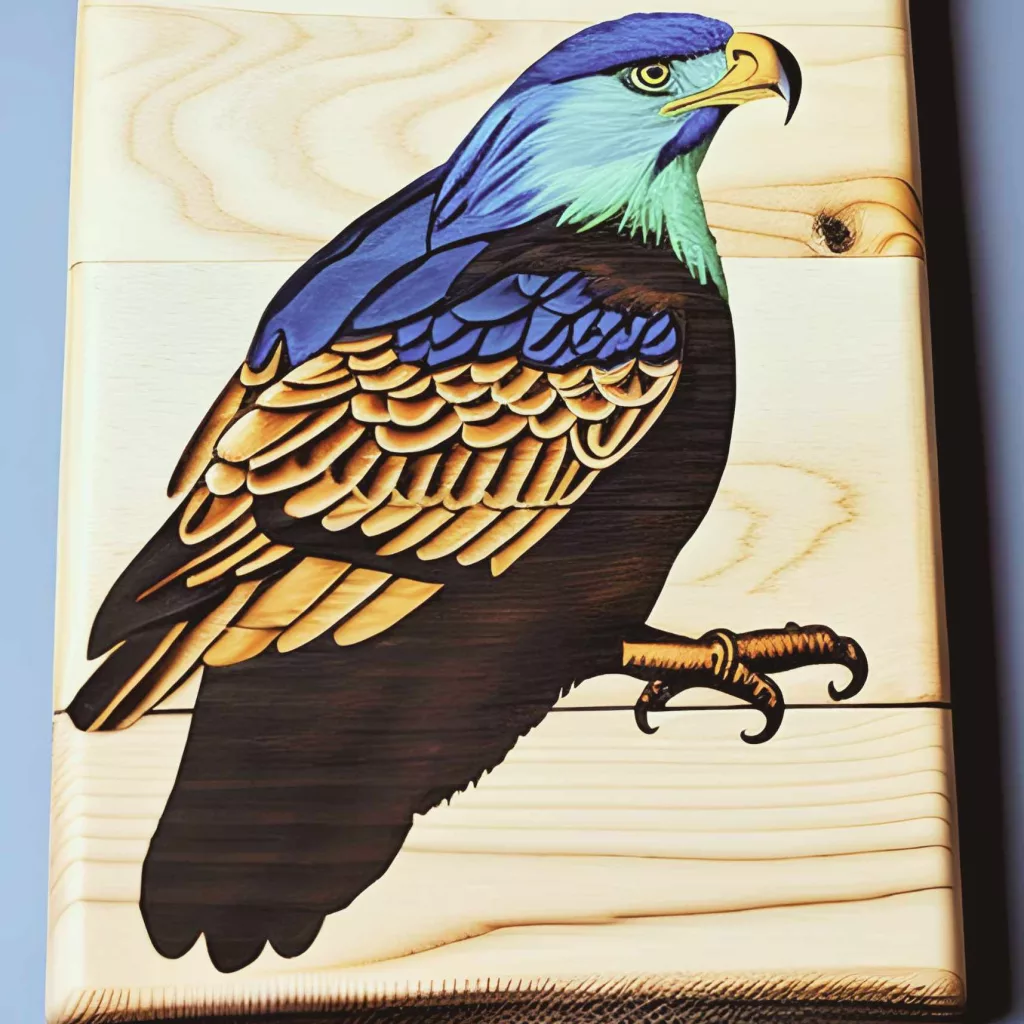
Animal and fish wood burn arts are very popular, these are perfect areas of applying hues.
Step 8: Apply Finish Or Sealant
Let the paint dry for some time. Then apply a wood finish or sealant to protect the paint and burned design. You can apply any matte or glossy spray to paint sealant. But make sure to apply it in even layers and let the piece heal for a few hours. You need to read this discussion on pyrography sealants for further details.
Why Add Color To Pyrography?
Pyrography seems fine and true to its origin just with the burning process. Then why bother going through the pigmentation efforts? Well, here is why.
More Details
Coloring is one of the best ways to add details to any work. Using various tones or layers of colors and blending, you can add more life to your wood burning art.
Vibrant Appearance
Adding color to something that people usually leave out as it changes its overall appearance. It makes the wood burning work more vibrant and eye-catching to the audience or anyone who comes across it.
Increases Value
Talking about an audience, if you are a professional pyrographer and pyrography is your business, adding color will add vibrancy and variety to your works. And it will also increase the value of your wood burning pieces.
Moreover, this video will help you to learn to apply paints on your wood burn.
FAQs
What paint is used in pyrography?
Acrylic paint is mostly used in pyrography. You can also use other paints like watercolor, oil paint, etc.
Can you add color to wood burning?
Yes, you can add colors to wood burning artwork. You have to use the wood-burning pen first and then add any color (water color, acrylic, oil paint, stain) you like.
Can you stain the wood after using torch paste?
Yes, you can stain the wood after using torch paste. Usually, torch paste is the unfinished substrate, and you can only stain the wood after this process is over.
How do you blacken wood burning?
To blacken the wood after burning, you can use a heat gun at a high temperature. After that, you can use black pigments and waxes to make the marks even more blackish.
How do you use colored pencils with wood burning?
You can use a colored pencil with wood burning after using the pyrography pen. You can simply draw over the wood using a pencil.
EndNote
Just like calligraphy work, pyrography is now one of the best ways to create artwork pieces for your own home decoration, create gifts, Christmas ornaments, and many more items. So why not add a touch of color and make it stand out even more? Now that you know what type of paints you can use and how to apply pigments on pyrography, make sure to practice a lot to improve your wood burning and coloring skill. One small thing, have a read on this article if you need to have a recap on the basics of pyrography.