Glass Painting – Techniques, Ideas, and Tips for Stunning Creations
Glass painting is a beautiful and expressive art form that transforms ordinary glass surfaces into radiant pieces of art. Whether you’re decorating your home, crafting a personal gift, or simply exploring your creativity, glass painting offers endless possibilities. With its vibrant colors, unique transparency effects, and endless design options, it’s no surprise this form of art continues to capture the hearts of artists and hobbyists alike.
What is Glass Painting?
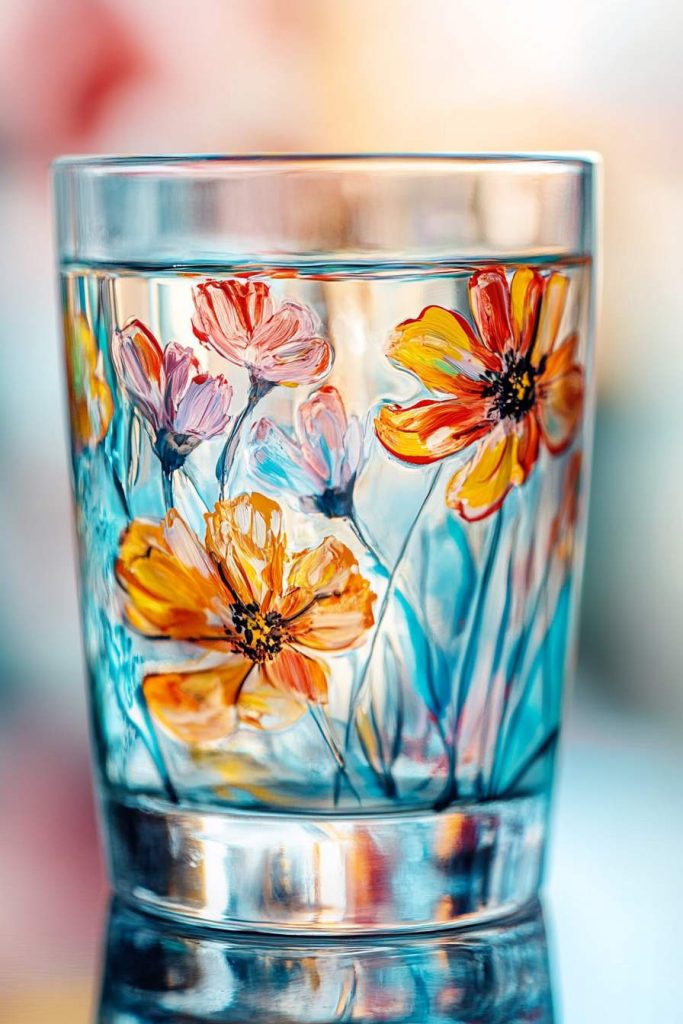
Glass painting refers to the technique of applying paint to glass surfaces to create decorative artwork. Unlike canvas painting, glass offers a glossy, smooth surface that allows light to interact with colors in fascinating ways. This art form has historical roots in many cultures, including reverse glass painting in India, China, and Europe, and is often seen in both contemporary decor and traditional stained glass windows.
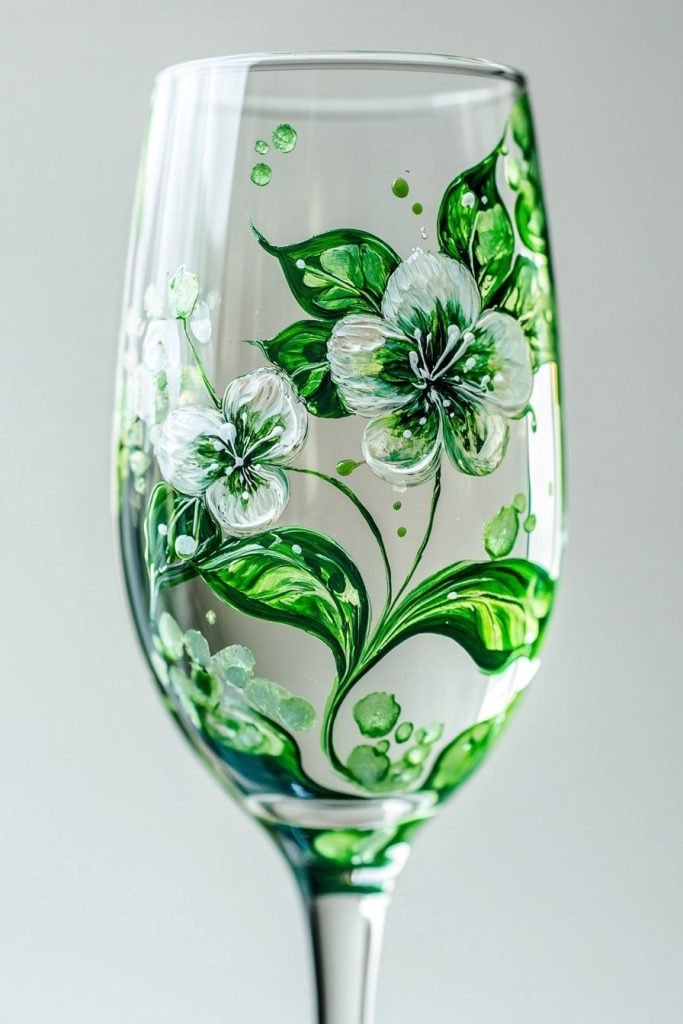
While often confused with stained glass, which involves colored glass pieces joined with lead strips, glass painting focuses on painting directly onto the glass surface. This makes it more accessible for DIY enthusiasts and easier to experiment with.
Types of Glass Painting Techniques
Glass painting encompasses a variety of creative methods, each lending a unique texture, light effect, and artistic expression to the final work. Whether for home décor, religious art, or modern design, these techniques offer limitless possibilities. Here’s a closer look at some popular styles:
1. Reverse Glass Painting
This age-old technique, also known as verre églomisé, involves painting on the back side of a glass panel so the image can be viewed through the front. The process is intricate—artists must paint details and highlights first, followed by background layers.
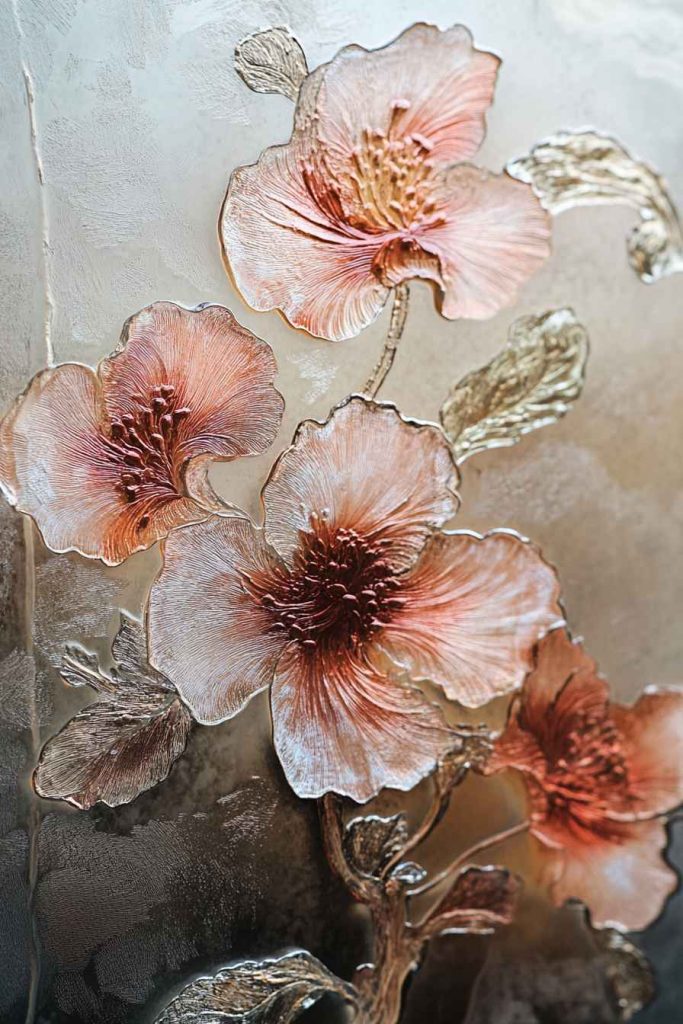
Once flipped, the artwork displays a smooth, polished finish on the front while preserving the depth and clarity of layered paint. It’s commonly used for portraits, religious icons, and decorative panels, especially when paired with gilded borders or framing.
2. Stained Glass Effect
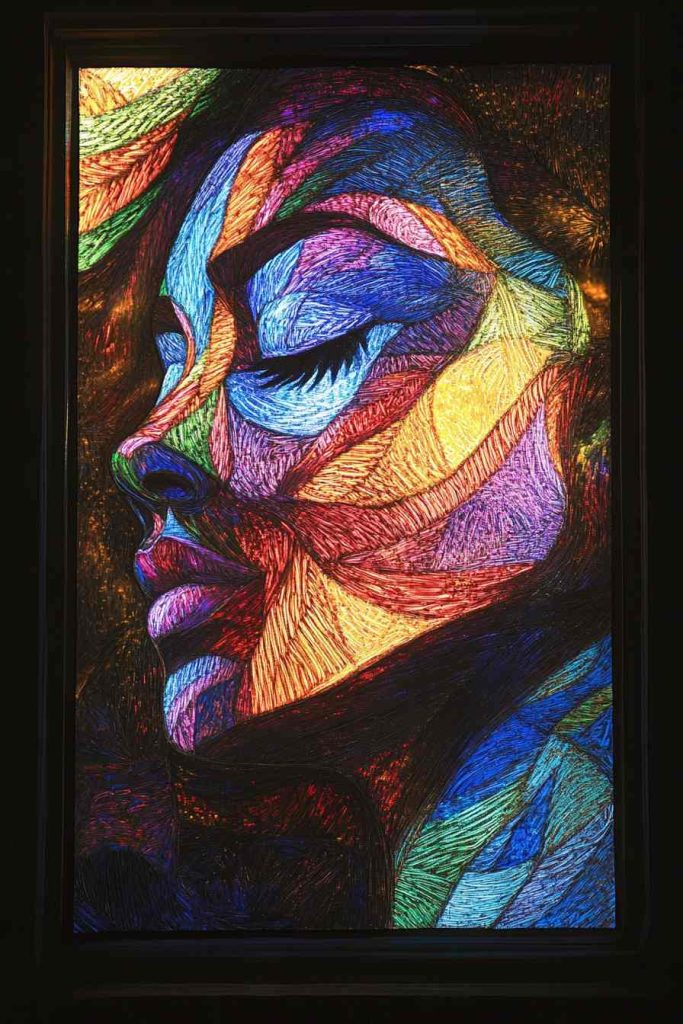
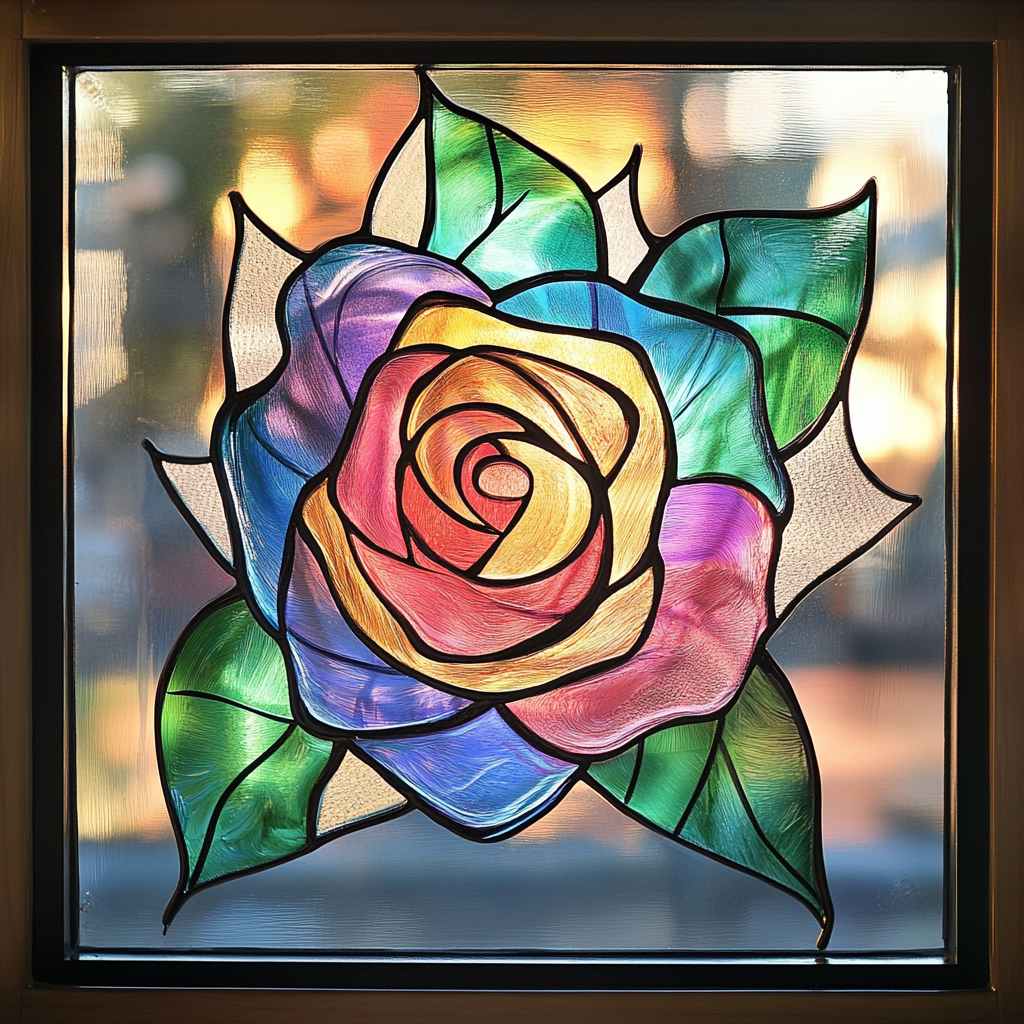
To simulate the beauty of traditional stained glass without the complexity of leadwork and kiln firing, artists use black outliner paints or adhesive lead strips to mimic the iconic “lead came” divisions.
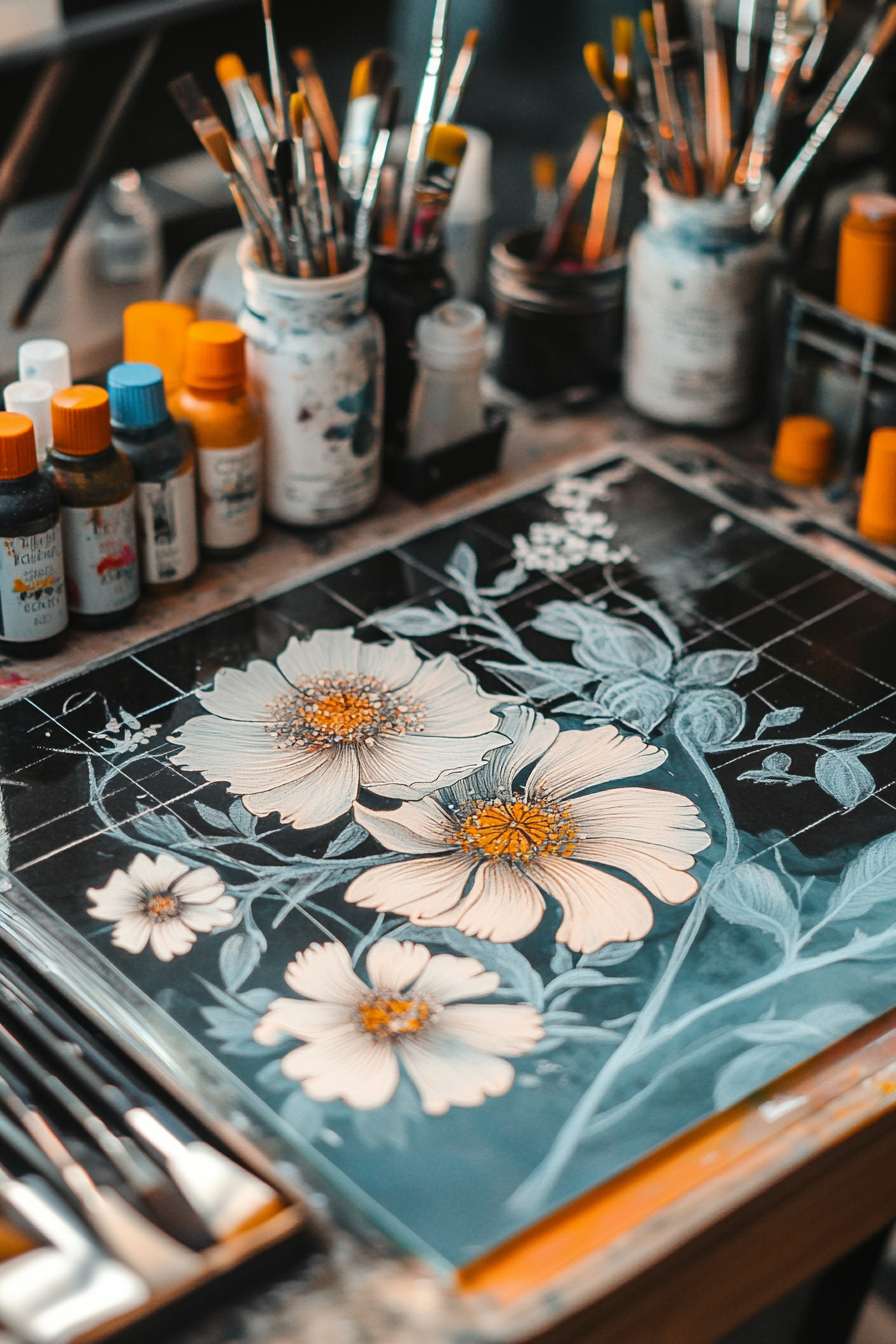
The enclosed spaces are filled with vibrant, transparent glass paints that allow light to pass through. When placed in a window or backlit frame, the artwork radiates with color and brilliance, closely resembling actual stained glass.
3. Dot Painting
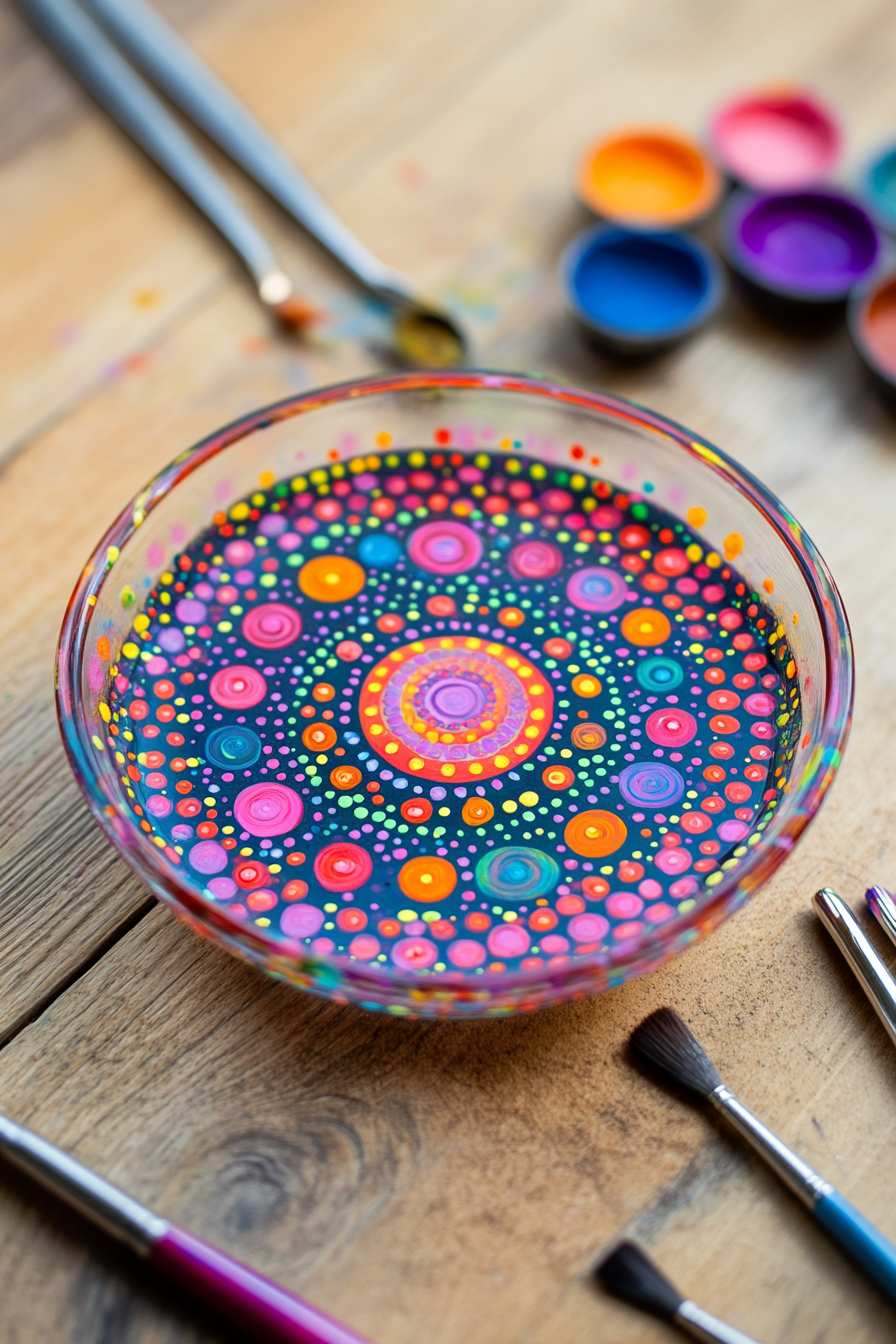
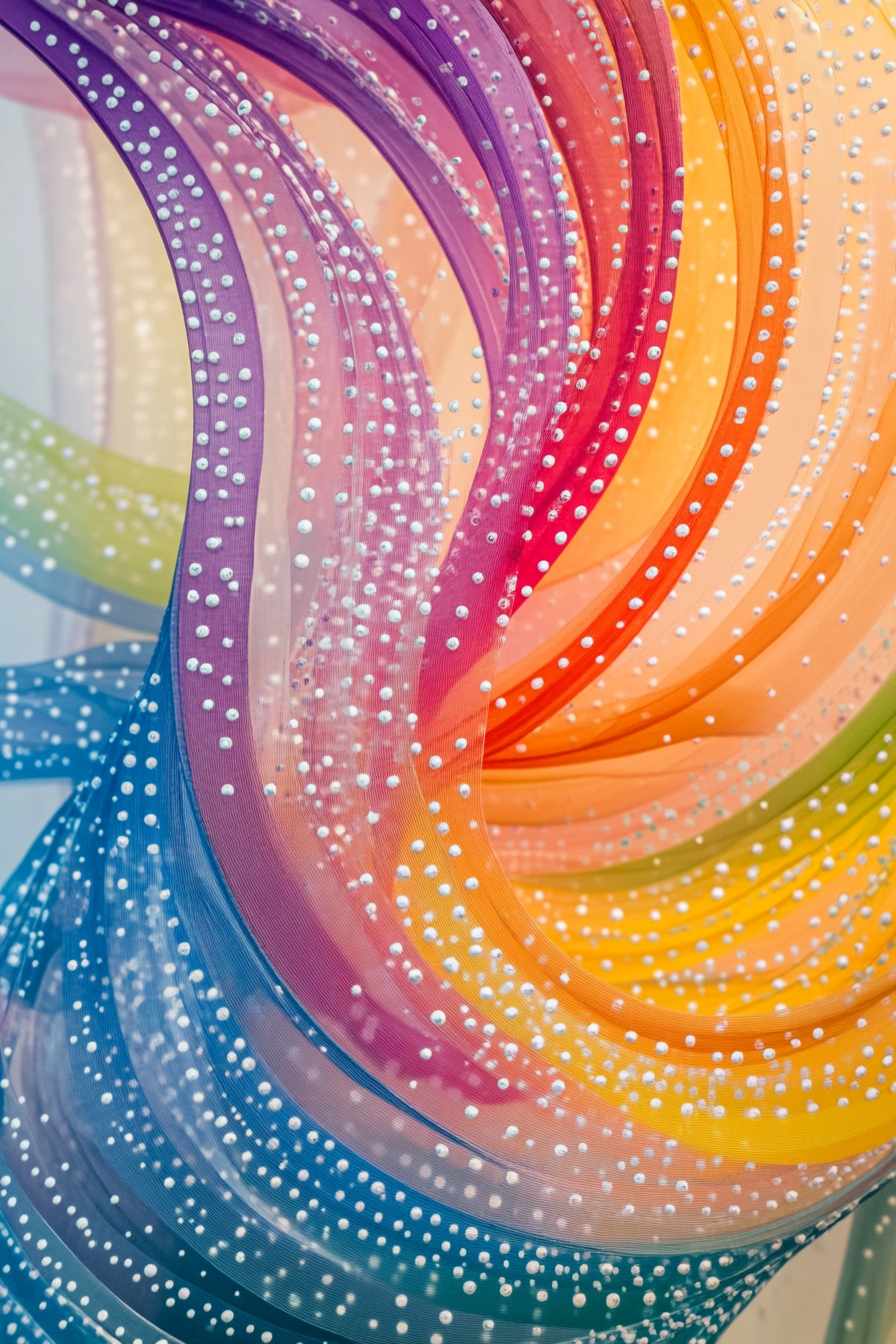
Dot painting on glass involves applying small, deliberate dots using tools like styluses, toothpicks, or the tips of paintbrushes. These dots are strategically placed to create intricate patterns, mandalas, or motifs—often inspired by Aboriginal art or pointillism. The technique requires patience and precision, producing textured surfaces that catch and reflect light in mesmerizing ways.
4. Etching and Frosting (Paint Combination)
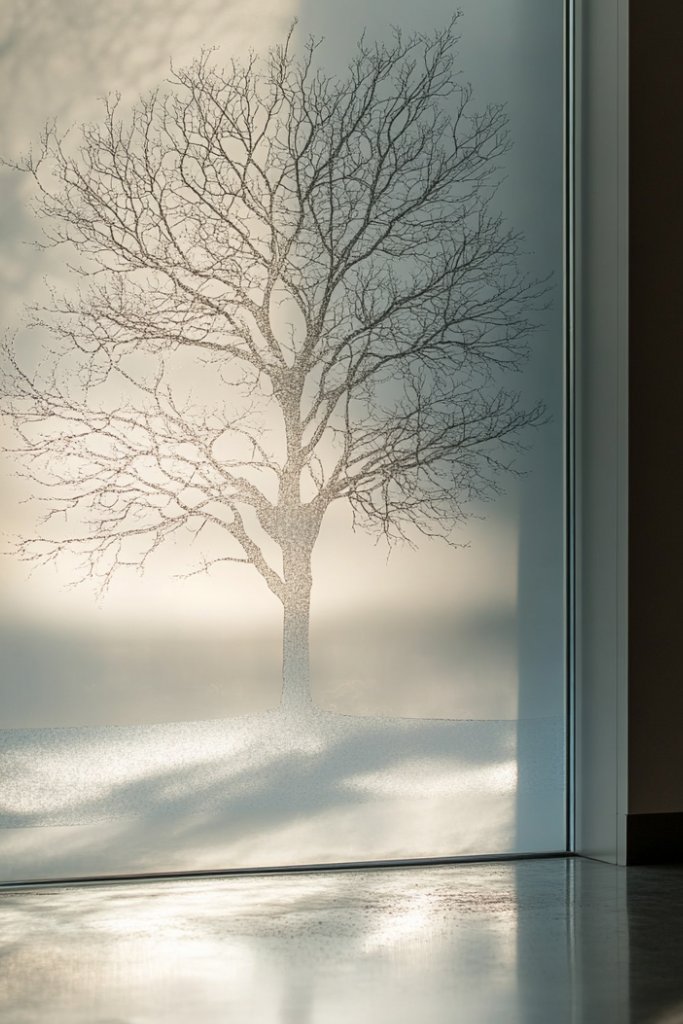
Though technically not painting, etching and frosting techniques are often integrated with glass paint to add depth and texture. Etching involves using a chemical cream or sandblasting to carve or frost portions of the glass. This creates a soft, milky appearance that contrasts beautifully with painted areas. Artists often layer transparent paints over frosted glass to produce diffused color effects, or use etching for borders, accents, or to create privacy without losing light.
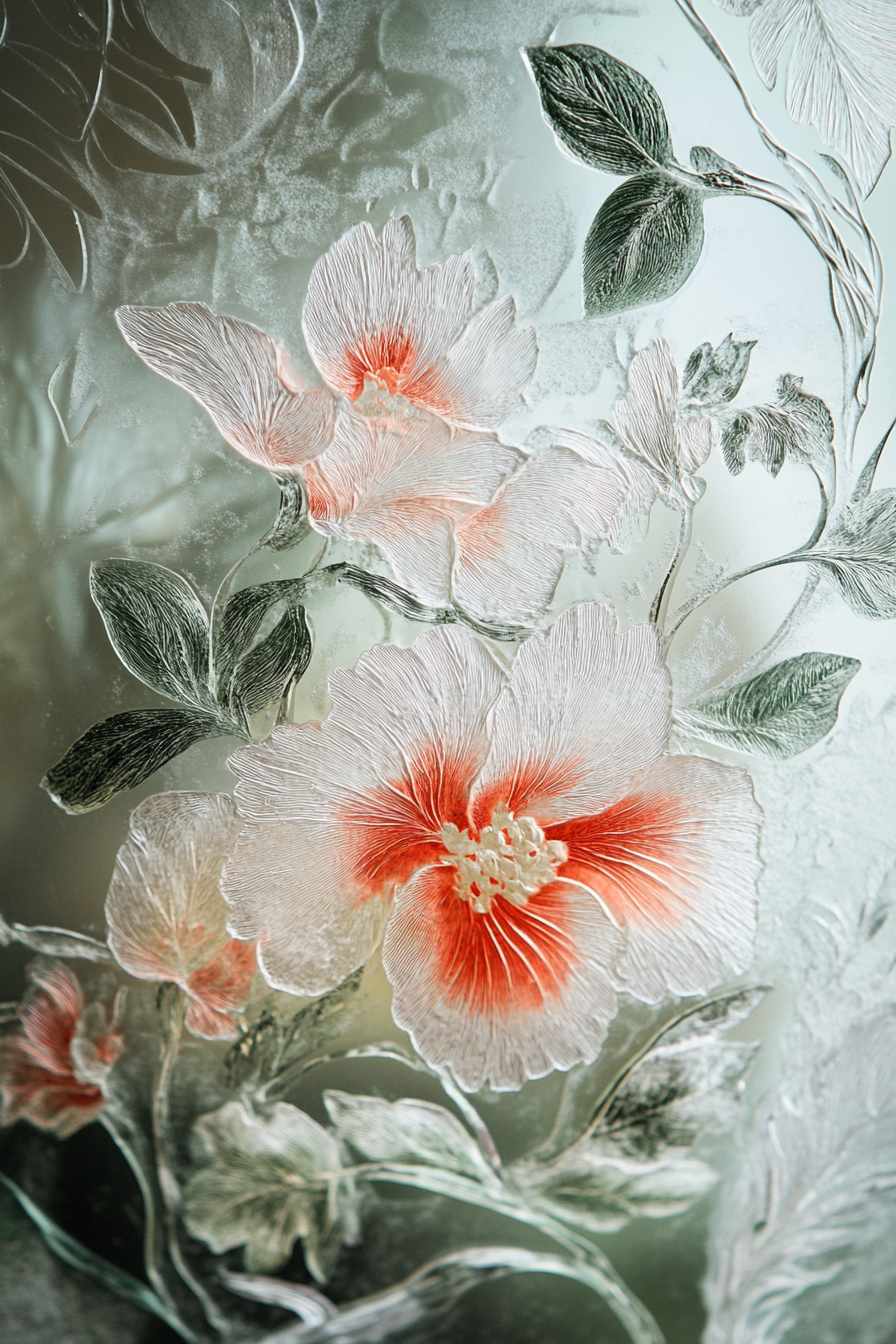
5. Opaque vs. Transparent Painting
- Transparent Paints: These allow light to pass through, making them ideal for sun catchers, window décor, and backlit frames. The glowing effect changes with the angle of sunlight or artificial lighting, adding dynamism to the piece.
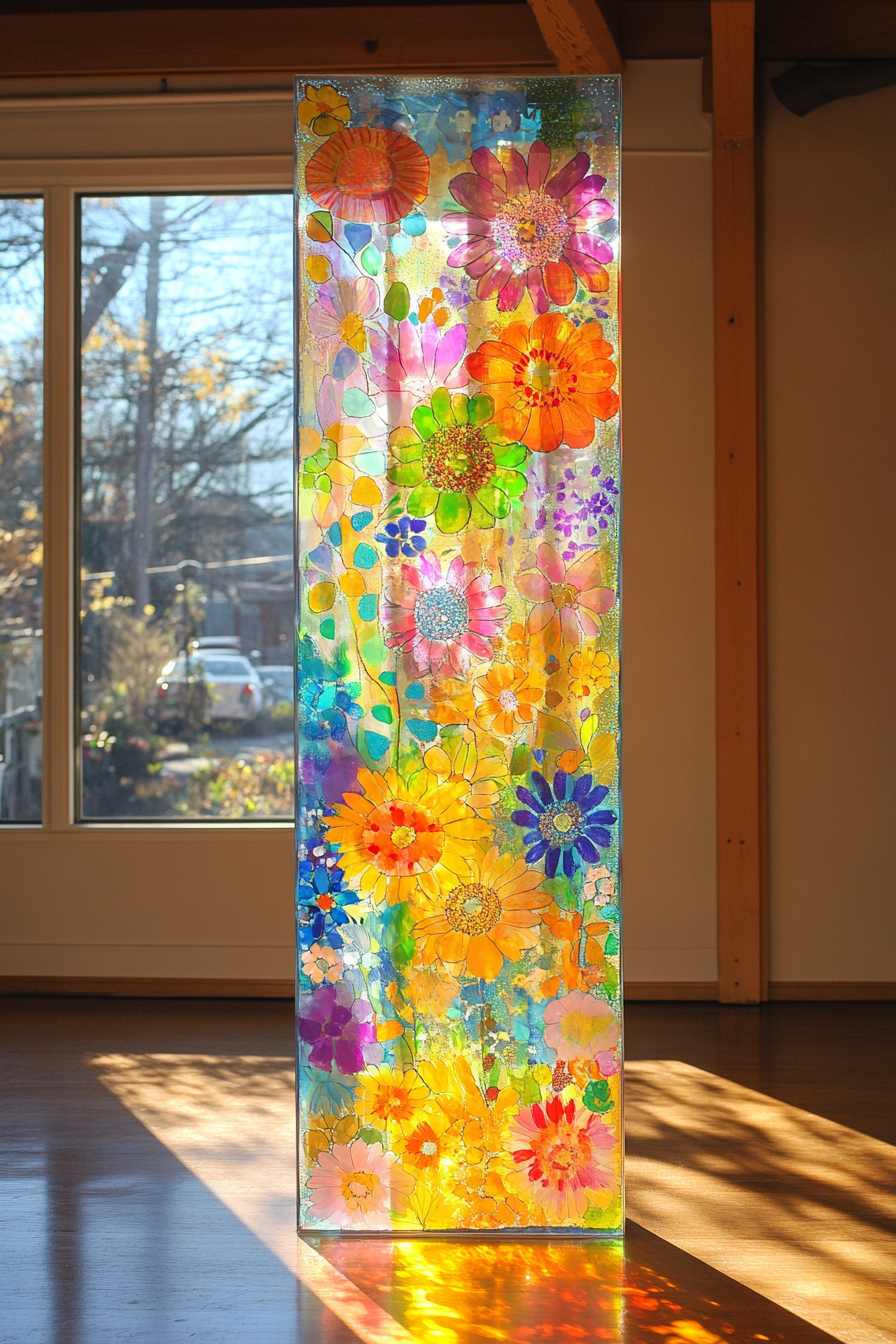
- Opaque Paints: These provide strong, solid colors that do not allow light to pass. They are perfect for bold designs or glass items that don’t rely on illumination, such as decorative bottles, vases, or dishware. Combining both types of paints in a single piece can create dramatic contrast and visual layering.
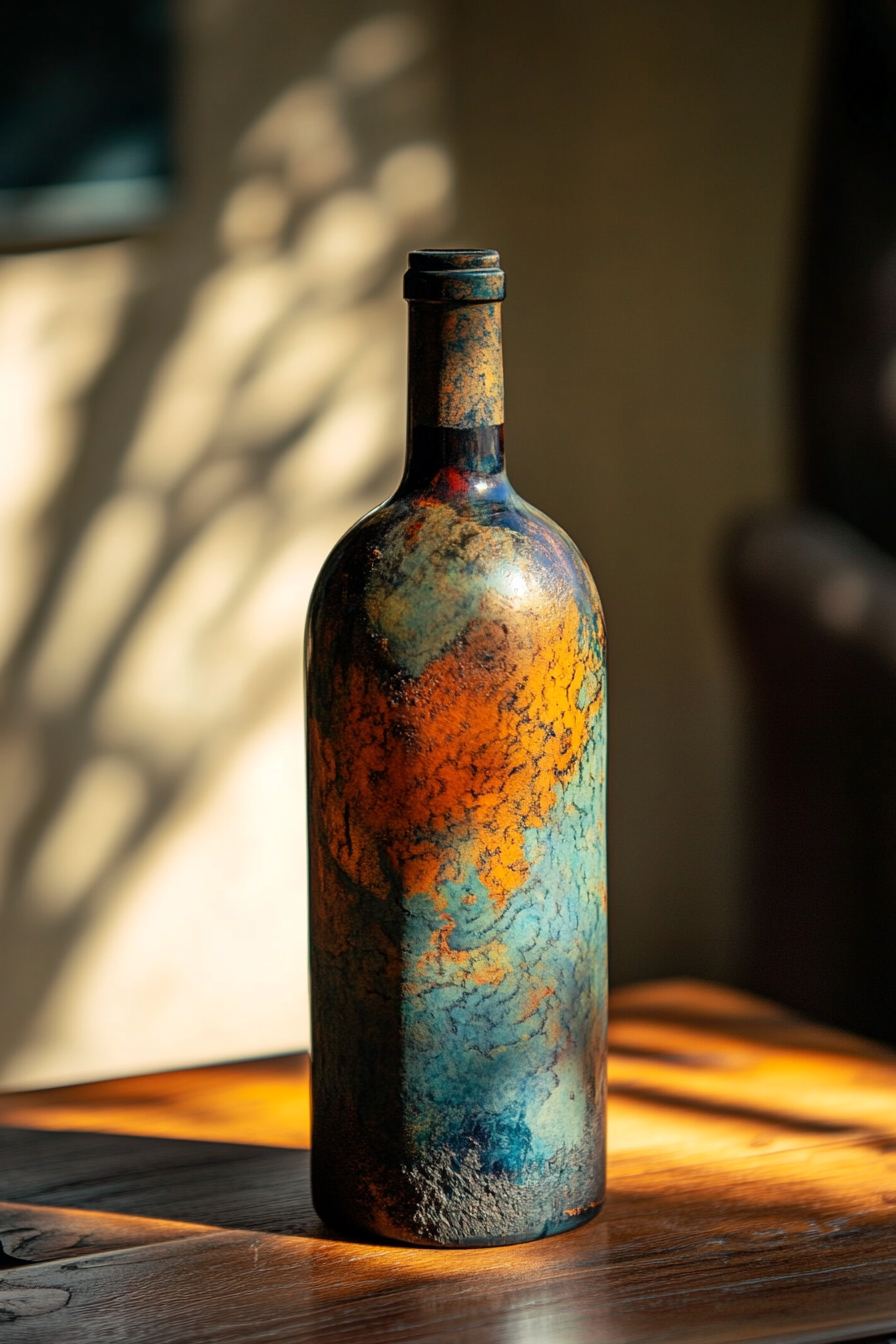
Each technique has its own learning curve and application method, but experimenting with them opens up a world of artistic opportunities on glass surfaces—from delicate wine glasses to large window panels.
Each technique offers a unique feel and is suited for different kinds of projects.
Essential Supplies for Glass Painting
Getting started with glass painting doesn’t require a long list of supplies, but choosing the right ones can greatly impact your results. Here’s what you’ll need:
- Glass surfaces: Think picture frames, wine bottles, jars, mirrors, windows, or even old glassware.
- Paint types: Glass paints are specifically designed to adhere to smooth surfaces. Options include:
- Solvent-based paints (for glossy, vibrant finishes)
- Water-based paints (easy to clean and great for beginners)
- Acrylic paints (often used with a medium for glass application)
- Glass paint markers for outlining or detail work
- Brushes and tools: Liner brushes for outlining, flat brushes for fills, and sponges for blending or background effects.
- Outliners: Typically black or metallic, outliners define your design before coloring it in.
- Cleaning materials: Rubbing alcohol, cotton pads, and gloves help clean the glass before painting and prevent smudges.
Step-by-Step Guide to Start Glass Painting
Here’s a beginner-friendly process to create your first glass painting project:
- Choose Your Surface: Select a clean, smooth glass item such as a photo frame or glass jar.
- Clean the Glass: Use rubbing alcohol or soapy water to remove oils and dust. Let it dry completely.
- Prepare the Design: Sketch your design on paper and tape it to the reverse side of the glass. If you’re confident, freehand it directly onto the glass.
- Outline Your Design: Use a liner or outliner paint to trace your design. Let this dry thoroughly—it forms barriers for your paint and prevents colors from bleeding.
- Apply the Paint: Use a fine brush or sponge to apply color. Layering may be needed for deeper tones. Let each layer dry before applying the next.
- Curing and Sealing: Some paints need baking to become permanent; others can be air-dried and sealed with a clear topcoat for extra protection.
Creative Glass Painting Ideas
Glass painting can be adapted for numerous projects across seasons, styles, and purposes. Here are some imaginative ideas:
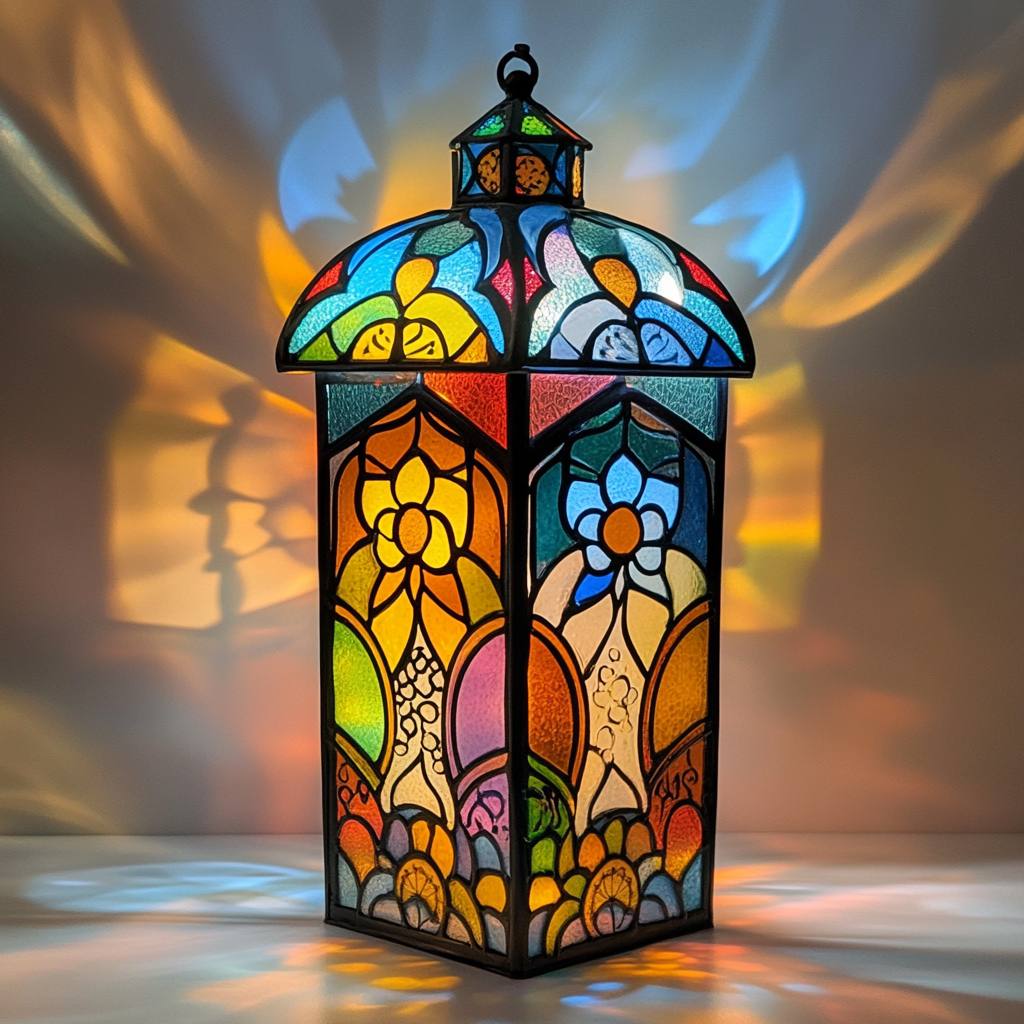
- Home Décor: Painted vases, candle holders, or glass wall art with floral, abstract, or geometric designs.
- Festive Crafts: Christmas-themed glass jars, painted lanterns for Ramadan or Diwali, and Halloween bottles with spooky faces.
- Personal Gifts: Customized wine glasses with names, anniversary photo frames, or glass plaques with hand-lettered quotes.
- Fun with Kids: Safe, non-toxic paint projects like suncatchers, painted pebbles under glass, or decorated glass tiles.
The beauty of glass painting is its adaptability to different skill levels and age groups.
Tips for Beginners
If you’re just getting started, keep these tips in mind for the best experience:
- Clean the surface thoroughly before you start painting. Any residue can ruin adhesion.
- Practice on scrap glass or clear plastic before working on your final piece.
- Avoid thick, heavy layers of paint—they can drip or dry unevenly.
- Allow plenty of drying time, especially between colors and before sealing.
- Try painting with the piece flat on a table to prevent drips and paint shifts.
Common Mistakes to Avoid
Even seasoned artists can stumble on glass surfaces. Watch out for these common pitfalls:
- Using non-glass-compatible paint: Regular acrylics without a medium may peel or flake.
- Skipping surface prep: Dirty or oily glass prevents proper adhesion.
- Rushing the drying process: Wet paint can smudge or blend unintentionally.
- Incorrect baking or sealing: Some paints require baking to cure—read the instructions carefully.
Taking time at each stage leads to polished and lasting results.
How to Preserve and Display Glass Art
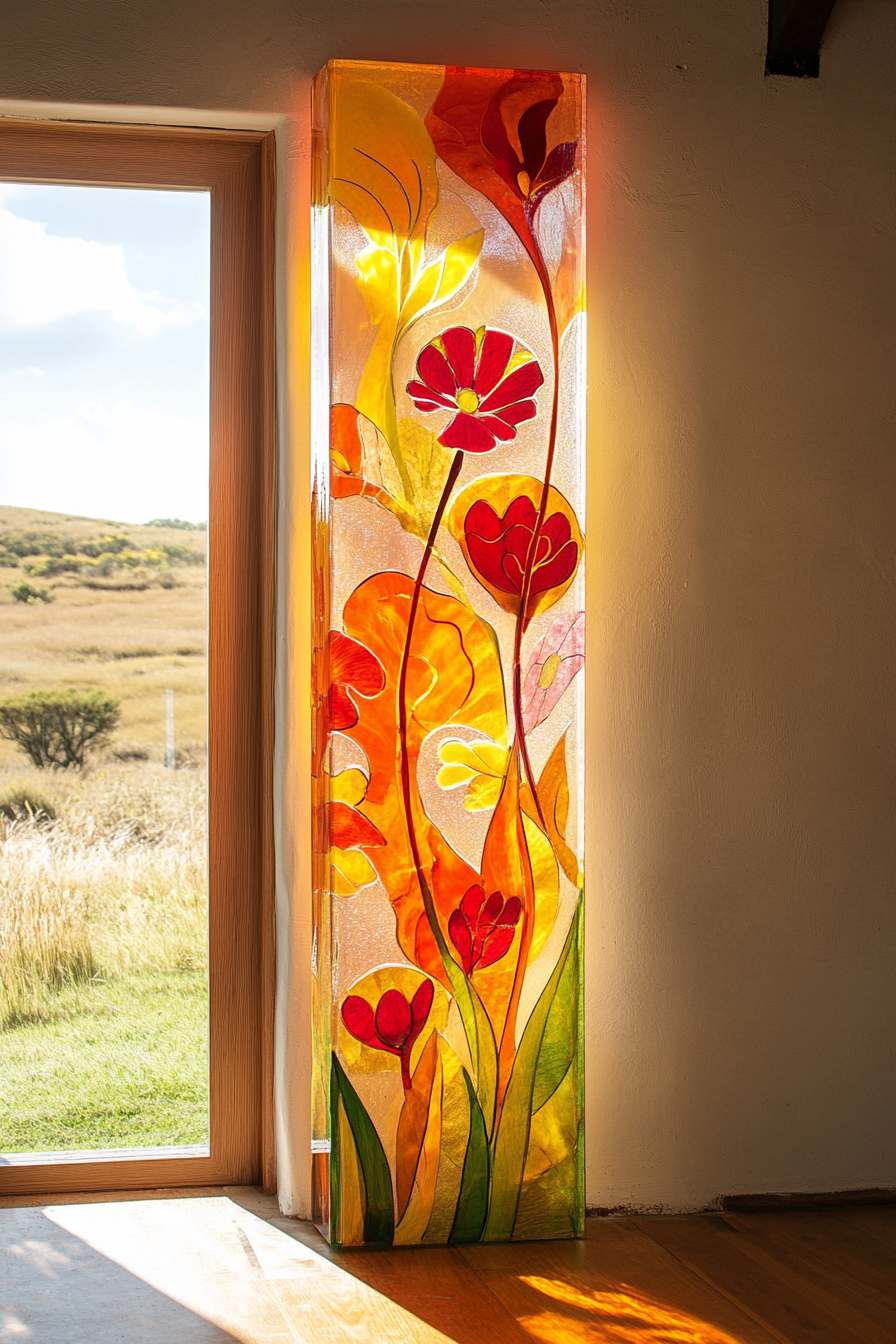
Glass paintings deserve to be shown off and protected. Here’s how:
- Sealing: Use a clear acrylic sealer or bake the glass if your paint requires it. This enhances durability.
- Framing: For flat pieces, use shadow box frames to give dimension and protection.
- Lighting: Display pieces near windows or with backlighting to enhance transparency effects.
- Care: Avoid harsh cleaners; instead, gently wipe with a soft cloth or dry duster.
Inspiration Gallery
Imagine these dreamy ideas for your next glass painting adventure:
- Spring Blossoms on a Window Pane
- Mandala Dot Painting on Candle Holders
- Abstract Faces on Wine Bottles
- Autumn Leaves on a Hanging Suncatcher
- Festive Tree Ornaments with Transparent Hues
Let your creativity follow the seasons and moods!
Wrapping Up
Glass painting is more than just a craft—it’s a blend of creativity, patience, and luminous charm. Whether you’re experimenting with patterns or designing personalized gifts, painting on glass invites you to slow down and savor the beauty of handmade work. It’s a skill anyone can learn with the right guidance and a little imagination.
So gather your brushes, pick your palette, and start transforming clear glass into colorful masterpieces.
FAQs
Can you use acrylic paint on glass?
Yes, but it’s best to mix it with a glass medium or choose paints labeled for glass surfaces.
How do you seal a painted glass item?
Use a clear spray sealant or follow the baking instructions if using heat-set paints.
Is glass painting waterproof?
Not unless sealed properly. Painted glass should not be soaked or scrubbed unless protected.
Can kids do glass painting safely?
Absolutely—with non-toxic, water-based paints and adult supervision.


