Leather Pyrography– Stunning Patterns, Techniques, and More
LEATHER PYROGRAPHY or leather burn arts– while it might seem like a variant of wood pyrography, it is vastly different. If you’ve been making wood-burning art for a while and want to try the same on leather, you’re in for a pleasant surprise!
This medium has its own beauty, challenges, and complications. You need to use a handful of different techniques. You need to make sure your tool suits the purpose. Your own skillset needs some alterations, too!
What History Says About It?
- The burning origin must be as old as the time humans started to use animal hides for different purposes. It was used to decorate the covers of valuable handwritten books, especially religious scriptures.
- Very old examples of this burn art can be found in Iran’s Safavid dynasty, which went on from 1501 to 1736.
How Do You Do It?
Items Needed
You can use pretty much everything you need for wood pyrography. However, preparing the leather requires a few different things. Nevertheless, here are a lot of items you will need for this type of pyrography and why.
Common Spray Bottle
- You will need a spray bottle with water.
- It will help do the prep work.
- The spray bottle creates a mist spray that helps soak the medium with water evenly.
Tragacanth (Alternative)
- Tragacanth (a natural adhesive obtained from plant sap) is often used as a better alternative to water mist or spray.
- Usually, it is applied on the “flesh” side to treat and smoothen it.
- It is applied on the surfaces as coats.
- This solution’s job is to smoothen the medium and darken it.
- It also offers a better burning texture.
As you have read above, you can use two methods to smoothen the surface:
a) spraying water and then burnishing with wood
b) applying gum Tragacanth.
And if you are unsure which one works better, you can take a look at the following comparison table.
| Water Spray | Gum Tragacanth |
| 1. Free of cost 2. Offers a matte finish 3. Stays on the material longer 4. Does not have any odor 5. Does not contain the risk of suffering from chemical reactions. 6. The skin part may dry completely while the sides still remain wet. | 1. Costs money 2. Helps darken the surface 3. Can lose suppleness 4. May smell slightly 5. Applying a heavier coat turns the top surface color milky 6. Must dry the sides before applying it over the flesh area. 7. Might cause a slight chemical reaction, making it necessary to wear gloves. |
Edge Re-shaping
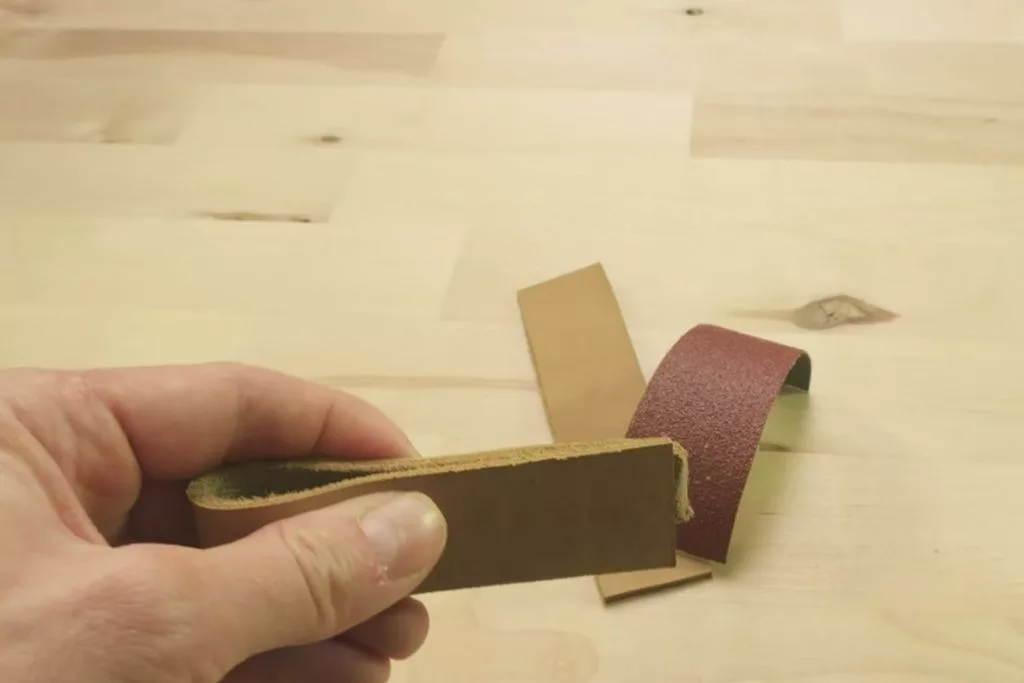
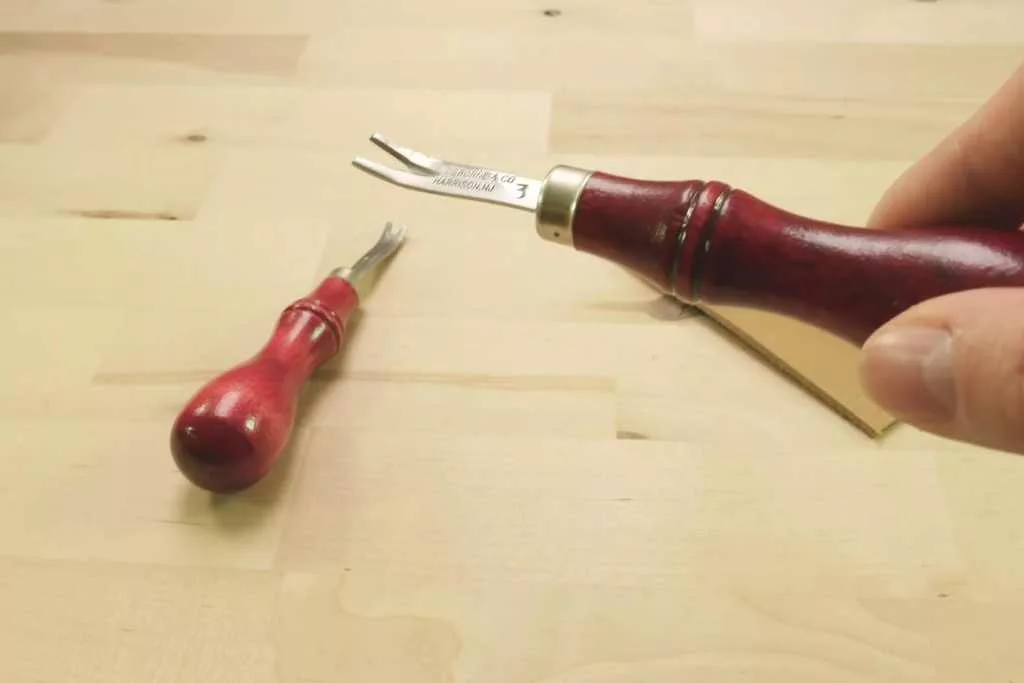
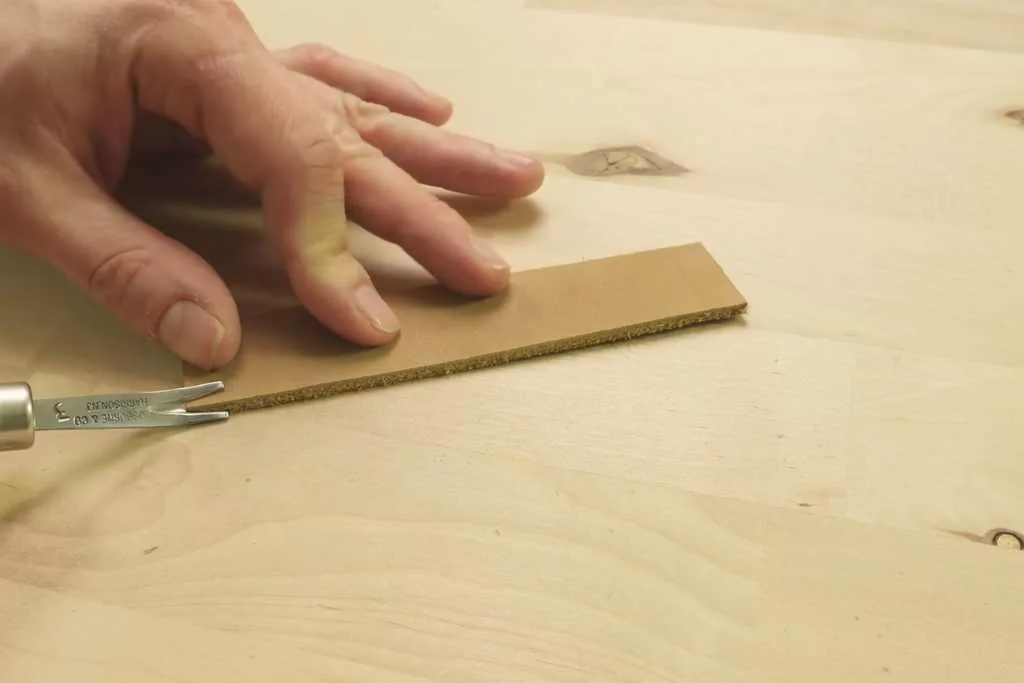
- You have to sand the edge first
- Then apply a beveller to make the edge less sharp
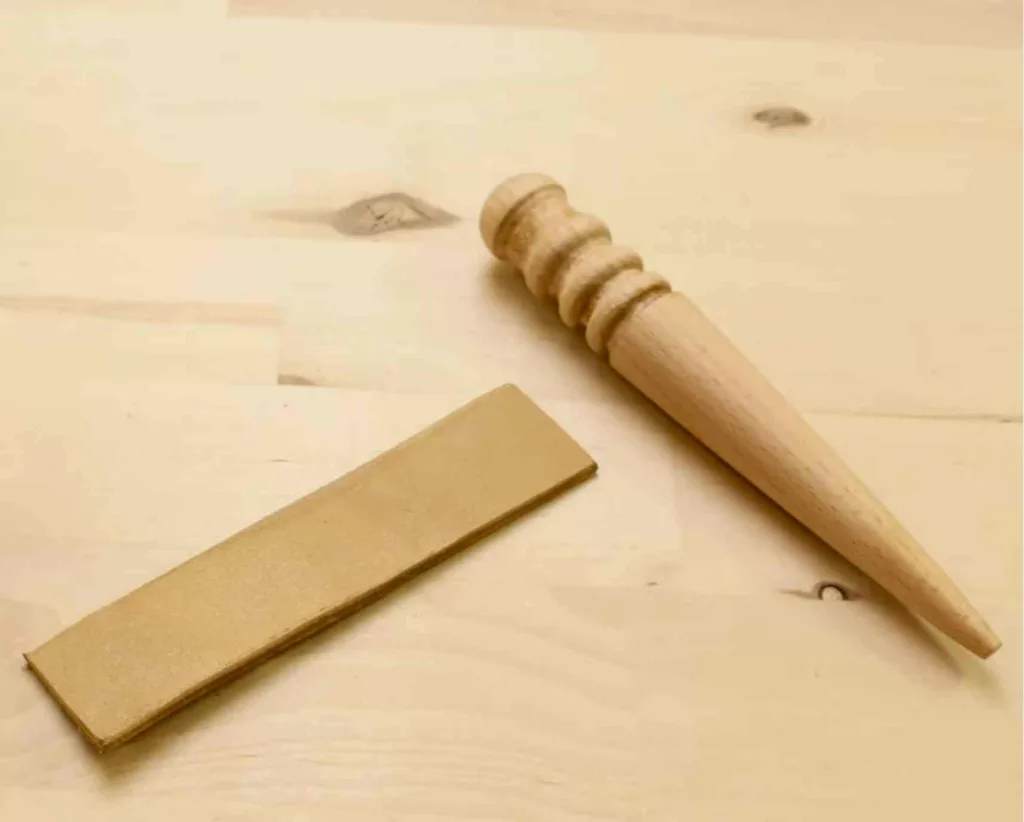
- Then apply water on the edge and a wooden burnisher afterwards
Wooden Burnisher
- The burnisher is a thick but small scrap of wood.
- The surface of the burnisher is smooth, and the material needs to be good.
- Its job is to smoothen the work piece, i.e. the processed hide
- The pyrography artist rubs the burnisher on the piece of processed hide to smoothen it.
A Burner Machine
- If you are a pyrographer, you must have a burner machine.
- The burner tool or machine is basically the powerhouse that helps you heat the burner pen for pyrography.
- You can choose the one that comes with a temperature level display so that you can keep track of the heat level.
A Burner Pen
- Burner pen is a must have item.
- If you have a regular burner pen, you have to connect it to the burner machine and turn the machine’s temperature knob to increase and decrease the heat.
- On the other hand, a variable temperature pen comes with a built-in temperature control setting and knob.
- Many pyrography pens with a temperature control system come with a built-in display.
- Take the pen you are comfortable with.
Various Nibs
- Like wood, you can use various types of pen tips for this kind of pyrography.
- But that depends on what kind of pattern you burn.
- Make sure to have different options if you are unsure.
Leather
- It could simply be a piece, or items made with it, or things that contain leather covers or binding.
- Make sure to choose a non-toxic variety from a host of types.
Design Transfer Templates/Stencils
- There are many different templates available in the market.
- If you cannot find them, you can make your own templates and print them.
- You can also use various stencils for burning patterns or letters.
Carbon Paper
- Carbon paper is necessary for transferring the template’s pattern to the burning material.
- If you don’t have carbon paper, you can use other alternatives, such as graphite paper or graphite pencils.
Pencil
- You can use a pencil to trace the design on leather if you are not using any metal or plastic template.
- You will need a pencil if you are creating a design using stencils.
- If you are using design templates, you will need a pencil to transfer the design through carbon paper.
Eraser & Fixing Items
- You may need an eraser, sanding pen, and X-acto knife for making various corrections.
- The eraser usually helps remove mistakes, even carbon outlines.
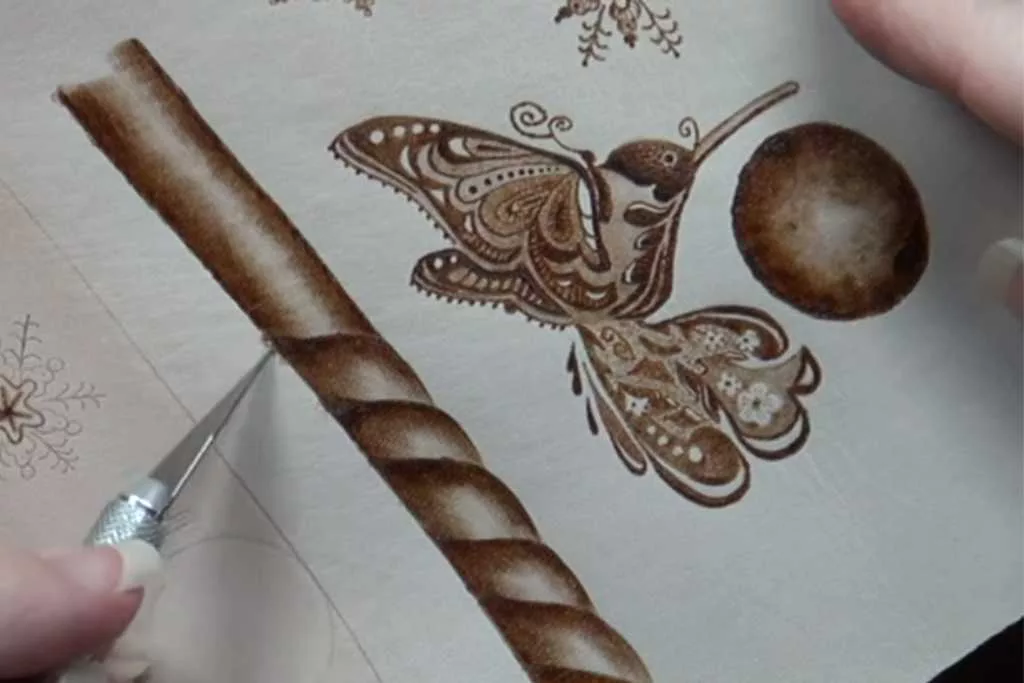
- Sanding pens and X-acto knives help cover up the burning mistakes or remove them.
A Flat And Smooth Surface
- You will need an even and flat surface for pyrography.
- You can make your own workstation.
- If not, you can just use your table or desk to do your pyrography projects.
Safety Equipment
- This pyrography also releases smoke and toxic fumes.
- That is why it is mandatory to wear safety equipment.
- You can wear safety gloves, but you can skip that if the pen has safety guards for your fingers.
- But it is necessary to wear safety masks and glasses if necessary.
How to Prepare the Leather
- If you’re using premium quality ones, you might not need to prep it before you start work. But if you decide to work on cheaper versions, it will need some prepping.
- You already know that you need a burnisher and a spray bottle of water.
- Pick a smooth burnisher made of pale wood so it does not bleed any color on your work medium.
- To start, lay the piece of “skin” side up. It’s the smoother side, while the “flesh” side is the rougher side.
- Use your spray bottle to soak the work medium thoroughly
- Once the leather piece has absorbed the water, smooth it over with your burnisher.
- After smoothing, the work piece should look visibly more even and less textured.
- You can repeat this work on this side a couple more times, smoothing at different directions.
- Now you can do the process on the “flesh” side too.
- After smoothing, let the piece dry.
- Once the piece is dry, you’ll find that pyrography can be done much better on this piece.
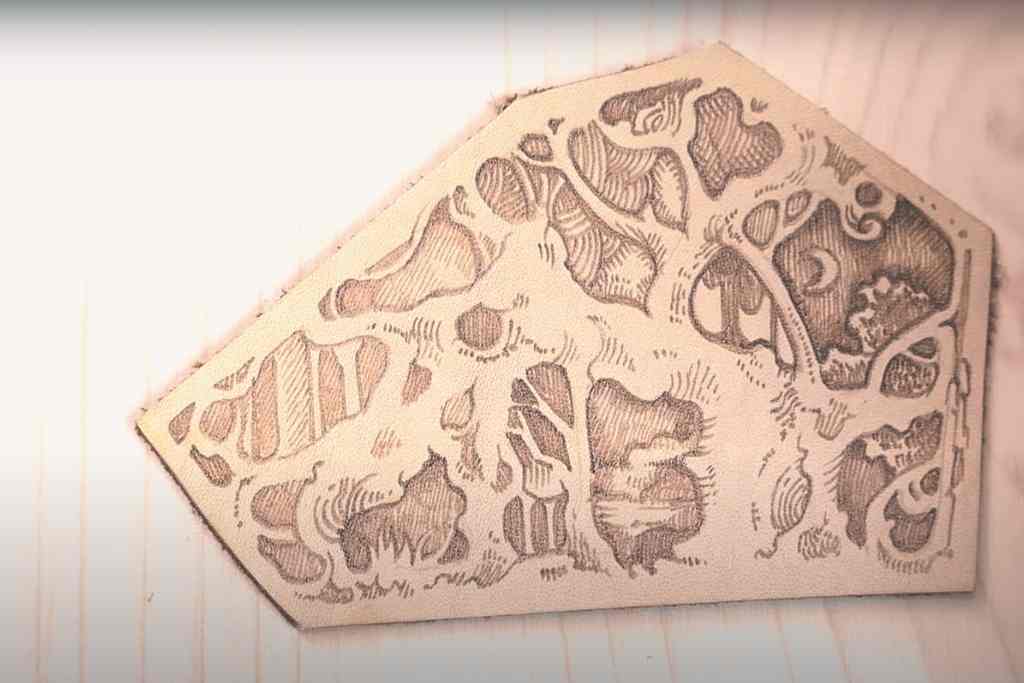
Transfer Leather Pyrography Patterns: Step-By-Step Guide
Since leather is a soft material, you need to avoid pressing anything on it harshly. Here are some essential tips and processes on how you can do it without damaging the surface.
Step 1: Use Paper or Masking Tape
- Regular tapes have a strong adhesive, which is why they often end up leaving patch marks as you take them off. While it is possible to fix the problem by spraying water mist and rubbing with a burnisher, it is best to avoid pressing the tape too hard.
- And it is best if you choose paper tape or masking tape or first aid tape while securing the pattern templates. Instead of sticking to the leather or leaving patch marks, the tape will come off easily.
Step 2: Be Gentle With Pencil
- It is easier to trace on wood or over carbon paper using pencils because of its hard surface.
- So do not press the pen hard when transferring the pattern.
- Go over one area multiple times if needed to ensure the patterns are perfectly transferred.
Step 3: Use Eraser To Fix Mistakes
- If you want to fix the tracing lines, use an eraser to remove them.
- But do not use any coloring erasers as they can leave messy marks or color.
- It is best if you use white or artist-style erasers, they do the job much better.
This is an amazing leather burn art video. I am sure you won’t miss.
Burning Process
Once you have prepared the medium and transferred the patterns on it, the rest of the process is pretty easy and straightforward. Here is how you can do it-
- With everything prepared and ready to burn, put on your safety gear before doing anything else.
- Plug in your burner tool, connect the burner pen to it and turn on the burner tool.
- If you are using a temperature variable pen, plug it in and turn it on.
- Then set the burning temperature for your burn.
- Before you burn the leather straightaway, take a scrap of it.
- Run the hot pen tip over the scrap in a way you would burn the main piece.
- This will help you understand the temperature accuracy and make adjustments if necessary.
- Once you are done testing, move to your project and start burning.
- Do not apply much pressure on the material with the pen as it can lead to over-burning.
- Use a clean piece of cloth to clean the pen tip often in between burning strokes.
- You can also use the back of a metal polishing tool for cleaning the tips.
- If some areas require re-burning, avoid doing that when the pen tip is too hot.
- Let the tip cool down before reheating and re-burning the patterns.
Some Handy Tips
- Leather burns faster than wood, so adjust your pyrography pen’s temperature lower and work faster.
- Making mistakes when you’re a beginner is inevitable. Use wax or oil-based colors to cover any mistake.
- Use thicker hides for adding texture. If you try adding texture to thin medium, the pen will burn through.
- Don’t use scotch tape while you’re transferring a pattern. Scotch tape tends to mar the surface. Use very gentle paper tape or masking tape, and don’t press down too much.
- After you’ve worked on it, if you want to go over the design again, burn after the piece has cooled off. Burning again while it is still hot will distort your design.
How To Fix Leather Burning Mistakes
In case you face any burning issue that requires fixing, you can try the following methods.
Method 1: Using A Gray Ink Eraser
- Grey ink erasers are abrasive, making them appropriate for removing burn marks.
- Use the eraser to rub on the burns to remove them as much as you can.
- While the eraser may remove the lightest burns, it is not exactly great at removing dark burns.
Method 2: Using X-acto Knife
- Place the tip or blade side of the X-acto knife on the burn area.
- Then rub it slowly and lightly at first to see how it does on the burn marks.
- Be very, very careful, as the knife is pretty sharp and can end up removing the flesh.
Method 3: Sanding Pen
- Sanding pen is usually used for removing rust from metal objects. That is why it might not be the best tool to try on leather.
- But you can try rubbing it lightly if you have overburnt the surface, or the texture turned out too deep.
- However, it might not offer a precise result.
Items and Patterns to Burn
Journal covers having text
- Leather journal covers are very classy and durable.
- You can use metal stencils to add a motivational quote on the journal cover and freehand some simple patterns.
A fantastic demonstration of burn art ( Laser Pyrography) to make a journal cover is here!
If you are interested in Laser Pyrography, read laser woodburning.
Lines, curves and shades
- For a beginner, simple patterns made of lines on a leather trinket can be the best starting project.
- An experienced person in making strokes will do good if he/she can adjust the mild pressure to put on.
- Since this medium responds quicker than wood, this is a very tricky point.
You can watch the following pyrography video on the same medium, done with simple strokes
Linear and curve patterns on bracelets
- Patterns such as a line of feathers or leaves look stunning on leather belts.
- It can be a belt to wear with trousers, your bag’s belt, or a guitar belt.
Here is an awesome video on this, you will see some tribal curves. And don’t miss the guitar tunes!
Celtic knots
- Celtic knots might look complicated, but following a pattern makes it easy.
- Celtic patterns also look very elegant on clothing accessories and purses.
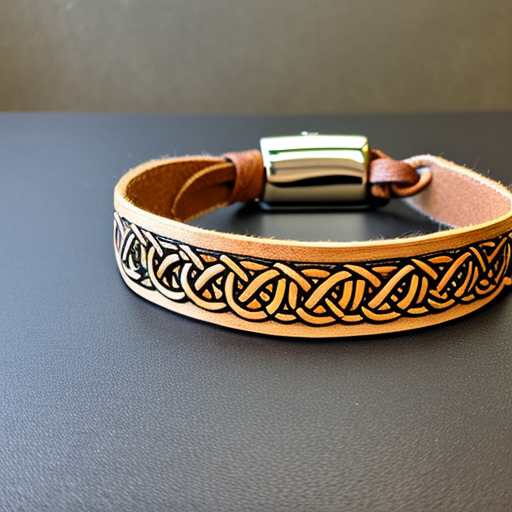
You can check this article for a lot more variation of pyrography designs on leather bracelets.
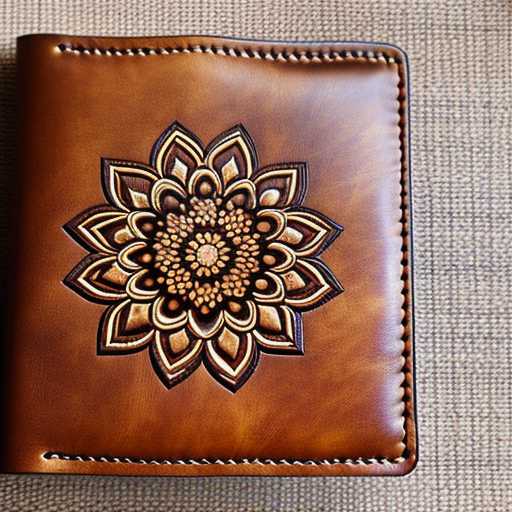
Mandala Burn Art
- This kind of design is very intricate and needs an expert pyrographer.
- You can do it with a heated branding tool.
- A few colors certainly add superb look on it.
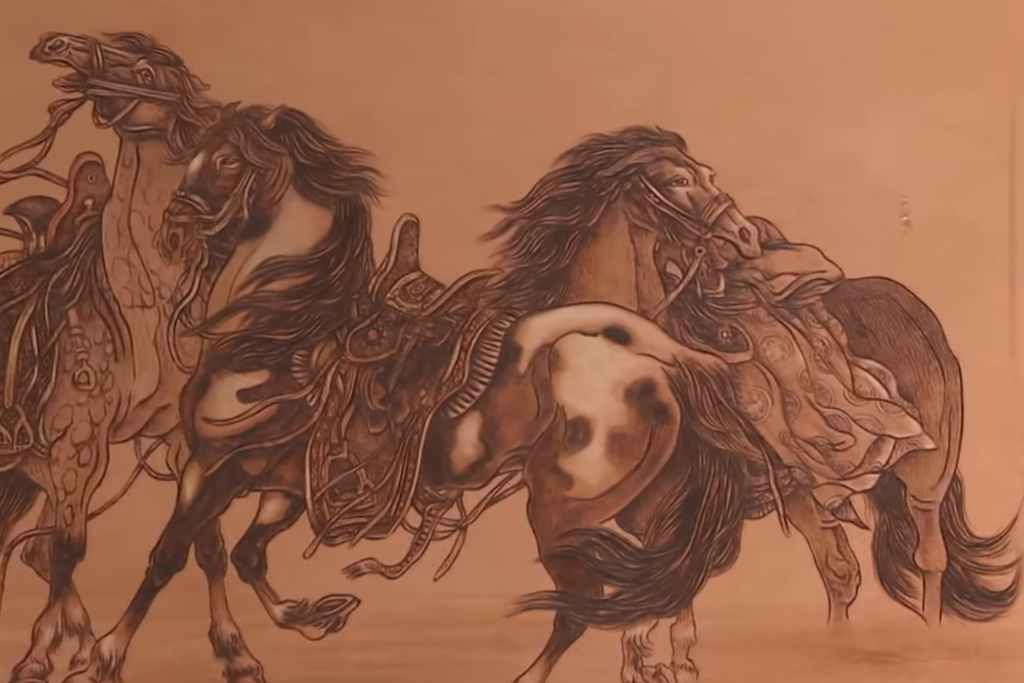
Animal portraits
- The very nature of pyrography on this particular medium means fur looks very realistic.
- Once you’ve got a hang of this burn art, you can attempt drawing realistic patterns of a lion, a horse, an wolf or other animals.
- This kind of pattern would look great on the back of a leather jacket.
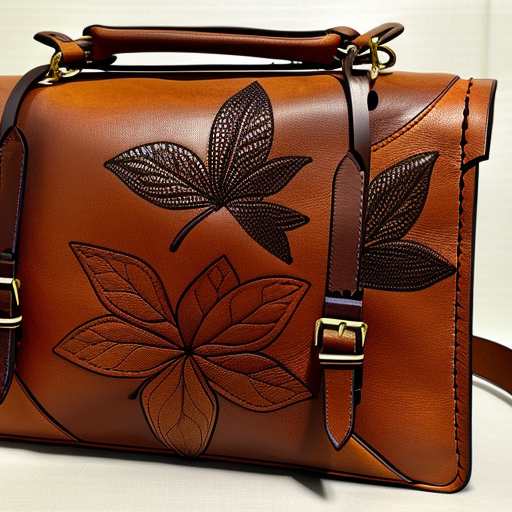
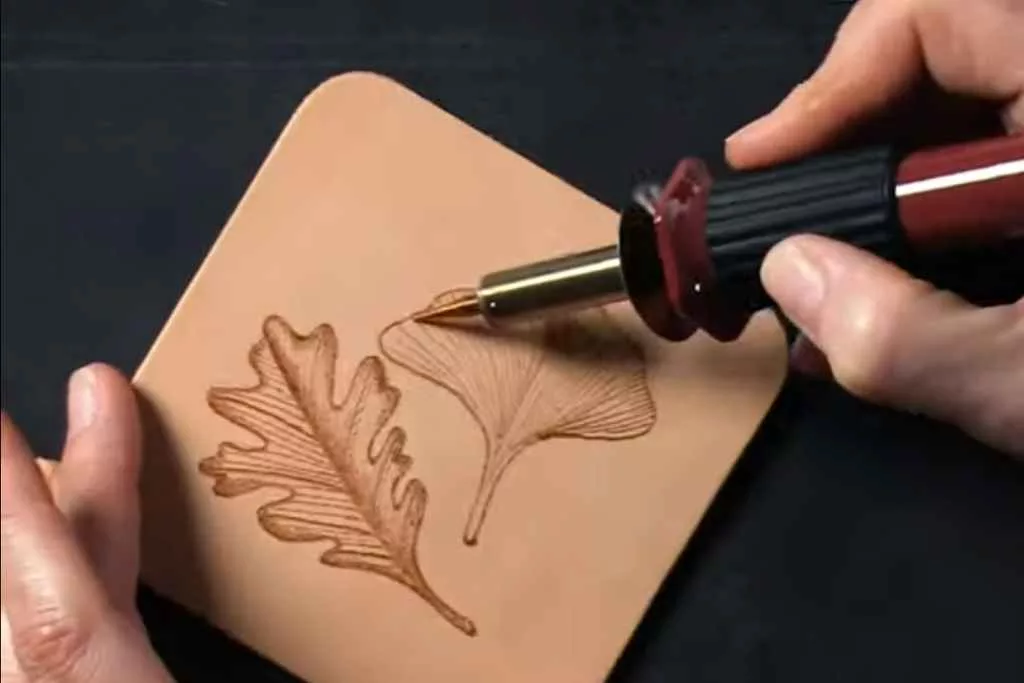
Autumn leaf pouch
- A small pouch to keep your trinkets– liven it up with a touch of fire.
- This autumn leaf pattern looks especially lifelike when done on leather.
- You can try this one on purses or bags as well.
Coasters
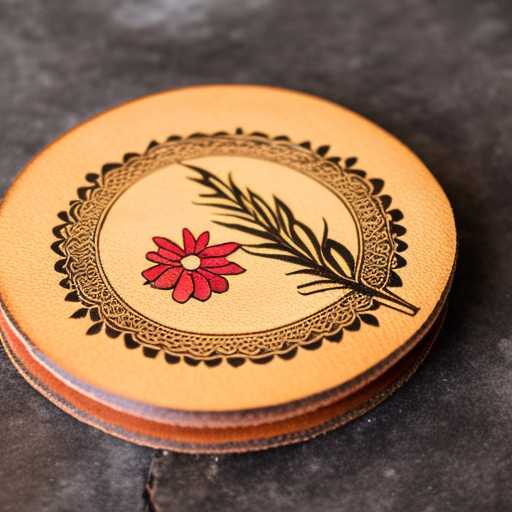
- If you have done wood burn projects on coasters, now it is the time for leather coasters.
- These are very attractive objects to have on dining table.
- You need to have mastery on doing pyrography on small patches for this.
If you are new to pyrography for beginners is a recommended read.
Finishing, Care and Maintenance
Finishing
- Apply a leather finish or sealer to protect the pyrography artwork from dirt, moisture, and wear.
- Leather dyes, acrylic sealants, or beeswax are common finishes used in this pyrography.
- Follow manufacturer instructions and apply the sealer in a well-ventilated area.
- Use a soft brush or cloth to evenly apply it, and allow adequate drying time before handling the leather.
Care
- Avoid excessive exposure to moisture or direct sunlight, as it can damage the pyrography artwork and the leather.
- Keep the leather clean by gently wiping it with a soft, dry cloth to remove dust or dirt.
- Avoid using harsh chemicals, abrasive cleaners, or excessive rubbing that can damage the pyrography artwork or the leather surface.
- Store the pyrography pieces in a cool, dry place, away from extreme temperatures or humidity.
- Consider periodically reapplying a leather sealer to maintain the protection and appearance of the artwork.
Maintenance
- Check for any signs of wear, cracks, or fading in the burn piece, and address them promptly to prevent further damage.
- If needed, touch up the artwork with additional pyrography work or leather dye to restore its original appearance.
- Be gentle when handling or using your precious burn art pieces to avoid scratching or scuffing the artwork or the leather surface.
Conclusion
I could talk for days about this fun hobby involving the power of fire and the suppleness of leather. However, I think in this blog I was able to answer most questions people have about burning on this medium.
Do you have any more questions about attempting pyrography on this? Let us know in the comments! I would also like to have your input on the patterns section. If you have any more fun ideas for patterns, tell us and I will include them too!
Related Resources and References
- “The Art of Leather Burning: Step-by-Step Pyrography Techniques” by Lora S. Irish; ISBN-13 : 978-0486809427
- “Pyrography Workbook: A Complete Guide to the Art of Woodburning” by Sue Walters – Although focused on woodburning, this book also includes valuable information on leather pyrography. It covers basic techniques, tips for creating realistic textures, and guidance on choosing the right materials; ISBN-13 : 978-1565232587
- Leatherworker.net– This online community is dedicated to leatherworking and includes a forum section where members can discuss various topics, including pyrography. It’s a great place to connect with other leatherworkers, share ideas, and seek advice.
- Tandy Leather– Tandy Leather is a popular supplier of leatherworking tools, materials, and kits. They offer a variety of resources, including tutorials, patterns, and instructional videos, which can be helpful for learning pyrography techniques on leather.
- Burn art on wood
- Free and printable woodburn pattern
- You can do calligraphy via burning pens on leathers.
FAQs
What is leather burning called?
It is called leather pyrography.
Water Spray and Gum Tragacanth: Which One Offers A Better Result?
The answer depends upon the purpose. But water is widely used. The detailed answer can be found on the article body.
Can you do pyrography on leather?
Yes, you can certainly do pyrography on it. However, this is a very different kind of material when it comes to doing pyrography, you must be careful of a few factors. Make sure the material you are using is of good quality, it should be prepared well before burning, and you must use the right temperature.
What kind of leather is used for pyrography?
Vegetable-tanned leather is considered to be the best type for pyrography for several reasons. First of all, unlike other chemical-induced ones, veg-tanned ones are non-toxic and will not release any unbearable odor or severely toxic fumes when burned. Secondly, it is not flammable, making it safer to do pyrography. And finally, because of its beautiful surface texture, it always offers eye-catching pyrography results.
What temperature should I burn leather at?
Unlike wood, it burns at a comparatively low temperature. The temperature range is 230 degrees Celsius to 500 degrees Celsius ( 446 degrees Fahrenheit to 932 degrees Fahrenheit). You can read the article on pyrography temperature chart here.

