All About Moose Pyrography And 15 Splendid Designs
Moose is the largest member of the deer family. It is one of the exciting subjects for pyrography. You can try moose pyrography patterns to increase your skills, whether you are a beginner or a professional. However, these designs are famous among animal lovers.
The Technical Things I Would Suggest
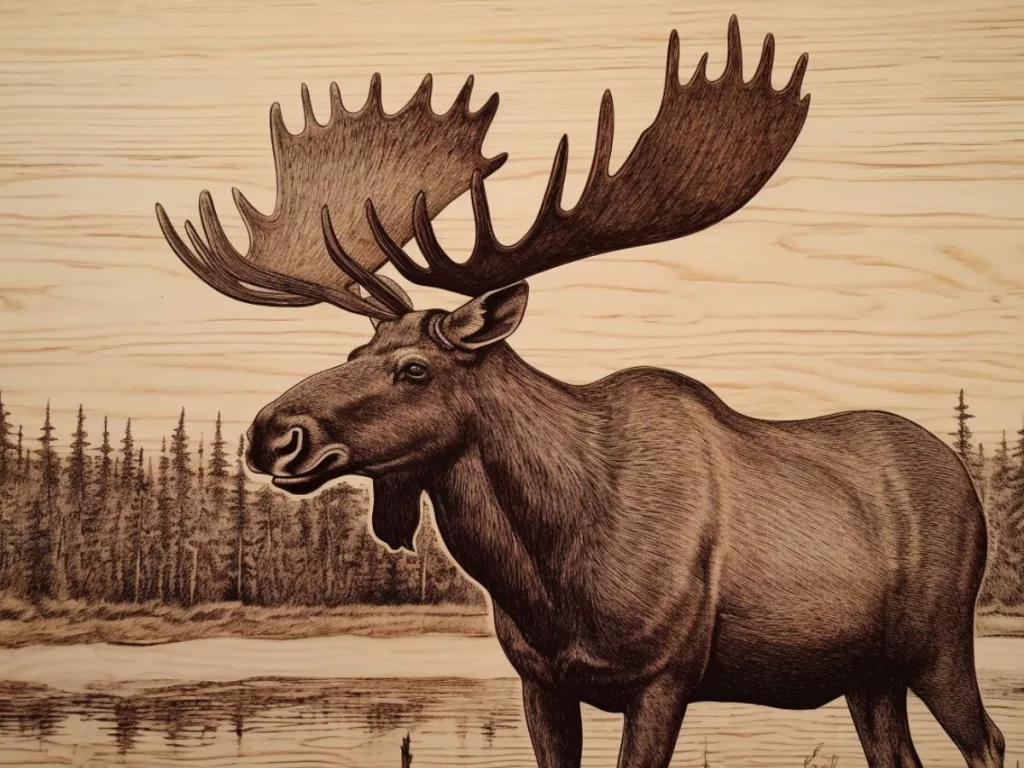
As a pyrography artist, I’ve found that moose-themed arts can be incredibly captivating and enjoyable to create.
Tips For This Particular Project (Moose Pyrography)
Gathering High-Quality Reference Images
When starting a new project, I always make sure to gather a collection of high-quality reference images showcasing moose in various poses and angles. These references serve as my guide to accurately capture the distinct features, proportions, and details of these magnificent creatures.
Right Quality Wood
Selecting the right wood is crucial for achieving the desired results. I usually opt for softwoods like pine or basswood due to their lower density, which makes them easier to burn. It’s essential to prepare the wood properly by ensuring it’s sanded smooth and free of any finishes or coatings that might interfere with the burning process.
Invest In Quality Tools
Investing in quality tools is a must. I make sure to acquire a reliable pyrography pen or woodburning tool with multiple heat settings. Having a variety of interchangeable tips, including fine ones for intricate work and shading tips for creating textures, allows me to bring the burnt sketch forms to life with precision and versatility.
Practicing on Scrap Wood
Before tackling my final piece, I always practice on scrap wood to familiarize myself with the behavior of the woodburning tool. Experimenting with different temperature settings, hand movements, and pressure helps me develop a feel for the tool’s response and refine the technique.
Outlines First
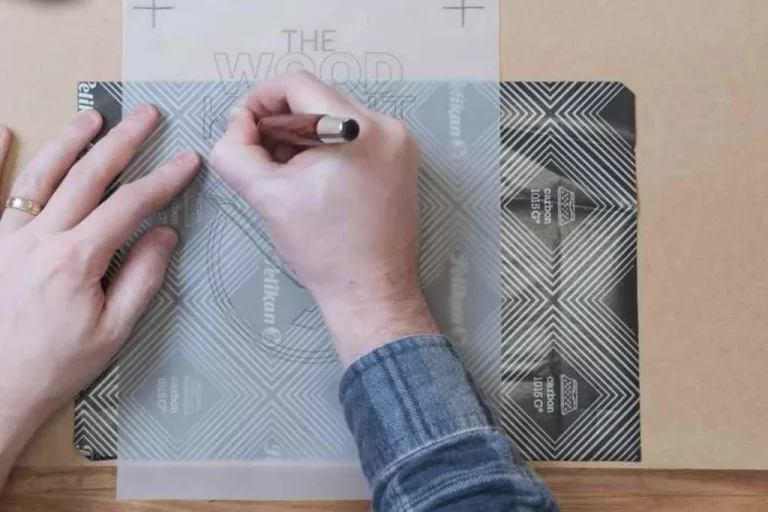
Starting with basic outlines is a solid foundation for the project. I gently sketch the deer species outline onto the wood surface, either using a graphite pencil or transferring the design using transfer paper. This initial step provides me with a clear roadmap to follow throughout the burning process.
Check this quick video.
Layers for Depth and Realism
Working in layers is key to achieving depth and realism in the animal figure. I begin by burning the main outlines and gradually build up the details and textures. By varying the pressure and heat, I can create shading and simulate the texture of fur. It’s important to work slowly and carefully, as adding depth is easier than trying to correct excessive burning.
Creating Texture and Depth Techniques
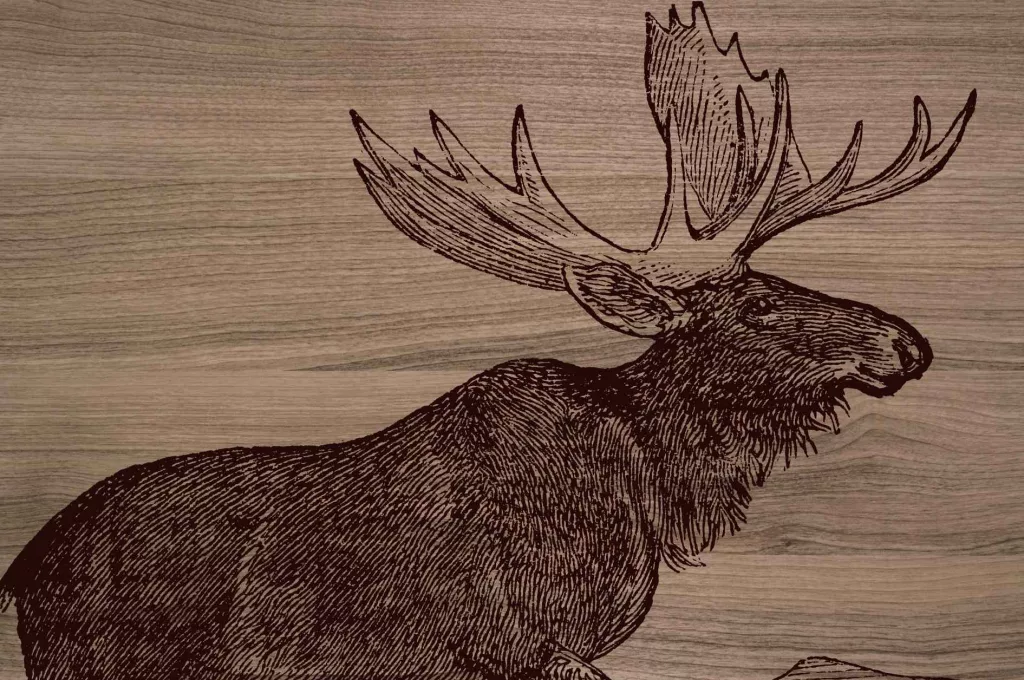
To enhance the visual impact of the burn strokes, I employ various techniques to create texture and depth. Cross-hatching helps me simulate the appearance of fur, while stippling allows me to create shading and subtle variations in tone. Controlled burns add dimension to specific areas, breathing life into my artwork.
Temperature Settings
Experimenting with different temperature settings is an exciting part of the process. By adjusting the heat, I can achieve various tones and shading effects. I delicately burn for lighter areas and apply more pressure or repeat the process to create darker tones, giving my the animal designs a dynamic and realistic appearance.
Taking Breaks and Protecting Hands
While pyrography can be a time-consuming endeavor, I remind myself to take regular breaks to rest the hand and prevent fatigue. Additionally, I often wear a heat-resistant glove to protect myself from accidental burns and maintain comfort during longer sessions.
Protecting the Artwork
Once I’m satisfied with the final result of moose burn art, I take the necessary steps to seal and protect it. Applying an appropriate wood finish not only enhances the appearance but also safeguards the artwork from moisture and environmental factors. I always follow the manufacturer’s instructions for the best sealing and finishing practices.
Above all, I understand that pyrography is a skill that improves with practice and patience. I encourage fellow artists not to be discouraged by initial setbacks or unmet expectations. With dedication, experimentation, and a commitment to refining one’s technique, the art will continue to flourish, leading to the development of impressive skills and the creation of truly captivating artworks.
General Tips To Boost Your Skills
You can make this particular wood burning in a better way by following these easy techniques. It’ll help you to create unique artwork with moose.
- First of all, use carbon paper to trace the design on the wood. Take the ball tip and outline the pattern.
- Hold the pyrography pen with a small shader tip and burn the pattern with a freehand style. Burn short hairs on the body with a curved shader.
- Use lines/strokes outwards to make the perfect fur shading.
- However, burn faster to create light shading at the beginning, and gradually you have to burn slower to make dark shading. It makes the big animal more lively.
Patterns That Will Blow Your Mind!
Resting Animal
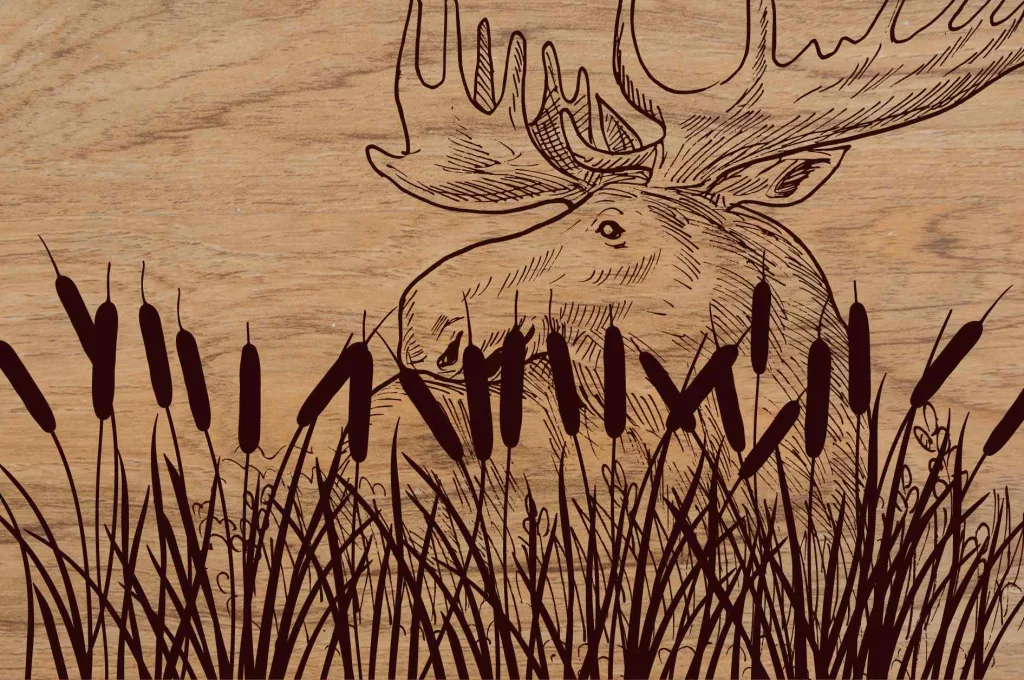
- Design Type: Simple outlines, hatching, semi-realistic
- Time Required: 2 days
- Best suitable for beginner to intermediate pyrographers
- Highly valued art piece for the beginners
Walking Down The Valley
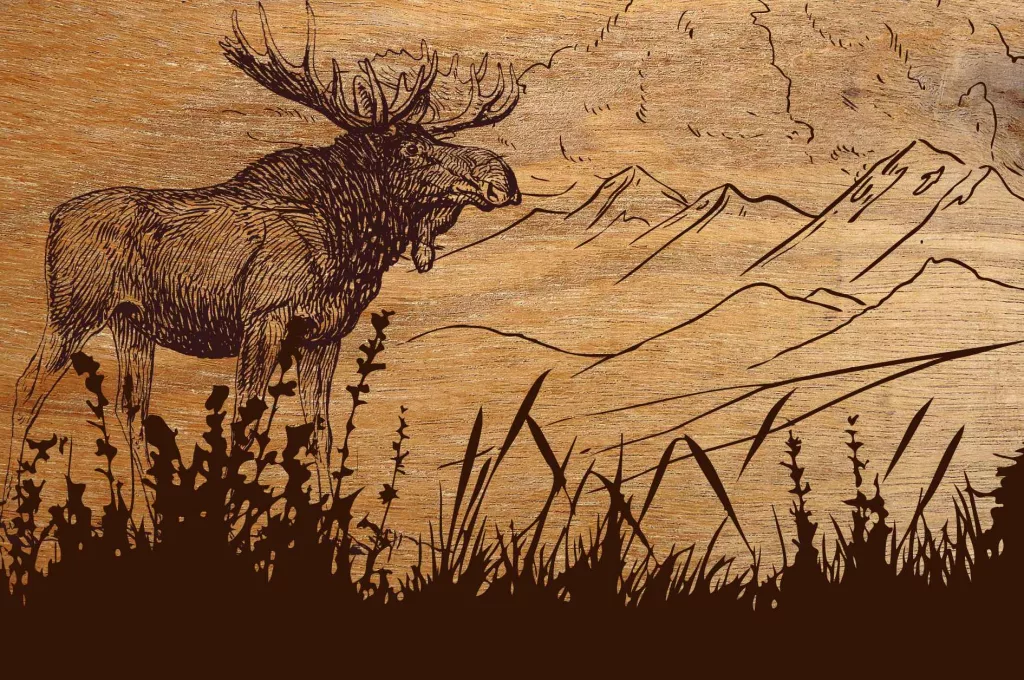
- Design Type: Deep short hair shading with fully covering furs
- Time Required: 2-3 days
- Perfect for advanced level artists. Though I don’t claim to be a super expert, but having years of experience has shaped me to some extent to make good burns. This particular burn took me three full days.
- A pattern transfer will help in having proper ratios
Aurora Borealis And The Big Deer
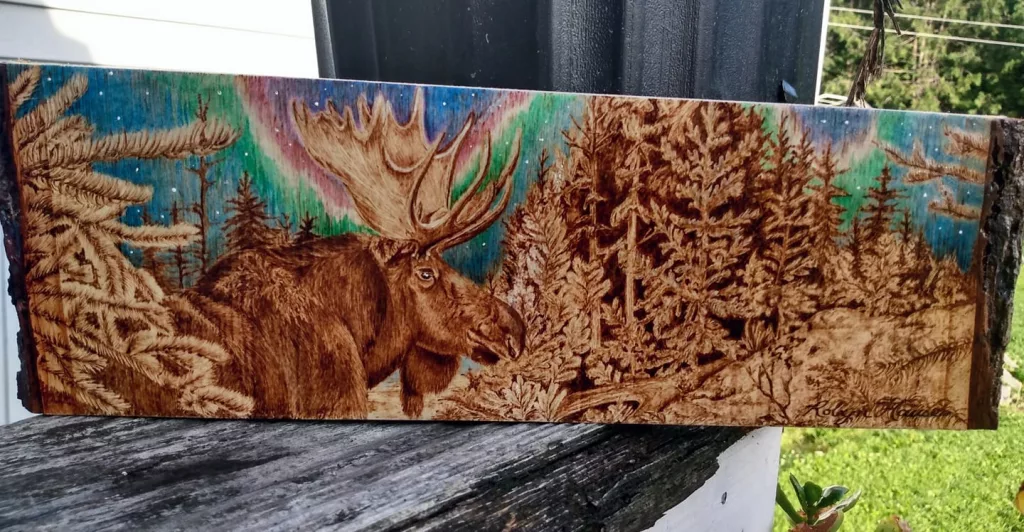
- Design Type: Realistic approach having darker shade to give an impression of nocturnal movement
- Time Required: 1 week
- Good choice for advanced pyrographers
- You can add peacock green colors for the northern lights
- Use of ball tip, curved shader, and spear shader
A Male In A Misty Landscape
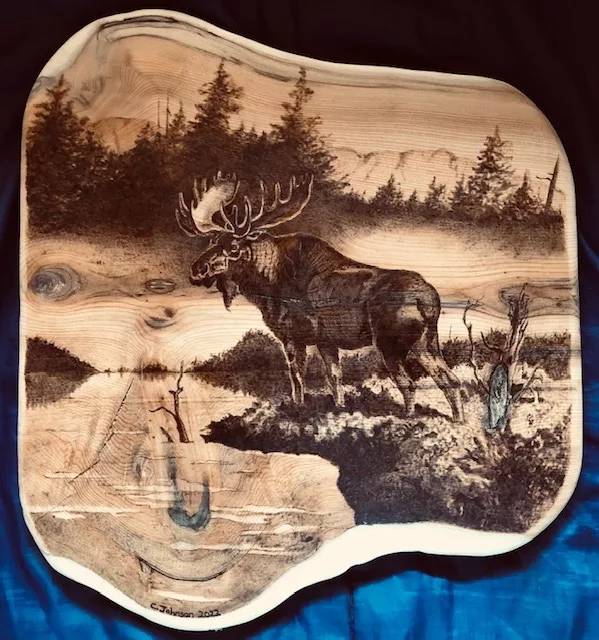
- Design Type: Contrasting shades with photo-realistic impression
- Time Required: 5-7 days
- Advanced pyrography skill is required
- Tip: use the curved shader for short hair filling on the body, ball tip for water lines, and spear shader for pine trees
Woodburns On Coaster
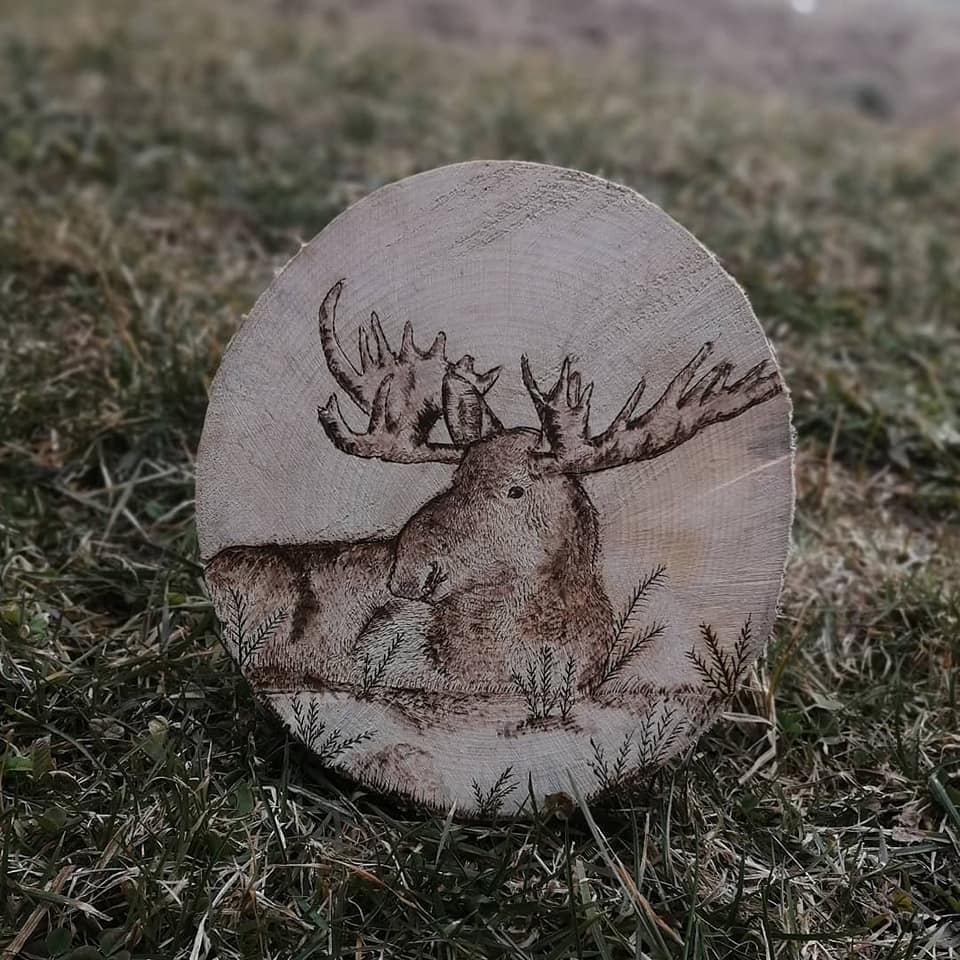
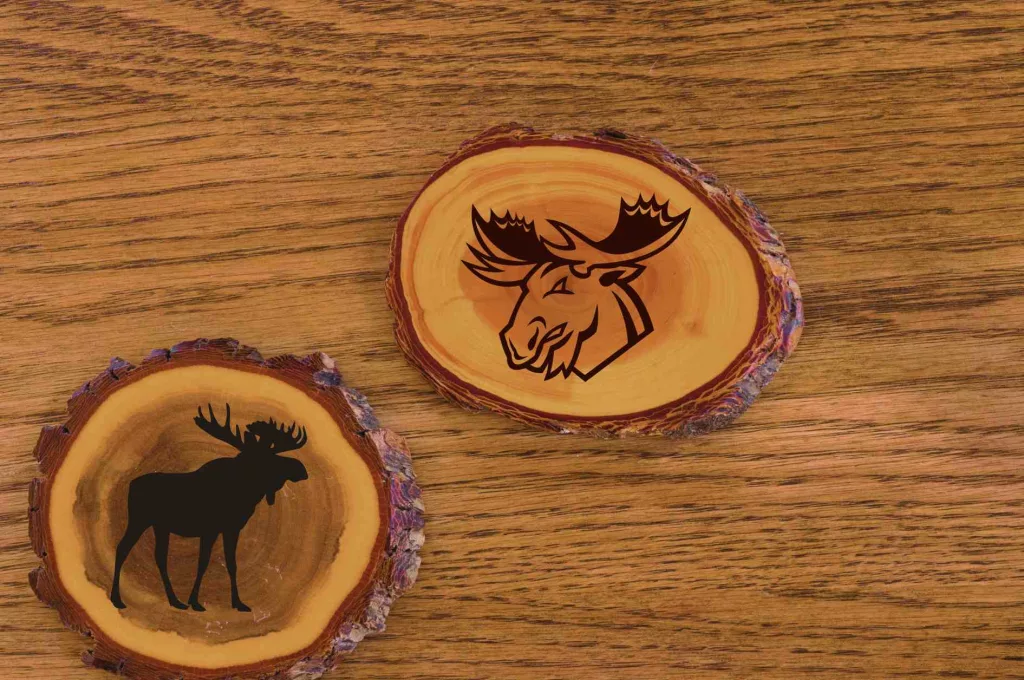
- Dark burning is required as coasters have small surface areas
- Time Required: 1-3 hours each
- Stencils help a lot for coaster pyrography
- Best for medium skilled artists
- Use as a beautiful décor for the living room or reading room
With Christian cross
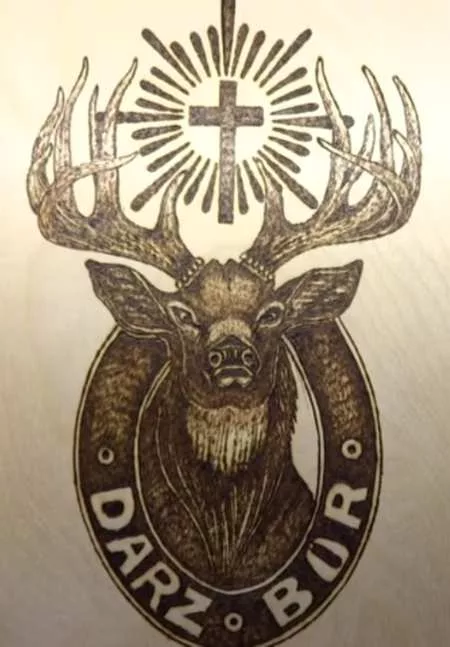
- Design Type: Portrait with a Christian cross in between the antlers
- Time Required: 2 days
- It can be great for intermediate crafters
- Amazing gift for elk lovers
In The Snow Land
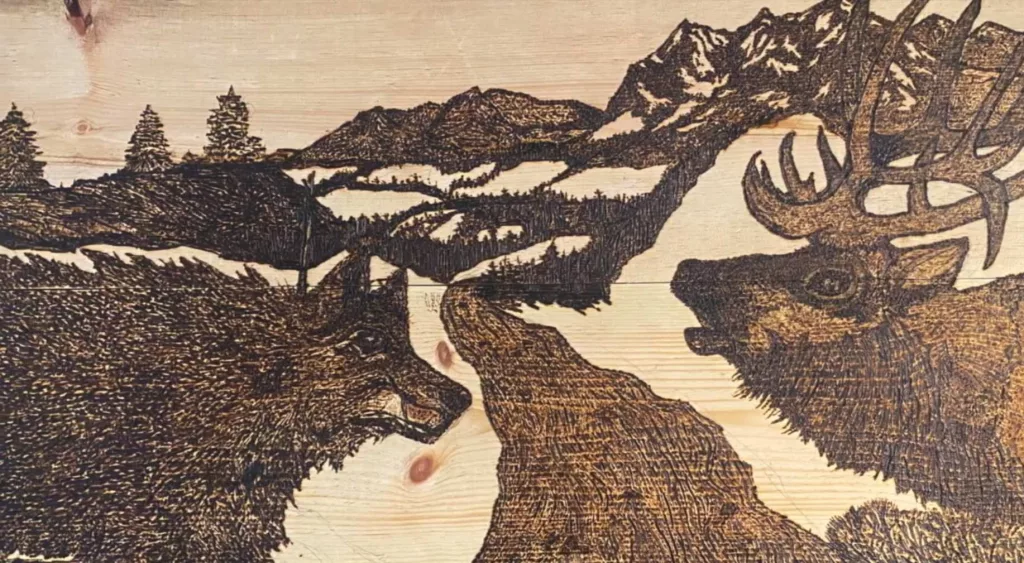
- Design Type: Layered shading techniques
- Time Required: 1.5 hours
- Requires high level skills for this design
- An expert pyrographer can reflect the aggressiveness in the wolf’s face and fear in the moose’s ones
On A Box
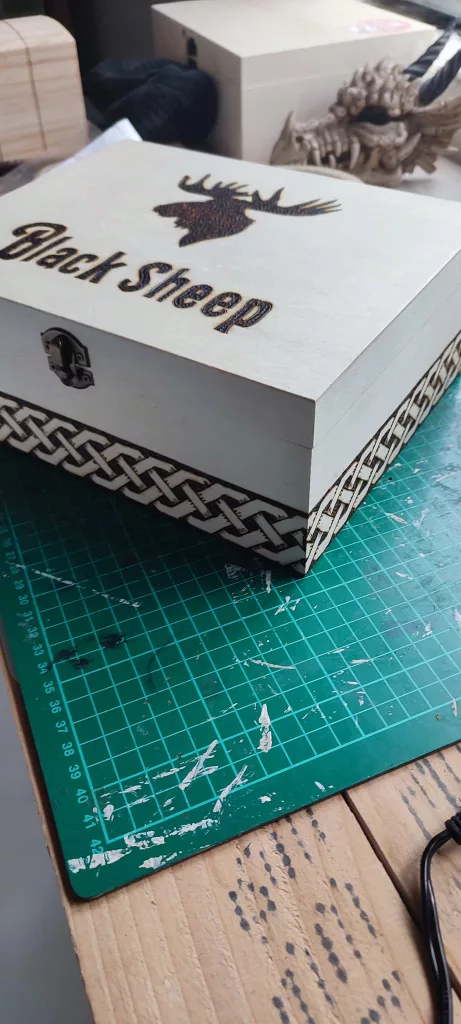
- Design Type: Simple patterns on and around the box
- Stencils will be your best aids for head patterns in small areas
- Time Required: 1 hour per side
- Great pattern for beginner pyrographers
Different Patterns On A Spoon Set
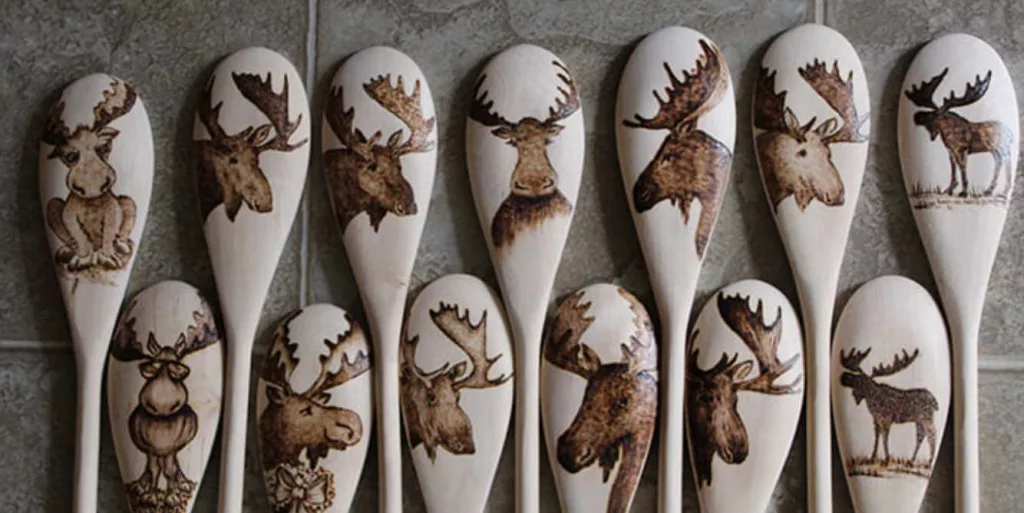
- Design Type: Many patterns (from serious ones to funny caricatures) on the back faces of spoons
- Time Required: 1 hour for each one
- Beginner to intermediate artist can try it out
- It can be used as kitchen and living room décor
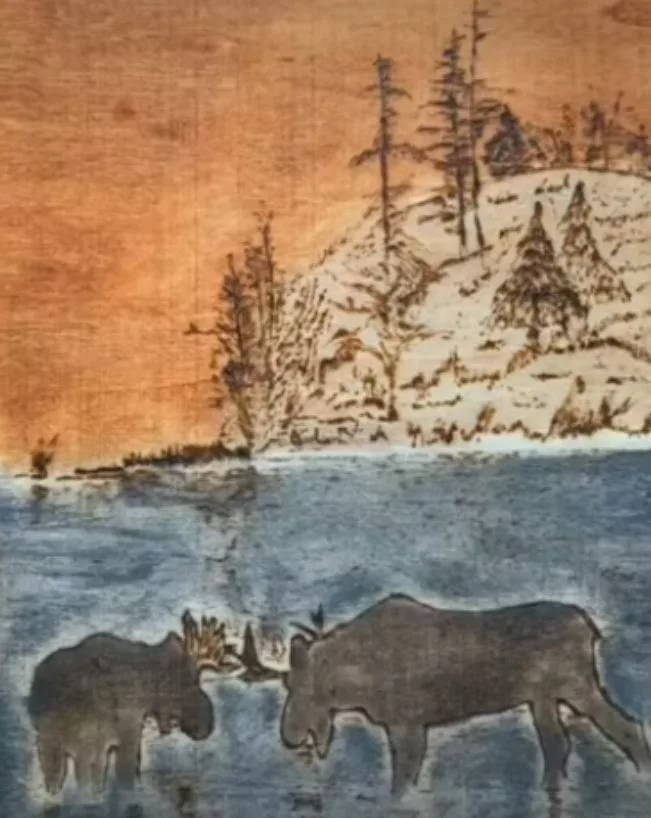
Colorful Landscape
- This pyrography work entails the skill set of at least an intermediate level artist
- It will take 1-2 days to complete
- A vibrant look will be coming out once watercolors are added
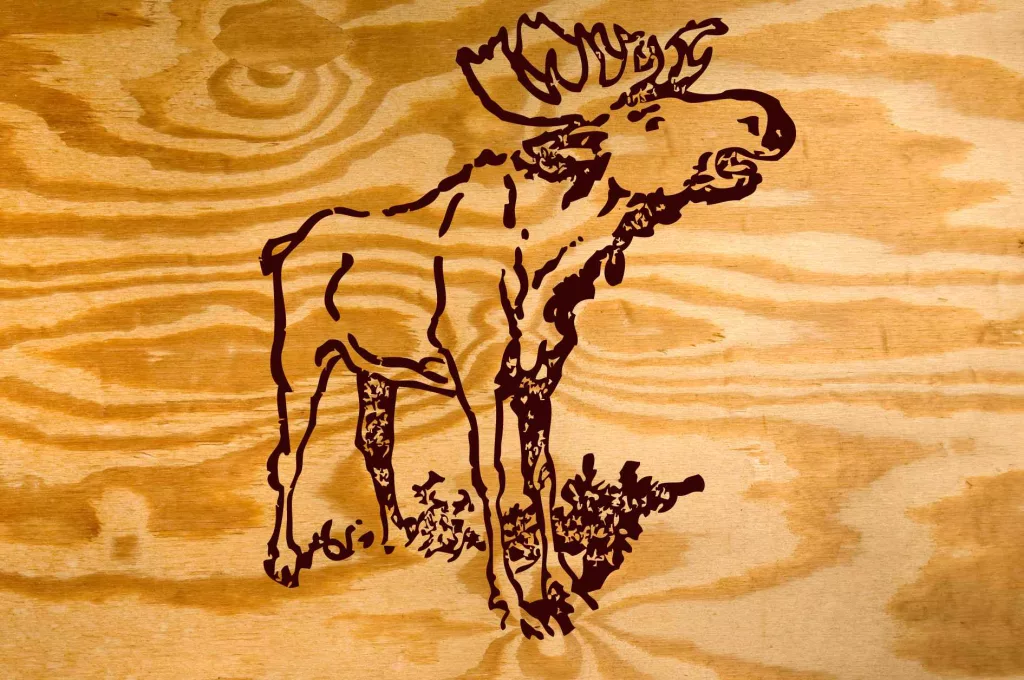
A Bellowing Moose
- Though the design type is simple but it requires a good skillset to execute
- Strong dark burn strokes are necessary
- It is better if you can add some mist/vapor (coming out of the mouth)
- You can add some distant mountain peaks in the back
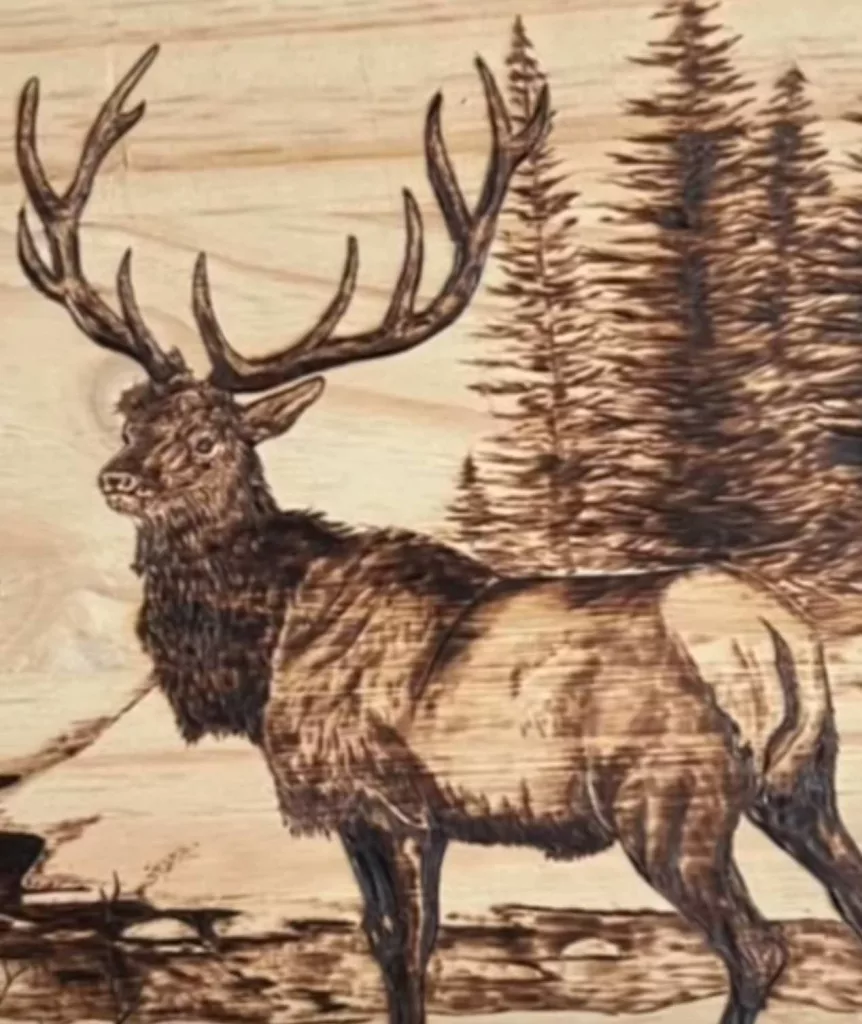
A Vigilant Posture
- Bull moose are at least 6 feet tall from ground to shoulder, they are big indeed
- Nevertheless, since they are members of deer family, they have a fearful heart. Carnivorous big cats can hunt them down. There are cases where Siberian tigers killed big deer.
- A vigilant animal has its head up in the air having a straight posture
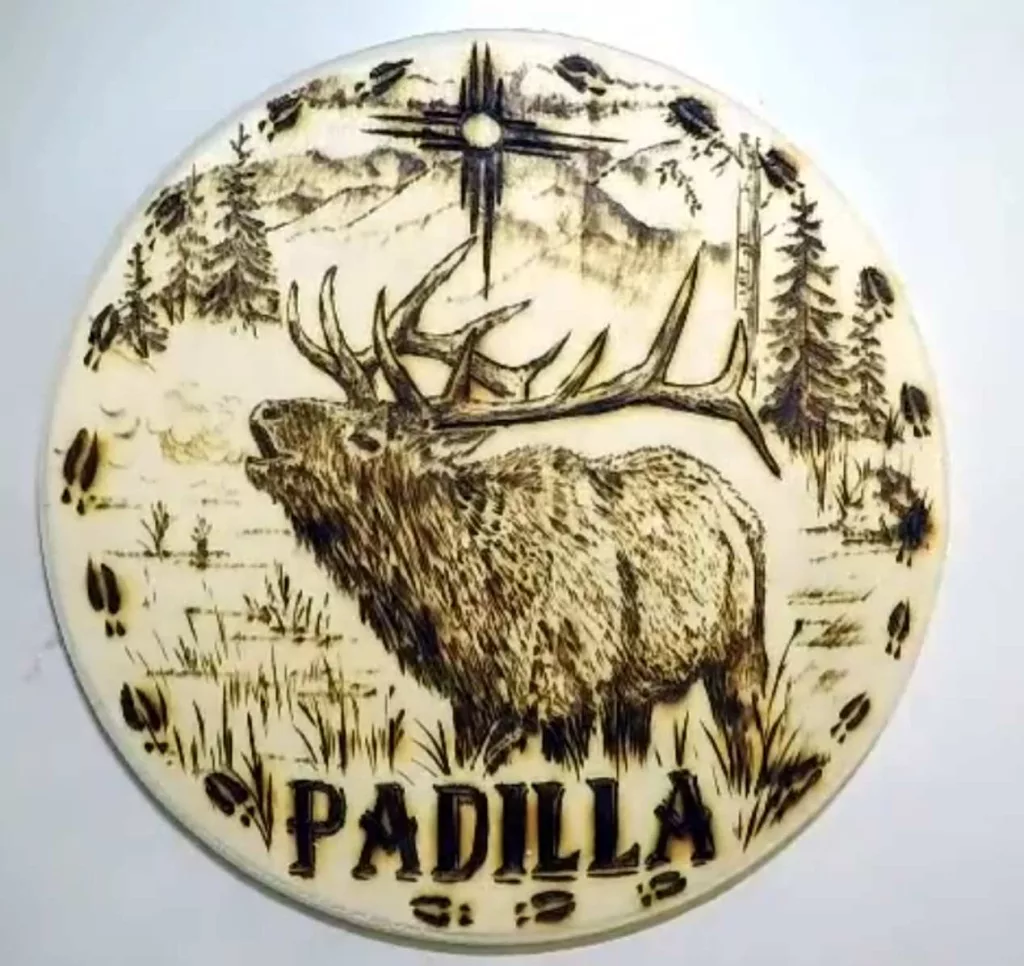
With Mountain Landscape
- This pattern is not very hard to draw, an intermediate level pyrographer can make it easily
- The ratio of the objects and the limbs needs to be taken care of
- It can take up to 1 day to complete
- The hooves burn marks around the plaque can be really awesome
- Mountains can be having diminishing patterns at far back
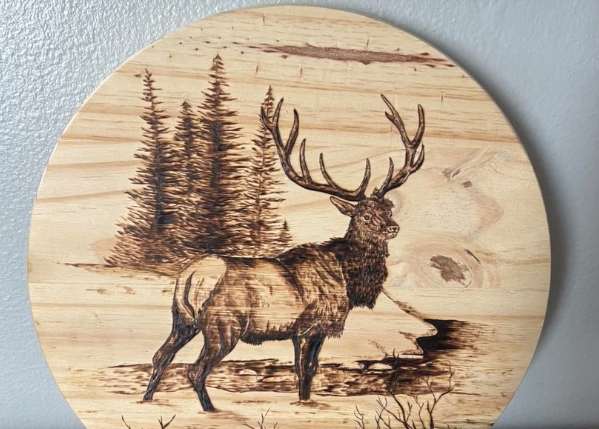
With Pine Trees
- They are mainly the animals of cold climate. These regions are fine to grow pine trees.
- Any pattern and pine trees are compatible with each other.
- Burning the pine tree patterns are easy but a good skill is required to make the animal recognizable.
- It may require 1-2 days to complete based on your skills
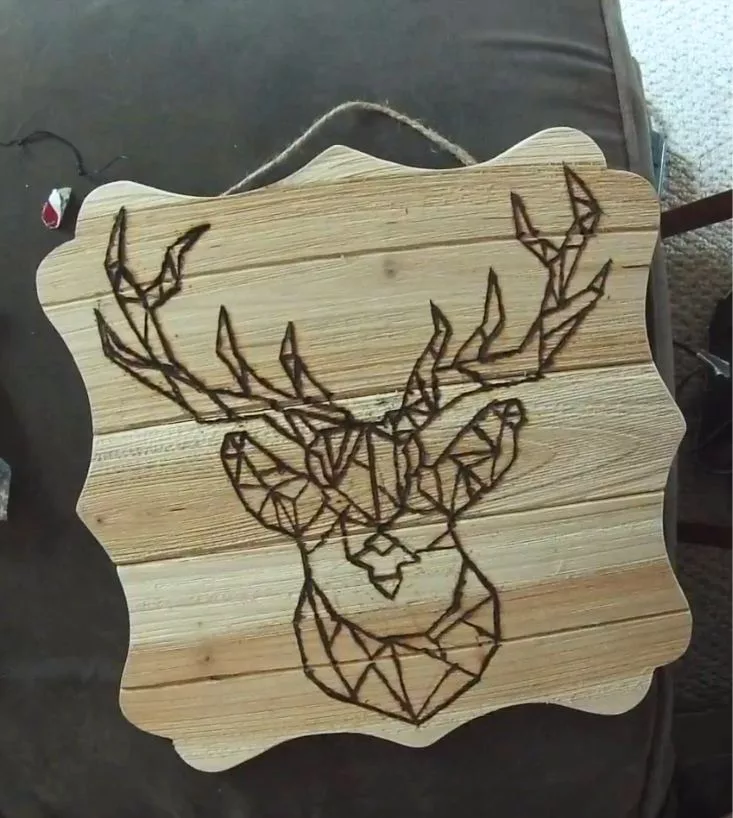
An Emblem
- Very easy pattern to burn, suitable for beginners
- You can hang it on a wall if done properly
- Geometric shapes are important things to follow
- Practicing a few times with proper pattern transfer will be helpful
Conclusion
Pyrography of this animal is fun and exciting if you are passionate about wildlife and animals. While making different patterns, you can learn new techniques to create jaw-dropping pyrography art pieces.
It can be used as your home décor, and also you can make these attractive pyrography woods for gifts. Get your tools and burn your desired moose patterns!
Related Resources
FAQs
How difficult is moose woodburning?
It is a bit difficult. Realistic woodburn is tough and requires an experienced pyrographer who does not need stencils. It can be challenging to make without stencils for beginners. Moreover, if this animal does not look real in the art piece, it loses attraction. In that case, advanced level skills are mandatory.
How to protect this pyrography for a long time?
You must use sealants to protect the them for a long time.

