5 Types of Pyrography Borders: A Quick Overview
PYROGRAPHY BORDERS work well to make sure your favorite project stands out when placed on a wall or any other surface. While not always necessary, borders can sometimes enhance your pyrography project’s beauty manifold.
You probably have a lot of questions regarding borders. In this blog post, I will try to answer most of them. Let’s get going!
Do You Really Need Borders?
Honestly, you don’t always need to border your pyrography projects. However, they can sometimes help. For example–
- If your pyrography artwork has a lot of details, a solid border might help
- If you think the project is a little messy, a border will help make it look neat
- If you think the artwork lacks enough contrast, you can use a solid dark border
- In case your chosen subject doesn’t look fancy enough, a decorative border will do the trick!
- Sometimes, an intricate border itself can be the artwork!
However, if you’re not too good with straight lines, or still don’t have enough control over your pyrography burner movement, you might want to hold off on trying intricate borders. Try the solid, straight border first.
How To Make A Solid Straight Border
You can make a pyrography straight line in a second.
But making a whole thick straight line border is something different and a bit challenging.
To make a dark, solid and straight border, you’ll need these supplies–
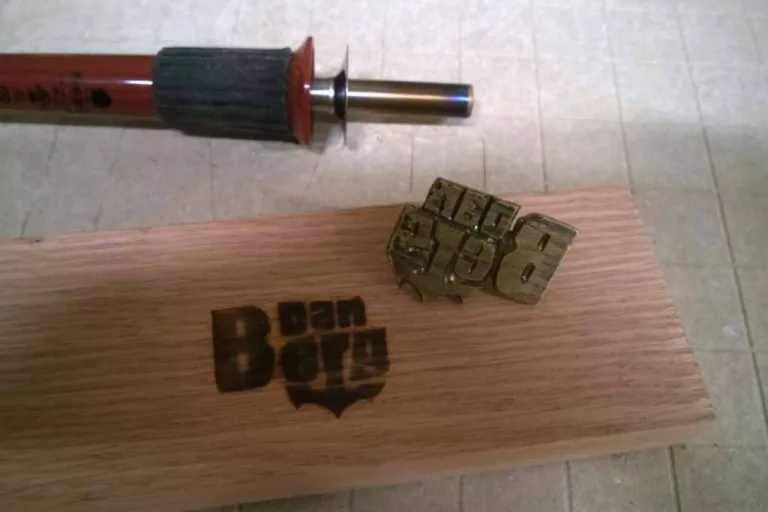
- A pyrography torch (or pyrography pen) to burn the wood
- A thin pyrography tip, preferably ball tip
- Something to shield the rest of the wood– something with a straight edge. A set of metal stencils might be helpful
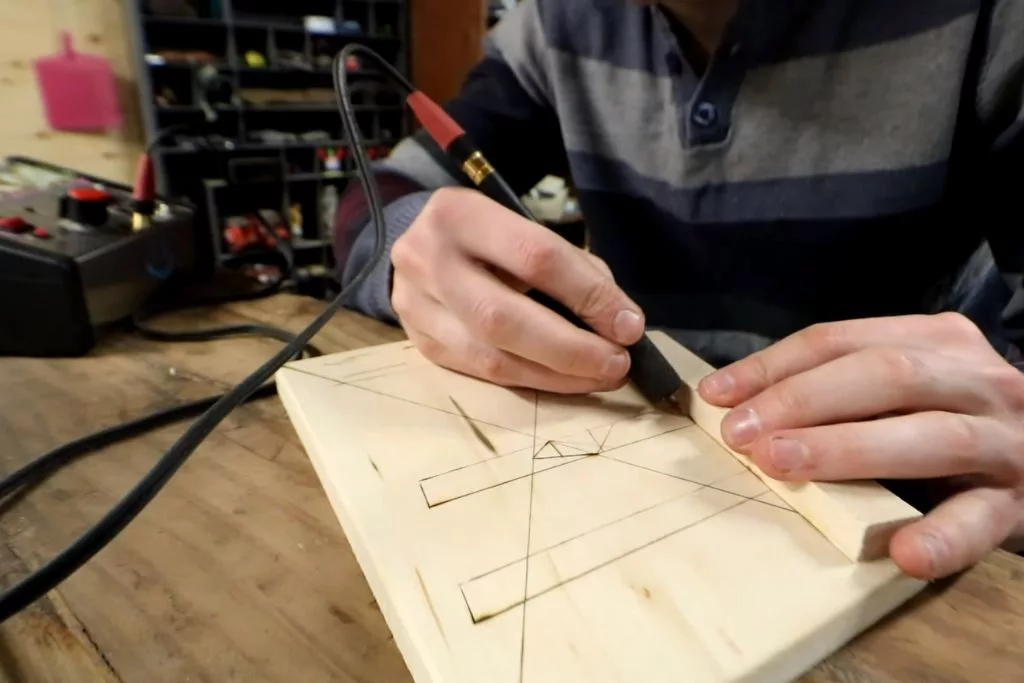
Step 01– First, draw a straight border on your wood with the help of a ruler and a pencil
Step 02– using your thin pyrography tip, burn along the line
Step 03– Place the straight edge of the metal stencil along this line
Step 04– Use the torch to burn along the outside of the border
Step 05–Take your time to uniformly burn along the edges of the wood this way
The end result would look striking, and would generally contrast well with pale wood.
Here’s another helpful tutorial on making wood burn borders.
How To Burn Decorative Borders
Sometimes you’d really need to get creative with your artwork’s border and make it more artistic. Here are some tips–
- Get yourself some border stencils
- Even if you don’t have specific border stencils, you can still use some smaller designs to line up and make a border
- Look up photo frame border designs on the internet– they look great on pyrography projects!
- Try to use a mix of straight lines and decorative shapes for an elegant result
- Whatever you do, don’t waste time and effort trying to freehand borders
Decorative Borders– 5 Ways
Celtic Knot – Simple
If you think a solid border would be too simple, a Celtic knot at one corner would be the next best thing. Use one or two straight lines to frame your artwork and incorporate a Celtic knots in it, either at the corners or at the middle of the sides. It wouldn’t overwhelm the artwork and instead will add to its beauty.
Celtic Knot – Intricate
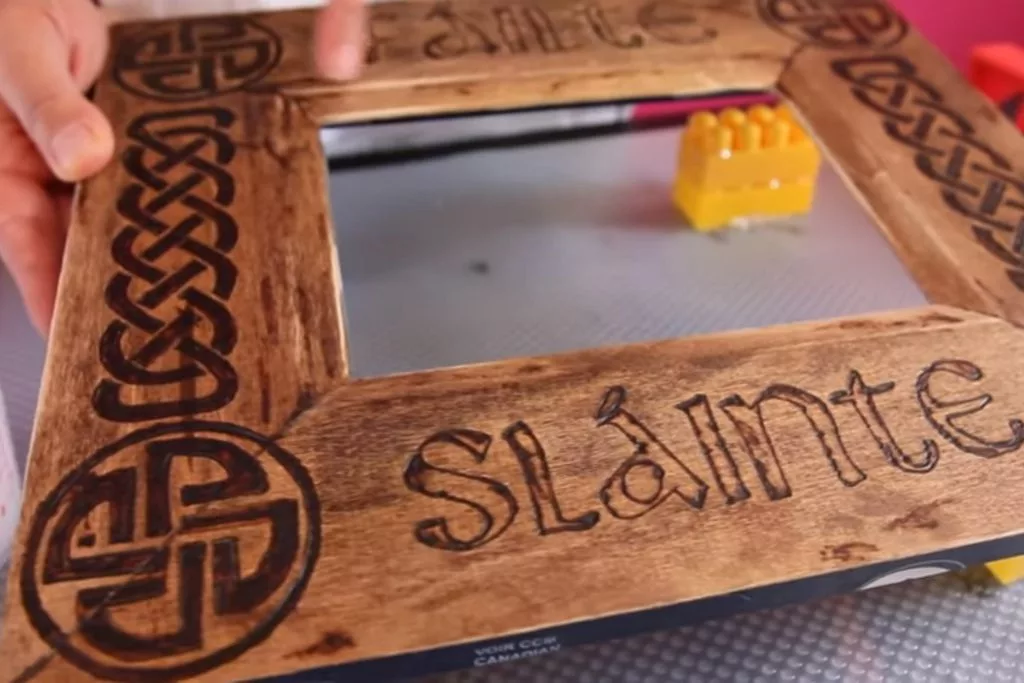
You’re going to need at least intermediate-level skill and heaps of patience for this. But a border using nothing but Celtic patterns is incredibly eye-catching. You can turn the border itself into a complete artwork this way.
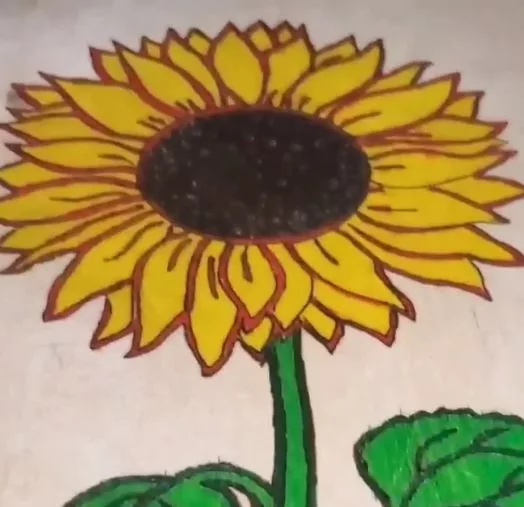
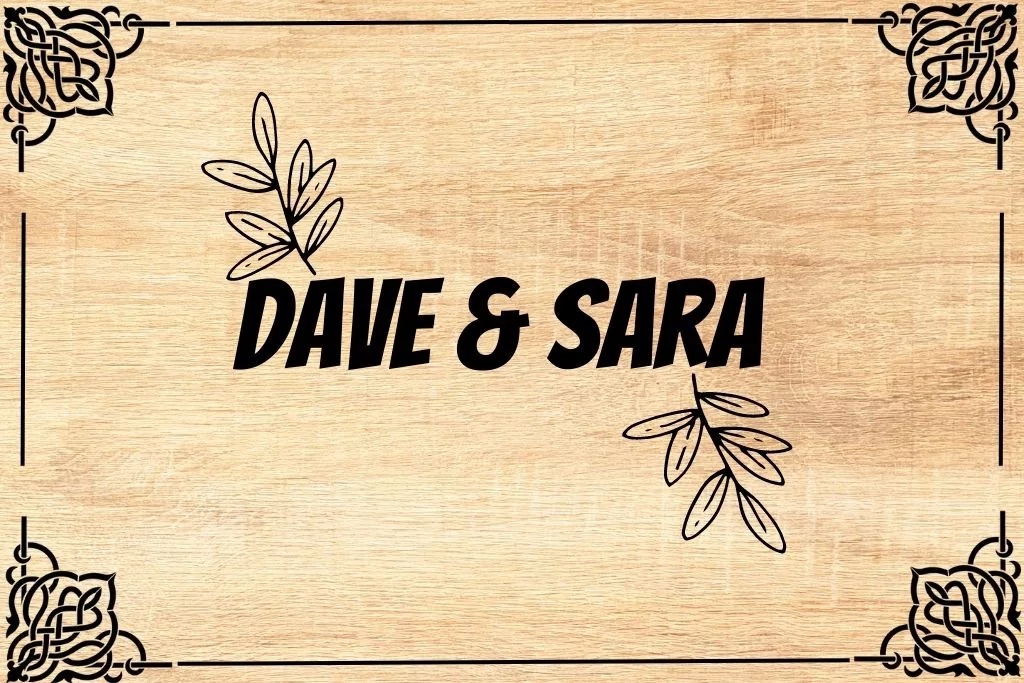
Floral Corners
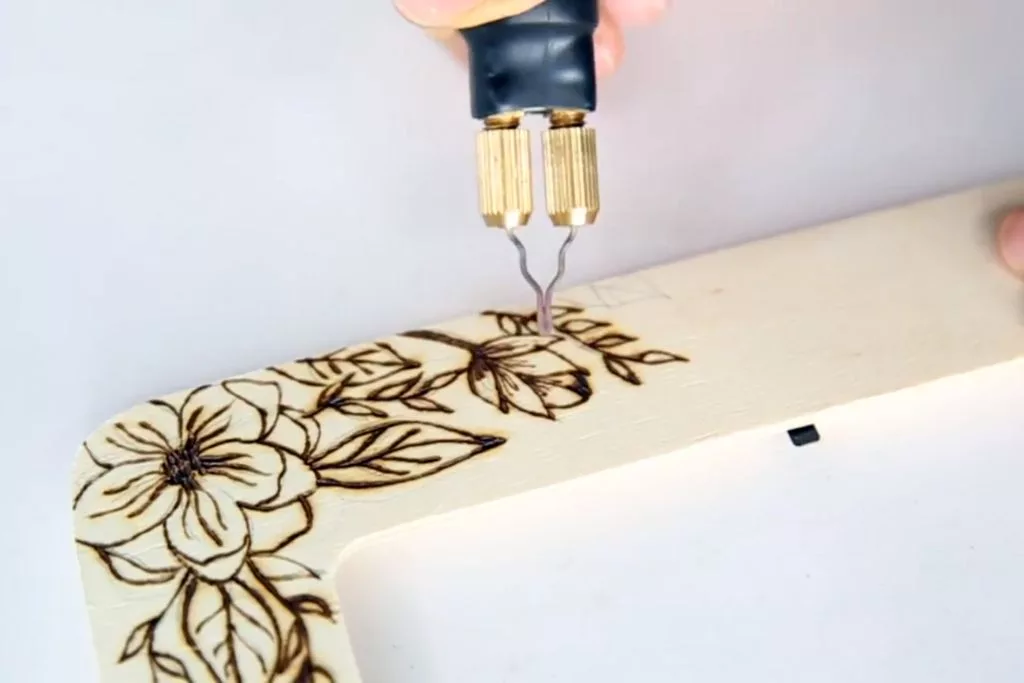
Pyrography on a rectangular piece of wood has become popular nowadays. For such shapes, a floral corner wood burns looks great. For starters, floral designs don’t need to be too neat or precise. Even when they’re a little asymmetric, this design would still look quite lovely and feminine.
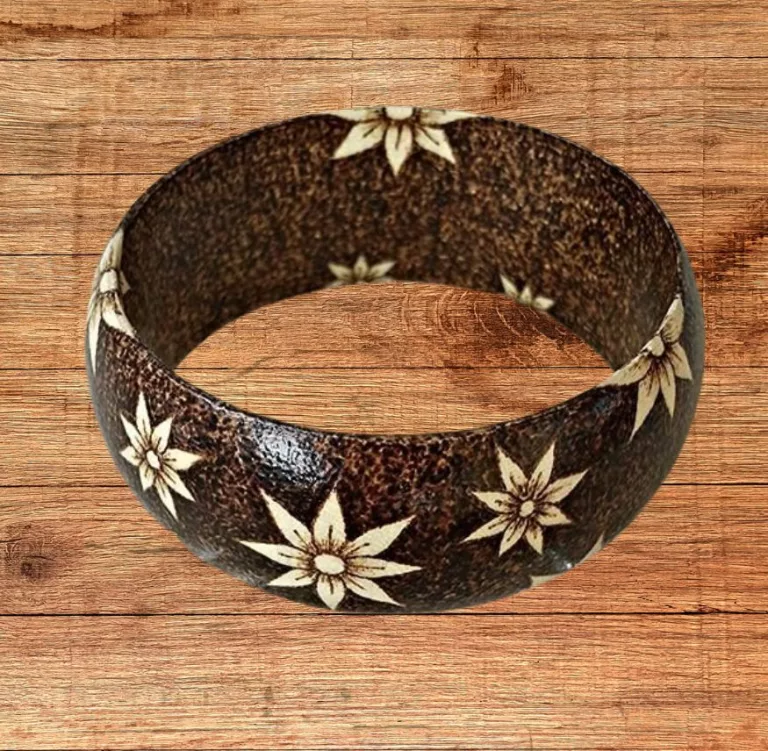
Floral Corner With Additional Shapes
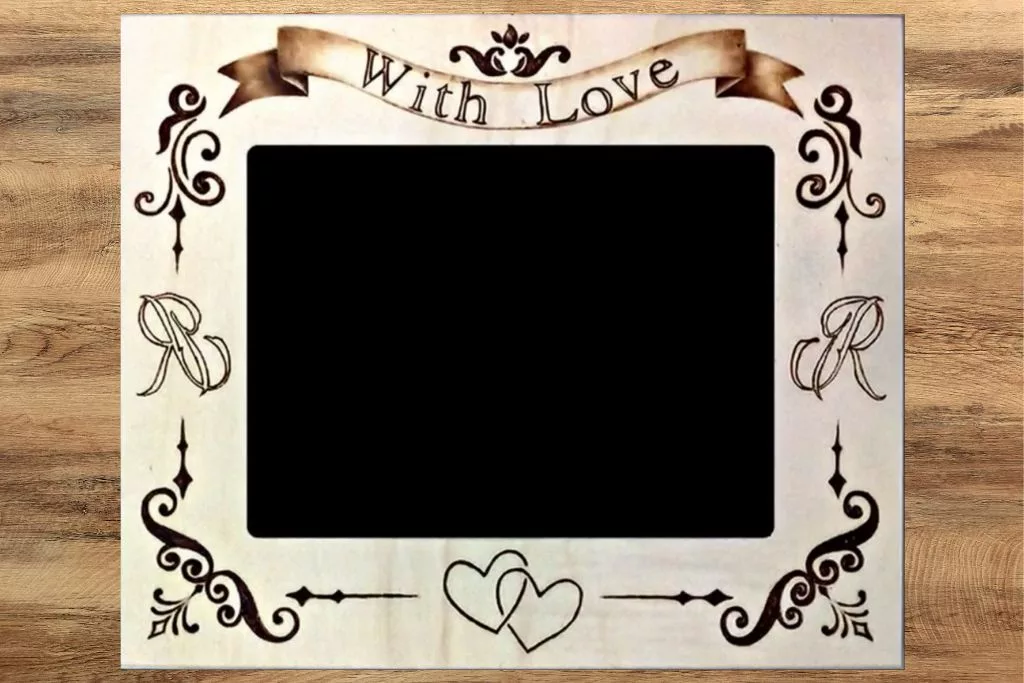
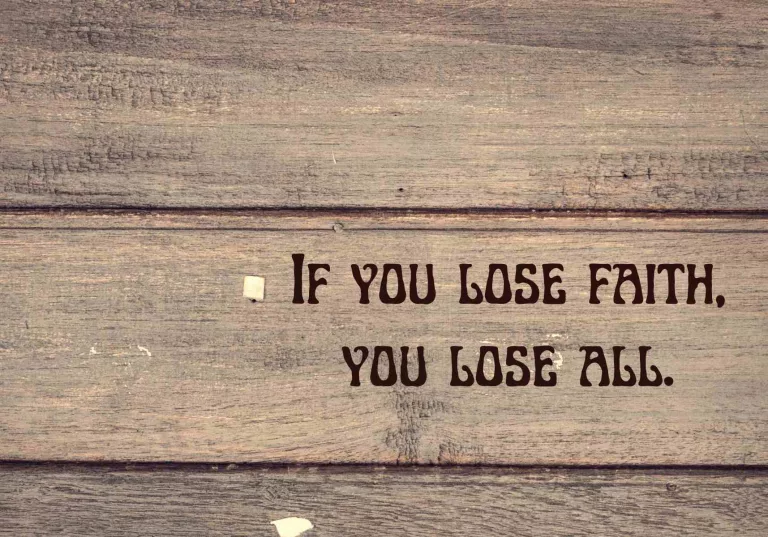
At the corners of your rectangular medium, a pattern of vines and flowers would look stunning. Especially, if you think your artwork needs to look more delicate, this pattern is a good idea. This border looks great with motivational quotes, animal portraits, letters, symbols in the middle of the sides.
Heat Torched Borders
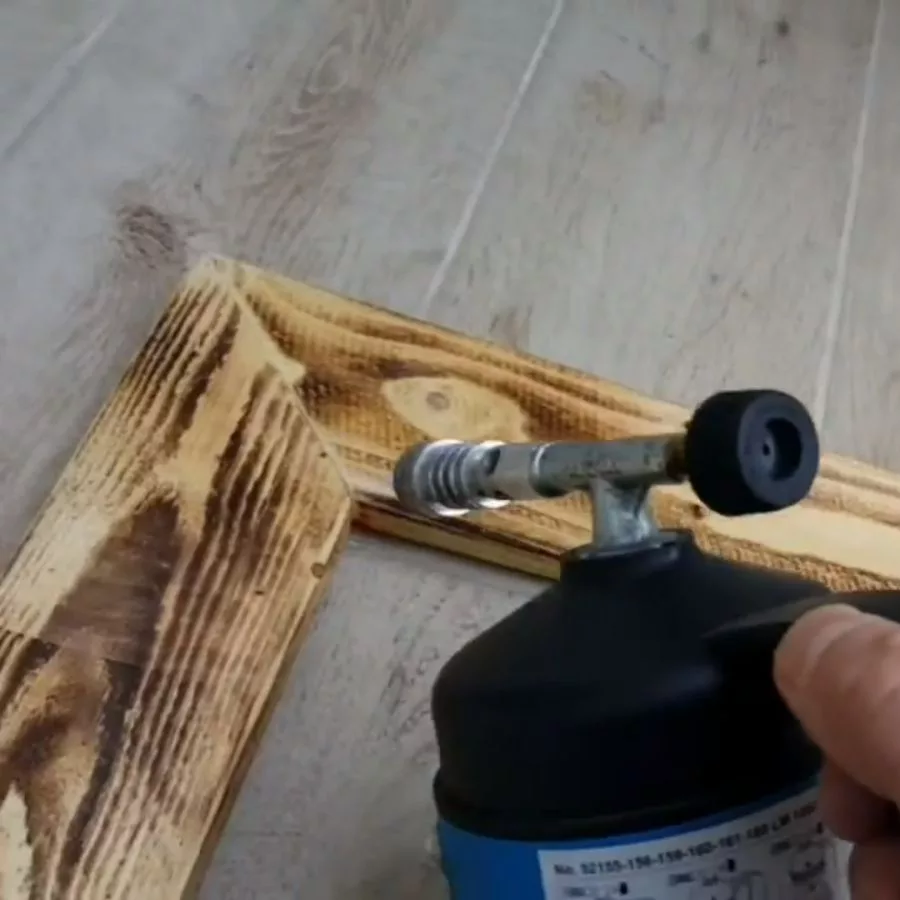
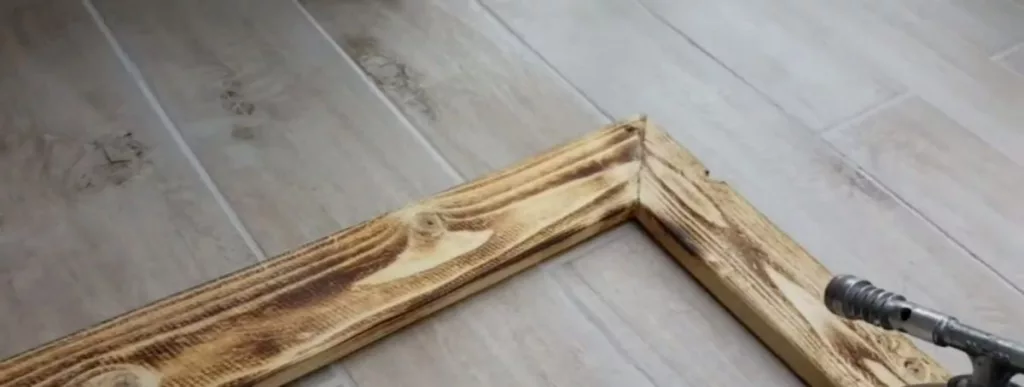
Not everyone can pull off floral shapes or intricate curves and corners. If you’re new to pyrography but still want a nice border for your artwork, you can just make your own unique border. Just line up an assortment of natural burn marks on the borders using only a torch blower, add some sealants then, and you’re done!
Conclusion
Borders can do wonders for a pyrography project. Pick a border that you know you can handle and one which complements your artwork. Be warned though– a border which doesn’t match the artwork, or is unnecessary will ruin your work. So choose wisely!
Related Resources
- How to do Celtic patterns via wood burn. This is important to know to make Celtic patterns on the border pyrography.
- How to do floral pyrography patterns on wood. You will need these to do the floral patterns on the wood burnt borders.
- No wood burn art is complete without finishing. This is a good read on the best finish for pyrography projects.
FAQs
How do you burn the edges of wood?
A heat gun or a torch is the best tool to burn the edge. And you have to be careful enough so that the canvas of your burn work does not get burnt. In this case, you can use a metal ruler to cover the protected area.