Pyrography Branding Iron – Awesome Tool For Woodburning
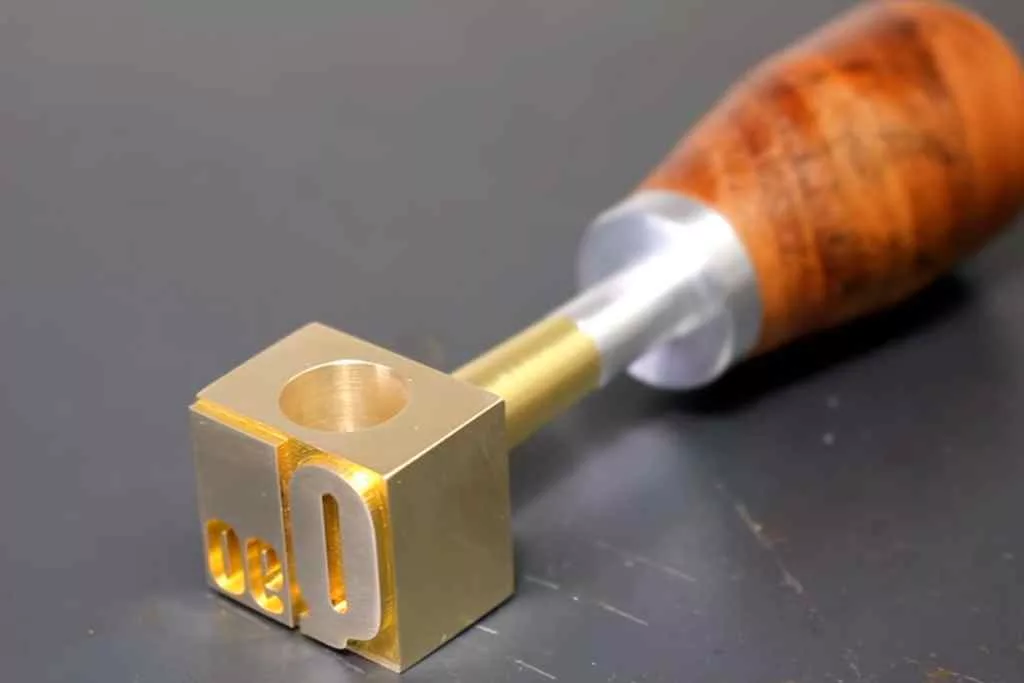
PYROGRAPHY BRANDING IRON or PYROGRAPHY STAMP and PYROGRAPHY BRANDING LETTERS are tools, having an embossed or engraved metals (made of stainless steel, mild steel or any metal alloy), to mark some emblem or logo or a seal on various surfaces via heat and pressure.
It has grown popular for adding more than just branding with names and signatures. When you make something, marking it or branding it is a way to let others know who it belongs to or who is behind the craft. And it is not a new concept, as branding has been in use for many centuries.
You can use this type of marking with heated iron for adding various designs and artwork. However, they require careful handing before and during the marking.
The good thing is, I have covered pretty much everything you need to know on this topic in today’s article. So feel free to check it out for learning more.
Types of Branding Iron/Stamp/Letter
Generally, such branding irons are of two types, and they are torch-heated branding iron and electric branding iron. Here, I have discussed more on these iron types.
Torch-Heated
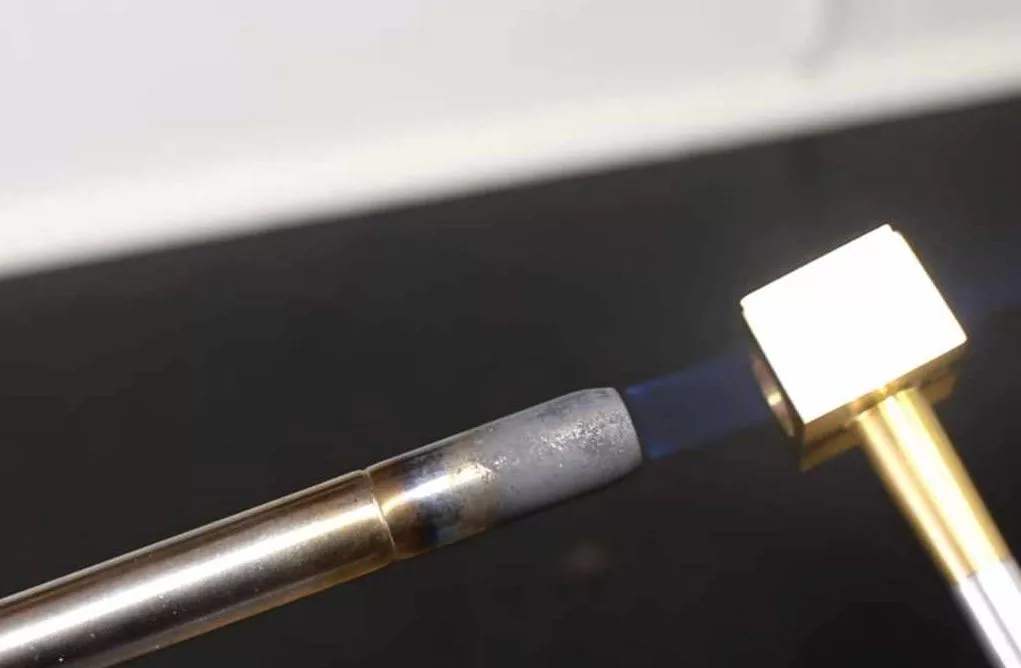
The torch-heated branding irons are also known as a standard branding iron. You will have to hold the iron’s design part to a heat source to heat it up. And once it does, you can press it on wood for branding.
The perk of using this iron is that they are easier to use, and you can use it anywhere, as long as there is a flame source. And that doesn’t necessarily need to be a blow torch. But the downside of such iron is that they take longer to heat up and cool down.
On top of that, they also come with various hazards. So you need to be very careful when handling one when branding.
Electrically Heated
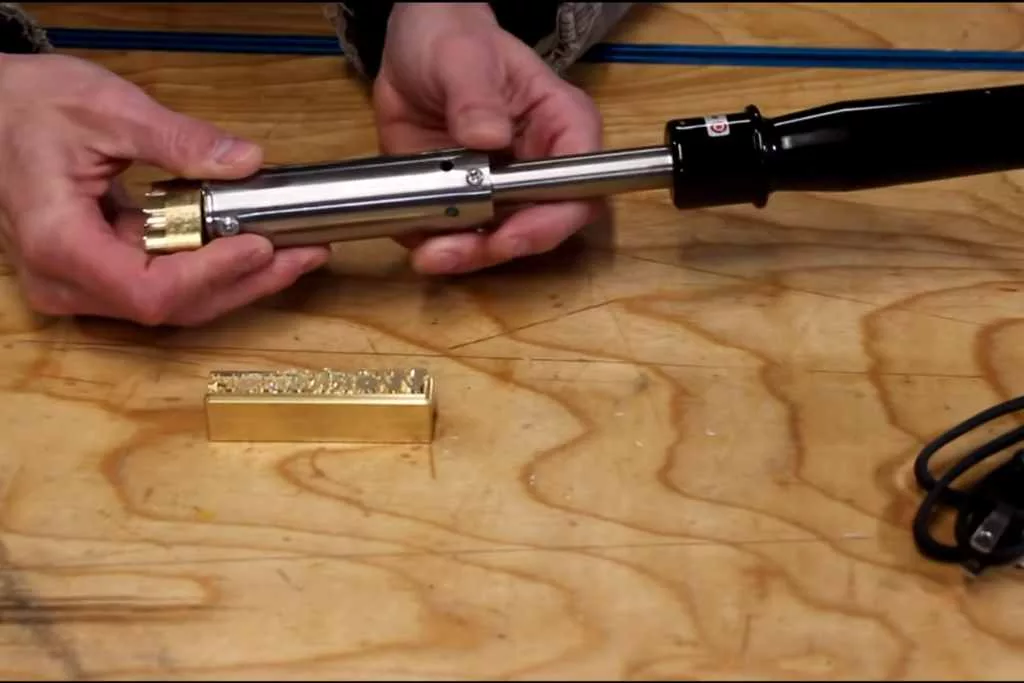
The difference between the standard branding iron and an electric one is that the latter requires an electrical source for heating. The branding rod comes with an electric cord that you connect to a burner tool, much like any other pyrography pen tool.
This type of rod is more popular as they allow you to brand several items in a comparatively shorter time. Because you don’t need to reheat the iron as it will stay connected to the burner tool the whole time.
On the downside, you cannot carry it around everywhere for work. You must work next to a power outlet so that you can keep the iron plugged in.
Basic Parameters For Operating
Are you using a branding iron for the first time, or still haven’t figured out the right way to use one? You must know about the basics of using a wood burn branding iron. And here they are.
Design
The pyrography branding design has to be clean and eligible. Too much detailing and design will only make viewers turn away. If you want to make something memorable, a simple design is more effective.
Temperature/Heating Up Time
The temperature is another important factor here because not maintaining it can under-burn or over-burn the wood. And the application of temperature also varies based on wood type or any other material for that matter.
Dwell Time
Dwell time is the amount of time you hold the branding iron’s tip over the material you are burning for branding. In most cases, based on which shade and how much depth you want, holding the iron tip for 2-5 seconds does the job.
Pressure
Obviously, you will have to apply some pressure to transfer the branding design or pattern to the material. But how much pressure should you use? That will depend on how much you want to burn and the wood type.
Engraving Depth
If you apply more pressure and use a higher temperature, you will get more engraving or branding depth. So it is best to experiment a little with everything I have mentioned to know how you want to do the branding.
How to Use These
Branding iron requires only a very few steps for branding any material. Here is a step-by-step guide that you can follow for pyrography branding with a branding iron.
Step 1: Prepare The Surface
If you are branding wood, you must make sure the surface is well-prepared for burning and branding. Some suggest spraying some water first to get a cleaner branding, but I don’t recommend that.
Sometimes, water can interfere with the burning and make it uneven if it is not sprayed even. But make sure the surface is sanded and cleaned well so that it appears smooth.
Step 2: Heat The Iron
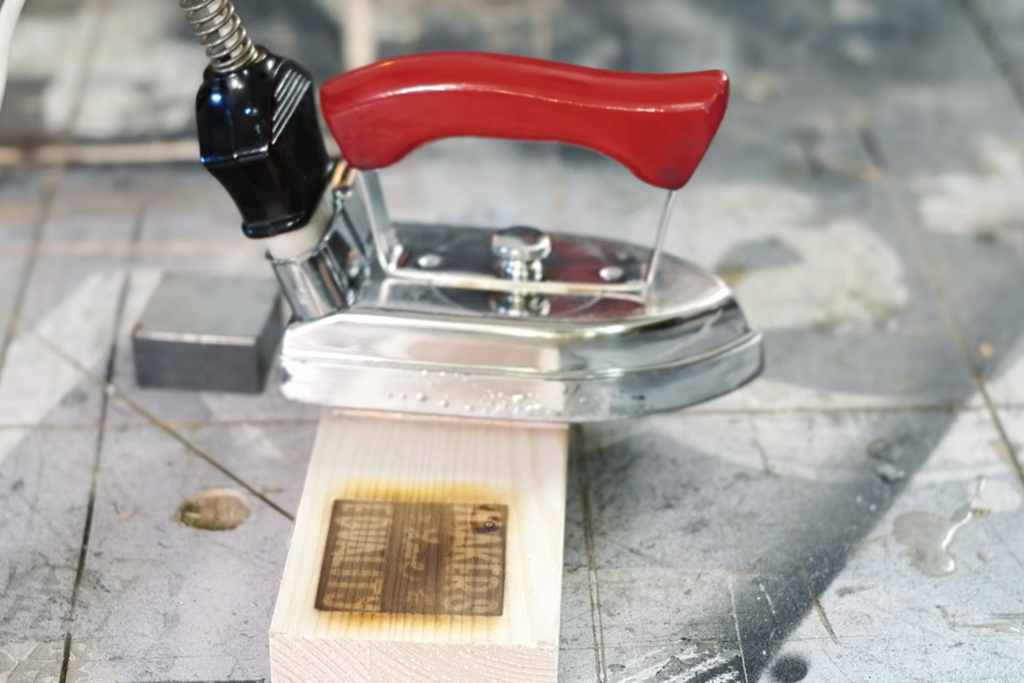
Depending on which type of branding iron you use, the heating process will vary. If it is a manual or torch-heated branding iron, heat it with a fire source until you are sure that it has reached your required temperature.
On the other hand, if it is an electric iron, plug the iron into the burner tool and adjust the temperature. Then wait a few minutes for the iron tip to heat up.
Tip: Apply the branding iron tip on a different testing material to make sure the temperature is accurate.
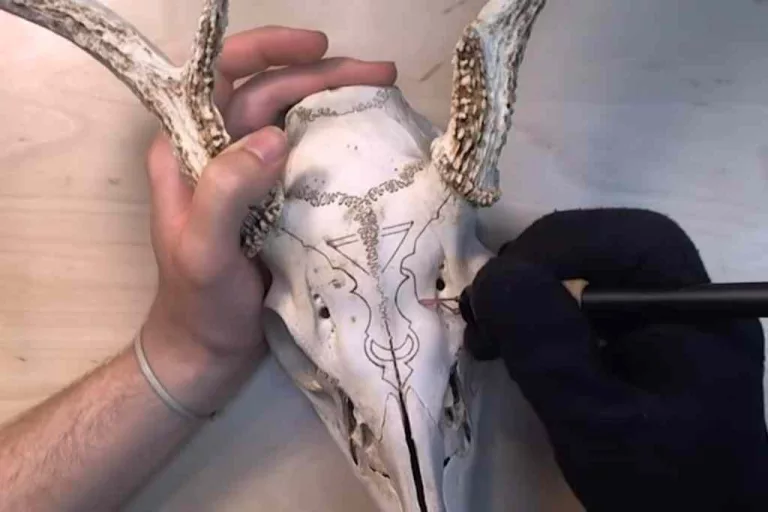
Step 3: Do The Branding
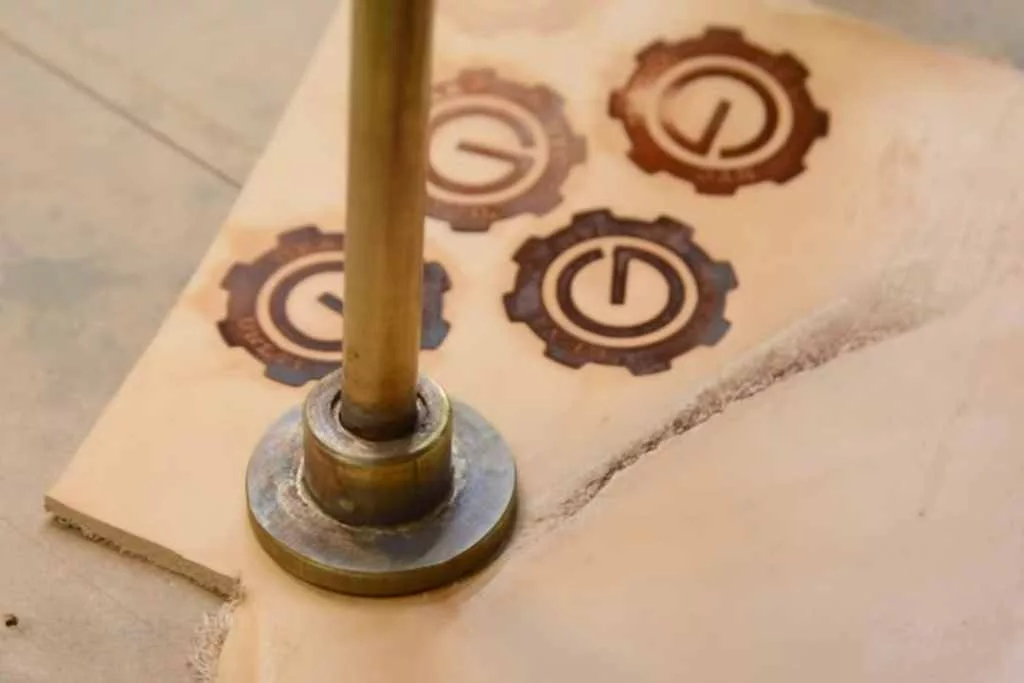
Now that everything is prepared, you are ready to use the iron for branding. Place the pattern part on the wood or other pyrography material and apply some pressure. Hold the iron steady for 2-5 seconds, and then lift it up. Repeat the process if you are applying the same branding pattern on multiple items.
Pyrography Materials to Brand With a Branding Iron
I mentioned using branding irons on various materials for pyrography. But what are they?
Wood
Wood is the very first thing that comes to one’s mind where pyrography is involved. While wood is the best material for doing pyrography with a branding iron, it is best to avoid using it on treated wood as they contain harsh chemicals.
Leather
After wood, leather is the second best material for branding with heat. It gives you an eye-catching result, and you can use an electric branding iron if you have a large quantity of work at hand.
Paper
Branding is quite popular on letterheads. And they are also used on paper bags as various company or brand logos, making paper another suitable material for iron branding.
Cardboard
Whether it is a personalized package, business package, or invitation card, branding iron plays a vital role in creating those. That’s right! You can get personalized branding iron tips if necessary.
Plywood
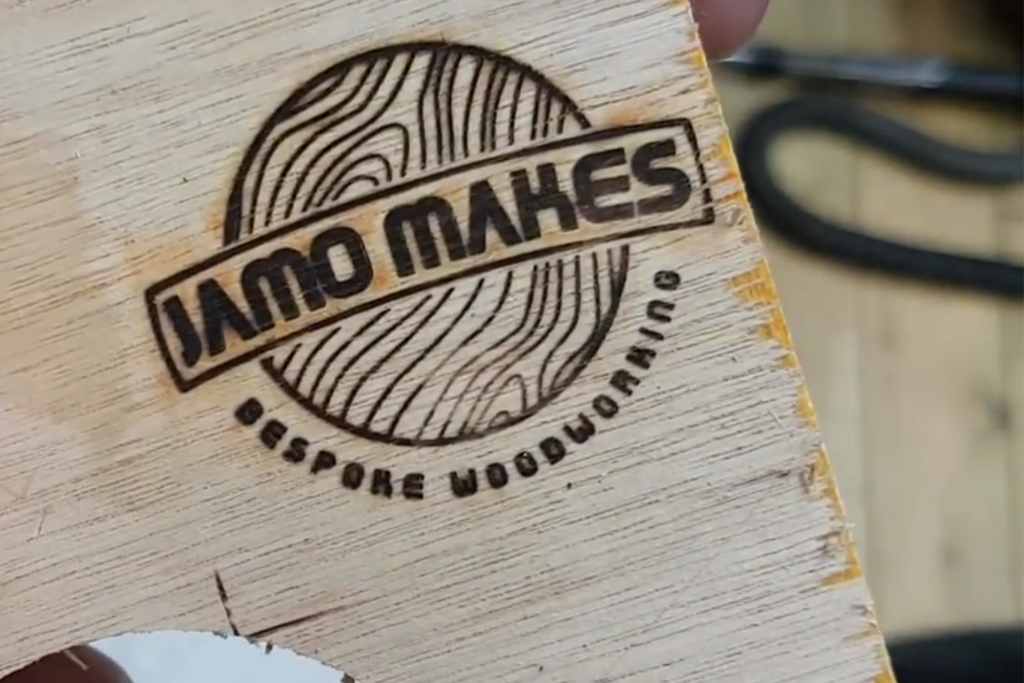
Furniture, photo frames, door handles made of plywood are very popular pieces to do the brandings upon.
Food
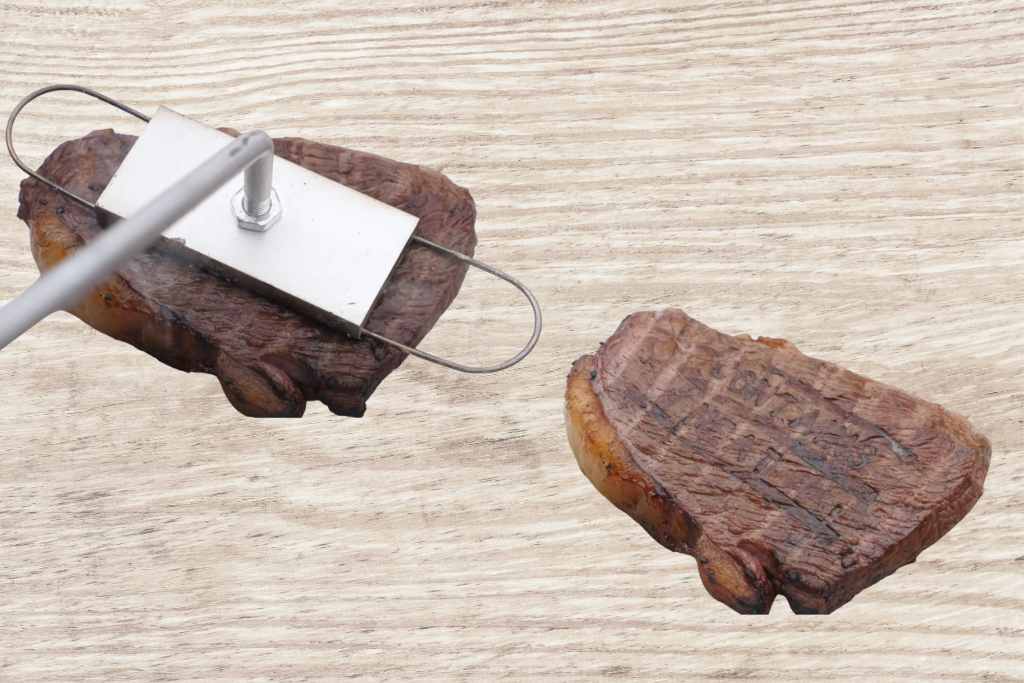
I bet you didn’t expect that. But you CAN use branding iron to brand food as well. But you must use a food-safe branding iron material, such as aluminum, as it does not contaminate the food or release odor.
This video has demonstrated the branding iron thing very clearly.
Here’s another video in branding iron category, here making of the branding iron is also shown.
Tips for Using the Branding Iron
Here are some life-saving (pun intended) tips to help you do pyrography branding safely.
- Branding causes wood or other materials to burn and release fumes and debris. So always remember to wear protective gear.
- Choose an open space or a room having good air flow so that it does not create a toxic atmosphere.
- Make sure the material surface is dry and well-cleaned. If it is wet and unclean, the branding will not be perfect.
- Electric iron or not, take your time and wait for the iron to get hot. Rushing will not give you a perfect outcome.
- Leave the branding iron in a horizontal position so that the handle will not heat up.
- Take a break in between branding if it is an electric iron because leaving it plugged in for too long can over burn the next items you will brand.
- Manual branding irons are safer to cool down by submerging them in water.
- It is necessary to keep the iron steady until the branding is done to get an even texture.
- Disconnect the the power cord after branding if you are using an electrical branding iron. Or else it poses a risk of major accidents.
Things You Should Avoid When Using A Branding Iron
Despite everything you have learned so far, there are a few more things you should remember even more. You must avoid these things when branding, regardless of which type of iron.
- Some users knock the branding iron at the side of the work table to shake off the debris. Don’t do that.
- If you are using more than one iron tip, it is best not to leave them on when you are not using them. Leaving them on can cause various issues and may result in damaged tips.
- Do not leave the iron turned on at a high temperature for too long.
- Never submerge your electric branding iron in water to cool them off quickly. Even if the iron is not plugged in, its electrical circuitry can get damaged by water and can cause other severe hazards when you plug it in.
- Quick cooling off of the iron by dipping into water will make the metal brittle. Especially, if you do it time and again.
- Avoid pressing the iron too hard on the material because doing that will not make it burn any more quickly than it’s already doing.
- Avoid leaving the hot iron in a vertical position when not in use. Leaving it like this can spread the heat further on the handle, making it difficult to hold.
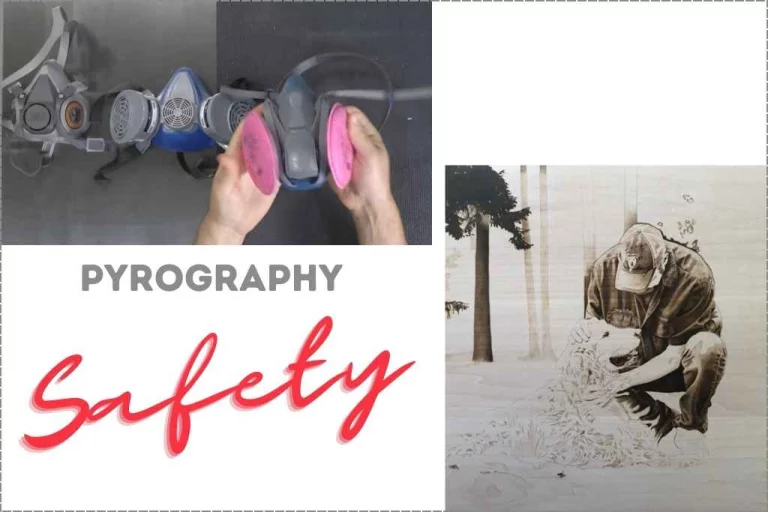
This safety related article is a must read for pyrographers. Don’t miss to read prior you start your burn art.
FAQs
How long does it take for the branding iron to heat up?
If you are using an electric branding iron, it may take 4-6 minutes to reach the required temperature. But that also depends on how high or low you have set the temperature. And if you are using a torch-heated branding iron, the heating time will depend on the heating temperature.
How long does it take for the branding iron to cool down?
If you are using an electric branding iron, it will not cool down as long as you have it connected to the electric burner tool. But once you remove the plug, it may take 5-10 minutes for the iron to cool down completely. On the other hand, torch-heated irons often take longer to cool down.
What is the best temperature for burning wood with a branding iron?
The temperature for pyrography branding depends on what type of wood you are using. For softwood, you will need to apply 650°F-750°F (350°C – 400°C) temperature. But for hardwood, the temperature needs to be around 750°F-850°F (400°C – 450°C).
Final Words
Branding wood or any other material for pyrography is not as simple as it seems. But now that you have learned so much about the woodburn branding iron/stamp/letters, you can be sure of doing your first or next pyrography project with more ease.
Just make sure to read the important tips I have shared to avoid making mistakes or facing any hazards. And always test on a separate item to ensure you have got the right branding temperature.