9 Steps To Do Pyrography On Paper; 8 Amazing Patterns
Performing pyrography on paper in pretty much the same way it is done on wood, leather, or any other suitable surface. However, if you are burning a design on paper, it is better to use a thicker one, such as watercolor paper. And such pyrography usually requires comparatively low burning temperature, and wearing safety equipment is a must.
Pyrography, or wood burning, is one of the oldest known art forms in the world. And it became well-known and remained popular over the centuries because of its aesthetic appearance and versatility. But though the art form began as a wood burning method, over time, people began exploring more and learned to do this burn on paper.
Which Paper To Use For Pyrography?
Now when it comes to burning design on paper, you need to be very selective. Because, unlike wood or leather, this material is comparatively thinner and can burn through easily. So it is recommended to use thicker ones.
Then what is the best type of paper for pyrography? Here is the answer!
Watercolor Paper
It is usually made of wood pulp or cotton fibers, which offers an excellent thickness and quality to apply watercolor without damaging it. Though comparatively more expensive, it is the best option for paper pyrography.
Pastel Paper
These are known for their excellent surface texture and variety of colors. Made from a very fine coating of cellulose fibers, this medium can easily withstand several degrees of pyrography heat. They usually come in sanded and treated form. Since the treated surface is not safe for burning, you can choose the sanded ones for better texture.
Drawing Paper
While regular ones are made of cellulose from any plant, drawing papers are made particularly from wood or cotton cellulose. And this is usually smoother than regular ones. But even though they are durable, such papers are also known for getting discolored quickly over time.
You can watch this amazing video on this.
How To Do Woodburn Art On Paper
Well, it is not literal wood burning if you burn it on paper. But the term is still used in the same way. Anyways, here is a guideline to help you do pyrography designs on it without much hassle.
Things You Will Need
- Paper
- Burner tool
- Burner pen
- Various nibs (optional)
- Pencil, carbon paper
- Stencils or design templates
- Color/Paint (optional)
- Safety equipment (gloves, respiratory masks, glasses)
- A flat, safe surface to lay the paper on
Step 1: Gather Your Supplies
It is ideal to have everything you need for the project gathered in one place rather than having them lying around. Doing this will not only help you get what you need instantly, but it will also save you time. So make sure you have everything I mentioned in the list above to ensure you haven’t missed anything.
Step 2: Prepare Your Work Area
Select a safe and open room for your workstation. You can also work in an open area, but it may cool down the pen tip faster, which will end up ruining your burning consistency. And once you have selected your workspace, choose a flat and hard surface to work on.
Step 3: Draw/Transfer Pattern
Doing pyrography design on paper is trickier than doing it on any other surface. So before anything, you need to have your pattern drawn on the it. This step can be very helpful if you are a beginner. You can either draw directly or use the pattern transfer method.
For that, you need to have a pattern template printed. Then you can transfer the pattern using carbon or graphite transfer methods. You can also trace your desired pattern using stencils and pencils.
Step 4: Wear Safety Gear
Never attempt to do any kind of burning without wearing your safety gear. Any type of wood burning produces smoke and smell. So if you are burning from close, it can be harmful and uncomfortable. On top of that, the burner pen can feel hot despite its protective guard. That is why it is essential to wear safety gear, such as respiratory masks, gloves and eyeglasses.
Step 5: Heat Up Your Burner Pen
After that, plug in your burner tool and connect the burner pen to it. Then turn on the pen and adjust the heat as needed. Since this burning does not require a higher burning temperature than wood or leather, you can keep the temperature setting between 2 to 4. Or you can choose a low temperature and then increase it gradually.
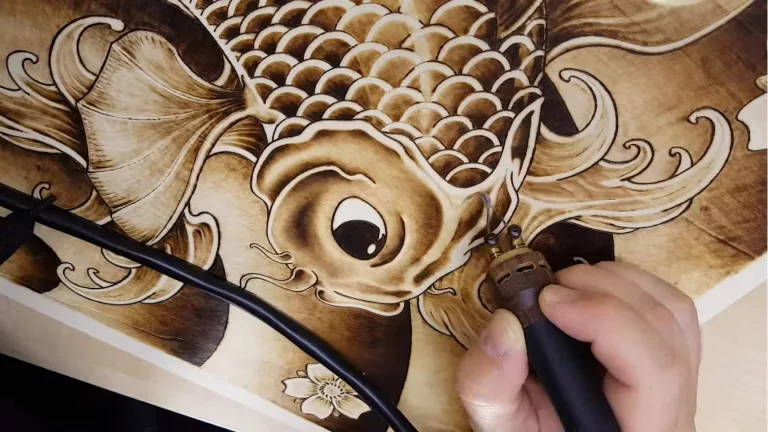
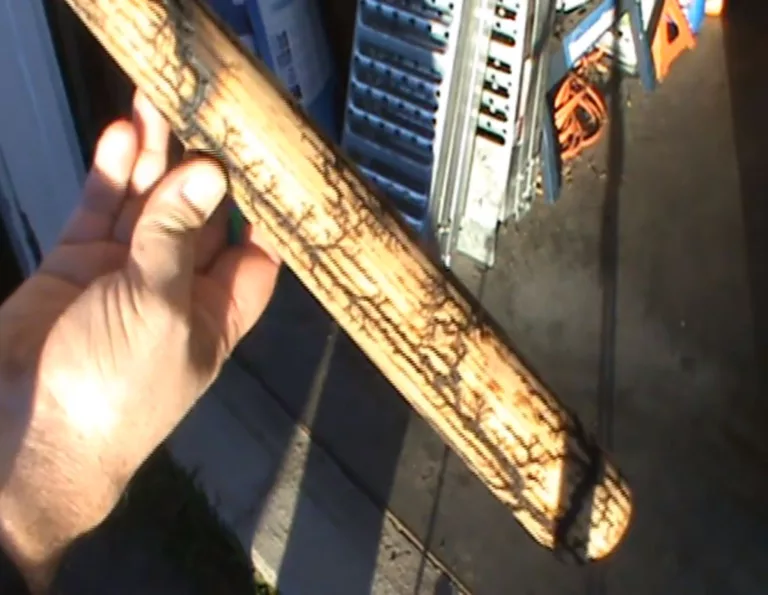
Step 6: Burn Along The Outlines
With everything ready, now it’s time to start burning the pattern you drew on the paper. But before that, burn a few strokes on another piece of the same medium to see if the pen tip is burning with the right heat. Then start by burning along the outlines.
Step 7: Add Shades
If you want to add shades, you can switch the pen tip and then burn to achieve the desired shade. But remember that it is not always mandatory. If you are a beginner, it is better to just stick with the simplest burning methods. However, if you are a skilled pyrographer, you can burn to create various levels of shadings.
Step 8: Paint/Color Your Design
Painting the this particular pyrography design is not necessary. But doing so allows you to add more details and make the design appear more vibrant. It can be necessary only if the project demands it. Nevertheless, you can use colored pencils, watercolor, and acrylic paints to paint your pyrography patterns.
Step 9: Clean Off Your Desk
Don’t leave your mess lying and flying around. Make sure to turn off the burner tool immediately after you are done. Remove the paper from the work surface and clean everything up. And unlike wood pyrography, there is no need for sealant or finish application on the burn art.
Special Precautions
What else do you need to know about doing pyrography burning on paper? Well, here are some tips and tricks that will help you.
- Wear safety gear. It is always a mandatory rule. It may seem you are doing fine without them. But once you begin to burn the patterns and work on details, the fume and dust will suffocate.
- Never work in a closed or narrow area. Make sure you have enough airflow going.
- If you do not have watercolor or other suitable paper, you can certainly opt for regular ones. You can spray a bit of water on the surface and dry it for 5-10 minutes before burning it to make it adjustable enough for pyrography.
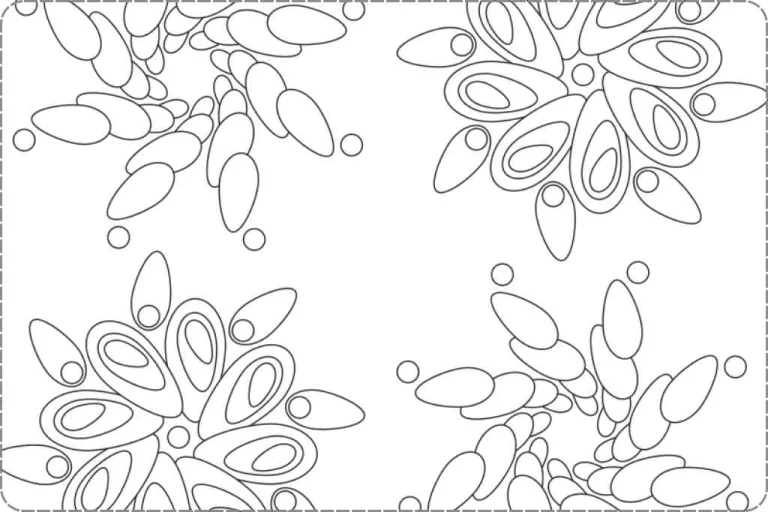
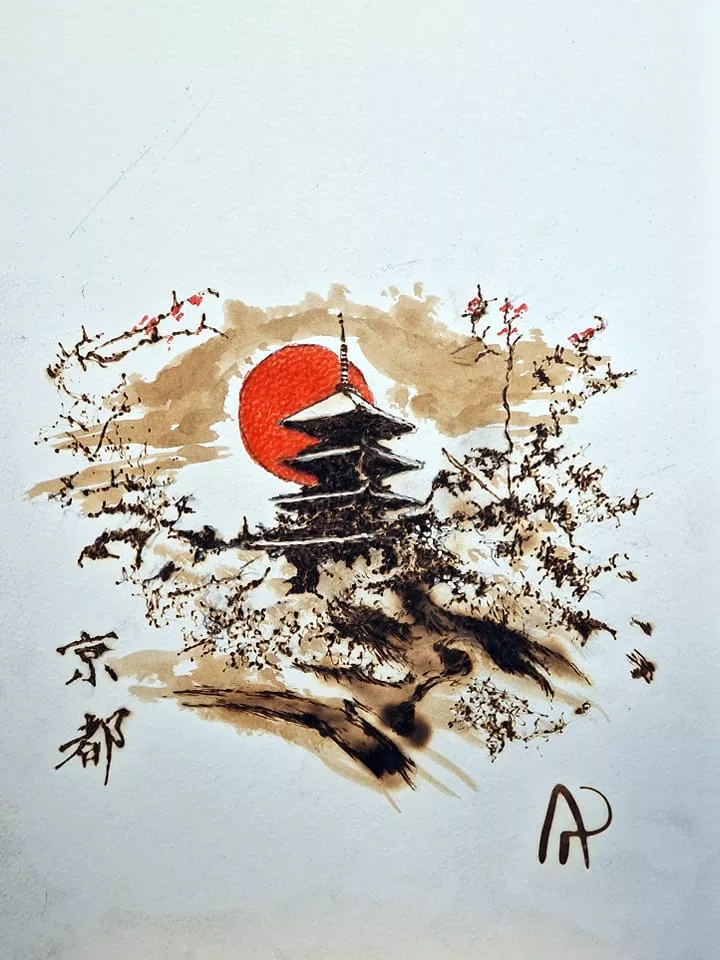
Patterns You Can Burn
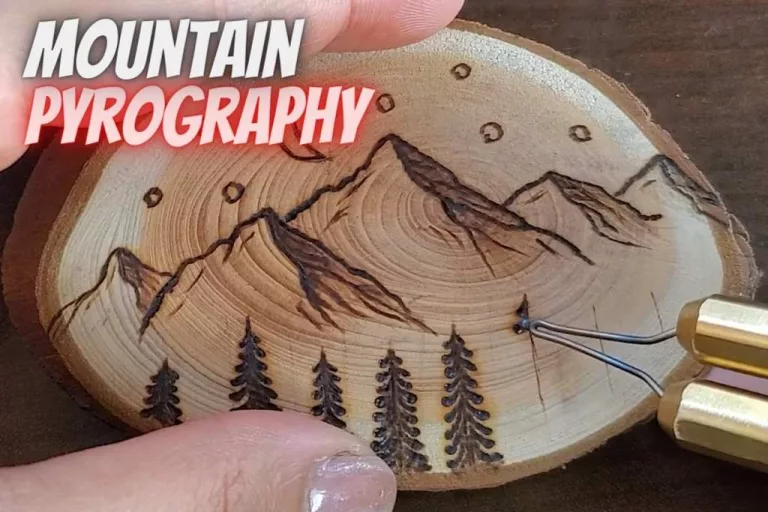
Traditional Japanese Landscape
You can check the following quick reads for more ideas to burn on paper:
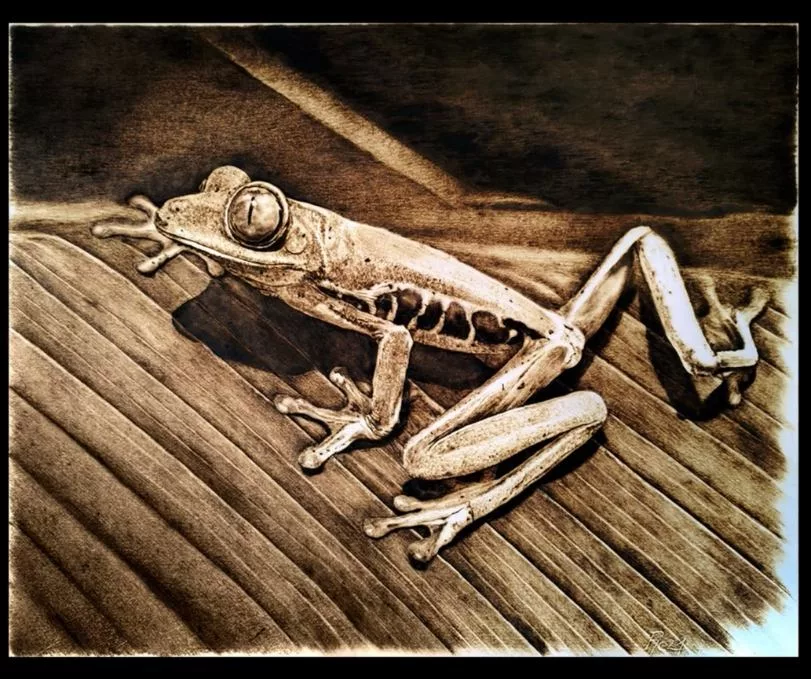
Realistic Frog
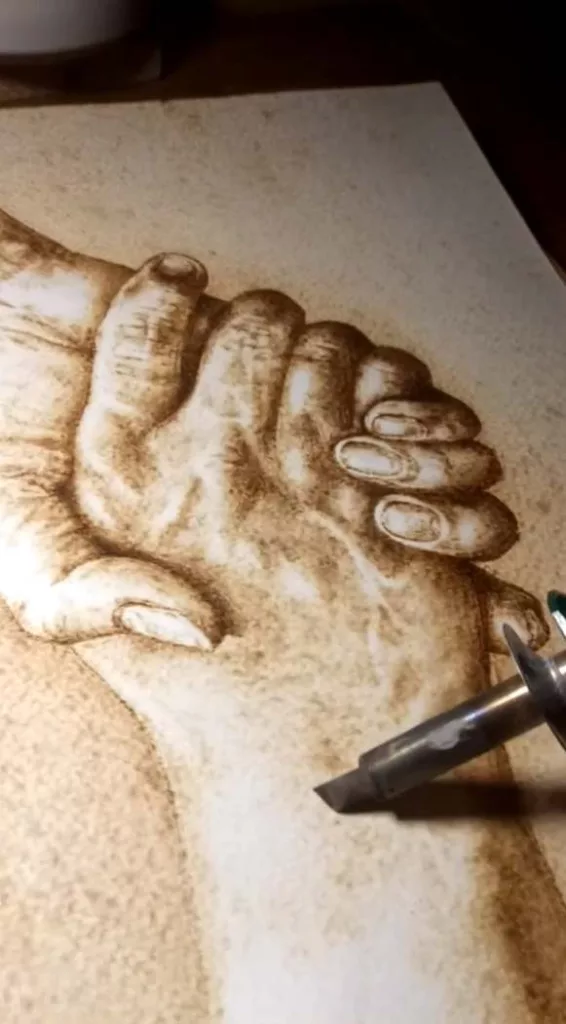
Realistic Hands
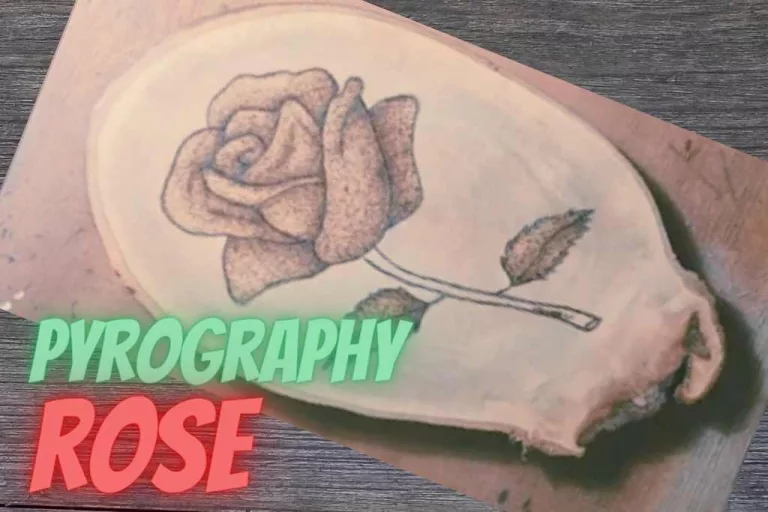
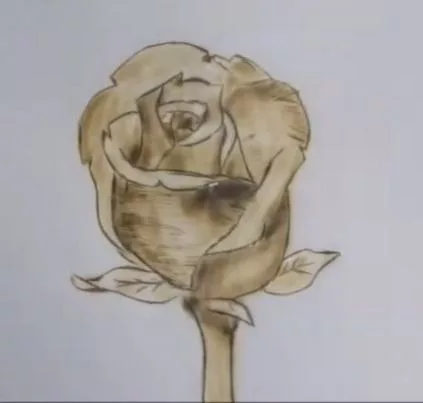
Simple Rose
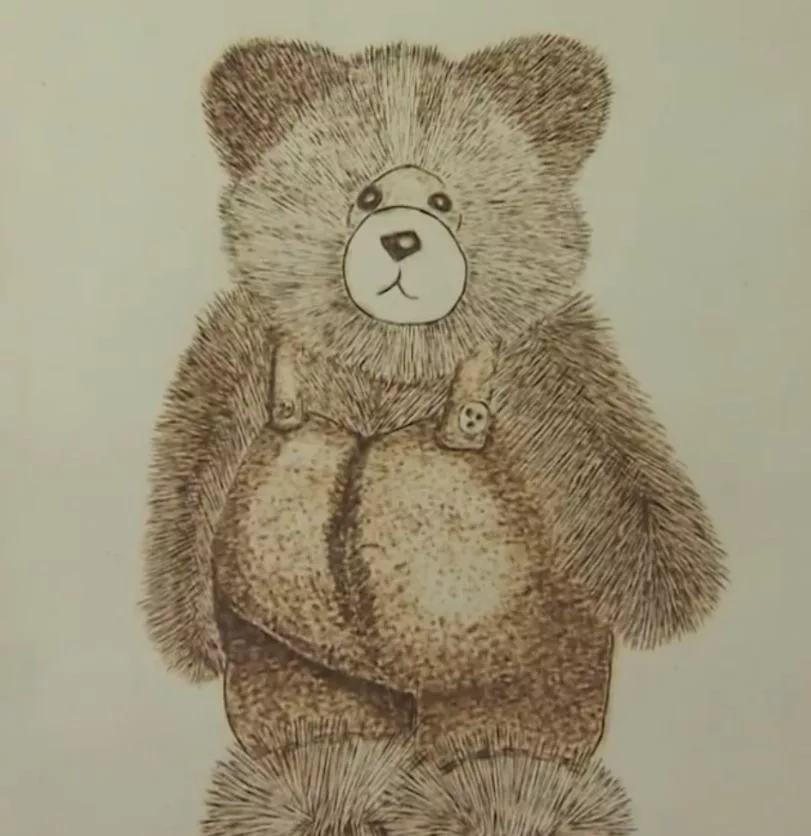
Cute Bear Cub
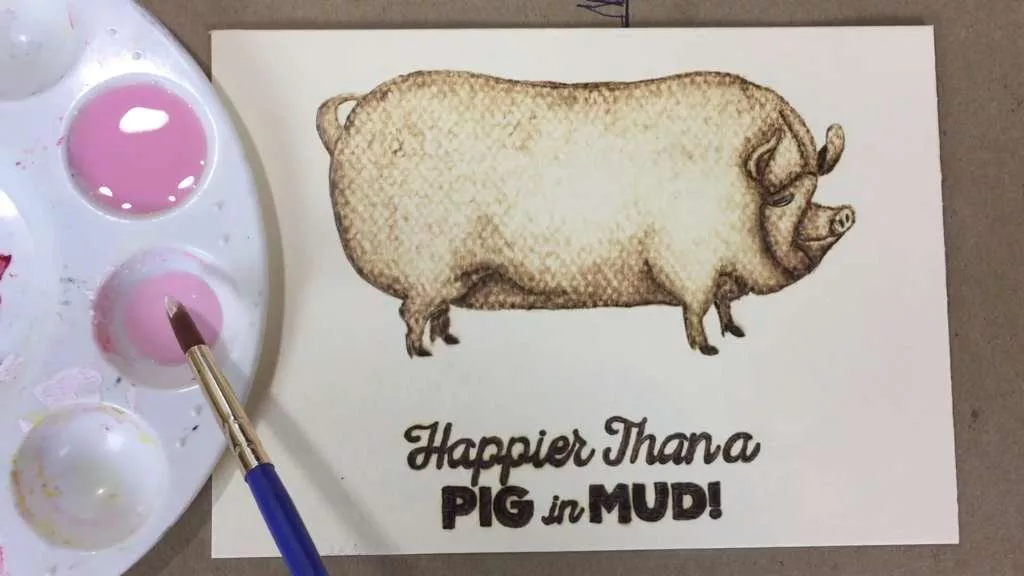
Pig
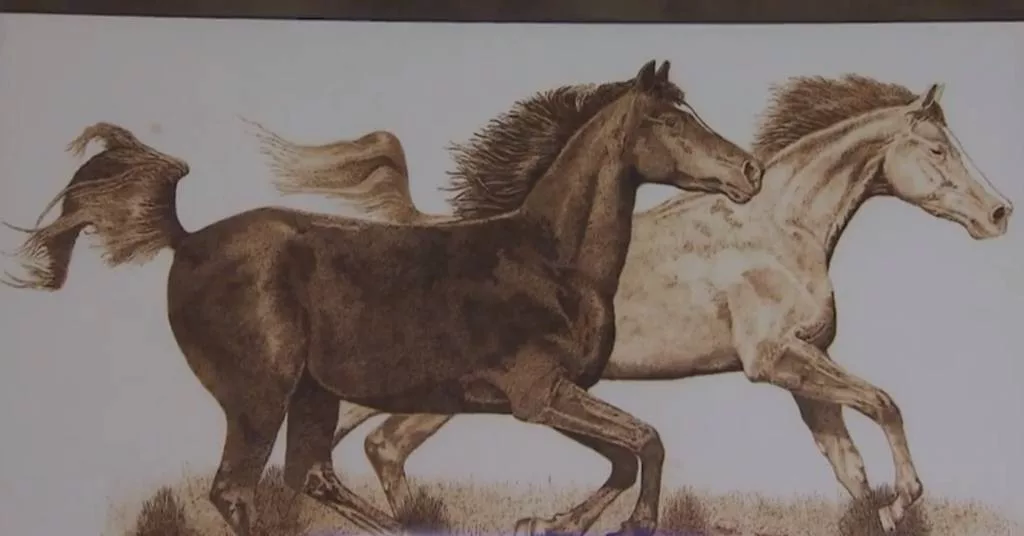
Horses
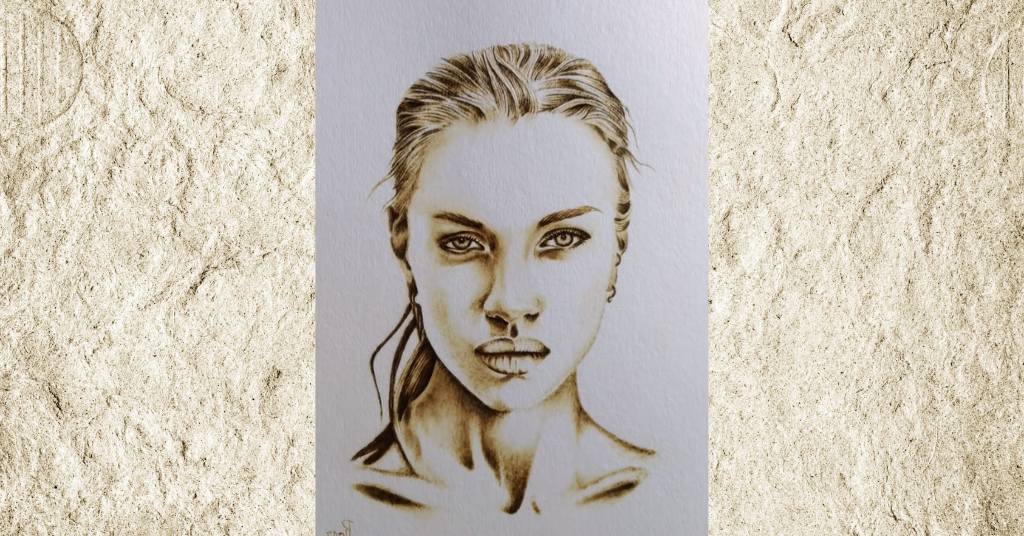
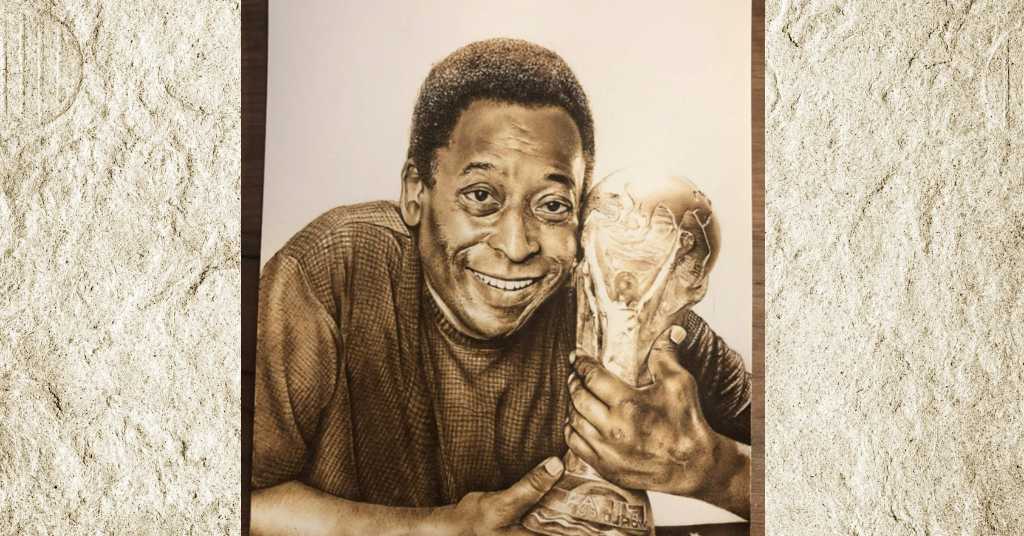
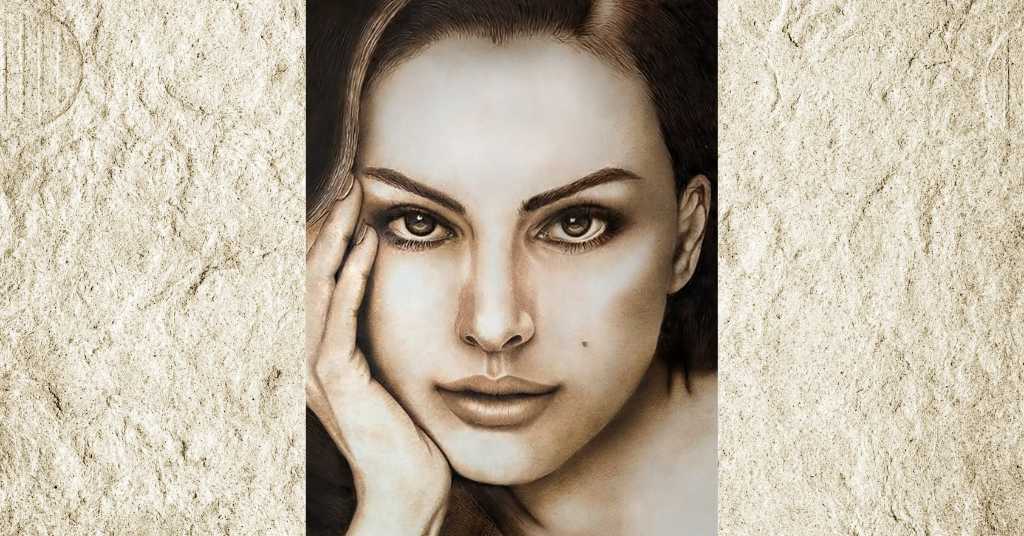
Human Portraits
FAQs
What type of paper is good for pyrography?
Pyropaper or pyrography paper is good for this.
EndNote
When you plan to do pyrography arts on this medium, it is natural to have so many questions. But I hope I have answered them all in this article. The main trick to being good at doing paper pyrography is knowing to use the right temperature and stroke speed. So my best suggestion would be to explore various temperatures until you find what suits your preference.
Related Resources
- Pyrography patterns you can try on this new and experimental medium for you.
- Floral patterns to burn
- Pyrography temperature chart