A Complete Guide To Shou Sugi Ban Or Yakisugi Finish
Shou sugi ban is one of the best wood burning methods that make the wood look more aesthetic. Besides that, this burning process makes wood durable and water resistant, and it is suitable for any small or big projects. The best part is that you can modify these burning and finishing methods in your own style.
But how long has this process been around? And how did it come to be so popular? Do you need any particular type of wood to burn using this method? Can you stain or color such wood?
Take a deep breath! Now read ahead because I have answered all your questions in this article.

What Is Shou Sugi Ban Or Yakisugi?
Shou sugi ban finish is a Japanese finishing process on wood. It is done by burning the surface of the wood or charring it. In Japanese culture, this wood burning method is also known as Yakisugi.
Yakisugi, which translates to “to heat cypress with fire” in Japanese, is a centuries-old wood preservation technique used in Japan. In the West, it is commonly known as burnt timber cladding, while some may refer to it as the Japanese name, a trademark that uses the same kanji characters but with an incorrect pronunciation. The term “ban” means “plank.”
This traditional method involves carefully charring the surface of the wood without igniting the entire piece. Through carbonization, the wood becomes waterproof, significantly increasing its durability. In addition, the charring process also makes the wood resistant to insects and fire, making it an ideal choice for various applications.
There are many ways to apply this finishing method on wood. And the best part is that you can apply your preferred way to create a final look. I will discuss more on this topic in the other parts of this article.
History Of This Japanese Wood Burn
This art did not appear all of a sudden. So when did it all begin? And why was this wood burning and finishing process used? Let’s get to know a little bit about its history.
In the 18th century, Japanese people found a way to preserve wood or wood-made things, including building houses. The process is to use heat or fire to burn the surface of the wood.
This method of wood burning was more popular in coastal areas of Japan, where salt from the seawater would damage houses quickly. Because, turns out, moisture or water and even salt cannot easily penetrate through the Yakisugi wood, helping it last a long time. Moreover, this finishing method also prevents pests and insects from damaging the wood.
On top of that, this process was a two-in-one solution for Japanese people at the time. One, it helps protect the wood, and two, it offers a very unique and rustic look.
This practice went on for a long time in Japan. And later, the shou sugi ban found its way into modern culture. And now, though not widely used, this method is still popular in various parts of the world, including Japan, to build houses and other things. From family property to commercial purposes, many places contain wood with this finishing method.
Types Of Wood Recommended
During the Japanese shou sugi ban era, people used red cedar wood. Those were native to Japanese islands and grew plenty, making them easily available. However, with time, people began using different types of wood. And the thing is, you cannot get the same type of wood everywhere.
So professionals, who use this method, suggest using any type of wood, such as pine, basswood, cypress, hemlock, etc. Any species of wood does the job as long as they have certain qualities. And they are-
Light Color

For shou sugi ban wood burning, the first thing you need to consider regarding the wood is to look at its color. Since you will be burning the surface, you want the result to be visible. If you use dark wood, the burn won’t be very visible, especially if you are using comparatively low heat.
That is why light-colored wood is suggested for this. They help create more burning detail on wood even with low heat.
Soft Grain
Next, you need to focus on wood grain. There is a misconception that hard-grain wood burns better because you cannot over burn it even if you are not careful with the heat. While I cannot vouch for that, I can certainly tell you that hard-grain wood is not exactly the best choice for this burning process.
Hard grains do not burn easily, that is true. But it also means you will not be able to get even an accurate burning shade even if you maintain consistency. That’s why it is best to choose softer grains because they burn easily and are easy to maintain consistency.
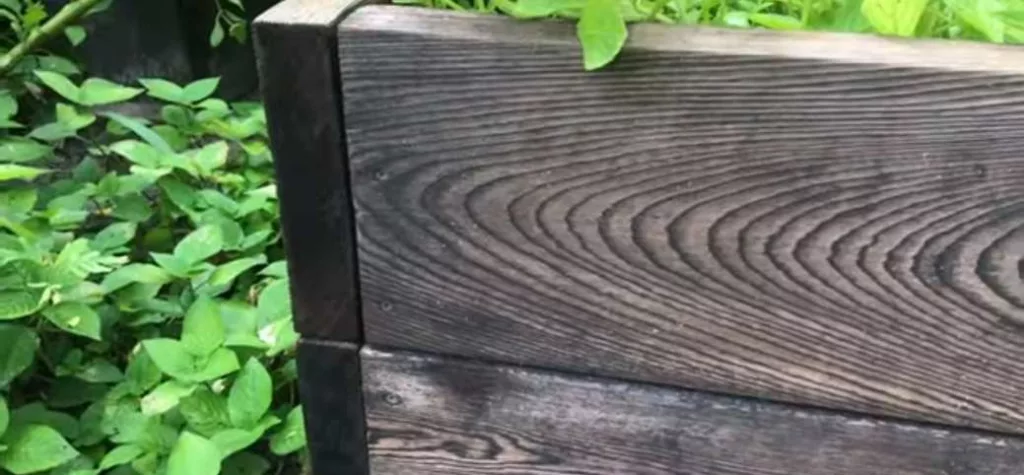
Try noticing how the wood was cut. The rainbow-type grain stripes should be on the outer area of the piece. But that is not mandatory.
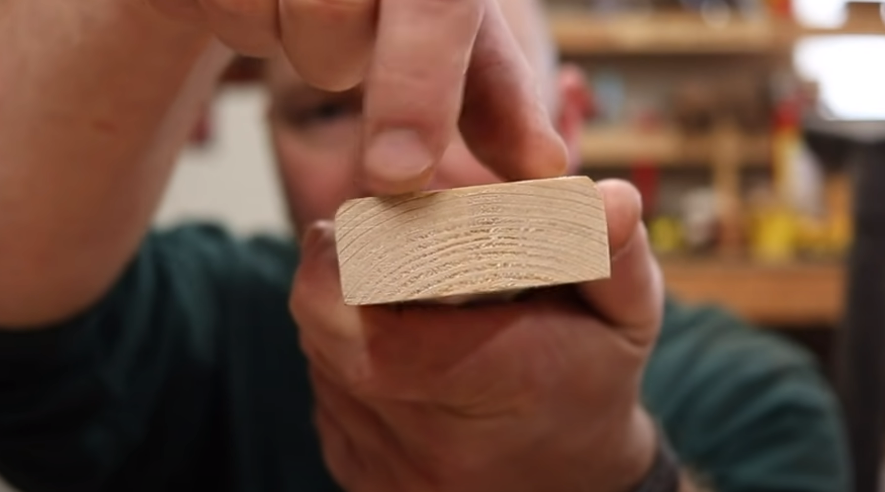
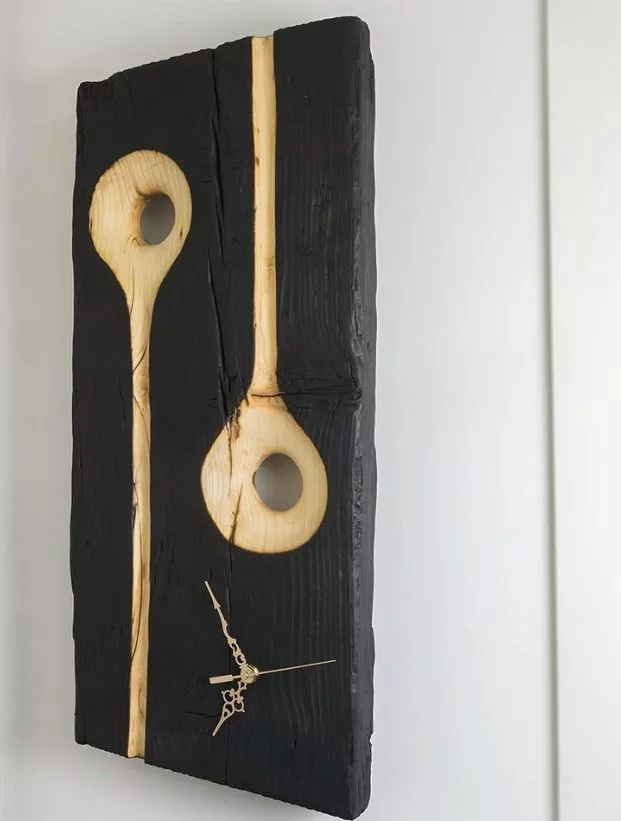
Stripe Type
All wooden pieces have some kind of stripes. Based on the type of wood, the stripes also vary. Now here, the decision is up to you because I cannot tell you what type of stripe pattern you should go with. Because it should be based on your project type.
The picture above shows how the stripes affect the burning. Now I believe you can tell how the stripes and grain patterns play their roles in this special wood burning.
No Knots

Here is something you cannot avoid: knots. You would not want them on the wooden piece you choose, no matter what species it belongs to. If your wood burning project is the Pirate Of The Caribbean universe, the knots are Davy Jones. You would not want to deal with them.
That is because knots are like small holes and wood defects. No matter how much you try, burning them in the same consistency as the rest of the wooden surface will become a challenge. And if not burnt correctly, the texture stands out. Besides, brushing and preparing them for the final touch can also be a hassle.
Moisture Level
One of the final things you need to keep in mind is the level of moisture in wood and its thickness. This part is one of the most critical ones yet commonly overlooked.
Yet, you will need something that contains a low level of moisture because if the wood is wet or contains water, you won’t be able to burn it properly. Staining and coloring it afterward will also be an issue.
Thickness
And since shou sugi ban is about burning the wood surface, you would not want it to penetrate more than the surface level and reach deeper. If that happens, the wood will not last very long, and you will begin to face mild to severe issues.
That’s why thin wooden pieces are not recommended for this type of burning. Rather go for slightly thicker wooden pieces because they burn well, and the fire will not burn too deep easily.
Note
There are no hard and fast rules for choosing wood for Yakisugi finish. But you should try experimenting with various types of wood, grain selection, and color if you want. It will help you understand how different types of wood burn and then pick the most suitable ones.
The Process
The process of the shou sugi ban wood burning and finishing is pretty straightforward, and the following instructions will help you.
Things You Will Need
- Wood
- Blow torch or any heat source
- Wire brush
- Clean fabric
- Sandpaper
- Oil finish/Stain
- Applicator brush
- Paint (optional)
- Safety gears
Step 1: Select Wood
Let’s begin with selecting the wood you will burn. As you have learned already, how to select the right type of wood for the shou sugi ban burning process. So you can either follow that instruction or choose a random good piece of wood for the experiment. I suggest keeping several pieces for testing the heat level.
Step 2: Choose A Safe Workstation
Even though you will not be setting the wood pieces on fire, you will still be dealing with fire, heat, and smoke. Not to mention the dust and debris you will gather from sanding. So choose a ventilated or open space for doing your projects.
Step 3: Wear Safety Gears
Don’t forget to wear your safety gear. For your respiratory protection, make sure to wear a respirator mask. You should also wear safety gloves and glasses.
Step 4: Burn The Wood Surface

Now use the blow torch to burn the wood surface. Some professionals recommend that the heat source should be kept at least 12 inches or more from the wood to make sure you don’t over burn it. But it all depends upon the type of wood and the intensity of the flame you are using.
You can use a different piece of the same wood to check the temperature level. But if you want a deeper texture or alligator skin texture, you can apply more heat and take longer to burn each stroke. Move your torch in the same manner in long and parallel strokes to maintain consistency.
Step 5: Brush And Clean The Surface
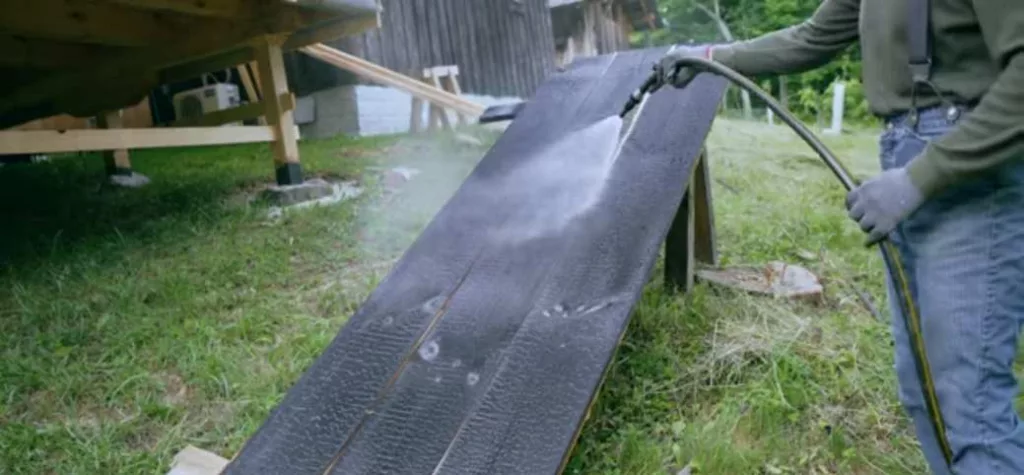
After you are done with your primary wood burning outcome, you will notice the wooden surface is pretty rough. So take a wire or coarse brush and remove the charred texture from the top layer. If you want to keep the alligator skin effect on the wood, try not to apply much pressure when using the wire brush. Then use a clean fabric to wipe the wood surface.
Step 6: Stain/Paint The Surface
You can do this step in two ways. You can either apply a clear water-based stain to darken the overall wood surface or mix paint with stain to add various colors. Either way, do the prep work if you are mixing colors and use a brush or stain applicator to apply it. If you are applying multiple coats, wait 10-20 seconds for the first coat to dry before applying another coat.
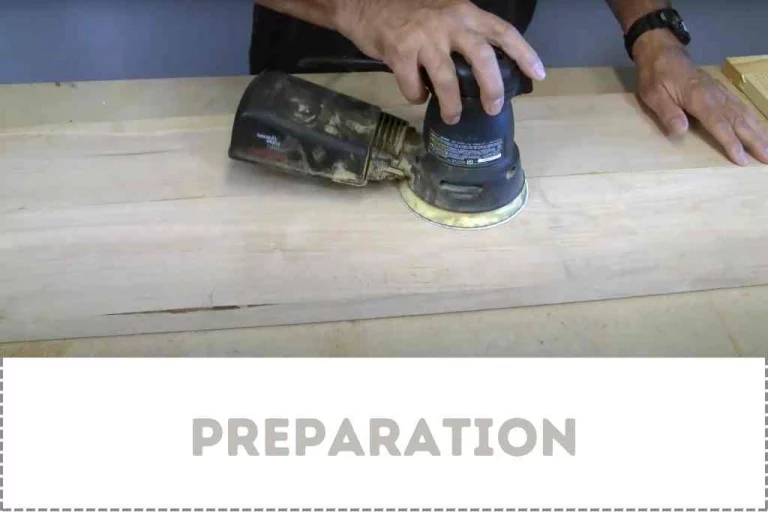
Step 7: Sand The Surface
Wait 5-6 hours for the stain to dry completely before moving to this step. It is even better if you let it dry overnight. After that, use 220-grit sandpaper and sand the entire surface. Don’t overdo it if you want to keep the stain or color tone even. Just sand until the surface appears smooth and does not have any bumps.
Step 8: Apply Finish
Finally, apply a good-quality finish to preserve the look. It also helps protect the wood from heat, exposure, and insects. Like stain or paint, you can apply several coats of finish after you let the previous one dry. Tung oil or natural linseed oil usually works best to do that. And they also help the burn or color appear more vibrant.
Here is a video demonstration of this burn.
Another superb video on the entire process is here.
Benefits
Since the shou sugi ban method was discovered, its popularity hasn’t ceased. And there are many factors behind it. Other than a unique and rustic look, this wood burning method offers many advantages. Here are some of those.
Protection From Moisture And Water
This wood burning method is about burning only the surface. But burning it seals the wooden surface, making it pretty much impossible for water and moisture to go through.
Protects From Insects And Pests
As the wooden surface is sealed through the fire, insects cannot damage the wood. So if you are worried about wood-boring beetles or any other insects invading your projects or home, let it out of your head.
Helps Deal With Local Climate
It protects houses against the salty air and environment. Over time, people discovered that it also protects wood from rain, snow, and humidity. Regardless of the local climate, the shou sugi ban wood burning finish offers excellent protection.
Makes Wood Durable
Burning wood in this way makes it resistant to heat, water, moisture, and even insects. Thus, it makes wood or wooden projects more durable and robust.
Cost-Effective Option
Imagine all the money we spend on applying costly finishes and stuff to make wood durable. The shou sugi ban finish does not actually require nearly half of those things. So if you are looking for a cost-effective but durable finish for wood, this should be a great choice.
Offers An Aesthetic Appearance
Whether you paint it or not, shou sugi ban woodwork offers an aesthetic visual. Whether you are building a home using such wood or furniture, they are bound to make everyone love them.
Challenges Of Yakisugi Process
The Yakisugi (or Shou Sugi Ban) wood burning process is beautiful, not to mention the other benefits it offers. But the process has certain drawbacks as well. Here are some you need to know about.
Fire Hazard
Working with fire is no fun. Since this wood finish involves using torched fire, it is easy to make a mistake, and accidents happen if one is not careful.
Possibility Of Inconsistency
Holding the blow torch and burning wood is not for everyone. Unless you have better skills in this field, it will be challenging to maintain burning consistency.
Manual Work
Though the project seems simple, the shou sugi ban wood burning process involves various steps. It can be very time consuming and tiring if you are a beginner.
Can Be Messy
Burning wood, sanding, applying paint and stain, etc., are not pretty work. You must expect lots of fumes, dust, and debris to pile up for cleaning. Besides, if you are not wearing safety gear, you might end up inhaling some of them.
Does Not Work Well On All Types Of Wood
You can apply the shou sugi ban finish on all types of wood. But not all of them will offer the result you are expecting. I have already mentioned some that work best. But you must keep your options open.
Use Of Yakisugi Wood
Use of Shou Sugi Ban (or Yakisugi) burning is not just for decoration or small projects only. You can use this type of wood for various projects. Here are some ideas regarding how this woodwork is used.
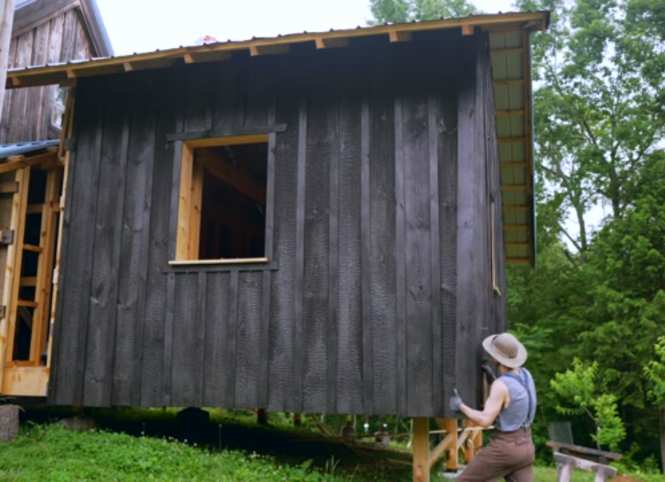
Façade
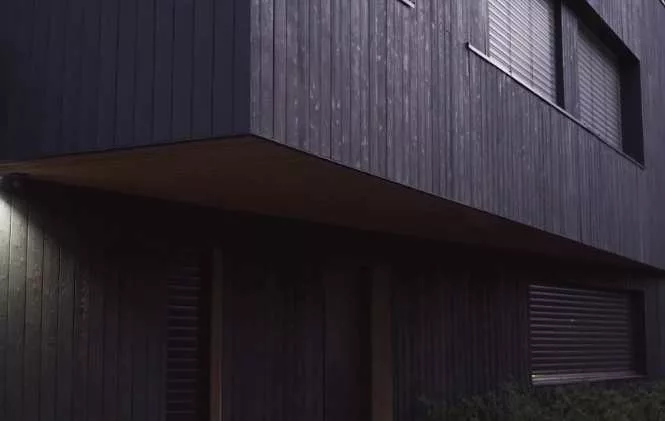

You must have seen aesthetic and rustic wooden homes that contain the shou sugi ban finish. Even if you haven’t, you should know that such wood is always used to create a home or at least some part of it.
Fence
Yes, such wood is very suitable for fences. Not only will they withstand heat, water, and other harsh situations, but they will also make the outside of your house look more fashionable and help it stand out.
Furniture

One of the best things about using this exclusive Japanese burn process for making furniture is that you get something that not many people have. You can make a wider range of colorful (or not) furniture that looks unique and jaw-dropping, especially if you use uncut wood.
Deck And Flooring
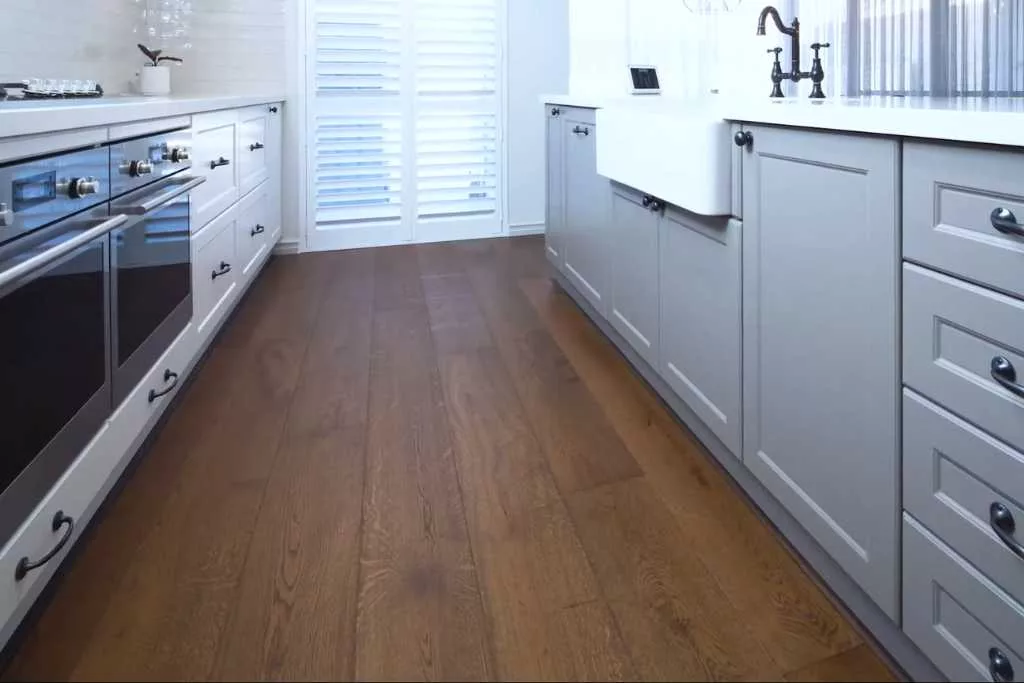
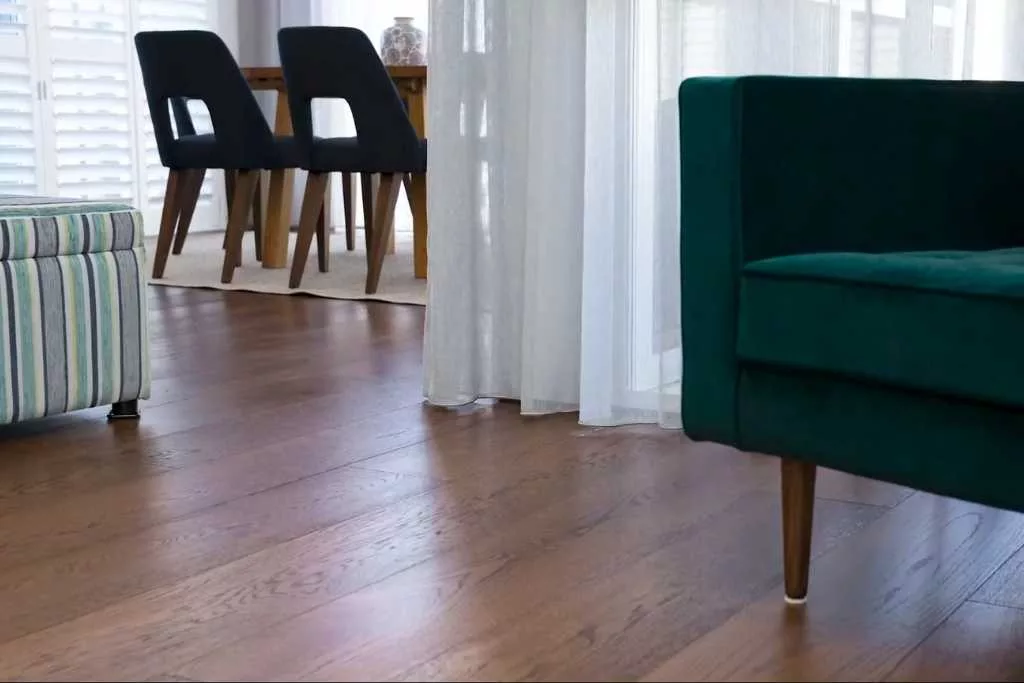
This finish is widely popular in flooring projects, especially in making decks. Such floorings are more durable, and the surface looks magnificent.
Decorative Items
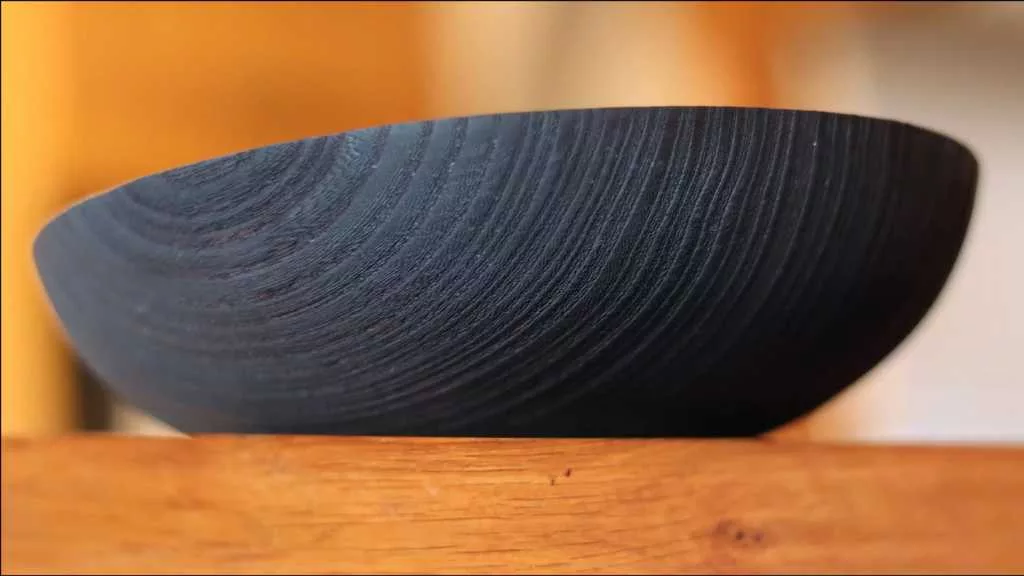
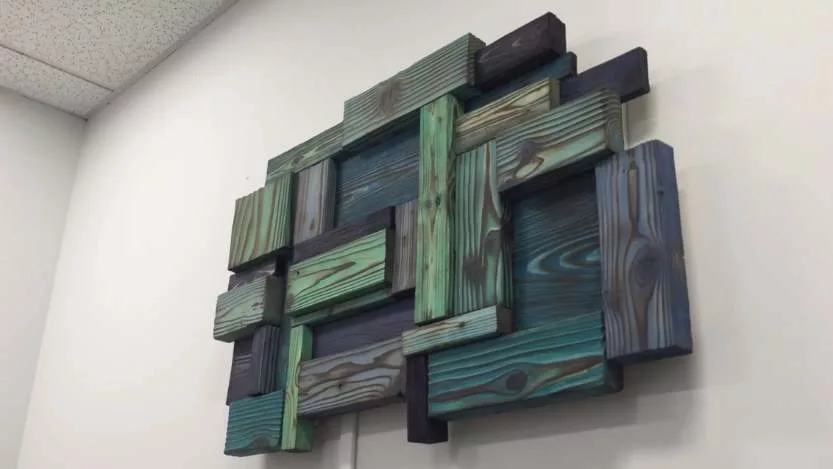
Let’s not forget that we all like to use beautiful and aesthetic-looking things for decorating our homes and offices. And what else can be better than colorful shou sugi ban woodwork for making such decorative pieces.
How To Maintain Shou Sugi Ban
There are no strict rules regarding how you can maintain the woods having this this finish. Most of the time, the interior woods or pieces don’t require any maintenance unless you have used them quite often. It is the outdoor wood that takes most of the beatings.
So if you want to ensure the wood looks as good as new and lasts longer, you can apply oil finish. And guess what? You only have to do it every 10-15 years.
Related Resources
Final Words
Japanese culture is rich in its art. And one of them happens to be shou sugi ban. This special wood burning process is popular even after a few centuries of its invention.
Though the process of applying shou sugi ban finish on wood requires a few simple methods, it still comes with some hazards. So make sure to maintain safety and follow the necessary tips I shared today. As long as you apply heat using the right temperature and maintain consistency, you will be able to create stunning wood art.
Frequently Asked Questions
What is burnt wood finish called?
The burnt wood finish is called shou sugi Ban.
What is the Japanese wood burning technique?
It is called Shou Sugi Ban.
What is the best finish for shou sugi ban?
It depends on the type of project. If it is an indoor project, you can use Tung oil or boiled linseed oil. On the other hand, if it is an outdoor project, it is best to use polyurethane.
Does this burn art need to be sealed?
From burning to sanding the wood, you use pretty much all the processes to make the wood durable enough. So though not entirely necessary, you can still seal the wood to preserve your work and coloring.
How much does the shou sugi ban cost?
Depending on your project size and type, wood type, the artist’s experience, geographic location, it can vary from $2.5-$30 per square foot.
How long does the Yakisugi burn last?
The durability of the Yakisugi finish is entirely on how you maintain it. Nevertheless, it is expected to last at le ast 60-80 years.
Can I use a heat gun to burn wood?
Yes, you can use a heat gun to burn wood. But you cannot use it for making specific designs and it is only applicable to mark out the grain pops on wood.
How do you burn large areas of wood?
To burn large areas of wood, you can use different types of tools. You can simply use a drip torch, fusee, heat gun, propane torch, flammable fuel, etc. for that. Using a pyrography pen to burn a large area can be time-consuming.
How do you darken wood burning?
To darken the wood, you can use a torch. The torch fire will burn the wood, and it will darken. And then apply stain spray to it.
Will burning wood preserve it?
Yes, burning wood (specially shou sugi ban) is a good way to preserve it.