Pyrography Stencils – Powerful Tools For Burning Distinct Shapes
PYROGRAPHY STENCILS (one kind of PYROGRAPHY TEMPLATES) are the reusable templates having fixed shapes yielding consistent burn results. These are one of the most useful and convenient tools for making designs and impressions on the wood surface. Even a beginner can apply them well with some patience and practice.
If you want to start using stencils for your woodburn needs and don’t know where to begin, you are at the right place now. Here is everything you need to know about these templates, their types, which are the right fit for you, and how to use them.
Why You Need Them for Burn Art
- It is generally faster to trace the pattern on the medium with these tools, rather than using carbon paper or some other method.
- It can be very difficult to do a whole pattern freehand without mistakes specially if you are new. There are fewer chances to mess up if you have a tool like this.
- Especially in the case of lettering, pyrographers can have trouble. Making the lettering and designs even and uniform is a big challenge no matter how expert you are and it can be troublesome. The basic stencils of letters and numerals you often use will always come in handy. The same can be said about favorite, oft-used designs.
- You can also combine partial designs from multiple stencils to create a new one. With the large variety of designs available nowadays, you can create everything your imagination can muster.
All About Pyrography Stencils
There are mainly two types available to use for woodburn art—
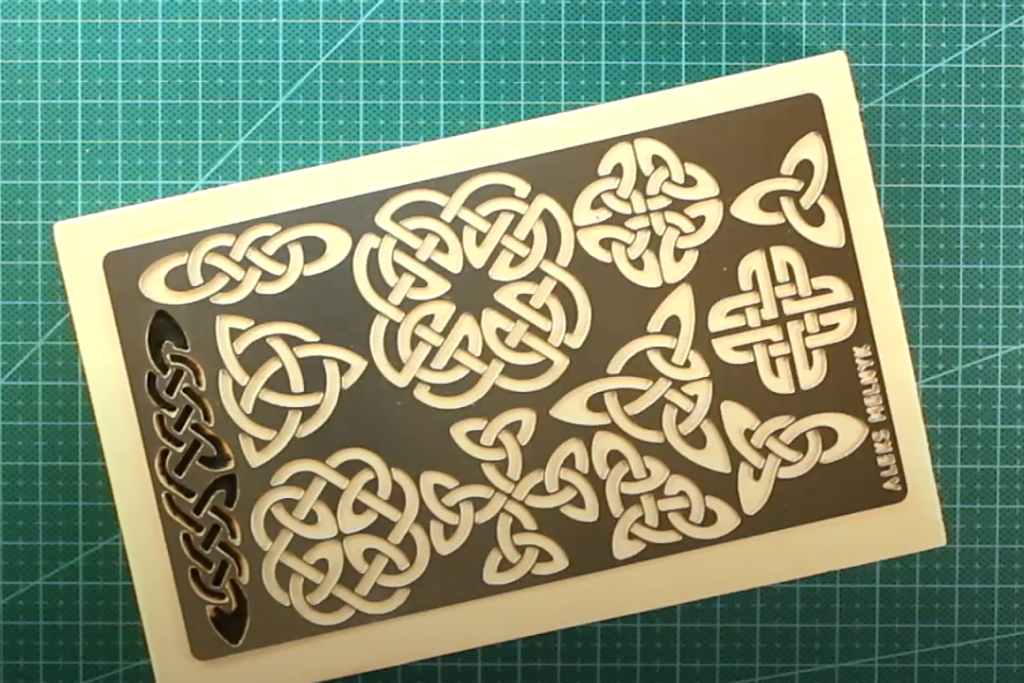
- Made of Metals
- Made of Plastics (they are also known as VINYL stencils or decals, primarily made of PVC or polyvinyl chloride)
Metal Made
- Stainless steel sheet
- Varying thicknesses from 0.3 mm to 1 mm
- The design is hollowed out or punched out or laser cut of the sheet
- You can trace it directly onto the surface with a burner tip, since, metal melting temperature is much higher than the wood
- Better fitted for projects where you need to do multiple traces or layering
- These placements need a lot of care
- They are less likely to be displaced due to their weight
- There is no need to draw the pattern onto the surface first, but it is still advisable to do so
They are also—
- Extremely durable
- Heavy
- Harder to clean
- Expensive
- Less available
- Won’t easily lose shape
- Not easily customizable
Here’s an amazing video demonstration.
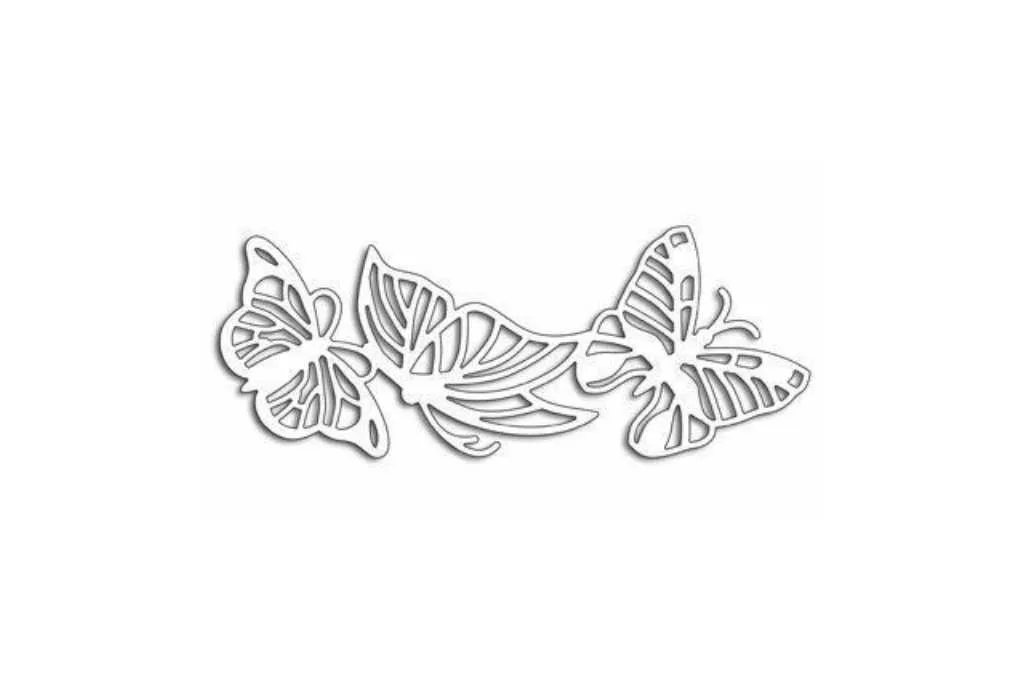
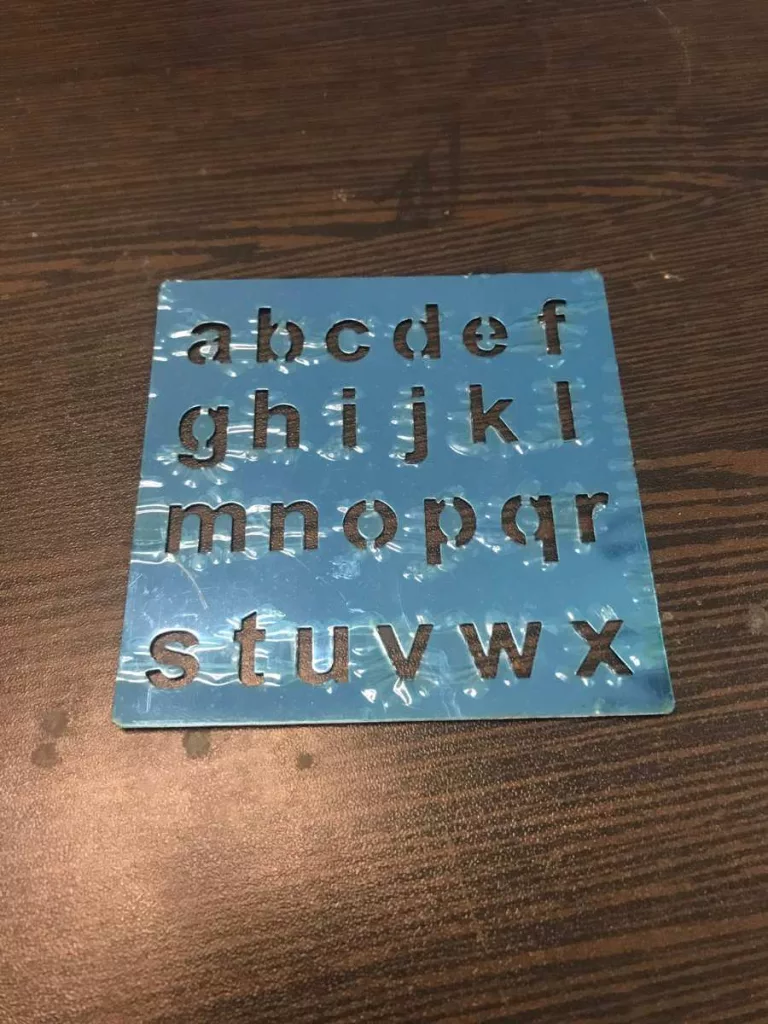
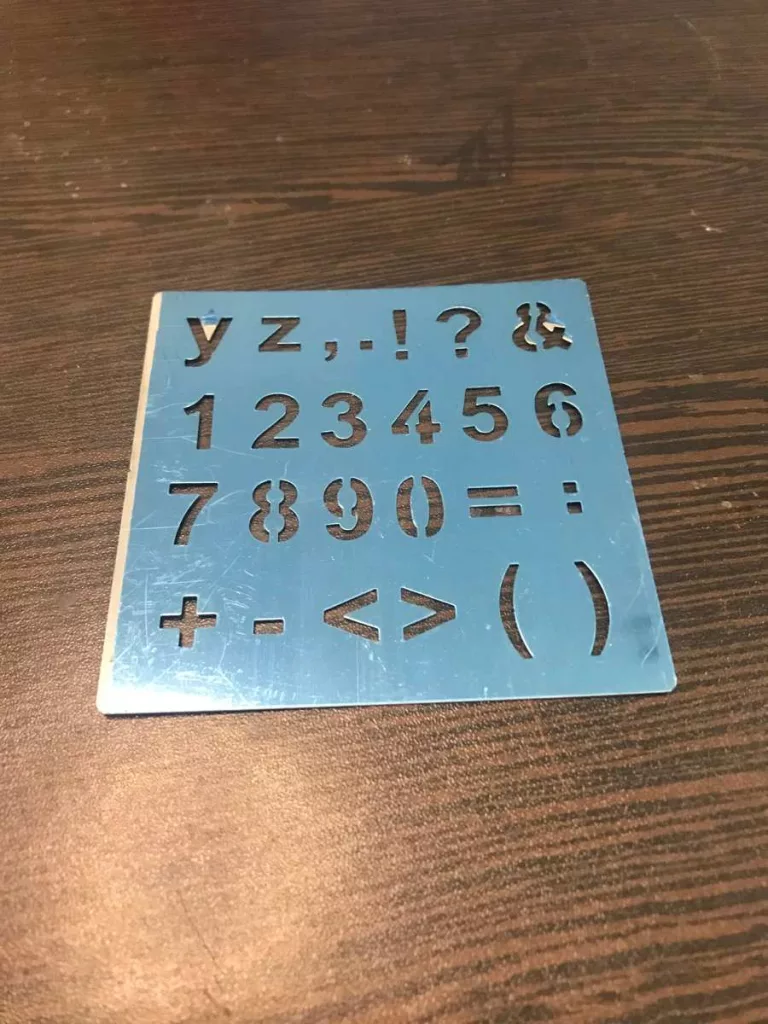
Examples of Metal Types
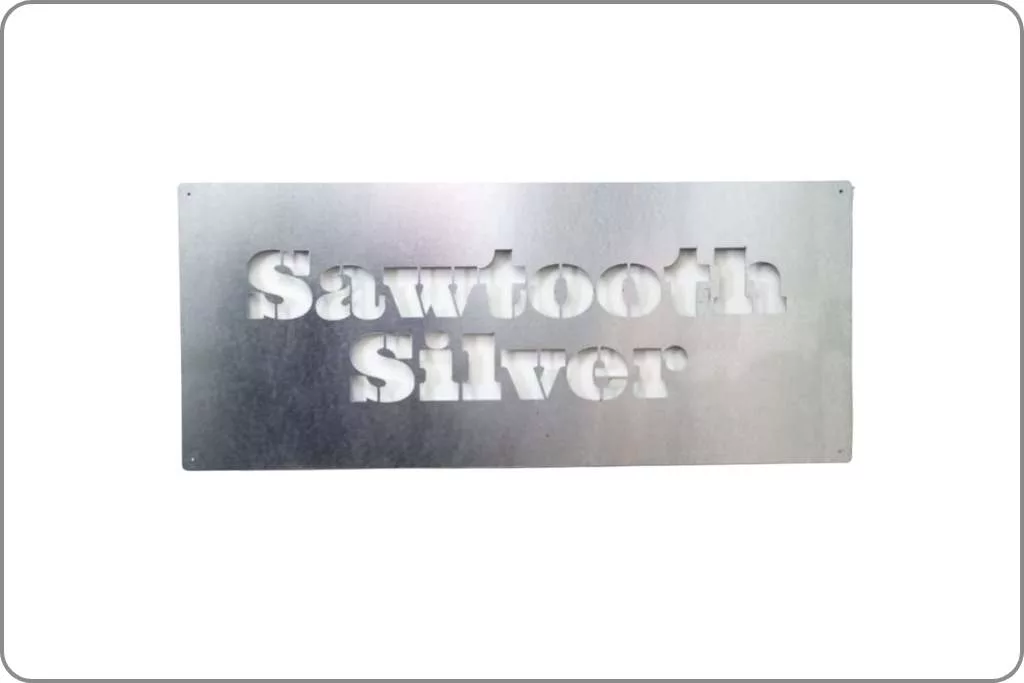
With Stencil Font
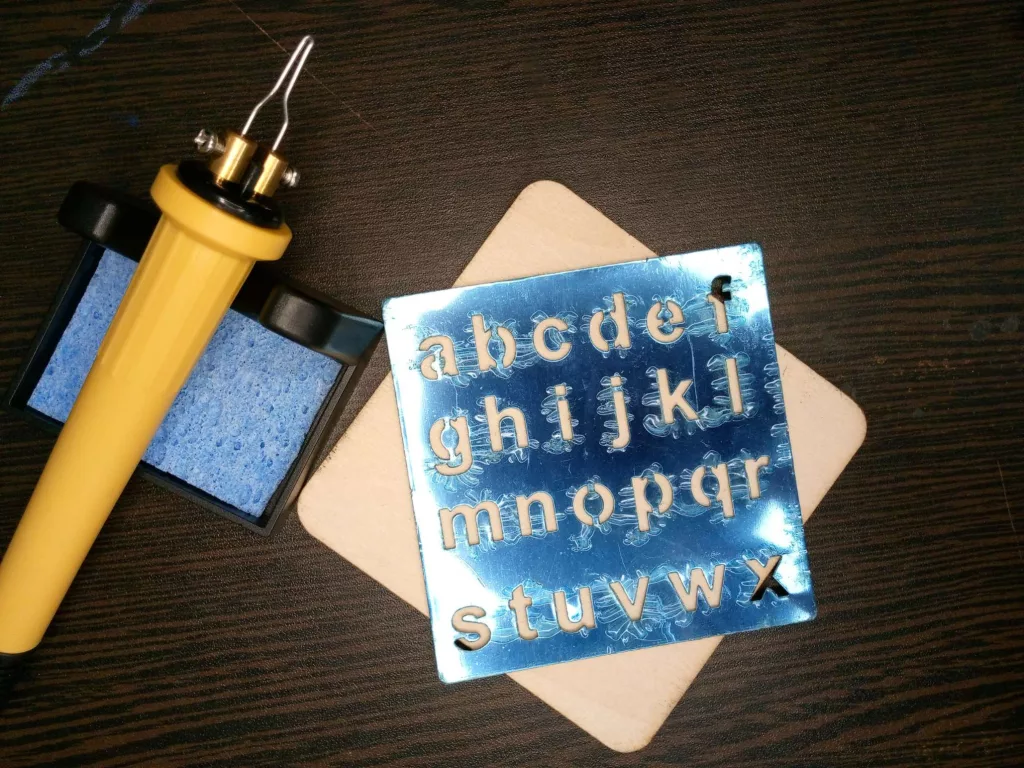
Rustic metal
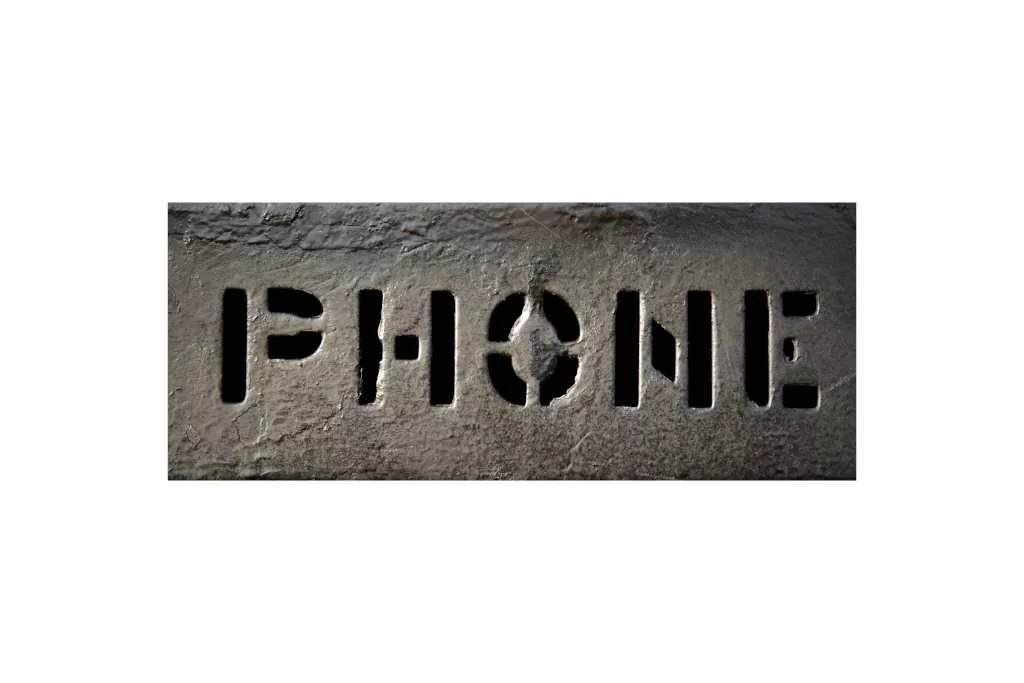
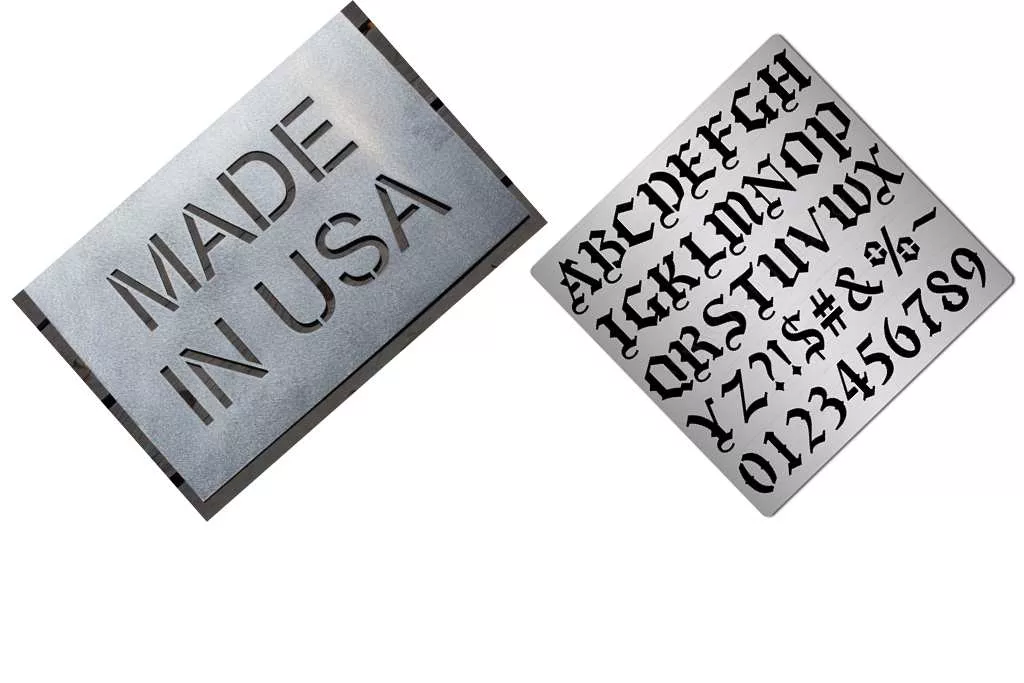
With differing fonts
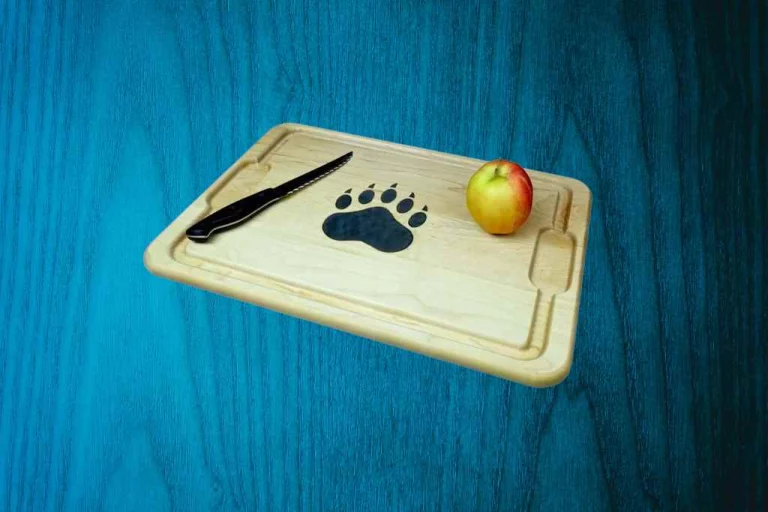
Bee Shaped
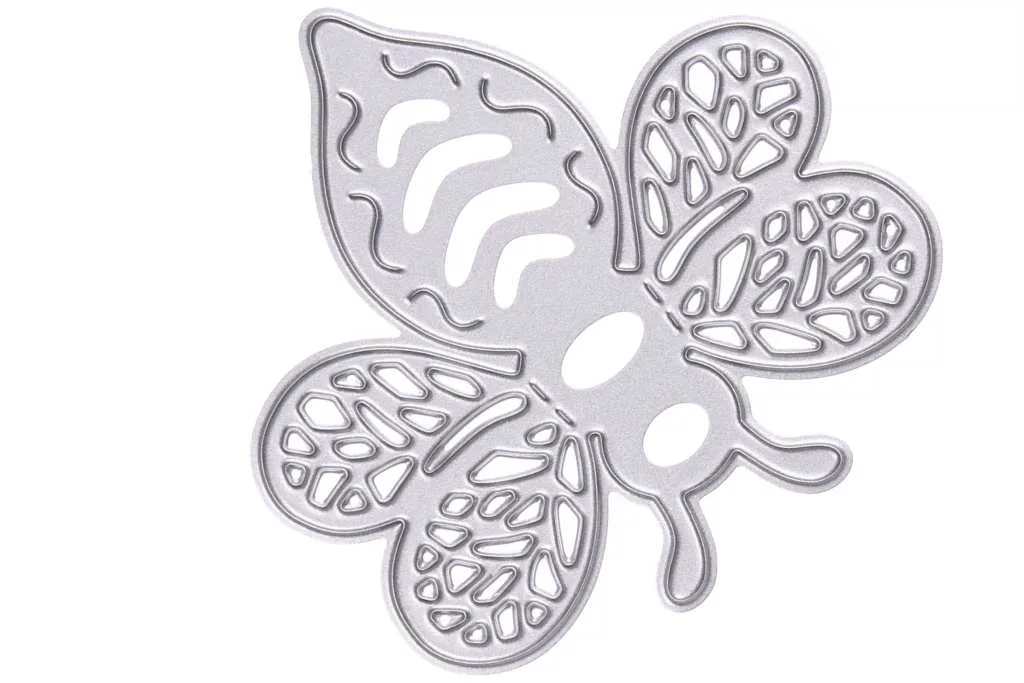
Butterflies
Making of Metal Made Ones
- If it is a metal sheet, you can draw the design onto the sheet with pencil and then use a lathe to cut the holes out.
- CNC metal cutters are also extremely helpful here as the symmetry and laser sharp finish of the tools is a basic requirement to have a perfect burn on wood.
This video shows beautifully how industrial CNC laser machines can be used for this purpose.
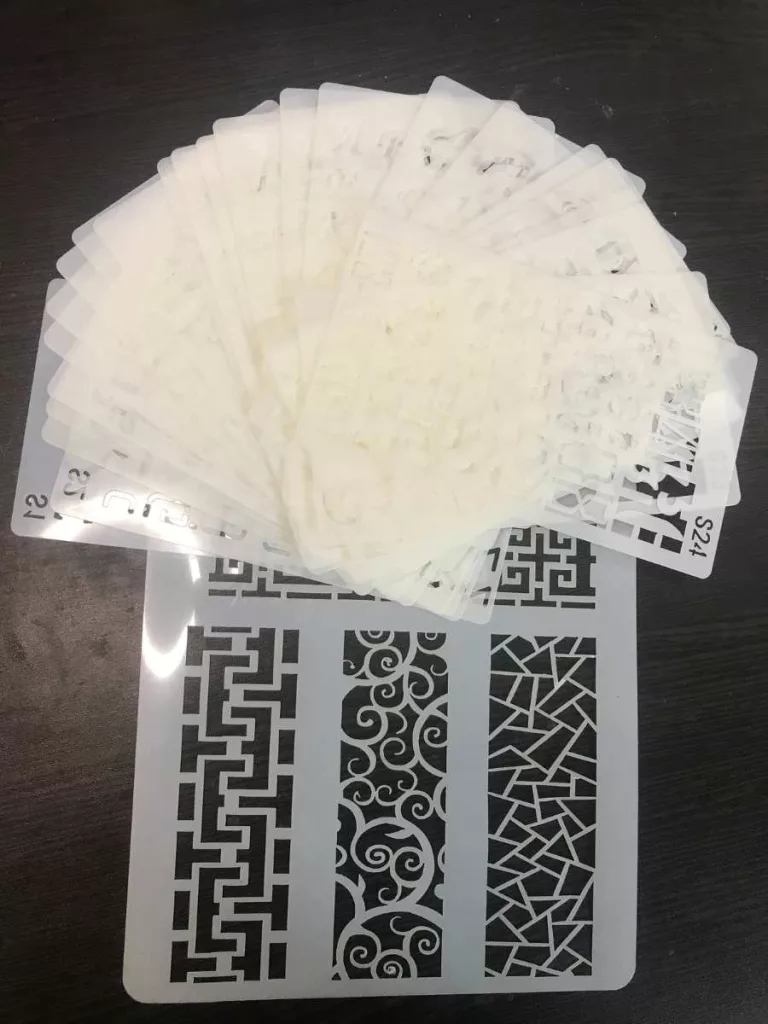
Plastic (Vinyl) Made
- These are made from polyester or plastic or hydrocarbon polymers
- They should be used for relatively simpler designs
- Specially suited for tracing on curved surfaces since they can fit all kinds of surfaces
- There is also significantly more variety available in plastic than in metal
- Can’t be directly traced over as they will melt
- You need to first trace the design onto the surface and then burn the outlines freehand
They are also—
- Less durable
- Light
- Easy to clean
- Flexible
- Fairly priced
- More available
- Can lose shape
- Can be easily customized
You can have a look into this video containing plastic (vinyl) type demonstration.
You can find plenty of them to suit your needs in both metal and plastic. So, choose what seems more comfortable for you.
Making of Plastic Stencils
To make your own PVC templates without using expensive gadgets or complicated applications here’s what you’ll need–
- Transparent plastic sheet (e.g. Mylar)
- The pattern you want to make into a stencil
- A sharp X-acto knife (preferably with replaceable blades)
- Fine-tipped marker
- Ruler and tape
- Cutting mat
Let’s check out how you can put these commonplace supplies to use:
- Find a pattern or design you like. Resize it in any photo editing software to fit the size you want. Make sure to put a border around the pattern, it will help you trace later. This guideline on beginner burn patterns will help you to find your patterns, especially, if you are a newbie.
- Print out the pattern. Put it on your plastic mat and then put the plastic sheet on top of it. Make sure to align them and then tape them into place. This will prevent the sheets from moving while you’re cutting.
- Trace the pattern onto the plastic sheet with the marker. You can use the ruler to make clean and straight lines. Curved lines would take some more time and effort.
- Now, use the knife to cut out the pattern onto the plastic sheet.
- You can directly make the them using a Cricut machine.
Advantages of Making Them
- You can use plastic sheet just like any store-bought professional ones.
- If you want, you can even draw freehand and make one that’s uniquely yours.
- And if you are experienced enough and if you have the access to use the metal cutters, you can dare to make metal ones as well.
- One very important thing, stencils are reusable and they save you money.
Step By Step Method Of Use
After you prepare the surface that you want to use, you need to trace the design on it. It is essential for using plastic stencils. But not mandatory for metal made ones. You can use either carbon or graphite paper to trace. Being in this art for years, I can tell you what are the steps I follow.
Step 1
The first step I always take is to prepare the wood surface meticulously. I ensure it’s free from any stains, oil, or dust that might interfere with the burning process and the final outcome of my artwork.
Step 2
Next, I securely place my chosen template onto the surface. For larger projects, I try to use metal metal ones and weigh them down to prevent any movement. When working with plastic templates, I use tape to keep them firmly in place and avoid slipping.
Step 3
Then, I begin tracing the design with a pencil through the hollow grooves or punched designs of the tool. This step is especially crucial for plastic made ones, and it’s also a good practice to follow with metal stencils. Once I’m done tracing, I remove the device and continue the rest freehand. It is extremely irritating if I am handling a too light and too thin plastic film, it usually moves too much and the design gets spoiled.
Step 4
For tracing through metal templates while doing freehand, I select a narrow burning tip that’s suitable for precise work. I hold my burning tool just like a pen, ensuring I have complete control over my movements. With metal ones, I either trace over the pencil lines or carefully along the edge of the template using my burning tool.
Step 5
When tracing along curved lines or edges, I make sure to work slowly and use less heat to achieve smoother results. This attention to detail is essential to maintain the integrity of the design and prevent any mistakes.
Step 6
Once I’ve traced the entire design, I remove the metal stencil to reveal the main outline. Now, it’s time for the most exciting part – adding detailing. I let my imagination flow as I use my pyrography pen or another heated tool to burn intricate patterns and textures into the wood, turning it into a unique and captivating piece of artwork.
Step 7
With every stroke of my burning tool, I feel the passion and dedication that goes into my pyrography creations. The combination of precision, artistry, and the subtle aroma of wood burning adds a special charm to the process. Through pyrography, I can bring life and expression to wood, creating masterpieces that leave a lasting impression on anyone who beholds them.
A video on the templates will sharpen your ideas.
FAQs
Can you use plastic stencils for pyrography?
Yes, you can. This article discusses this clearly.
Can you wood burn with a Cricut?
Yes, you can. Cricut is the plotter brand. You can make woodburning templates on PVC sheets with this plotter. But you need to peel away the additional vinyl layer around the design first to use the template.
Conclusion
These devices are absolute lifesavers for those who practice this craft. Some may say that using stencils is not something original and creative, but I find them very useful, and strongly recommend these to beginners. There are ways to be creative and imaginative even while using these. It boosted my confidence in learning the burn art, I did not shift my focus on the freehand strokes.
Now that you know the basics about these tools, and even know how to make your own tools, you can try your hand at some fun ideas!