Pyrography Troubleshooting Tips – the Best Rescues from 4 Types of Issues
This is where things get a little complicated because pyrography troubleshooting can indicate both wood burning mistakes and tool issues. Wood burning can be full of mistakes, especially when you are a beginner. That’s why troubleshooting is required to fix those mistakes. So how do you fix these problems?
If the burning is too dark, you can lighten it with an ink eraser, sandpaper, and even scrapers. If there is a sunken grain line, you can fix it using a writing pen and burning along the sunken edges. And if your pen tool is not working, you can try checking the connection with the burner.
By this time, you must be familiar with the basics of wood burn art. Now, it is time to learn about the issues and fixes.
Pyrography Troubleshooting – Issues and Solutions
Unintentional Dark Burns
The most common pyrography problem beginners face is getting a darker shade than intended. As a result, the artwork often loses its consistency. But hey! Don’t let that ruin your excitement about the work because there is always a way to fix it.
As for darker burns, you can use various items or tools to get a lighter shade. But do note that the result will vary depending on how dark you burnt the wood and might not turn out as precisely what you needed.
Solutions
1. Use Ink Eraser
Ink erasers are also known by various other names, such as sand erasers or typewriter erasers. That’s probably because the eraser has a gritty feeling. Ink erasers are grey and very suitable for removing darker burns.
Here is how you can use the ink eraser.
- Identify the area that seems darker to you.
- Rub the eraser over the area with slight pressure.
- Depending on the dark shade, apply the method multiple times if needed.
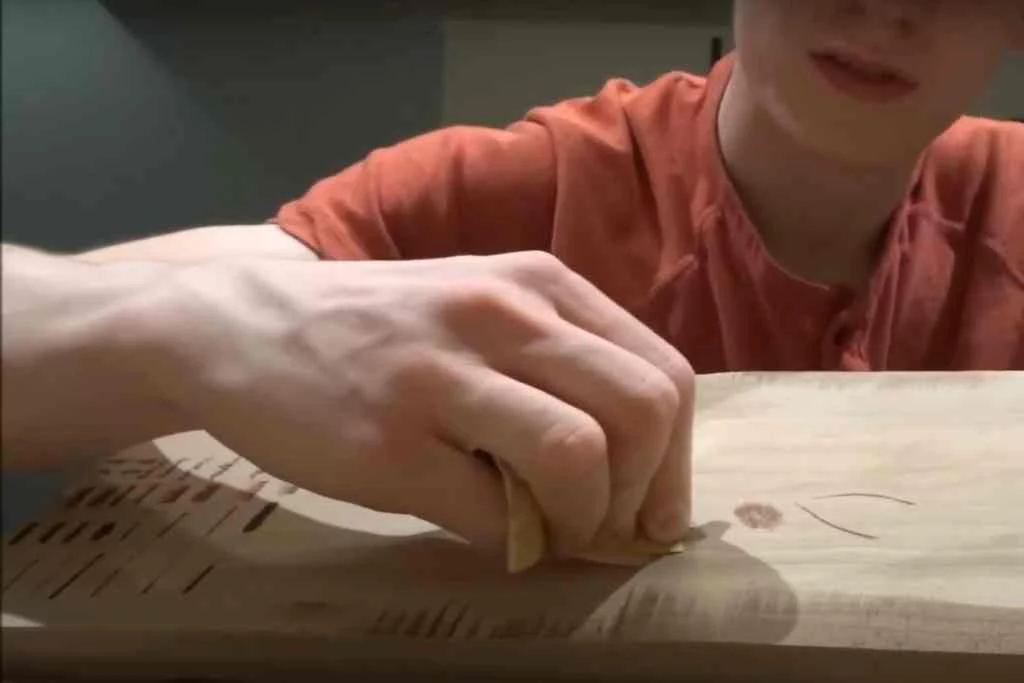
2. Regular Sanding
The coarseness of sandpaper makes it highly effective in lightening the darker wood shades. A quick video is here. You can use higher grit sandpaper to remove the lighter shade and low grit to remove most of the burn. Lightening wood burn with sandpaper is pretty simple because all you have to do is-
- Cut a small piece of sandpaper so that you will not end up sanding other areas.
- Start sanding the area lightly at first and add more pressure gradually if needed.
3. Use Spot Sanding Pen
The spot sanding pen is basically an eraser fashioned out of fiberglass. The pen is mainly made for removing rust from metal, which makes it more effective for removing excessive burning shades. The pen tip is narrow, making it easier to lighten burn shades from complex areas. Just rub on the area using pressure until the shade lightens.
4. Scrapers/Cutting Knife
Handling the cutting knife is tricky and risky. But if you think you can handle it, go ahead. It is your cheapest option because most of us have such a cutting knife at home. So if you have one, scrape off the burn using the following way.
- Identify the areas that seem to have darker burns
- Place the scraper or cutting knife’s flat edge over the area because it is less sharp
- Then gradually scrap off the burn as much as necessary
Uneven Wood Texture
Not all pyrography problems are related to wood burning only. Sometimes, there are issues with the grain. And if the flaws in grain are too visible or the wood piece has sunken lines, it ruins the pyrography art’s beauty. So here are some troubleshooting tips for wood grain problems.
Solutions
1. Use X-acto Knife For Texture Damage Due to Over Burns
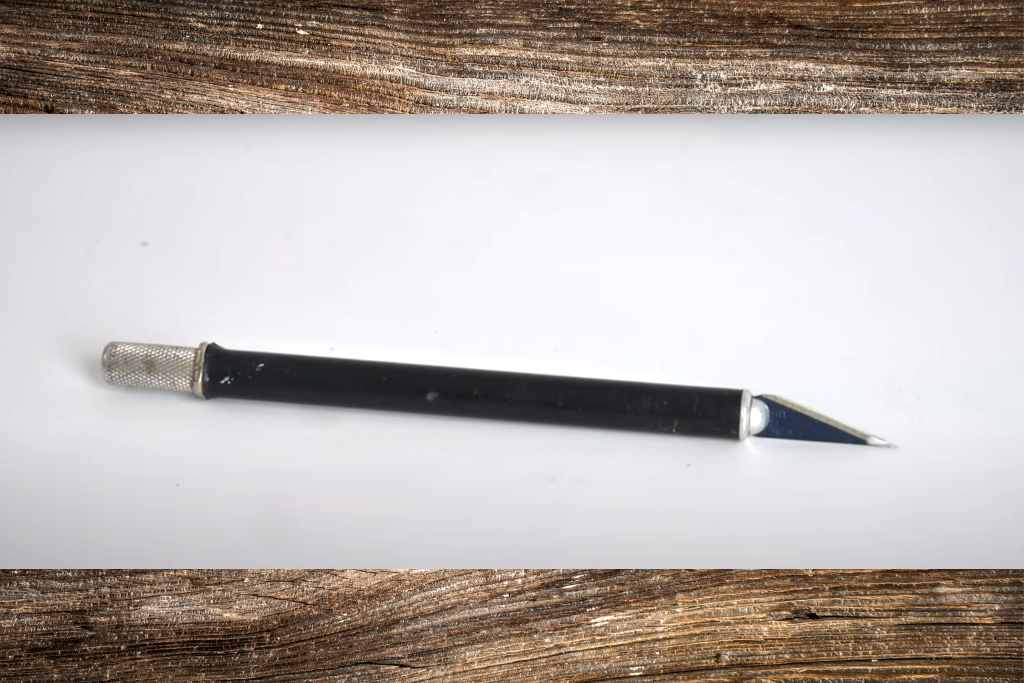
Over burning is almost the same as burning a too darker shade. But over burning can damage the wood grain along with your artwork. You can remove the burn with an x-acto knife tip simply by scraping it off.
2. Use Writing Pen Tip For Sunken Grain Lines
Does your wooden piece have sunken grain lines? It’s okay if you did not notice that until you finished your work. Sometimes, it also happens when you run the shader tip to burn wood, leaving some sunken lines. But you can use the following trick to solve the issue.
- Pick a writing tip for fixing the sunken grains. It would be best if you choose a macro tip pen because they are small.
- Turn the burner tool to its low heat setting.
- Burn along the sunken edges. It can take a few attempts to burn the edges correctly.
- Burn the grain until it takes a similar color shade but try not to over burn it.
3. Use X-acto Knife For Removing Blotch
Is there a dark blotch in your pyrography piece? Well, here is how you can fix it with an x-acto knife.
- Hold the knife like a pen pointing its flat tip over the blotch.
- Then gently scrape the blotch with the flat tip.
- If necessary, you can add slight pressure.
- But always be careful when using it for removing blocks because it can scrape off the wood if you are being rough.
Just in case you need to know how to use an X-acto knife, you can watch this video.
The Dreaded Blob
Another common problem with wood burning you will notice is the forming of a small or large blob. It mostly happens when the burner pen tip, especially a writer tip, touches the wood piece when you take the pen off the material. But why does it happen?
This problem occurs when the pen tip is too hot. And as you place the hot tip on the wooden piece, the material immediately absorbs some of the heat, and the blob shows up when it happens. The reason the burning stroke becomes normal after that is because the tip cools down slightly right after that, which gives you nice and even strokes.
But as you take the pen tip off the wood, the blob shows up again at the end of the line. And it happens partly because we often tend to be slow when taking the pen off the material or don’t pull it up accurately.
But the good thing is you can solve this issue. And here are 2 tricky but effective ways to do that.
Solutions
1. Touching In Landing Motion
In this method, the best way to avoid blobs is to stay in motion as you lower the pen tip and it touches the material. Think of it like a plane landing and taking off, and that is how you can land your pen tip on the material you are burning.
You must maintain the same consistency when you start and finish burning the line to make sure it burns without making any blob. It is necessary to maintain the same motion even when the pen tip takes off. Doing so prevents the material from absorbing more heat than necessary.
2. Blowing on The Stroke
As you can tell from the name, in this method, the pyrographer has to blow on the pen tip before the pen tip touches the material. Doing so helps cool down the tip a bit and prevents the blob from forming. But you don’t need to blow on the tip when the burning is in motion.
Note: You must note that both of these methods depend largely on the artist’s skill and precision. So you must practice to ensure the blob does not show up when doing pyrography.
Here is a helpful video on this issue.
Heating Problems
Now let’s not forget the pyrography machine because it can cause trouble more often than you can think of. And if you are a beginner, fixing the problems will be impossible if you do not know what is causing the issue in the first place.
The most common question I get asked is, why is my pyrography pen not working? Well, if that is what you are facing, you can try the following methods.
Solutions
1. Check The Pen Nib/Tip Fitting
Most of the time, when your pyrography pen does not work, a loose nib turns out to be the main culprit. So your first job is to check on the nib and see if it is loose. If it is a screw or replaceable nib, twist it clockwise to secure it tightly to the pen.
2. Clean The Pen Tip
Another reason why your pen might not be heating up or burning the wood correctly is because of the carbon build-up on the pen tip. If you notice ashy stuff or black buildups accumulated on the tip, make sure to clean the tip using warm water or rubbing it against a soft but effective surface. Here is a good read about how to clean the tips.
3. Check The Power Connection
The burner tool and the pyrography pen needs to be connected in order to burn wood. The wire of the burner tool’s adapter should be connected to the pen. Without that, the pen will not receive the power it needs to heat up. So make sure the power tool is connected properly.
4. Check Heating Element
If the handle of your pen is getting hotter than usual, you have an issue with the pen’s heating element. Instead of going all the way up to the pen tip, the heat is getting distributed elsewhere. So check on the soldering points and see if the wires are set correctly. You can also try using heat shrink tubing to prevent the handle from getting too hot.
5. Check The Temperature Setting
Have you forgotten to turn up the burner’s temperature level? That is one of the problems I faced very often because I used to be very forgetful about it. So always make sure to check on the temperature setting and adjust it if necessary. But if your burner does not have a heat control setting, try burning lightly and add depth later if needed.
This article must have instilled a good confidence in solving the issues you may face. You can start heating the burner now. Following is a good read.
Final Words
While wood burning itself is not a complex art, there are several “issues” surrounding the art. As a beginner, it is not unusual to make wood burning mistakes or face tool problems. Most of them are easy to recover from. So the best thing to do is to know all about possible troubleshooting areas.