How to Make a Pyrography Pen and How to Use it.. an Amazing DIY project!!
Many enthusiasts are interested to know how to make a pyrography pen and how to use it. Modern pyrography and its tools have become so accessible that many DIY enthusiasts make their own burning pen at home. Making the pen allows you to customize your own style,. All you need is a wooden blank or skewer, nails or needles, sewing thread, a power supply system, and an adapter to make it.
How to Make a Pyrography Pen- at a Glance
DIY-ing pyrography pen is more common than you think, especially among people who enjoy crafting. Want to know more about how it is done? Then I urge you to read the article to find out.
Detail: How To Make It?
Wood burning is no longer a complex task. It has become so popular that people now make their own pyrography pen and make everything even more fun and enjoyable. So if you want to make a DIY pyrography pen, gather the following required items and follow the step-by-step guide. But hey, do remember to put on a pair of safety gloves to prevent injury.
Things You Will Need
- 5 Volt 2 Amp power supply
- Wire cutter
- Wire strippers
- Soldering iron
- Heat shrink tubing
- Wooden skewer/blank
- 2 same-size sewing needles/nails
- Pliers
- 2 Metal clamps having 2 screw-grooves on each
- 4 screws with the clamps
- Glue
- Heat Shrink tubing
Step 1: Prepare The Skewer/Wood
I take it that you want something more accessible for your homemade pyrography pen. So the best way to make a pen is to use wooden skewers for the pen’s body. But make sure to use a sharp blade to cut off the pointy tip.
If you want something more solid for the pen’s body, you will need to put some effort into it. You can get a wooden blank and cut it into a pen’s shape and size. The tip should not be pointy, so you can set the wire there.
Step 2: Attach The Pins
Now place two needles on the opposite sides of the skewer or wooden blank, leaving at least an inch of each needle off the skewer’s head. Attach the clamps with each of the nails. Keep the far ends of the clamps free.
If you are using a wooden blank, you can use nails instead of needles. If you hammer nails into the blank’s top, you won’t need to use any other support to foster base strength.
If you are unsure how to make a pyrography pen using wooden blank and nails, you can watch this video on making a burner tool.
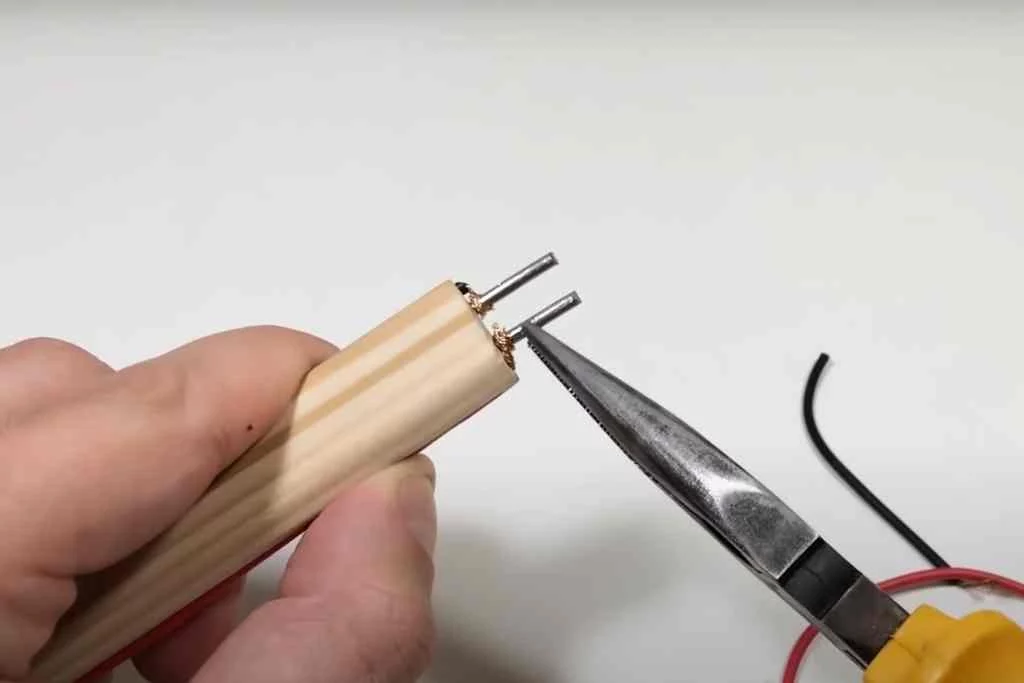
Step 3: Attach the wire connectors
Now attach the electrical wires with the pins/nails. You have to solder them with care. You can add a push switch near the connection to control the circuit. Lay the wires with the hilt.
Then apply some glue over the wire and let them dry properly. This way, the wires will have zero possibility of coming off. You can use a glue gun & glue sticks.
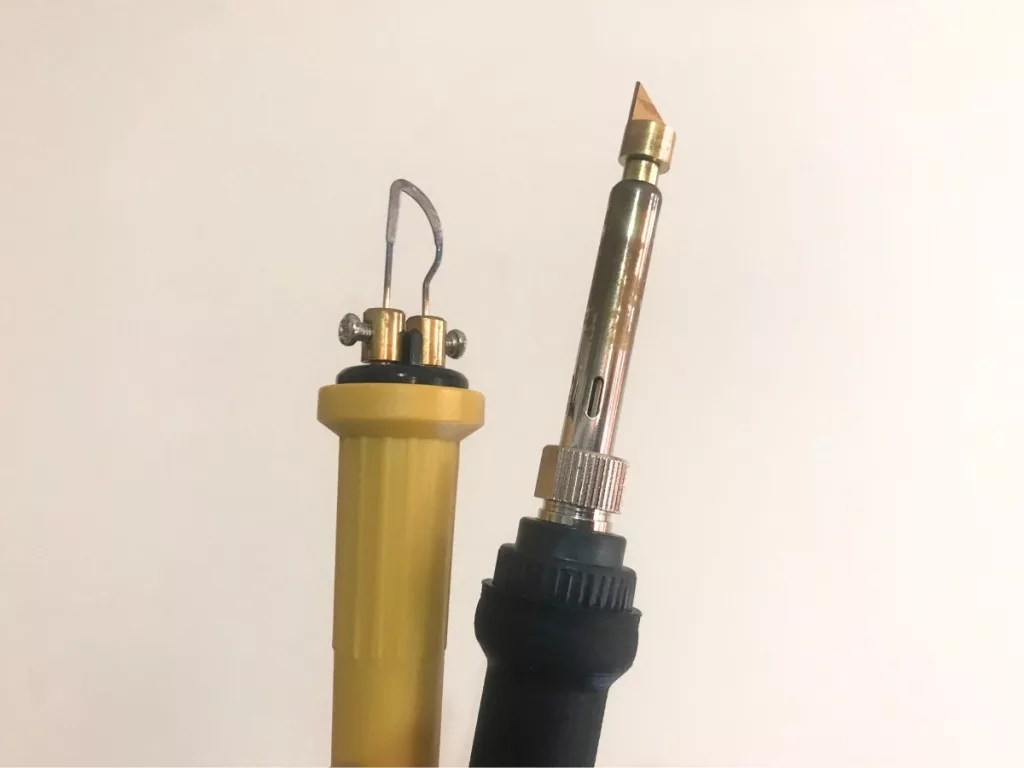
Step 4: Bend Then Needle
You can cut free an injection needle using a wire cutter. You have to file the middle of the needle to make it weaker in that part. Now, use a plier to bend it carefully. The last part of the mechanical works is to connect the two ends of the bent needle with the clamps’ free ends via the screws.
Step 5: Connect The Power Supply System
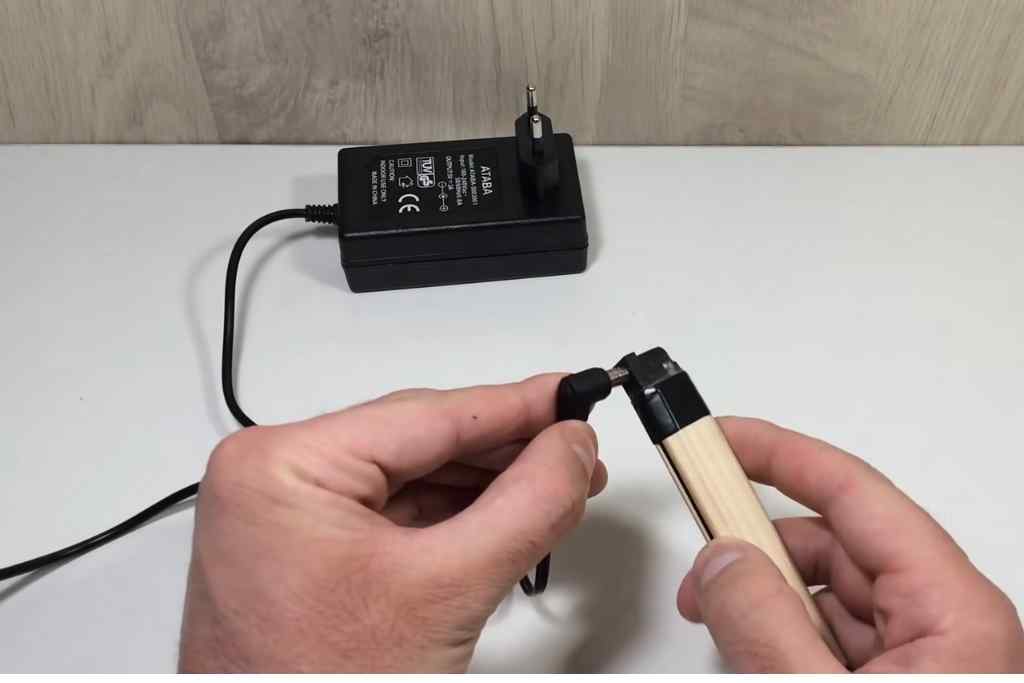
To make your newly made pyrography pen work, you need to connect it to a power supply system’s adapter. But there is a thing or two you need to do first.
Take the wires of your power supplier and use a wire cutter to cut the ends of the wires. Double check to solder each end of the wire to each pin or nail using a soldering iron. You can try attaching the wires to the pen using heavy sewing threads and ducting tapes if you could not manage glue guns.
Step 6: Final Additions
Now that you have completed making your pyrography pen, it is almost ready to use… almost. For a final addition, you can use heat shrink tubing around the pen. It will protect your fingers or hand from heat during wood burning.
How To Use It?
Congratulations on making your first (I guess) burning pen. But how do you use it? Well, you use it just like any other pyrography pen. But for your convenience, here is a small instruction on how to use.
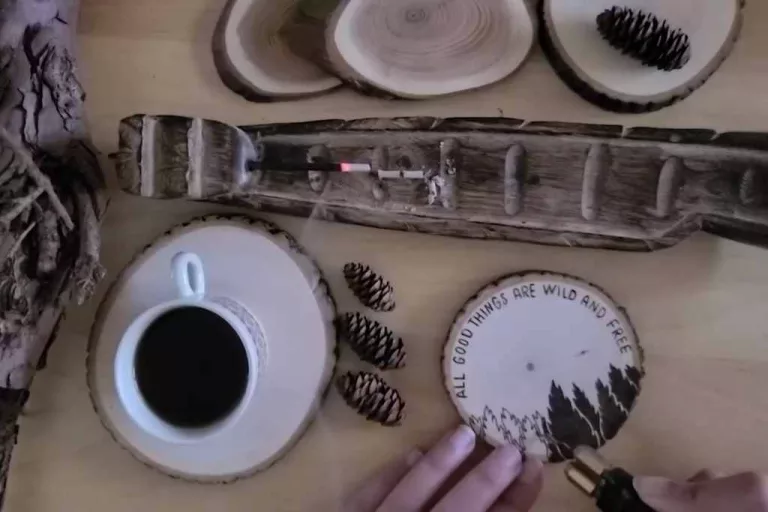
- Choose a piece of wood that you want to do pyrography on. Make sure the wood piece is properly dried and does not contain any chemicals or pre-applied finish.
- Print your design and place it over the wooden piece but keep graphite paper underneath the printed paper.
- Then use a pencil to draw over the design to transfer it onto the wood.
- After that, make sure to put on your safety equipment, such as safety glasses, gloves, respiratory mask, etc.
- Plug your pen, connected to an adapter, into the power supply system and wait for the needle or nail tip to heat up.
- Once the pen tip is hot, use it to burn over the outlines. You can increase and decrease the temperature if your burner has such a setting.
Apart from a careful use of the electrical apparatus, you need to make sure that it is being cleaned regularly for an outstanding performance.
Bonus Tips
Want to ensure making the pen and using it goes well and with perfection? Then here are some tips to help you make DIY woodburning pens.
- Use a better-quality wood skewer or blank to make the pen’s body.
- Always wear gloves when handling needles, especially when bending one.
- Make a few additional pens with different tip designs for various styles and shading.
- Always start wood burning with lighter strokes and deepen it gradually.
- If you are new or using a new pen tip, practice on a different wood piece to its burning level.
FAQs
Which wire tip is better for a woodburn pen?
Though there are hardly much differences, heavy-duty wire tips are more suitable for these pens. They heat up a bit slowly, but the tip stays hot longer, giving you more ease to work on wood burning. But such a wire tip can take longer to cool down, even after you turn off the burner.
How long do wood burning tips last?
A pyrography pen tip’s longevity depends entirely on its type, material, and usage. While such pens hardly get “accidental damages”, they do get fatigued and rusty by fire over time. So if you have a fine-quality burner nib, you can expect it to last at least a year or two and even more, depending on how often you use it.
How can I care for and maintain my pyrography pen?
Simple but useful tips :
1. Clean it every time you use it.
2. Wipe out the burnt carbon layers on the tip.
3. Replace worn-out tips regularly
4. Store it properly
5. Try to use the appropriate temperature settings
6. Never use the pen forcefully or with extra pressure
Can I burn wood with a battery charger?
Yes, you can burn wood with a battery charger only if you can convert the charger into a makeshift device for wood burning. Just follow this article for making DYI burning device.
How do you burn wood without tools?
You can burn wood without tools if you manage to make a DIY tool at home. Also, you can use an iron stick and heat it up in a fire, then use it on the wood. But the outcome won’t be smooth in this case.
Final Words
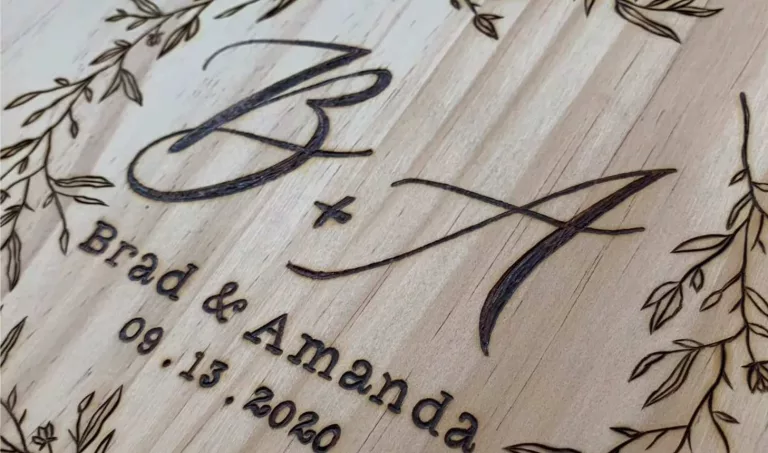
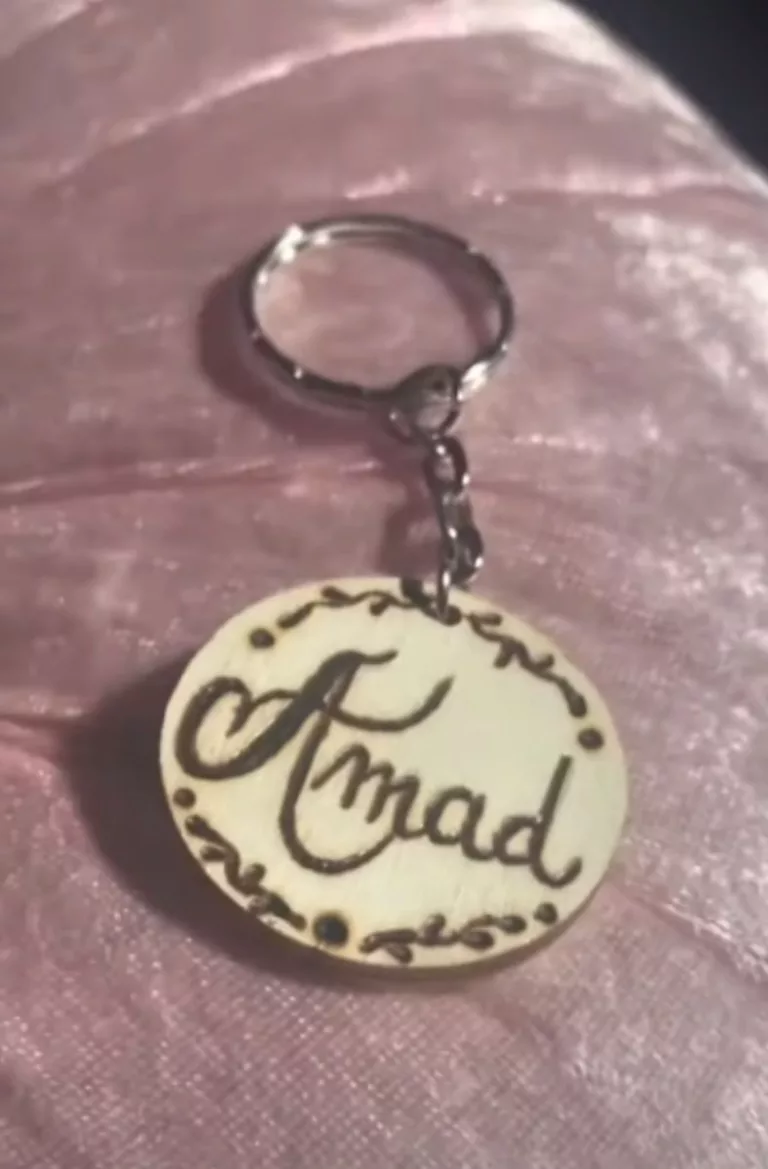
Doing pyrography is no longer just a hobby. To many people, it is passion and business for many enthusiasts, because pyrography items are very popular as gifts and souvenirs.
That is why knowing to make a pyrography pen is an added advantage if you are passionate about it or want to put your skill to better use. And, with that knowledge, you can custom-make as many pyrography pens as you want and create your own pyrography style.