3D Pyrography: A Quick and Robust Read
3D PYROGRAPHY! Pyrography itself isn’t magical enough if you compare it with the 3D version. Some creative minds even go as far as to combine a 3D aspect to the burn art to turn the art into a hyper-realistic one.
It is the basis of creating realistic-looking art with fire. which is both challenging and thrilling.
As you delve further into burning, you may venture towards realistic designs or even photorealism. So if you are curious about burning 3D images and want to try it yourself, you’re in luck. We’ve got some advice and suggestions to help you along.
All About 3 Dimensional Wood Burn Art
Preparation
For this kind of pyrography, you create a three-dimensional illusion by drawing shades. The preparation is much like regular pyrography, though I have a few things to say.
- If you want to do a 3D pattern, transfer the pattern first.
- There are plenty of ways to transfer patterns. You can read about them at the bottom of this section.
- I don’t recommend burning 3D images freehand since there is a high risk of messing up.
- Either transfer the image onto the medium or draw it beforehand so you have something to trace with the burner.
The following articles are great reads for pyrography pattern transfer methods.
- https://hobbydisiac.com/how-to-transfer-pyrography-patterns-to-wood/
- https://hobbydisiac.com/pyrography-pattern-transfer/
Creating 3D Effect
Depending on the effect you’re going for, the process will vary. Still, there are some common steps to remember–
- Start burning with a low or medium-low temperature and slowly adjust the heat as you become more comfortable with the project.
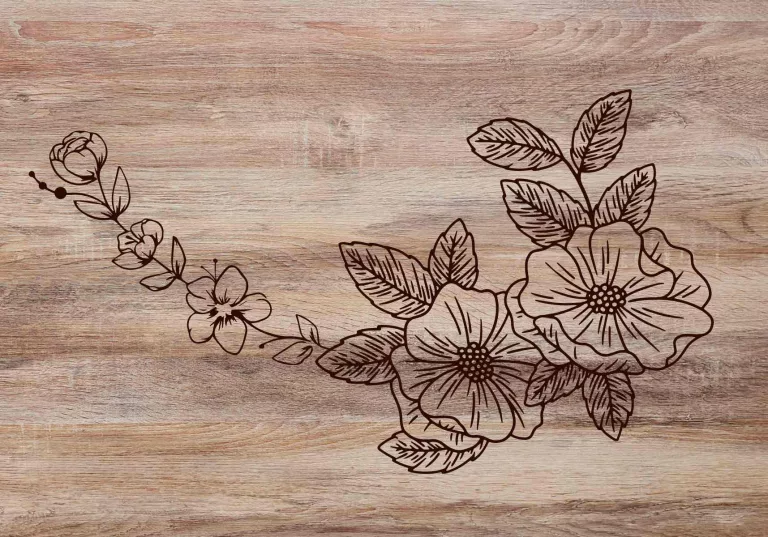
- Burn the clear outlines first.
- Don’t start off doing broad strokes or harsh lines. Pick a small section to finish and move on to the next section.
- Don’t press too hard on the burner. Draw lightly and let the pen do its job.
- Remember that every mark you burn is permanent. Be sure what and how much you’re burning.
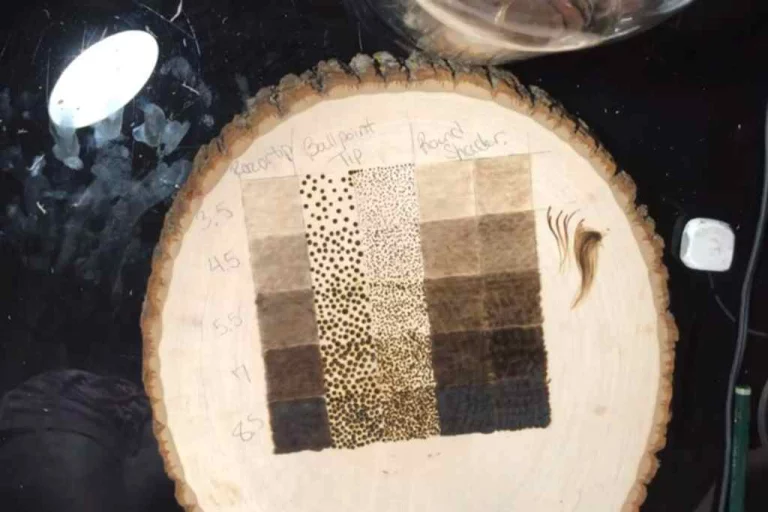
- You can study black-and-white images to understand shading and how it gives the image depth.
- The shadows in the image will depend on the imagined light source. Study how dark the shadows should be before burning them.
- Layering the burns can also give the image some depth.
- Practice your light-to-dark shades on scrap pieces. The more distinct each shade is, the better you will be at expressing realism.
- Try different burner tips and figure out what works for you.
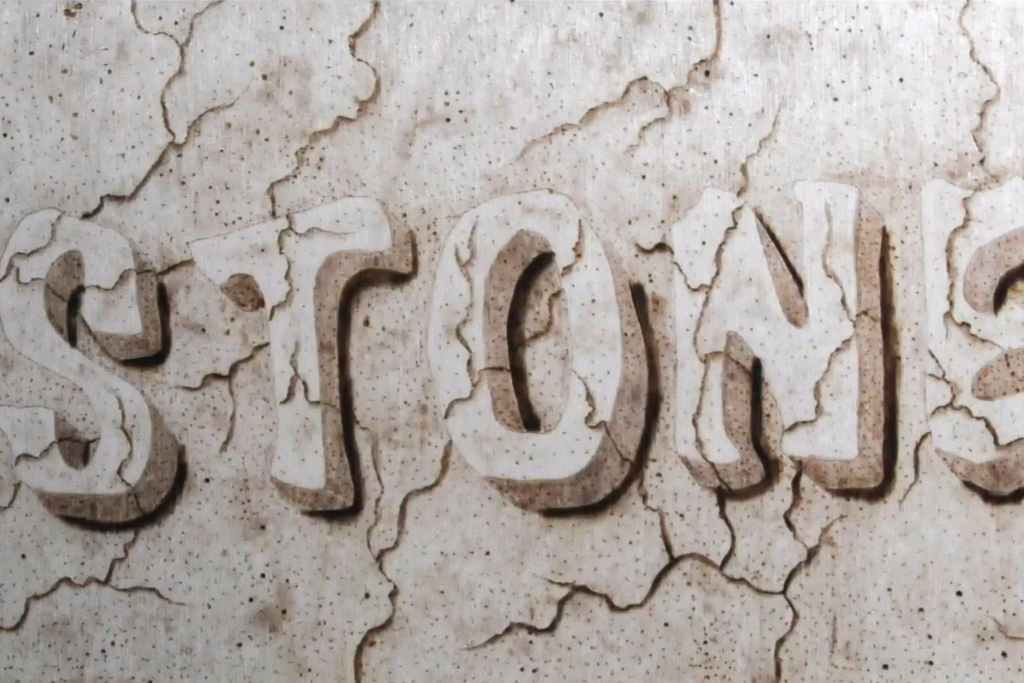
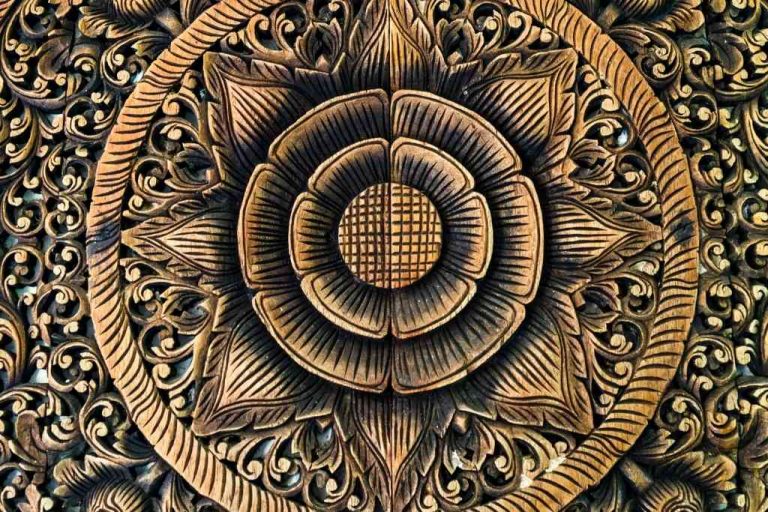
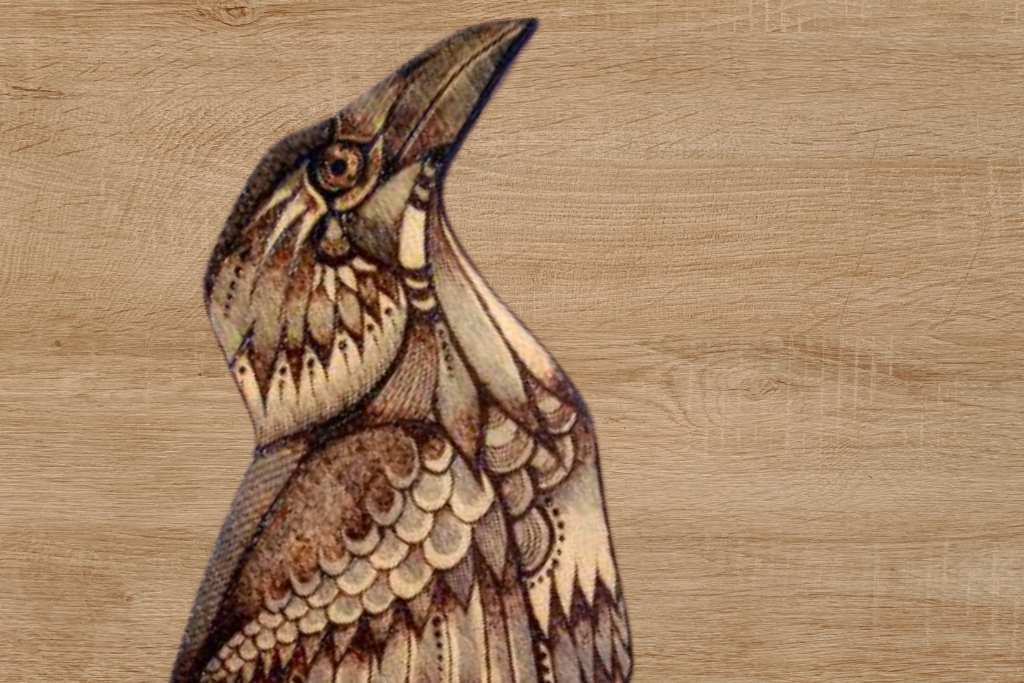
The three dimensional pyrography above is demonstrated here.
Bottom Line
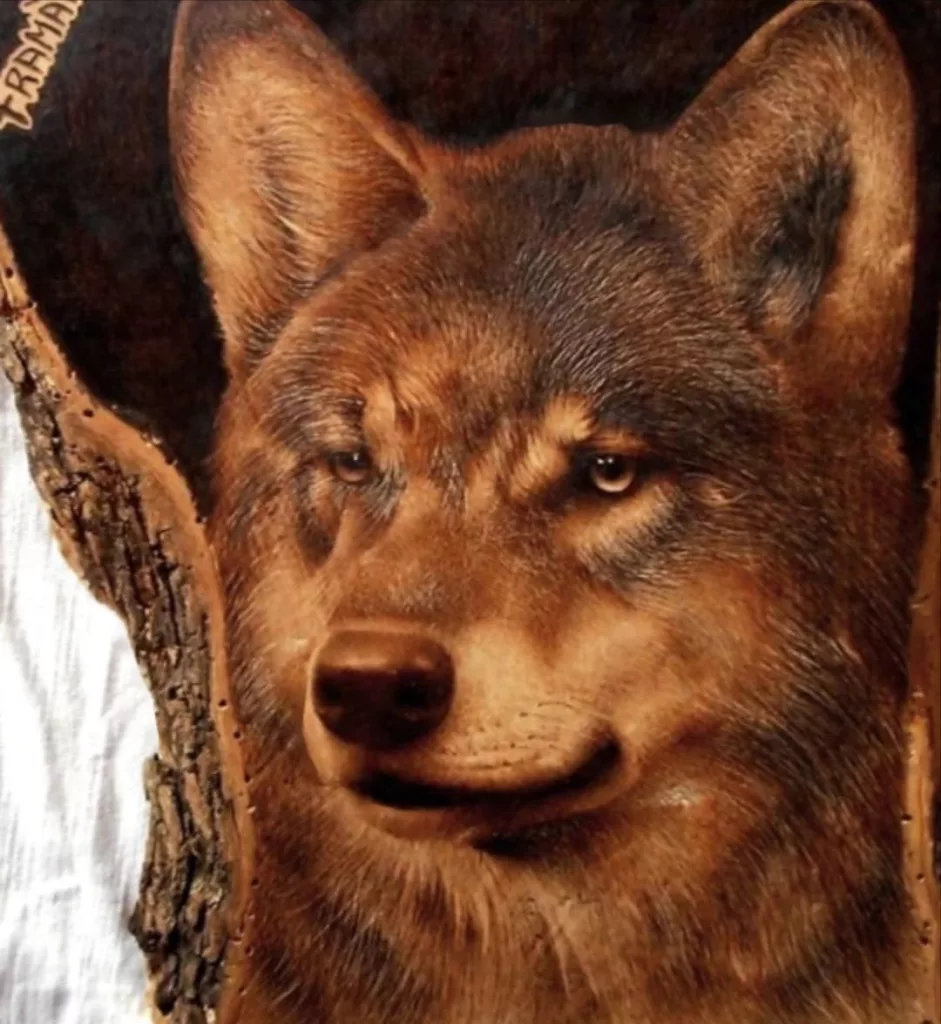
While trying three-dimensional pyrography is a tad difficult, the payoff from pulling it off is also great. Two-dimensional designs can also be incredibly complex. But there’s just something about looking at an image that seems real.
Now, it’s important to pace yourself. This sort of pyrography is something that needs at least medium-level skills. Otherwise, you’ll just frustrate yourself.
As always, pyrography is not something you learn in a day. Practice, and don’t be afraid to fail. In time, you’ll master this too. Good luck!