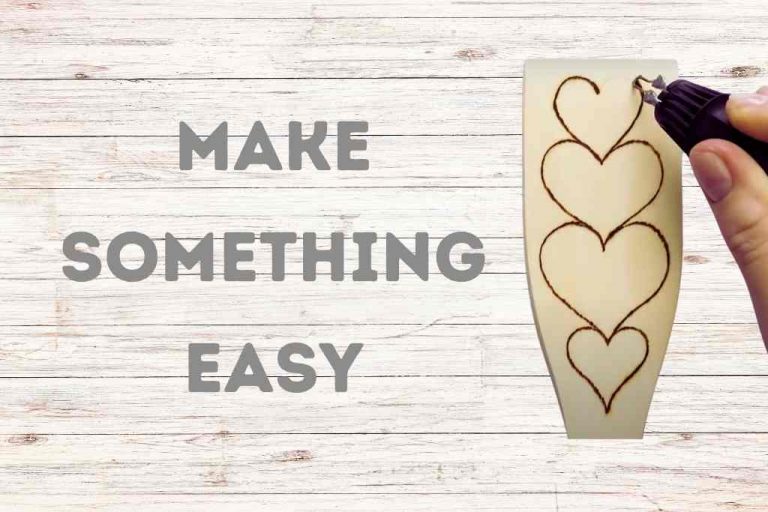
Pyrography Marker’s (The Magic Wand) 9-Step-Function
A new type of pattern transfer tool has entered the scene a few years ago, and it’s called a pyrography marker or wood burn marker. When thinking about pyrography tools, we usually envision a craft burning tool, a burner pen with solid nibs, or even wire nibs. How about burning it without a nib at all?
Sounds intriguing, isn’t it? In today’s blog post, we’ll try to look into this new tool. Let’s go!
Features
What Is It?
This pen like tool for wood burning or pyrography looks literally like a paint marker, like the ones used by artists all over the world. However, when you draw on wood with it, the mark remains invisible or almost invisible. The ink is heat activated in fact. Only after you apply copious amounts of heat to it, the markings will show! And the impressions on wood are permanent.
How Do I Use It?
This is one of most favorite methods of wood burning. I follow exactly the process it should be. Given here for your note. You can print and paste it on your wall for the first few times.
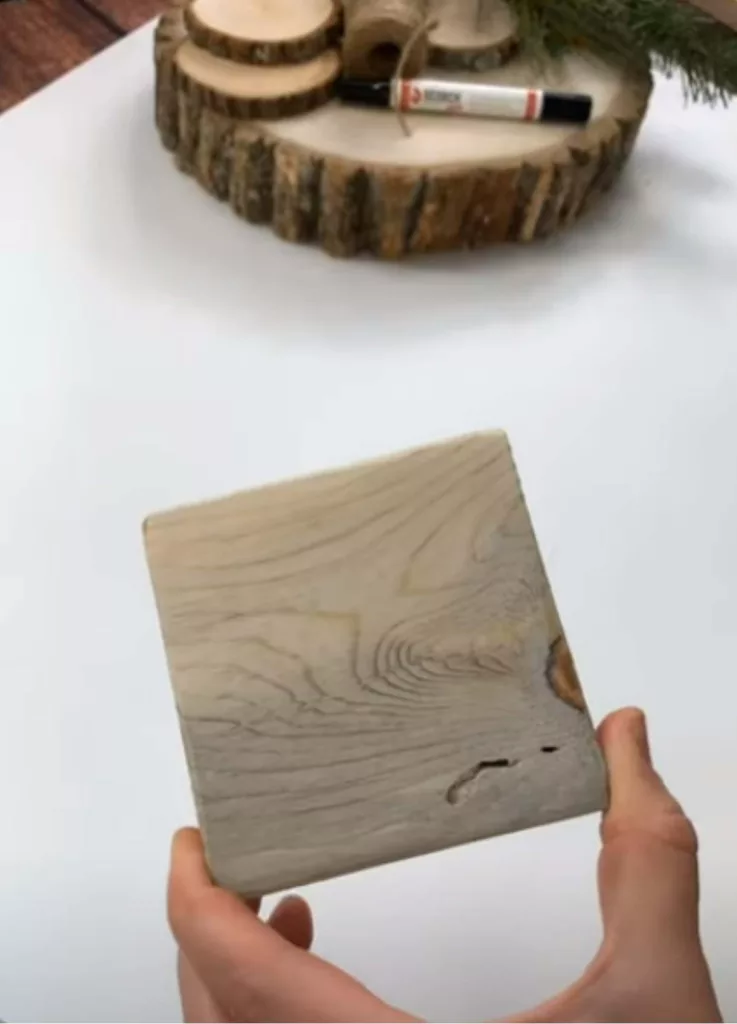
- First, I prep the wood (choosing right quality, sanding, spraying water mist, and then drying again before burning)
- I get the heat gun ready
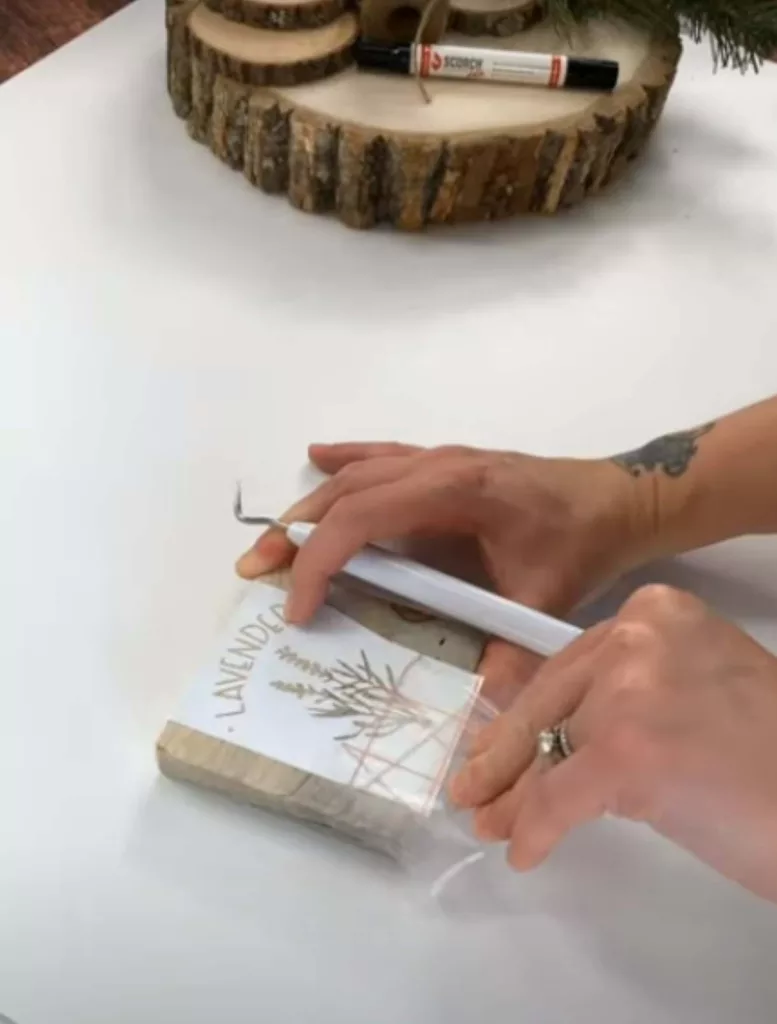
- Transfer preferred design on the wood (sometimes, I draw free-hand)
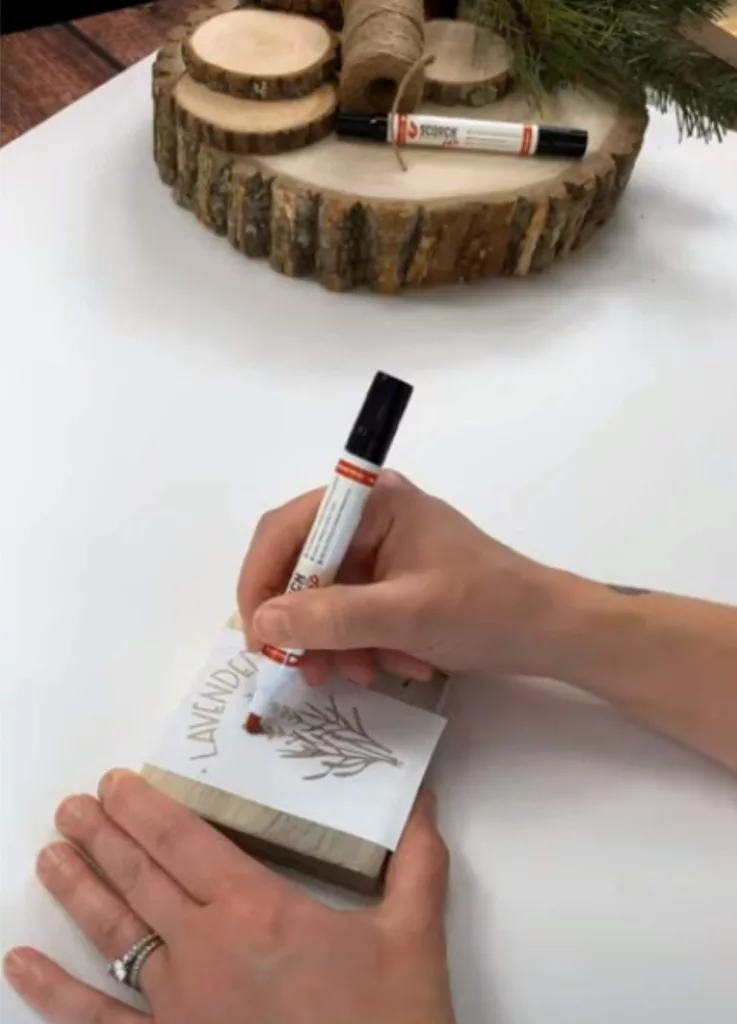
- I shake the pen a few times, then start drawing on the wood
- Then I use the marker like a normal pen to go over the pattern on the wood
- Sometimes, I prefer to draw with free-hand without any pattern, as I said earlier
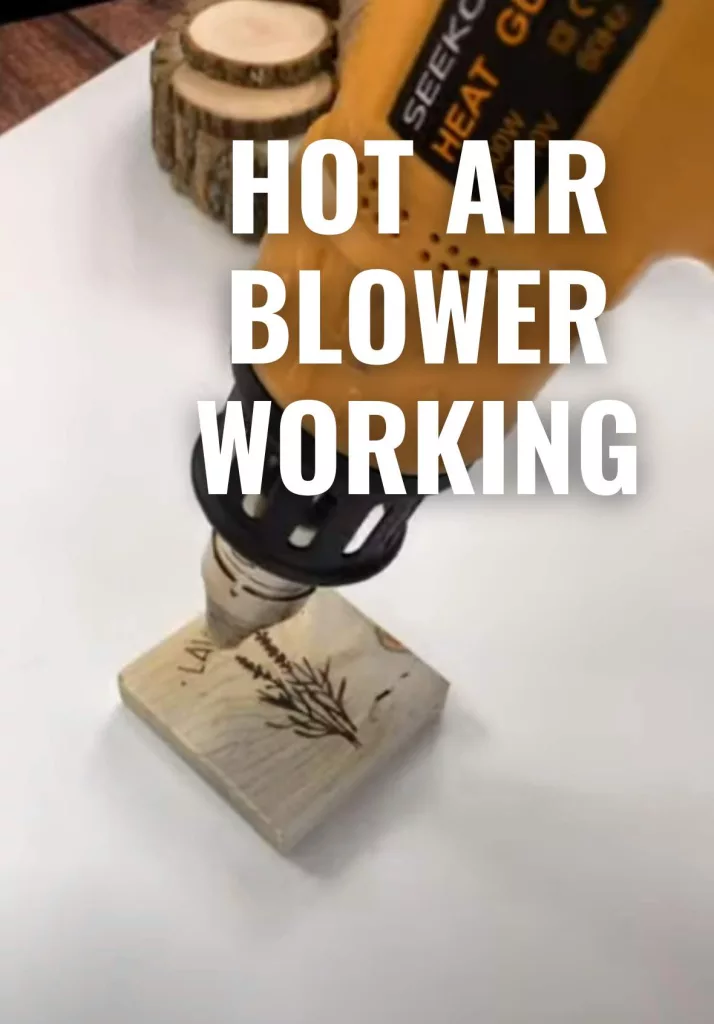
- Once the design is done, I fire up the heat gun and blow hot air over the place where the designs and patterns are drawn
- The chemical remains invisible unless enough heat is applied
- Depending on how light or dark I wish the burn to be, I vary the air blowing time around 30-60 seconds
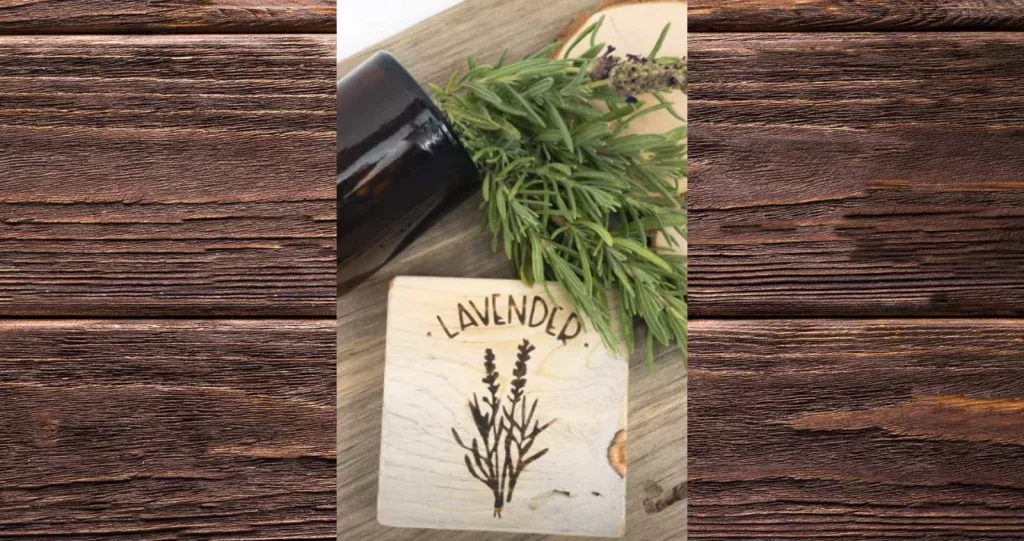
And done! I have demonstrated it in a few images. It will be very easy for you to understand.
Some Useful Tips
- Read the instructions on the pen/packaging to understand how it works
- Practice on a piece of scrap wood to see if the marker is working properly or not
- Don’t touch the wood right after using the heat gun, it’ll be very hot!
- Don’t work without gloves
- Make sure your workspace is ventilated enough
One very important thing – do not confuse this wood burn marker with the markers used for coloring pyrography. For coloring the burn art with colorants – here is an article on color pyrography.
Here’s a video demonstration of how these tools work. Or you can play a quick video right below to understand more about its mechanism.
FAQs
Can you use a hair dryer instead of a heat gun for wood burning?
No, you cannot use a hair dryer instead of a heat gun for wood burning. It’s because most hair dryers cannot produce enough heat, like that of a heat gun.
How do scorch pens work?
The scorch pens usually contain a non-toxic and heat-activated chemical compound that lets you draw on a surface. They are not visible or slightly visible in room temperature. The chemicals, once exposed to the heat from a heat gun, absorb the heat and release it multiple times on the wood. As a result, wood surface gets burnt from the chemical generated heat and the design is made on a wood base.
Conclusion
Achieving perfection will take some time, so keep practicing with the pen! This is especially useful if you don’t have plans to buy pyrography tools, but want to dabble in wood burning a little anyway. Have you used one of these markers? Let us know in the comments!
Article You May Like
Following articles are covering some technical things –

