About Pyrography Sketches And 7 Mind-blowing Ideas
There is always a higher demand for hand drawn ones or pyrography sketches rather than doing those via heat markers, or laser burns or stencils. That’s why beginners often aim to learn this type of skill that combines both pyrography and drawing. But the first step to making such a wood-burning artwork is to make a sketch of what you want to work on. So, the first thing you should learn is how to make manual strokes and then doing the sketches on wood surface with burning pens.
You must be here to get some ideas on some delicate handicrafts. If yes, no worries. Today, I will share 7 aesthetic but easier sketch ideas that will amaze you.
Issues I Face For Free Hand Woodburns
I encounter several challenges and issues when it comes to making freehand strokes for my pyrography works. Working with a woodburning pen and creating fluid, expressive strokes requires a high level of skill and precision. Here are some of the issues I often face:
- Fluidity and Control: Achieving smooth, flowing strokes in pyrography can be quite challenging. The woodburning pen can be unwieldy, and maintaining a consistent flow of movement can be difficult. It takes practice and a steady hand to achieve the desired fluidity while controlling the pen’s heat and pressure.
- Line Consistency: Creating consistent lines with the woodburning pen is crucial for a polished and professional-looking artwork. I face troubles in ensuring that the lines are of uniform thickness and density throughout the piece, as slight variations in pressure or movement can result in uneven lines. It requires a keen eye and a steady hand to maintain line consistency.
- Curve and Contour Handling: Working with curved surfaces or incorporating intricate contours into a design pose additional threats for design smoothness. Navigating the curves and contours of the wood while maintaining control over the pen can be tricky. It requires a deep understanding of how the pen interacts with the wood and the ability to adapt techniques to accommodate the surface’s shape.
- Pressure Variation: Creating depth and dimension in pyrography relies on the artist’s ability to vary the pressure applied to the woodburning pen. Different levels of pressure can result in varying degrees of burn intensity, allowing for shading and highlighting effects. However, I try to master the pressure variation. I try to achieve consistent results which is a big challenge, as it requires precise control and a thorough understanding of the woodburning pen’s capabilities.
- Fatigue and Endurance: Pyrography is a meticulous and time-consuming art form, especially when it involves making numerous freehand strokes. The repetitive nature of the process can lead to hand fatigue, which can affect the quality and consistency of the strokes. I try to build up endurance and develop techniques to alleviate fatigue, such as taking breaks and maintaining proper hand posture. These are crucial for maintaining consistency and quality throughout the artwork.
- Composition and Design: When working with freehand strokes, composition and design play a significant role in the success of the artwork. Planning and visualizing the design in advance, considering elements such as balance, proportion, and focal points, can be tough without the aid of preliminary sketches. Creating a well-composed piece solely through freehand strokes requires a strong understanding of artistic principles and a keen sense of spatial relationships.
Ideas For The Pyrography Sketches
House Designs
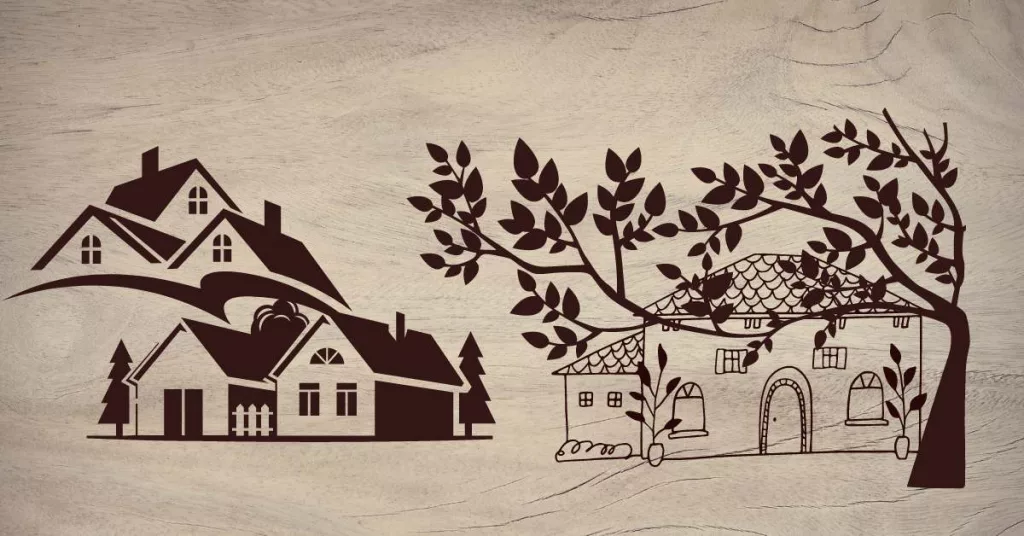
- It will be easier if you make pencil outlines first and follow the lines with a ball or looped pen tip.
- You might need rulers and compasses to make lines and circles for keeping your hand steady.
- It will look even better if you add some trees, fences, and roads around the houses.
- You can choose a wood log slice or a wooden frame as well to practice this type of illustration.
- If you wish, you can use the raw drawing as artwork without even painting it. But a good sealant is a must for saving it from decay.
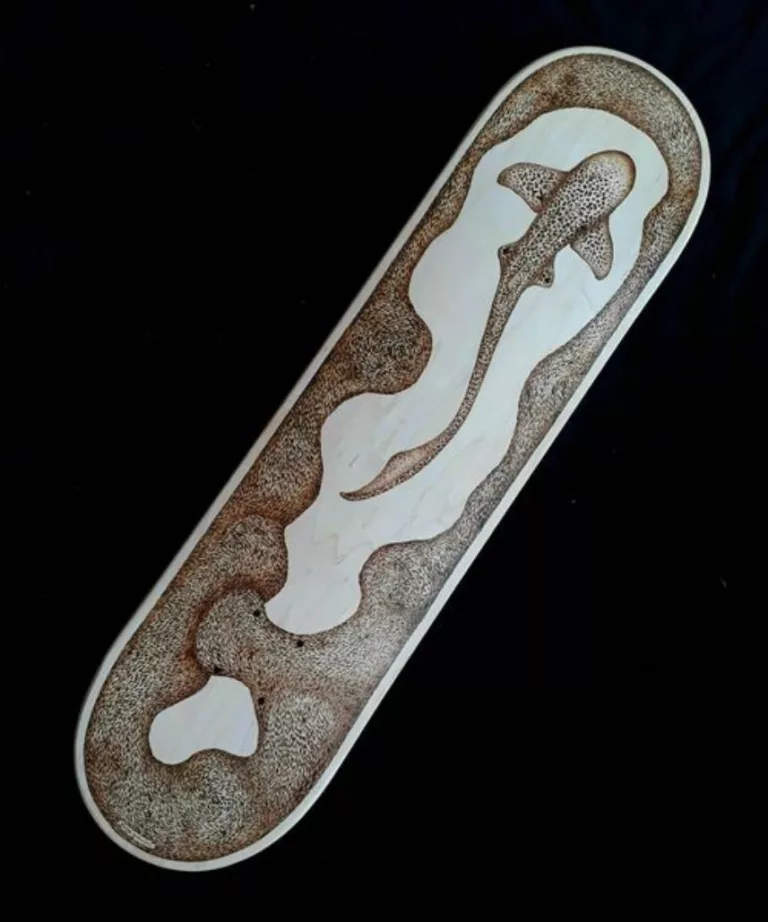
Fish
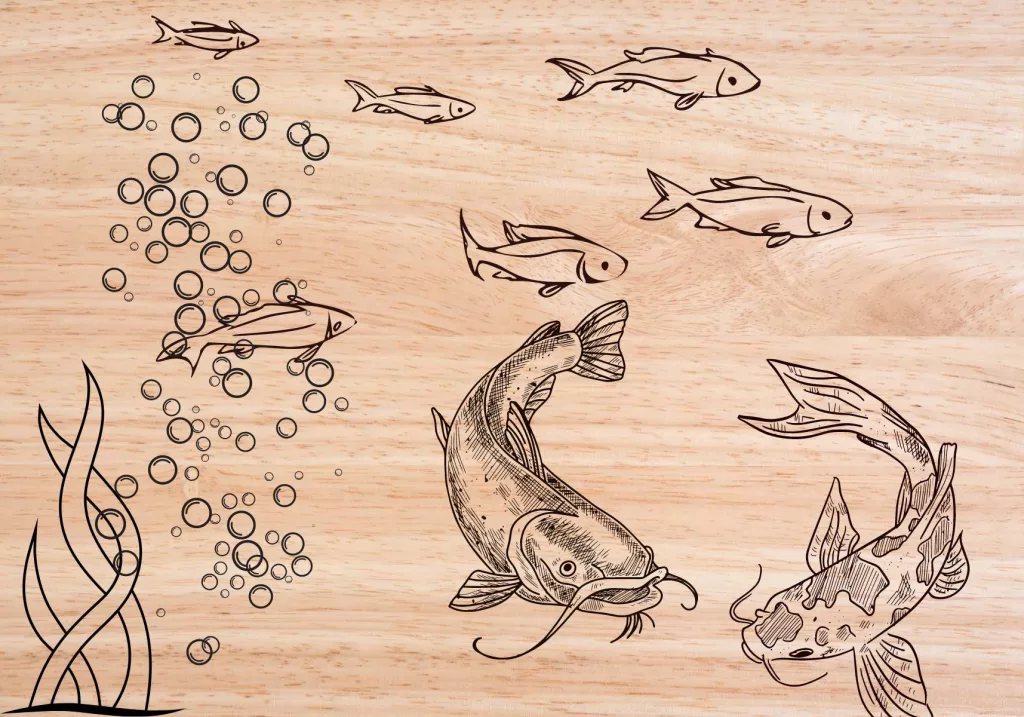
- Choose a simple fish pattern if you want to paint it later.
- I used a looped tip and curved shader. I planned not paint it afterwards.
- Additional water backgrounds like water plants, bubbles, etc. have given it an aesthetic look.
- I had to make sure to add shades in particular spaces to make the art look realistic and appealing.
Fruits
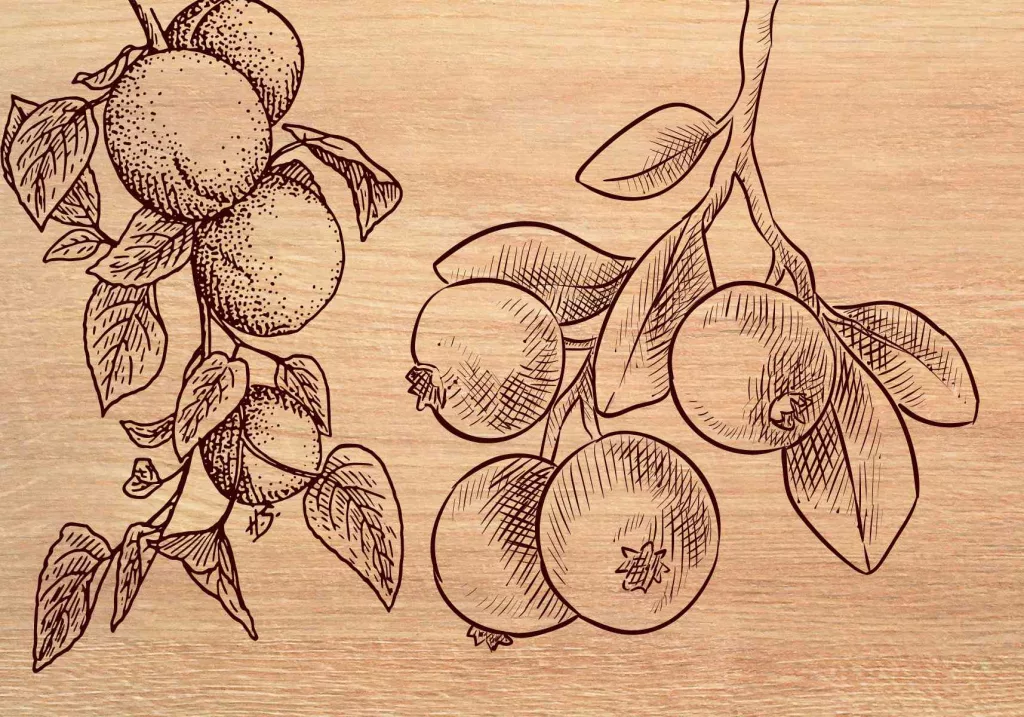
- Sketching fruits can be the best idea for beginners as they are very easy.
- You can choose simply-looking fruits like lemon, mango, peaches, etc.
- Added leaves and branches can give the entire work a better and more realistic vibe.
- My foolproof plan was to sure to draw a pencil so that I didn’t have to face any complexities.
Map
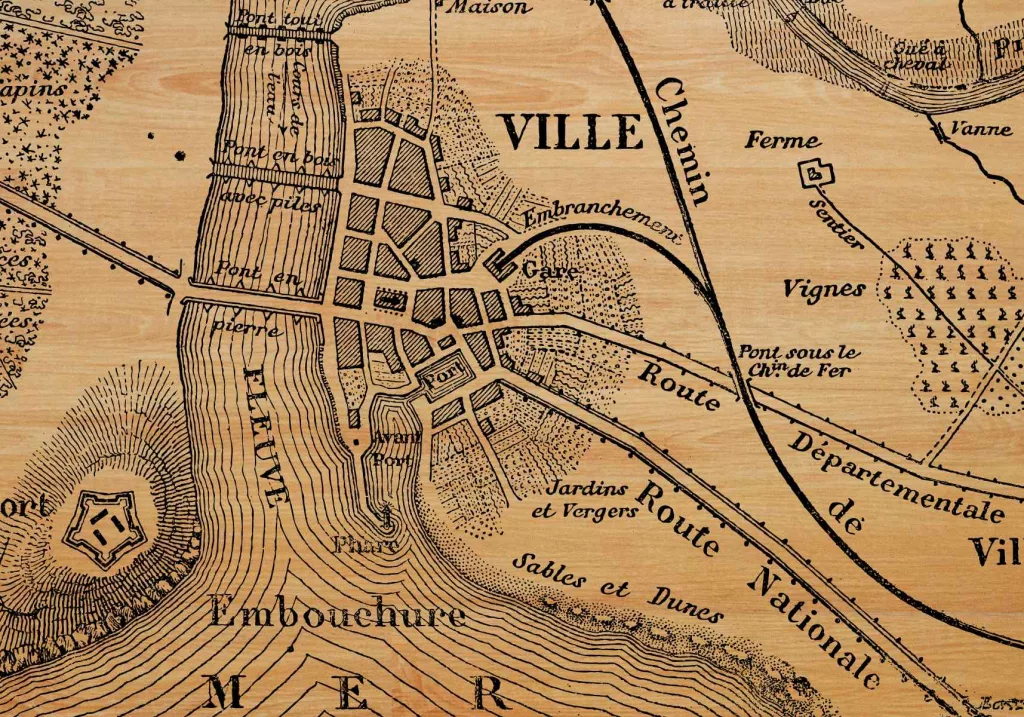
- The first thing to do is make an advanced outline using a pen or pencil.
- Use a looped or ball-tip pen to follow the outline.
- You can add map legends and further details. The complexity depends on your skill. I made some addition and deletion of the original map and burnt it finally on a 10 inch by 8 inch size wood. The map size depends on the wood surface size and the patience you have.
- You can choose a wooden piece, a tea-table top, or a wooden tray to practice this type of project.
Abstract Arts
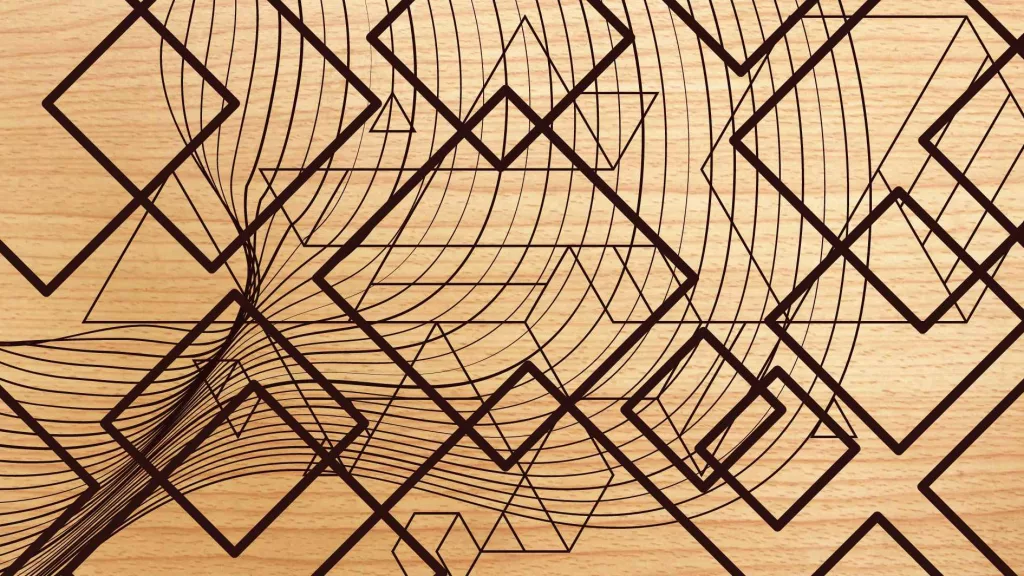
- This type of idea is ideal for decorating your diary cover, wall-hanging pieces, and jewelry boxes.
- You can choose some fairytale-like objects like fireflies, little angels, mushrooms, flowers, hummingbirds, etc. to make the sketch.
- An extra background of trees, flowers, rivers, etc. can make it look more aesthetic.
- You might need to use deep shares made of high-temperature burning marks.
Flowers
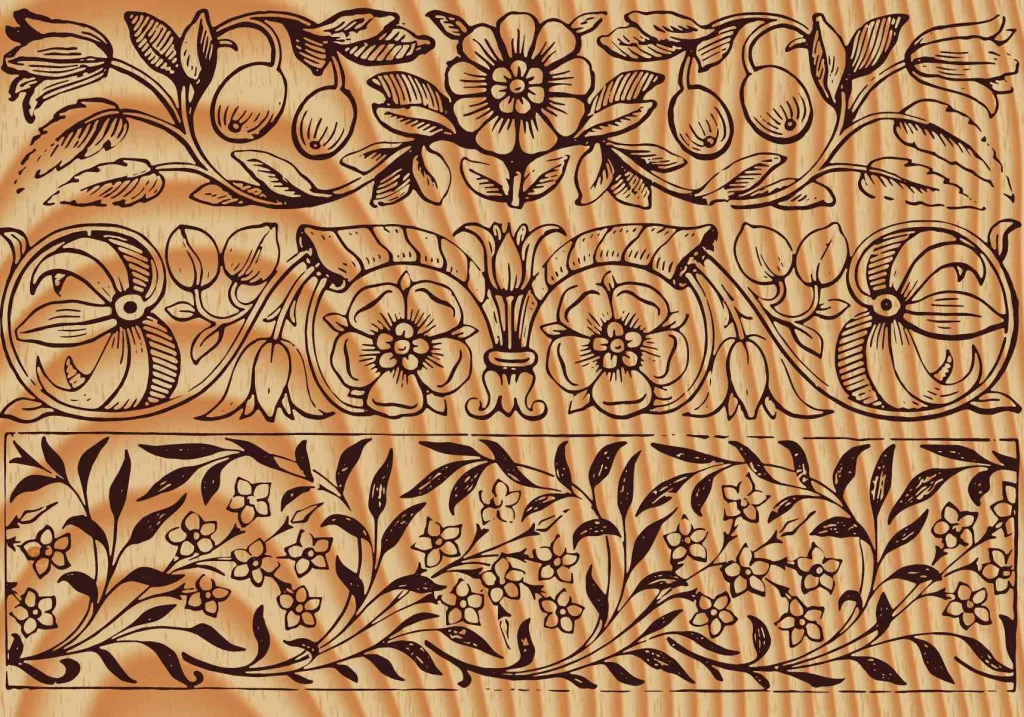
- If you are a beginner, choose a simple flower like a daisy, lotus, camelia, etc to make the draw.
- I made a rough illustration using a pencil and then use the burner pen over the sketch. It is a challenge to make repetitive and symmetric patterns. Symmetric patterns are easily detectable and takes a lot of efforts to execute it successfully if you do it via sketching or free hand strokes.
- And chose a looped tip and use a darker shade to give the sketched flower an appealing look.
- By the way, you can add paint after work and don’t add more details except for the outlines, in this case.
Portraits
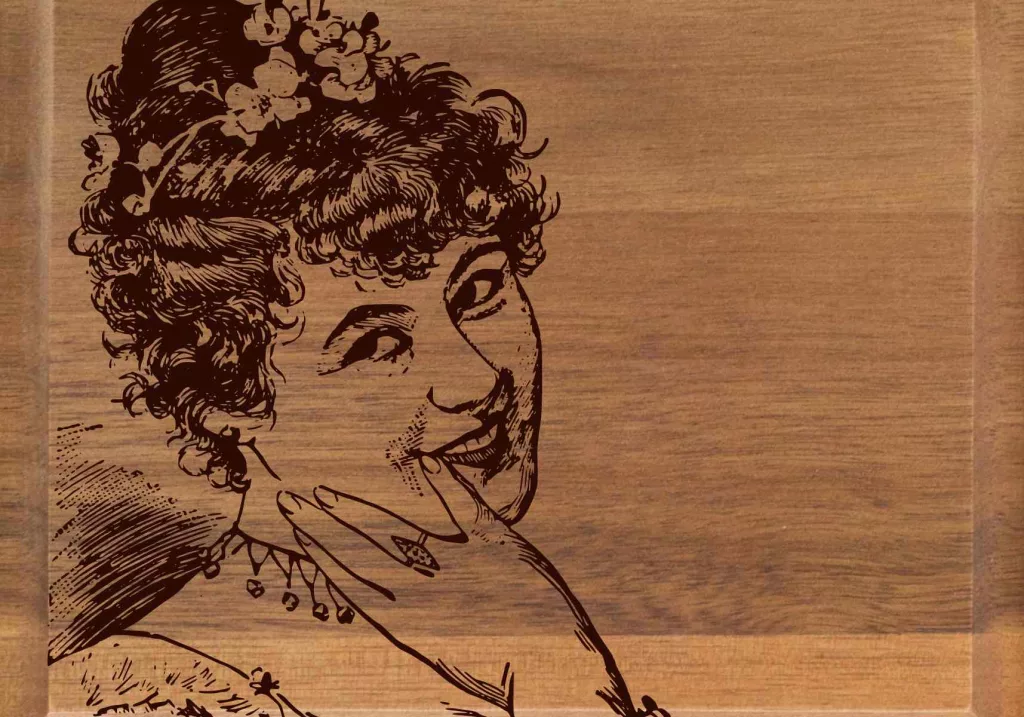
- Choose a human portrait only when you are already skilled in drawing portraits. I loved to do this work, it took a lot of patience and time. But the outcome turned out to be very good.
- An advanced pencil outline is a must-have in this case. Otherwise, you can try paper stencil.
- You might need to use all different pen tips including the spare shader, looped tip, ball tip, etc.
- Painting is not necessary for this type of artwork, but colored eyeballs, hair and jewelry will add special attractions.
Wrapping Up
So, these are the best sketch pyrography ideas you can try whether you want to paint it later or not. I would suggest you try the third, fourth, and sixth ideas if you are a newbie. Remember that the last option requires extra skill in portrait sketching. Hopefully, you will get a better outcome by applying these ideas.
So, let us know which one you are planning to try first. It would be a great pleasure if you share your artwork by posting an image of it here in the comment section. Thank you in advance.
Relevant Resources
FAQs
How do you burn a wooden portrait?
You have to make an advanced outline first. You can either draw the portrait by hand or just use carbon paper to transfer the image to the wood. And finally, you need to choose the right pyrography tool and burn the portrait properly. The accuracy of the portrait depends on how skilled you are on free hand drawing and shading.
How do you burn pictures onto wood?
To burn a picture on wood, you need to transfer it to the base. You can try the laser picture transfer process or just a stencil. You can also draw it on the base using a pencil. After that, you have to follow the mark using a pyrography tool. Here, stippling and shading techniques will come to help.