4 Amazing Pyrography Smoke Shapes That Catch Attention Immediately
When it comes to pyrography smoke shapes, the design can get intricate and mind boggling. And if you’re trying to create this shape for the first time, it can be tricky to create a realistic one.
In addition, choosing the right wood board is also necessary to create a successful pyrography design. Read below to know the best type of pyrography wood and amazing smoke shapes for wood burning.
Wood Applicability For Pyrography Smoke
There’s a wide range of wood boards for this art form, but those come in three different categories. Such as:
Softwoods
Basswood, birch, poplar, lighter grain pine, etc., are a few to name. However, these woods can crack or warp easily. Our pattern has lots of shadings to make it visible on woods. So, the thickness of the wood should be at least 0.95 cm ( or approximately 3/8 of an inch).
Hardwoods
Include oak, dark grain pine, cherry, walnut, and maple. The texture of these woods is hard and dense. These can hold burning details well. But choose light colored ones. I wasted a lot of efforts while making smoke patterns on dark colored wood. The thin and sparse wavy patterns are not quite visible on dark woods.
Bamboo
Durable, lightweight, and eco-friendly material for burn design. Bamboo can also handle burns effectively.
Incredible Shapes
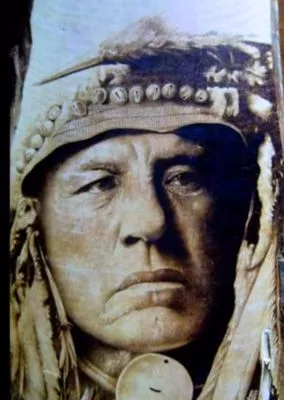
A Devotee
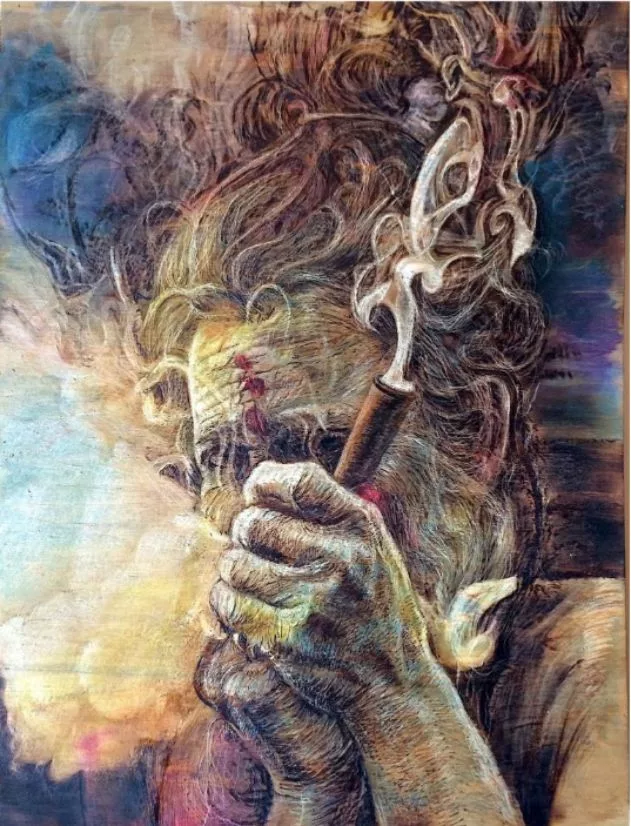
- Expertise Level: Advanced
- Pattern: An old man is smoking
- Tips: Use vibrant colors to make your portrait alive
- Note: This wood burning portrait is rightly owned by Van Ko Tokusha. You can take ideas from this art, then create the shape of your own.
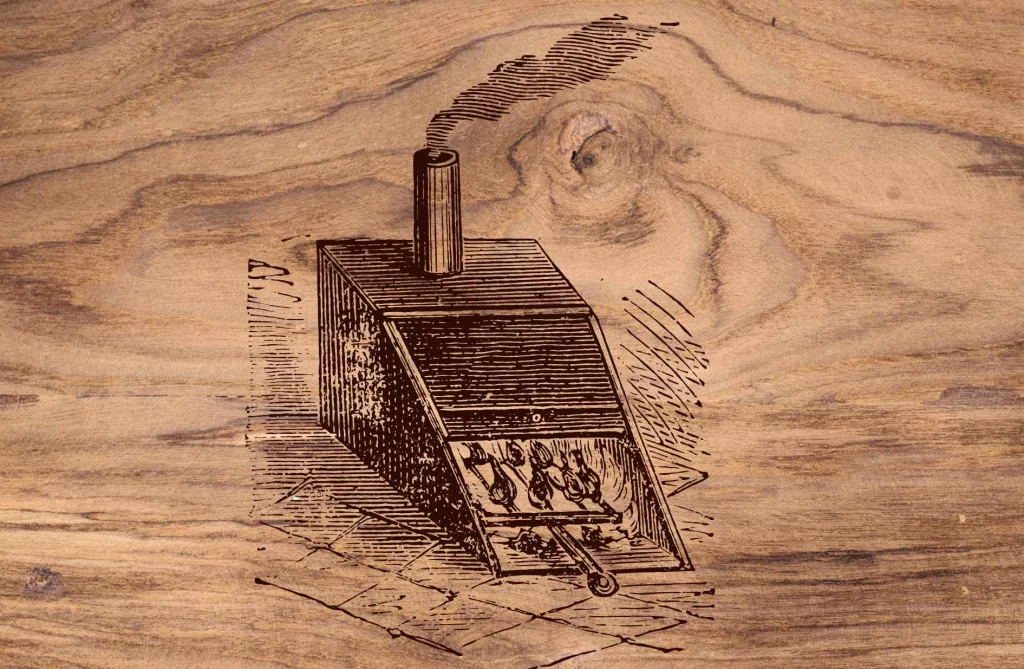
Steam Train
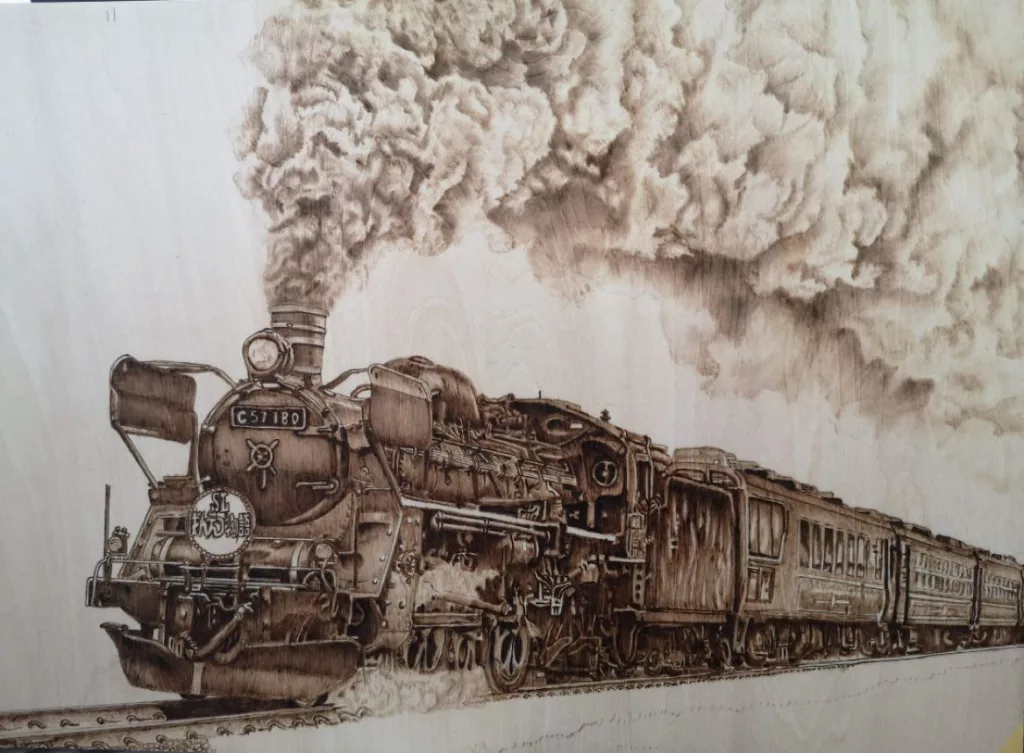
- Expertise Level: Intermediate
- Pattern: A steam train releases coal burning exhaust through the chimney
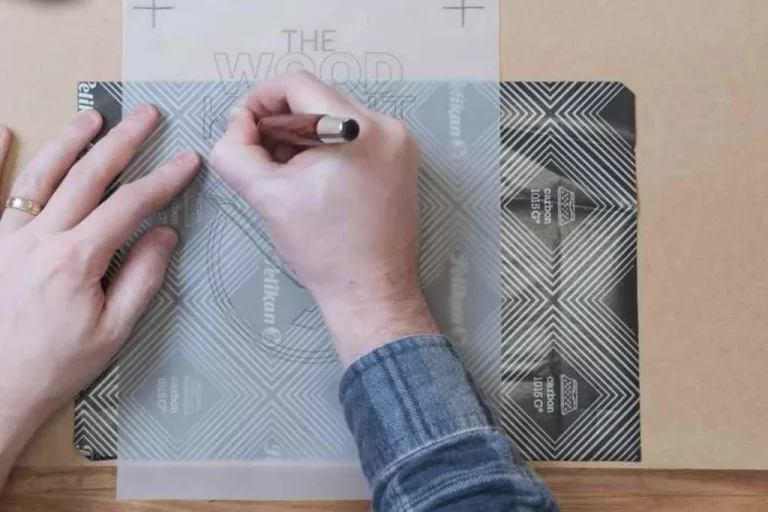
- Tips: Use a train stencil to draw the steam train on the wood board
- Use: You can create this pyrography art on a square-shaped wood board to decorate your home or gift it to someone on a special occasion.
The Lady With A Cigarette
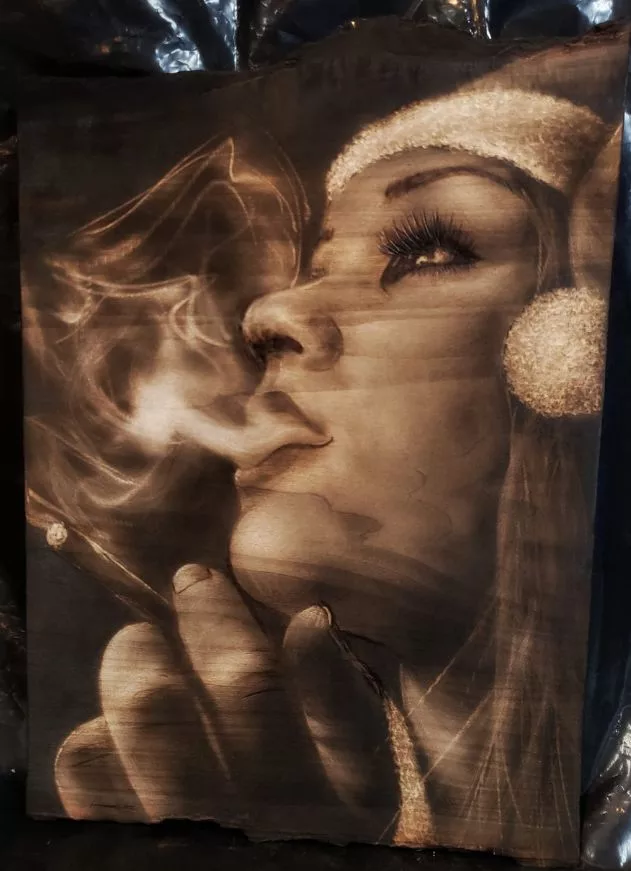
- This is a superbly advanced level work by Nick Smith.
- Time may have taken: At least 1 week
- Important Features: The overall expression and the distant look in the eye, it expresses deep thought. Look at the cigarette paper roll and the shadow of the smoke on her chin.
- This hyper-realistic work may be a portrait of someone. It will be a lifelong extraordinary treasure for the person.
From The Wildfire
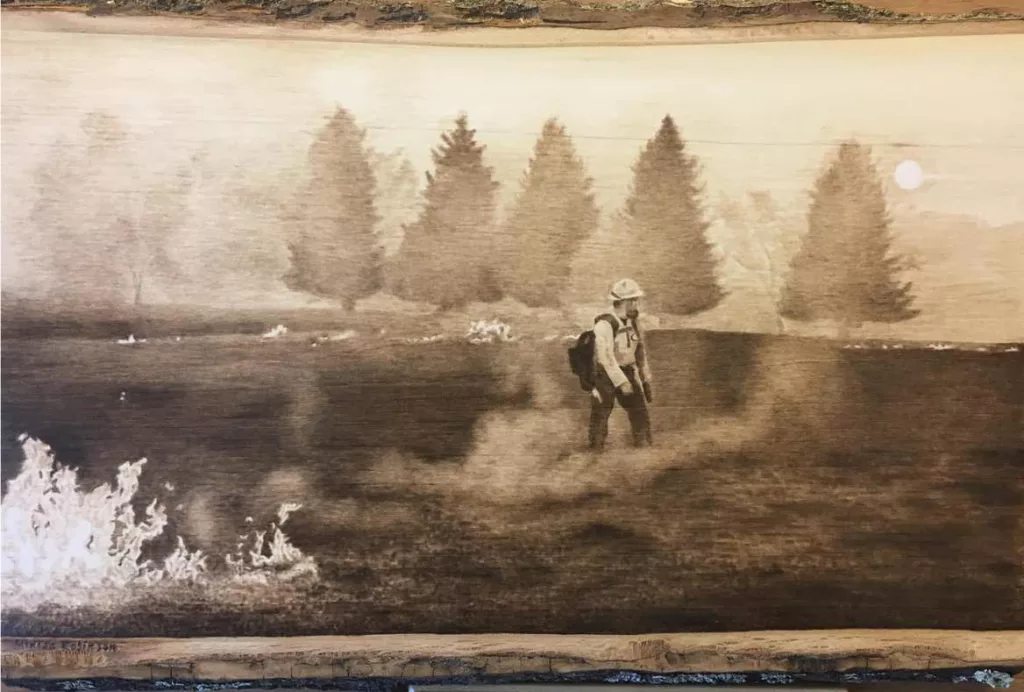
- It is nothing but a masterpiece by the maestro Minisa Robinson. You can tell about her dexterity on this art but a single look at the wooden canvas.
- Time may have taken: 4-6 days, but a master like her will definitely shorten the time span.
- Here she did not draw it in billowing pattern, but a thin air of unclear soot is seen in a wide area. And the despair seen at the posture of the fire fighter is quite evident. I loved the piece!
Smoking Winter Chimney
- I did it with lots of enthusiasm and passion.
- It was not a tough one, but the hatch marks need concentration to make them parallel to each other.
- I used an easy technique for the smoke pattern. It is nor 3D smoke, neither any realistic one. Only a few wavy (apparently parallel) lines created the shape.
- It took me 5 hours to complete the job.
Challenges I Face
- Smoke patterns are ethereal and unpredictable, making it tricky to capture their essence in pyrography. I spend a lot of time studying reference images and observing real smoke movements for inspiration.
- Unlike drawing or painting, I can’t easily erase or correct my pyrography lines. Every stroke needs to be intentional and precise, as any mistake can disrupt the flow and ruin the overall effect I’m trying to achieve.
- The burnt lines are vulnerable to accidental smudges or scratches, so I handle the wood with extreme care throughout the process to preserve the intricacy and longevity of the designs.
FAQs
How long does it take to create woodburn smoke shapes?
If the design is too intricate, it may take around 6 hours to 6 days, while simple shapes take around a few hours. Your pyrography expertise level also determines the time of working on the shape.
Do you need to sand the wood before creating a this shape?
This step isn’t necessary if the wood board already has a smooth surface. If the surface isn’t even and smooth, it can become difficult to carve the burning stroke on the wood. That is why sanding is recommended.
Do you need to seal the wood burning smoke shape?
Usually, sealing is recommended for wood burning art. After you create the shapes, you can apply spray lacquer, stain, paint, or polyurethane to protect the wood surface. All these are sealing acts.
Related Ideas
Conclusion
Generally, these particular shapes are designed with multiple similar strokes. But it can be challenging for a beginner to give it a real look. Hence, beginners should follow a well-explained tutorial or stencils or patterns to create the shape.
The same goes for intermediate artists. However, intermediate and advanced artists can create smoke shapes efficiently with expertise and tutorial guides.