Guitar Pyrography: A Short Yet Powerful Read
Once you’re sure of your pyrography skills, you can take on big projects. One such exciting project is guitar pyrography. Guitars offer a large surface for pyrography. It gives you the chance to experiment with larger patterns and themes. Today, we’ll take a look at the basic procedure of pyrography on a wooden guitar surface. Let’s get going!
Why Guitar Enthusiasts Are Crazy for Pyrography

- Playing guitars require a great talent. Surely any guitarist is a creative person. Pyrography on guitars is a cherry on top for any guitar lover.
- Guitar tunes generates happy signals on brain, it provokes us to be more creative. An additional art on the guitar body makes an epitome of art for the artist.
- The guitar builders are one step ahead of this creativity, they build their own guitars or sell them as profession.
- Making arts/designs via burning tool on wood/MDF/plywood of the guitar surface is extremely satisfying. It gives the guitar builder a supreme happiness if the burn project goes well.
- Pyrography gives the guitar an antique look
- If the guitar is having burn designs on it, this guitar price goes up tremendously. It is not only a musical instrument at this point. Rather it is something of unfathomable artistic value.
- An extreme level of varieties of the pyrography can be done on guitars. Having a few guitars with pyrography is like owning a genre of guitars.
Cautions
- You can do it yourself even if you are new to wood burning.
- But never burn on a finished guitar
- Stained surface on the finished guitars create toxic fumes. Read this article on pyrography on stained wood.
Steps to Adorn a Guitar with Pyrography
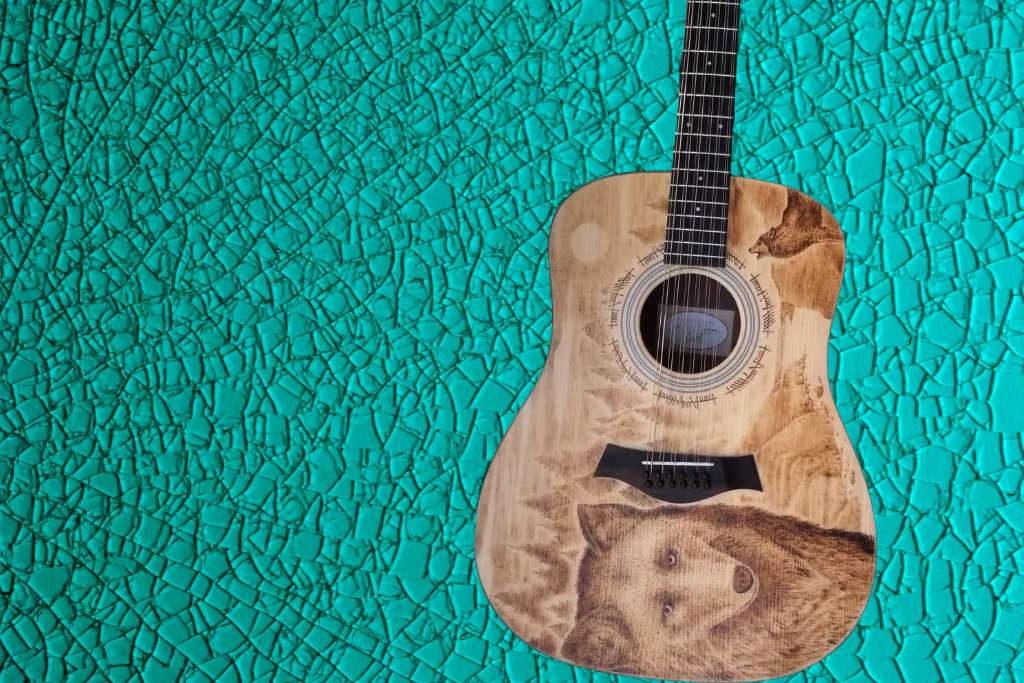
Preparation
- Make sure your guitar is not assembled
- Only pick a non-treated wooden body of the guitar to work with
- Prepare the wood of the guitar for pyrography
- Assemble your pyrography tools
- Take safety precautions (Here’s a good read on pyrography safety)
- Be prepared to sit at your workstation for a few long hours
- Transfer your chosen pattern onto the guitar surface
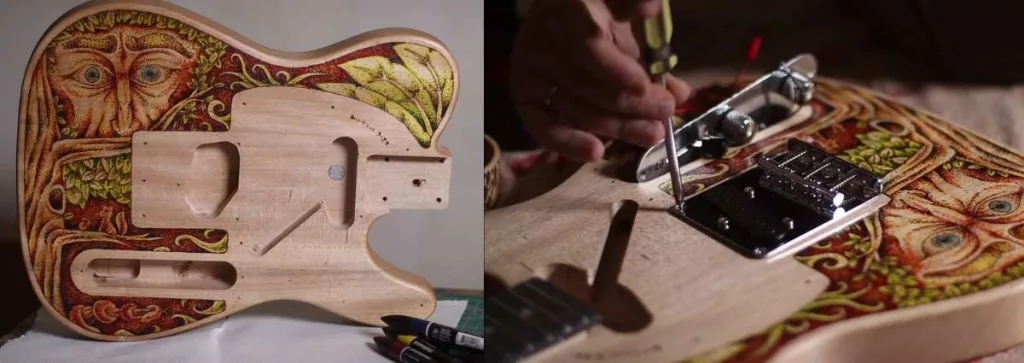
Burning
- Heat your pyrography pen and trace over the outline of the pattern
- Once you have the outline done, take a break
- Take a good look at the outline and decide on shading
- Take your time with shading and detail work
- Making one mistake at any point will ruin the entire guitar, so go slow
- Any time you feel like your attention is drifting, take a break
- Don’t be discouraged if you can’t finish the work in a single day
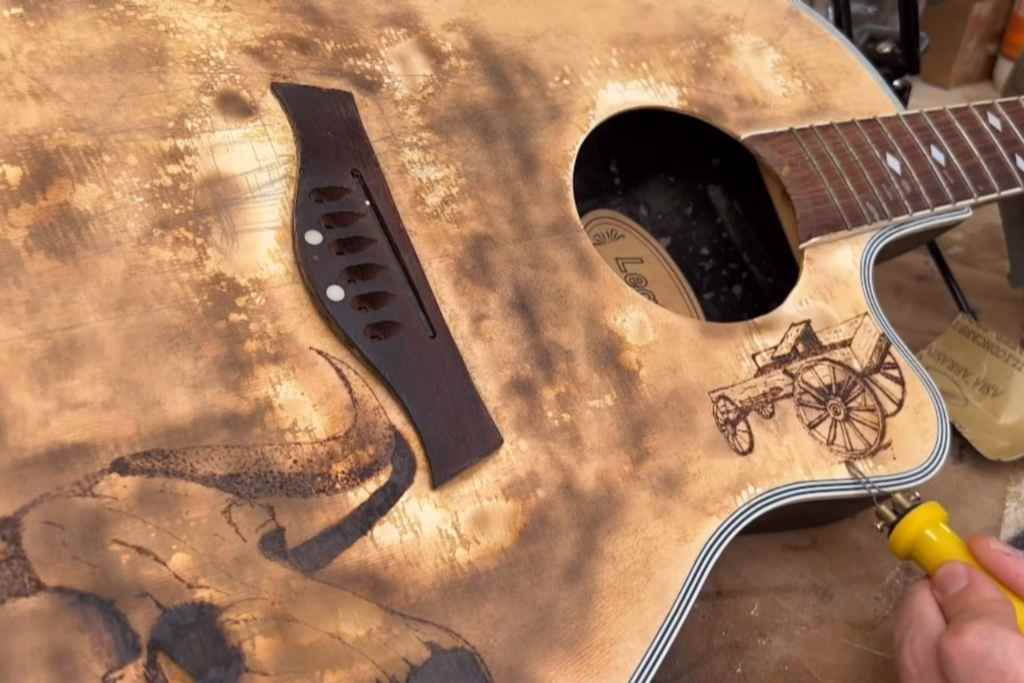
Aftercare
- Once you’re done with pyrography, put away your tools safely
- Stain, seal, or varnish the wood with your preferred product
- Assemble your guitar
And you’re done!
Following is the pyrography demonstration on the electric guitar mentioned above.
If you’d like a more detailed look at the steps of pyrography on a guitar, you can check out this helpful video tutorial or you can play it right here.
You can choose any one of the themes from a host of pyrography patterns. This article will help you here.
Conclusion
Attempting pyrography on a guitar sure is daunting work. Therefore, I advise you to attempt this project only after you have mastered all the basics and at least a few intermediate pyrography skills. Having a lot of patience would help in this project as well.
If you’re intimidated by the prospect of pyrography on the whole surface, you can just choose a part to work on. A mandala, a cluster of geometric patterns, or even your name would look just as fancy.
We hope this blog helped you. So, are you going to try pyrography on a guitar right away? Let us know how it goes in the comments! Happy burning.

