Can You Do Pyrography On Canvas? – 7 Easy Steps
Surely! You can do PYROGRAPHY ON CANVAS! Pyrography can be done on various things and materials, and canvas is one of them. In fact, it is one of the most excellent non-wood materials for doing pyrography artwork as it offers a textured surface.
First, spread this fabric on a flat surface and then use water-soluble fabric pens or carbon or graphite paper to draw and transfer the design. Then put on your safety gear and burn the design at your preferred temperature. You can use a wet sponge to rinse the pen line and then dry the material.
So, do you have the plan to do pyrography on a canvas piece or an object made with this material? Then I suggest you read this article and find out how you can do it perfectly.
How to do it?
Canvas made objects are quite popular these days. Most of the time, they come in a plain color without any design. So if you got yourself one recently and would like to decorate it with your burn art skill, here is how you can do it.
Things You Will Need
- A canvas bag or any item made of this fabric or a piece of the plain fabric itself
- Water soluble fabric pens (alternatives: carbon or graphite paper)
- Safety equipment ( you can read this article on pyrography safety)
- Burner tool
- Burning pen with various nibs
- Color/paint (optional), if you really like to use colors, here’s an article on adding colors to woodburning.
- Wet sponge
- And of course, select some patterns. Floral patterns are the most favorite ones among pyrographers. (You can take some inspirations from floral designs for woodburning, by the way)
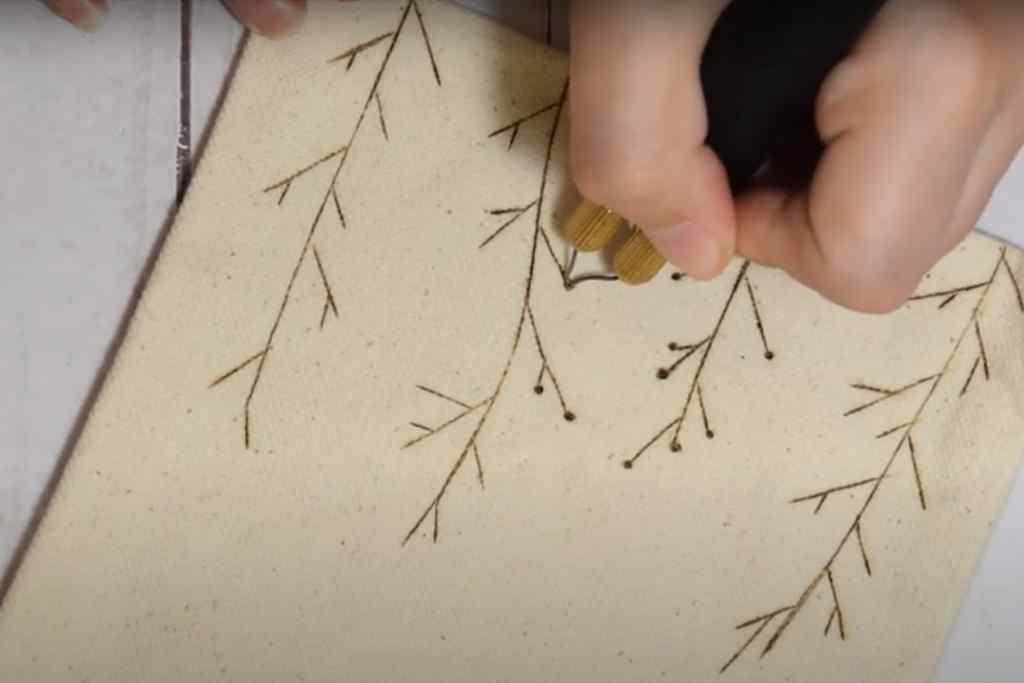
Steps for Doing Burn Art On Canvas
Step 1: Wash And Dry Your Item
- Though it is not mandatory, you can wash the the object before preparing it for pyrography. If you think it needs a wash, go ahead and give it a good wash.
- But make sure to dry it well before trying anything else on it.
Step 2: Prepare Everything
- Once your canvas piece or bag is ready, lay it on a flat working surface.
- Gather all other items you need to do pyrography.
- If you intend to change pen nibs for various burning effects, make sure to keep them close.
Step 3: Draw or Transfer Your Design
- You can use water-soluble fabric pens. The trick of drawing over the canvas with a fabric pen is to start from the bottom and go upward due to the texture. You can experiment with various motions and designs as you wish.
- Some people prefer burning the design directly rather than transferring anything first.
- But if you don’t have a fabric pen, you can try using a graphite or carbon sheet to transfer any design. Simply lay the carbon sheet underneath a piece of paper on the fabric and use a pencil to trace the design. But I must tell you that using carbon or graphite paper is not the best idea if you want to ensure quick removal after you are done.
Step 4: Put on The Safety Gear
- Once you are done drawing or transferring the design, don’t jump into burning it.
- Like wood, burning canvas also releases fume and smell. So, make sure to put on your safety gear, such as a respiratory or safety mask, gloves, and safety glasses.
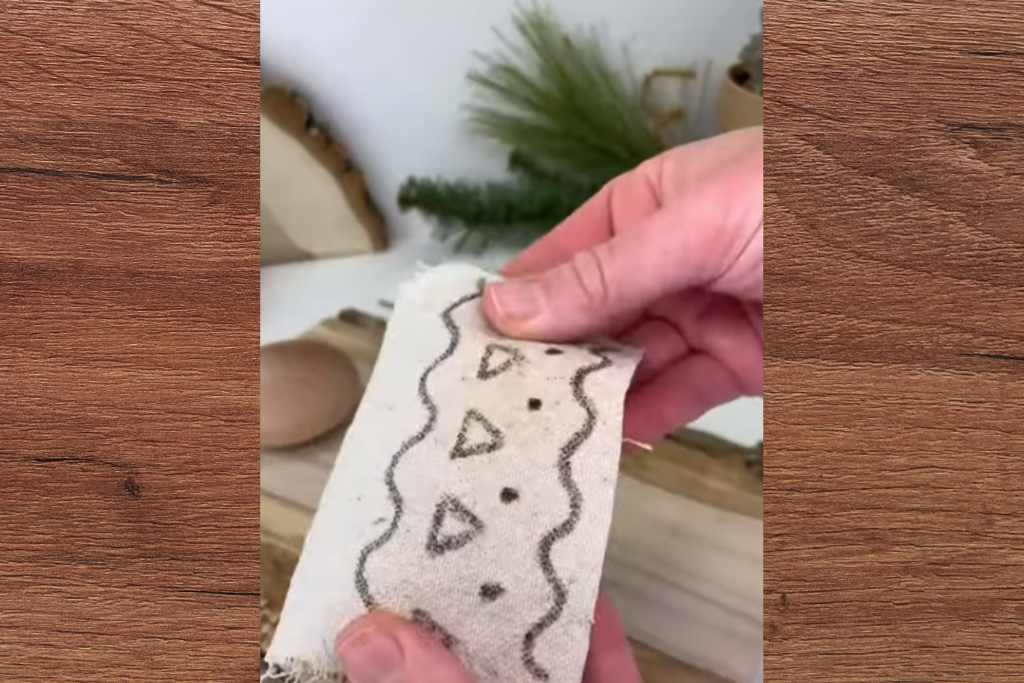
Step 5: Burn The Design
- Then turn on your burner tool and start burning the design you created.
- Start with a comparatively low temperature to see if it burns correctly.
- You can try testing the temperature on a different (not for use) fabric piece to see if the heat is too much or less. You can try using different pen nibs to get various shadings.
Note
Using a comparatively low temperature will give you more control as you keep burning on. If you are switching between nibs, remember to turn off the burner tool first and use pliers to remove and change the nibs.
Step 6: Add Color (Optional)
- If you are okay with just the pyrography burning design, that is totally fine. But if you want to add some color to the canvas, go ahead and show off more of your creative work.
- You can use any suitable color, such as acrylic, watercolor, oil pastel, etc. But make sure to give it enough time for the paint or color to dry and set completely.
Step 7: Clean Off The With a Wet Sponge
- Now that you are done with doing pyrography on your canvas or on the item made of it, it is time to give it a rinse to remove the pen or carbon marks.
- If you don’t want to wash the fabric, you can simply clean it off using a wet sponge.
Here is a video for you on the same pyrography.
This is another fantastic video demonstration on canvas pyrography.
FAQs
Can you use a wood burner on canvas?
Yes, you can. But you cannot use just any canvas for that. You will need an artist-grade (less coarse) and unlined canvas for a wood burner.
How do you burn wood to a canvas?
You got to use a low-spec pyrography pen. First, you need to draw the design outline, and then you have to follow the design using the tool. In this case, it is better to keep the temperature as low as possible. Otherwise, the heat can completely burn the cloth.
Final Words
Canvas pyrography has given the art an entirely new dimension. You can now create designs for decoration, as a gift, or customize a bag or backpack.
At the same time, remember that it is made of cotton. So when you burn it, it will release an unpleasant smell and smoke. And if you are not used to work on this fabric for pyrography, it can be a little uncomfortable at first, giving more reasons to wear safety equipment.


