Pyrography Shading Techniques – 3 Exciting Types
If you are interested in wood burning arts, you must know the pyrography shading techniques. Though pyrography was a form of art that mostly involved outline burning, it has now evolved into something entirely different. Other than simple outlining, this art now contains various forms of shading.
There are several techniques, such as circular motion, pulling motion, dot pattern, etc. Like their names, you can shade your pyrography artwork using circular, pulling, and dot press with the burner pen. You can experiment with different burners and tips for effective shading.
Knowing the shading techniques will benefit you whenever you create artwork and shade it, especially if you are a beginner. This article is based on the discussion of how to shade pyrography. Moreover, it is also considered that you are familiar about pyrography. (If you are new to it, please read this pyrography basics first as an introduction.)
The Shading Techniques
Pyrography shading is mostly about what makes you comfortable to make the gradient form. You can either follow pro techniques or find something of your own, as long as it creates effective shading. Nevertheless, if you are a beginner, my suggestion is to follow any of these techniques or all of them to find out which one works for the purpose.
Circular Motion
I can already tell by its name how you can create circular motion shading. You take your burning pen and burn the wood in a circular motion.
- In the first stage, only start with the tip of the pen and turn it over and over where you want to burn in a circular motion.
- And as you move on from one part to another, you can change from the tip to pressing the nib flat on the wood while you move it.
- If you want to achieve a lighter shade, keep your burner’s heat to a lower level and increase it for darker shades.
- You can increase and decrease the temperature as you work on the shading to create various gradient stages.
- As you move the pen tip in a circular motion the entire time, it hardly gets to sit in one place for long. And as you get more control with this technique, you rarely burn more than you intend to.
You can have a quick idea on it in the following video.
Pulling Motion
Pulling is where you burn the shadow form on wood in a pulling motion. How?
- You must place the pen tip in one part of the pyrography and pull it toward you in a lightweight motion.
- This technique works best when you pull all shadings in one direction rather than in a random pattern.
- The pulling shading motion is more suitable if you want to do the shades quickly yet effectively.
- However, this technique does not offer better control over the pen tool like the circular one. So if you are not careful, you may end up burning the wood darker than you intend to.
- Now, when it comes to the pulling method, you must consider the consistency of the wood you are using for the project.
- If the wood piece has an inconsistency in grain, like pinewood, pulling off the right burn shade will be a challenge.
- It is best to choose a wood with a better grain pattern. And just like the previous technique, you can increase and decrease the burning temperature to get a variation in the shades.
Dot Pattern (Stippling)
The dot patterns or stippling is used by many hobbyists and professional pyrographers. However, I never found myself too fond of this this technique because, to me, it does not always work for all types of shading. But do read this section if you are a beginner and want to know about all types of shading.
- You will need a ball pen tip for this. And you might want to be careful using a ball tip because it is tiny and can easily burn wherever it sits if the burner’s temperature is on a higher setting. That is why it is a bit challenging to control this tip.
- But you can start with your tool’s low-heat setting and burn the wood by dabbing the pen tip on it.
- Since this technique has no particular motion, you are free to burn the wood however you prefer.
- Dot pattern shading is slightly easier to control if your burner tool has a heat control setting. But if it doesn’t, you have to get an idea of the estimated time it takes for each shading patch.
It is pretty impossible to explain how these techniques work simply with some pictures. That is why I have added this video link here so you can understand everything better.
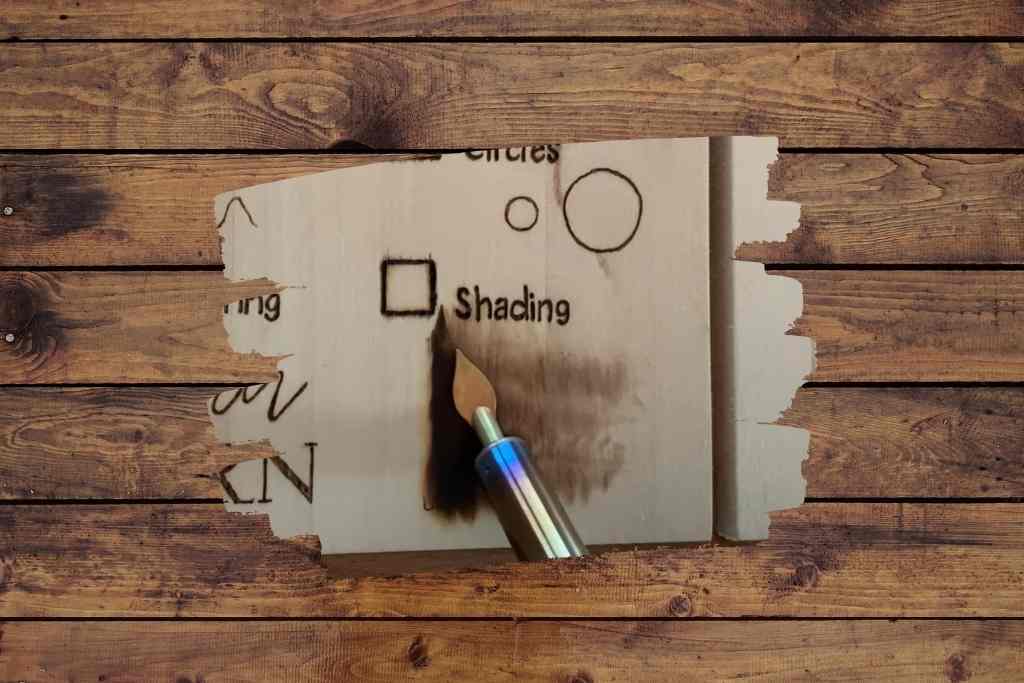
How to Shade Pyrography With Different Burner Tools
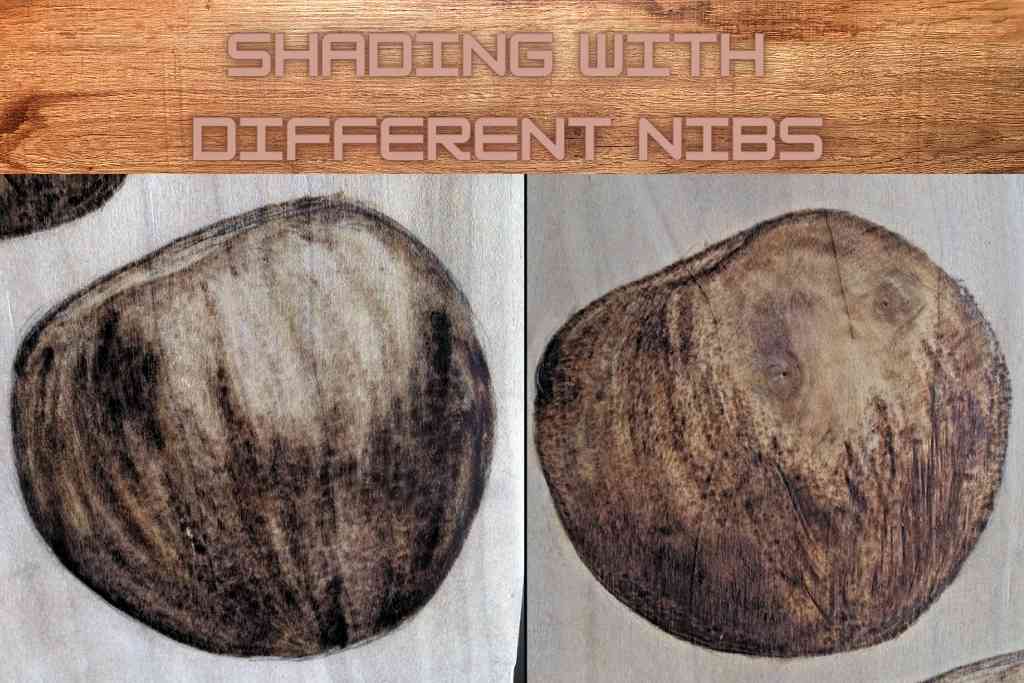
Results of using pro and crafter burner tools with wire and brass tips.
Contrary to common belief in the pyrography shading technique, the perfect result depends partially on using the right tools and equipment. That is why, in the following part, you will find out what to expect from using different shading pen tips and burner tools.
Working With A Pro Burner And Wire Shading Tip
Whether you use a pro burner or a craft burner, the method is pretty much the same.
- You start with a low burning temperature and wait a bit for the tip to warm up before you start burning wood to create shades. You can use a wire shading tool with the pro burner, as both tools offer better temperature control.
- Since a pro burner tool is a more upgraded version, you can obviously expect a smoother burn as you go. Unlike other burners, a pro burner will not catch on the wood or interrupt the session.
- But can you use more than one technique simultaneously? Yes, you can. I usually move from one shading technique to another based on which part of the pyrography subject I’m working on.
- Usually, the pulling motion works best if you want to create a striped texture. In my experience, a pro burner works best at a higher setting for creating darker shades. And you can turn down the heat slightly to get lighter shades.
Sample Result
Working With A Crafter Burner And Brass Tip
If you have a craft burner, also known as a starter burner, it is time to put it to the test. Will it offer better result than the pro burner? And here, I suggest you pick a brass pen tip with your burner for a different outcome.
- Make sure it is a flat shading tip, or else, it will become more challenging.
- You should be aware that not all starter burners have a heat control setting.
- If you have one of those burners, you have to rely on your speed to achieve different shades. That is something you don’t need to worry about if you have a burner with a heat control system.
- If you are using a flat tip for shading, the circular motion will help you shade the edges better. It also works best for achieving lighter shades. And you can go for the pulling motion to cover other wider areas if there is any.
- You can use the flat side of the burner pen to create an overall medium shade. Nevertheless, the final outcome might not be the same as a pro burner tool.
Sample Result
Want to find out how you can achieve different results with different burner tools and tips? Here is a shading technique video to help you learn that. You can do a lot of experiments. A host of textures can bring your artworks super extraordinary looks. In addition, you can take a look on some burn textures for practicing.
Necessary Tips For Pyrography Shading
Shading is not exactly the hardest part of a pyrography project. But it is not a piece of cake either, especially if you are a beginner. So here are some necessary tips to help you do the work efficiently.
- Always start with a low burning temperature setting and then increase or decrease the heat based on your required shade.
- If the wood is grainy, burn in the same direction as the grain, especially if you want a darker shade.
- Always make sure to practice on a separate wood piece to check the temperature and the strokes.
- Make sure to clean the pen tip every now and then to avoid buildups from preventing the shading failures.
- And don’t forget to wear protective gloves and a respiratory mask to prevent unexpected occurrences.
FAQs
Which tip is best for pyrography shading?
There is a particular flat-head pyrography shading pen tip that helps with efficient and effective output. You can use a flat-shader, or skew tip to get various results. But you must know that effective shading also depends on the burning temperature you apply.
How to make wood burning shading darker?
To create a darker shade, you need to set the burner’s temperature higher. Then stay in the area longer when burning shades. You can re-burn the wood wherever you want to create a darker burning shade.
Are there any techniques and tricks for creating shading effects with a pyrography pen?
Yes! Techniques and tricks to create shading effects with a pyrography pen are adjusting temperature, using varieties of tips, changing the pressure, using cross-hatching, stippling, etc.
How do you burn wood evenly?
To burn wood evenly, you have to use the wood-burning tool with a constant temperature. Also, you need to ensure that the contact time between the tool and wood is kept even. Besides, you need to use the same level of pressure while using the tool.
EndNote
Now that you have reached the end of the article, I’m sure now you are well aware of all the shading techniques. Shading is often about the artist’s comfort and working ease. So make sure to explore a lot until you find which technique always enhances your artwork.