How To Do A Superb Dog Pyrography In 8 Steps
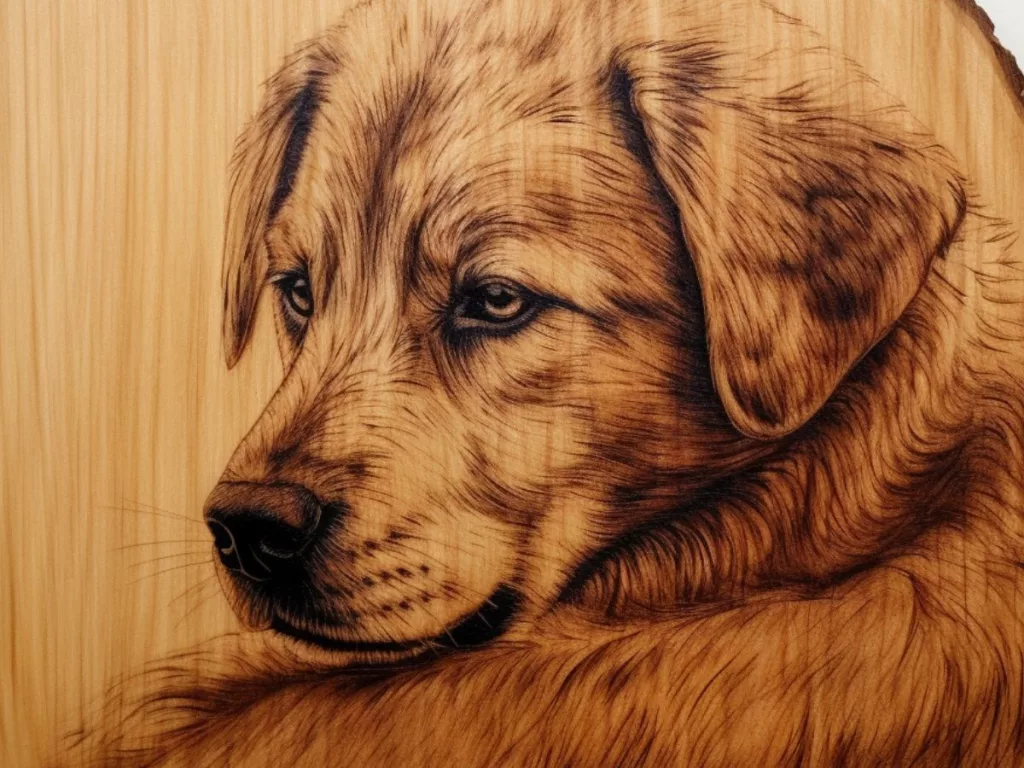
If you’re a dog person like me, you’d certainly be tempted to do a DOG PYROGRAPHY project. It’s actually fun to work on a wood burning dog portrait, though it might be tricky as well.
In today’s blog post, we’ll talk about the challenges that come along with this project, and also how to overcome them. Let’s go!
Why Wood burning Dog Project Might be Tough
- Pyrography of any living thing is a bit of a challenge
- Realistic dog fur is quite tricky to manage
- It’s often hard to find a good reference photo with contrasting values
- It takes a lot of time and patience to get each detail right
- You need to keep referencing the original photo even after transferring
The trick to accomplishing success in this project is to take all these factors into consideration.
Steps to Make a Dog Pyrography
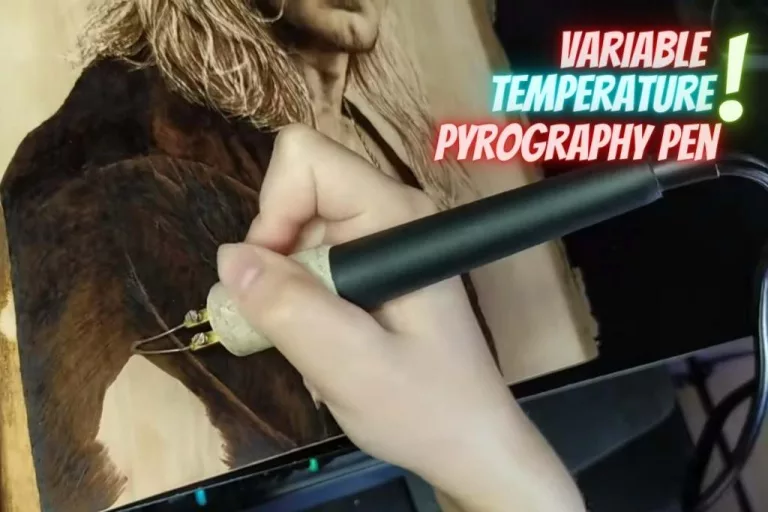
- First, make sure you have all your pyrography supply at hand– and that includes safety gear. It’s best to get a set of wire-tipped burners for this project.
- Pick a photo that has contrasting values– you don’t want the pyrography piece to look flat with a single tone all over. There should be enough shadows and highlights to make the image pop.
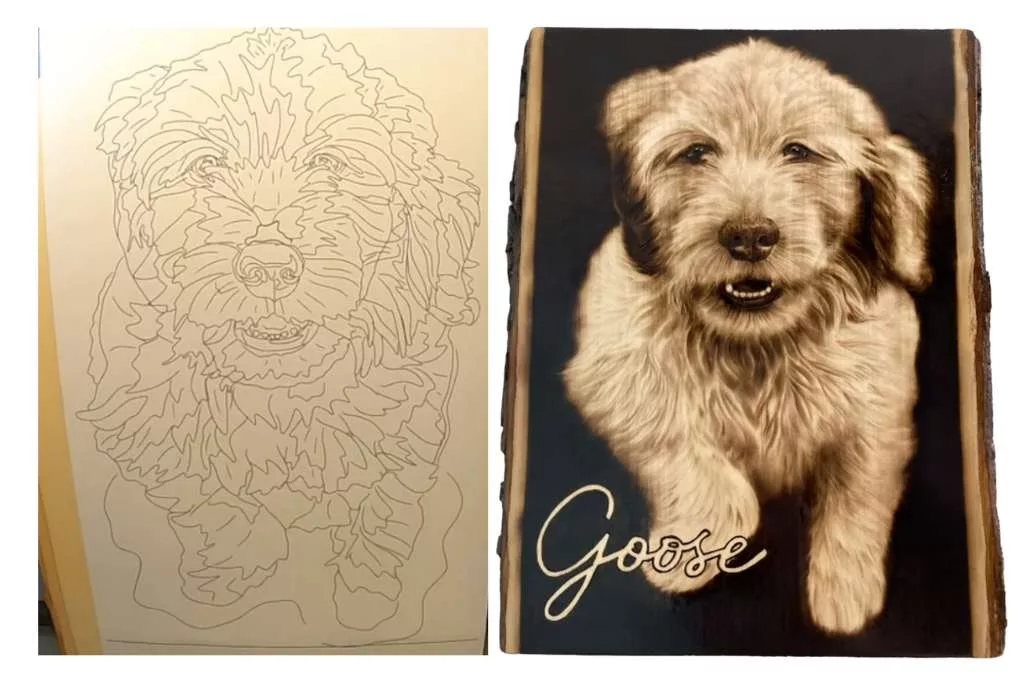
- Transfer the image to the media (e.g. wood). However, also keep the original image at hand. You can keep it open on a screen or take a printout. This is a good read on transferring patterns to wood.
- Don’t start off doing the outline. Instead, draw the lightest fur strokes first, and then gradually go to the darker shades. I find that a simple round tip works better for this task.
- Take your time and be patient with each stroke of fur. Take breaks. After you get back from a break, you’ll find new details to add.
- Burn the darkest shades last. If you want, you can do a final outlining with a lining tip.
- You can add color to the dog’s eyes with watercolor pencils. I find that it makes the portrait pop!
- Don’t forget to seal the project!
This tutorial might help a bit more.
Following is one more video on canine pyrography.
Conclusion
Pet portraits are not beginner-level pyrography projects. Unless you’re sure that you can burn fur details well enough, I suggest you stick to silhouettes and cartoon-style line art instead. Happy burning!

