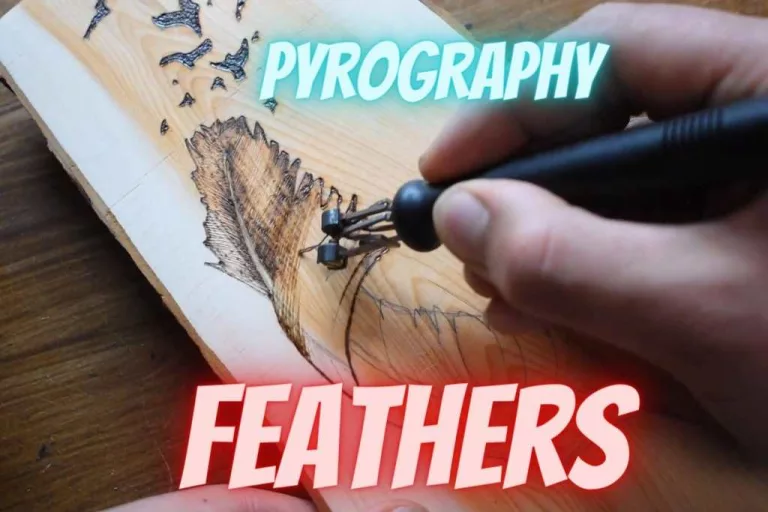
How Do You Do Pyrography? – A Comprehensive 8-Step Guide
Pyrography or wood burning is a popular way to create design and art on pieces of wood. But the question is, HOW DO YOU DO PYROGRAPHY? People do it to pass the time, create décor or gifts, as part of school projects and even sell their work pieces online and offline as such items sell pretty well.
Even the art of burning wood has its own method, dos and don’ts. So if you are a beginner or interested in learning pyrography, this article will help you unlock that skill.
How Do You Do Pyrography? – Details
Pyrography is the wood burning art. And you must put your best effort to learn it first. That is why it is essential to ensure you have the necessary tools and equipment and have completed all prep work before burning the piece of wood.
So before you head to the step-by-step guide, make sure to read the following parts thoroughly. I am always very much cautious about the tools and arrangements I work with. So should you. No precaution and no care fail.
Things You Will Need
Here is the list of tools and supplies you will need for this art.
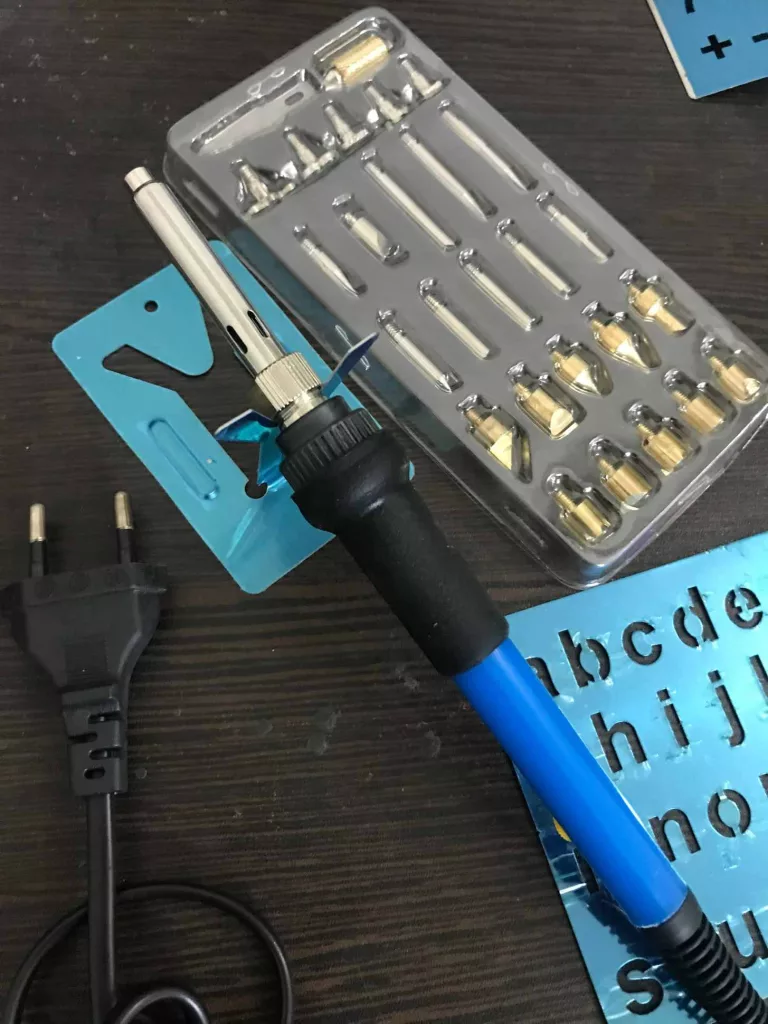
- Burner pen
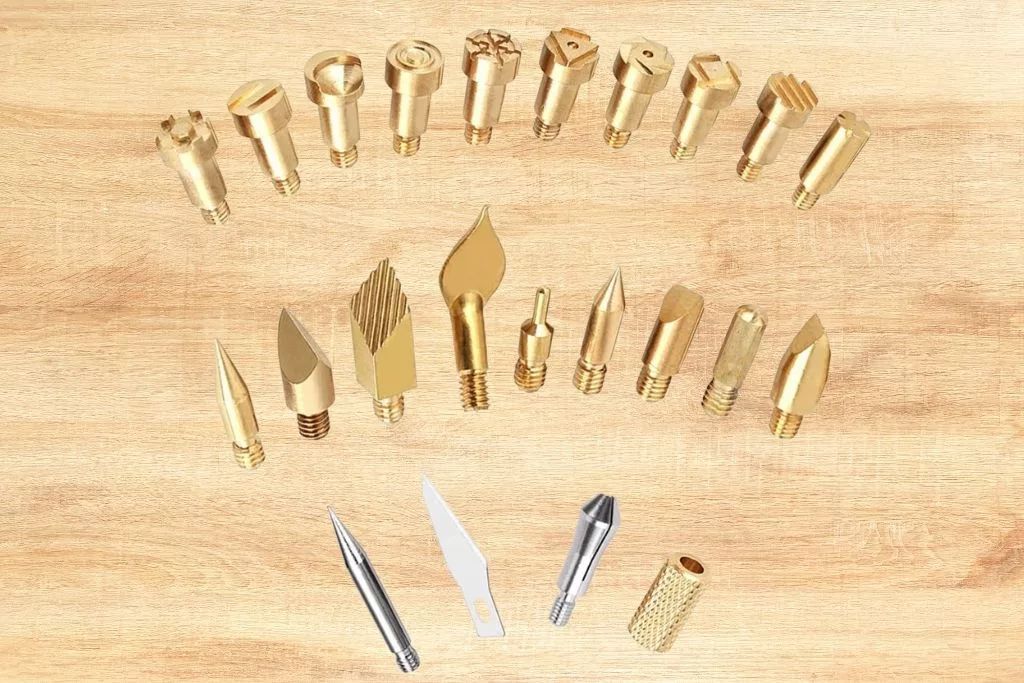
- Interchangeable tips
- Burner machine
- Piece of wood
- Sandpaper
- Graphite or carbon paper
- Pencil and eraser
- Scissors
- Tape
- A printed image of what you want to draw
- A clean fabric
- Safety devices
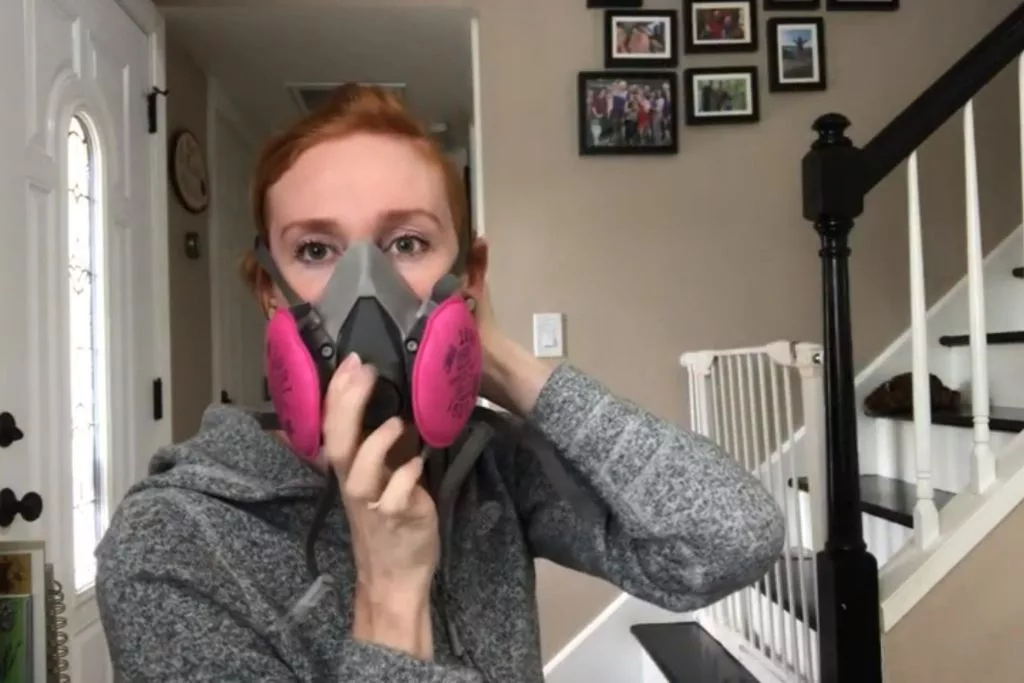
While creating the art, you will work closely with heat and smoke. And there will be sanding required to prepare the wood. That is why it is essential to use safety equipment to avoid unexpected accidents. Here is the list of things you must have while doing pyrography.
- Respiratory mask; sometimes, I don’t use something below N-95 level but I should not take this risk
- Smoke extractor/Fan
- Leather gloves or finger heat shields
- Thick cork grip
Prepare Your Workplace
In modern pyrography, it is not playing with fire, but it is handling a pretty red hot burner. And it involves dealing with fume.
So prepare your workplace before you set up your equipment. Make sure the area is well-ventilated and does not have any flammable objects or substances nearby.
Step-By-Step Guide for Doing Pyrography
Now that you know what you need and have everything, you can move on to the process of preparing and doing the project on your selected wood piece. Here is a step-by-step guide that will help you with wood burning, even if you are a beginner or do not have much idea regarding drawing anything.
Step 1: Gather The Supplies
Did you get yourself everything I mentioned on the list above? If you have, gather all your supply and tools, and set everything where you will work. Make sure you can sit comfortably when you burn wood.
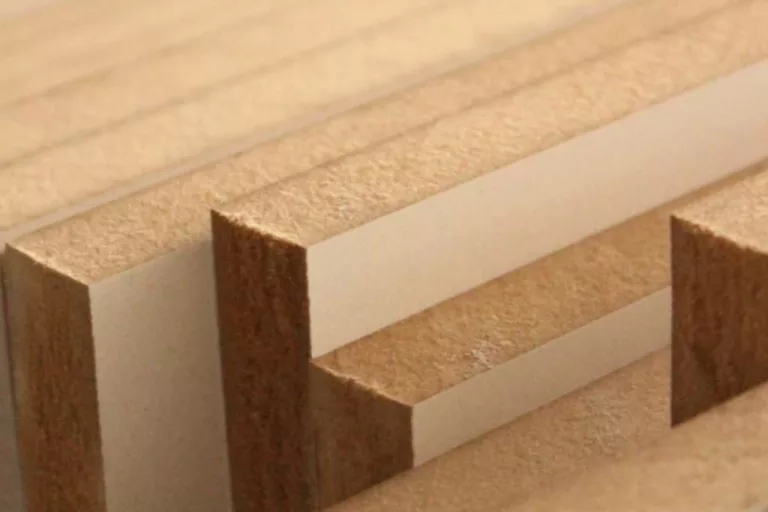
Step 2: Prepare Your Wood Base
The wood piece will need some preparation before you burn it. If you want to work with a specific shape, you have to cut it according to your desired shape. Then use medium-grit sandpaper to smoothen the surface and edges.
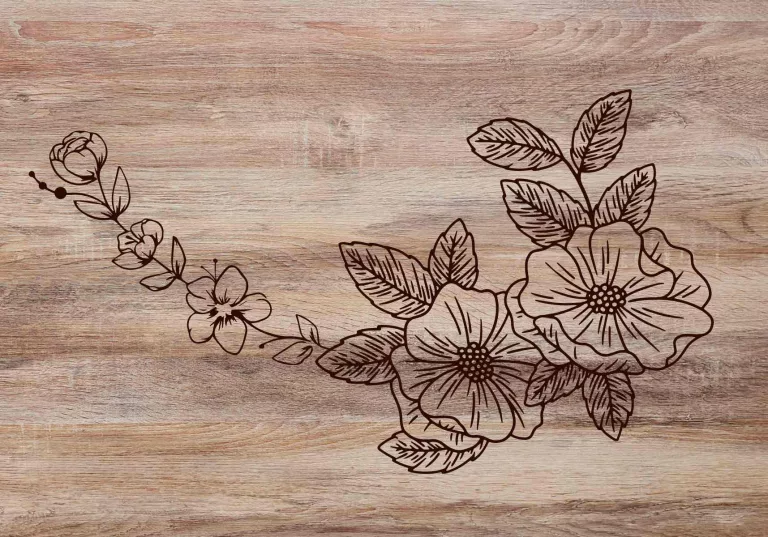
Step 3: Print Your Design/Image
You can skip this step if you are confident about creating a freehand design. But if you think freehand drawing is not your thing, it would be best if you printed a design on paper that you want to engrave on the wood using pyrography.
If you do not have a specific design in mind, you can surf the internet and easily find any design or image that seems good to you. If you are a beginner, I suggest going with something simpler and easier to draw and print it. The article on Beginner Pyrography Patterns is good for the starters.
Step 4: Transfer The Design (Using Graphite Paper or Carbon Paper or Stencil)
If necessary, cut the printed paper with a pair of scissors to make it easier to place the design paper on the piece of wood. Now, place graphite paper underneath the printed paper. If you do not have graphite paper, you can opt for carbon paper.
Then tape the print/design paper on wood surface so that it does not move when you transfer the image.
However, graphite paper is more suitable as its lines are erasable if there are any mistakes. You can use a pencil to draw over the design’s outline and transfer it to wood piece. A good read on woodburn pattern transfer will be seriously helpful now.
Step 5: Put on Safety Gear
Many people would simply start the wood burning process. But doing that safely without any safety equipment requires practice and skill. But if you are a beginner, you must ensure safety before doing anything else.
Wear leather hand gloves or thick finger gloves to protect your fingers because the pen tends to heat up sometimes when you work for longer. You can also use a cork grip around the pen, which is efficient enough.
Make sure you do not have any flammable objects around you. And put on a respiratory mask to prevent inhaling fumes or smoke from the wood. And keep a fan turned on so the working area won’t be full of smoke or fumes.
Step 6: Start With Lighter Strokes
Now, it is time to give those outlines a perfect appearance. So set up your burning machine and pen. Here is a nice video presentation of how the wood burning pen works.
Make sure to practice the strokes by drawing lines and circles on another piece of wood to understand the temperature. But since modern pens come with a temperature control option, it will not be an issue.
Do the outlines before you go for some shading and detailing if required. A good study on pyrography shading techniques will definitely become handy in the work. Make sure to clean the pen tip every now and then with a clean fabric.
Note
There are a variety of tips available for creating different designs or drawing portraits. You can choose separate tips for primary strokes, shading and detailing. But if you know how to burn using a universal point nib, you can do the job more efficiently.
Step 7: Final Touch Up
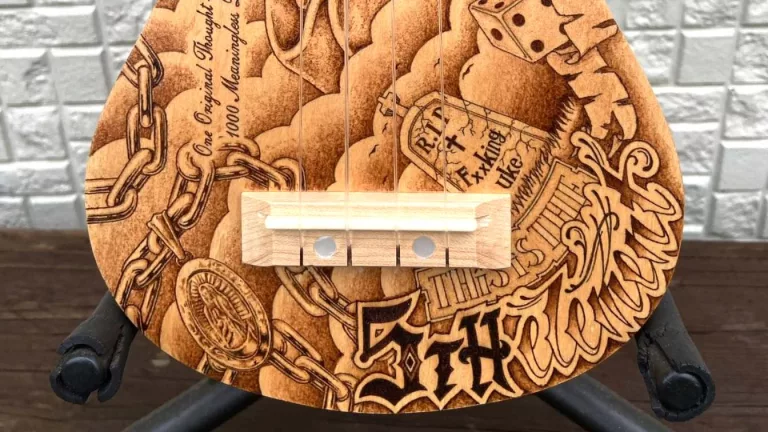
Once you are done burning your wood piece, you have officially completed your pyrography session. You can either keep the workpiece as it is or apply some paints to color the design.
Step 8: Finishing/Applying Sealants
You must make the wood art piece safe from wear and decay and dust. Applying sealants properly will help you in this regard.
Choosing The Right Wood
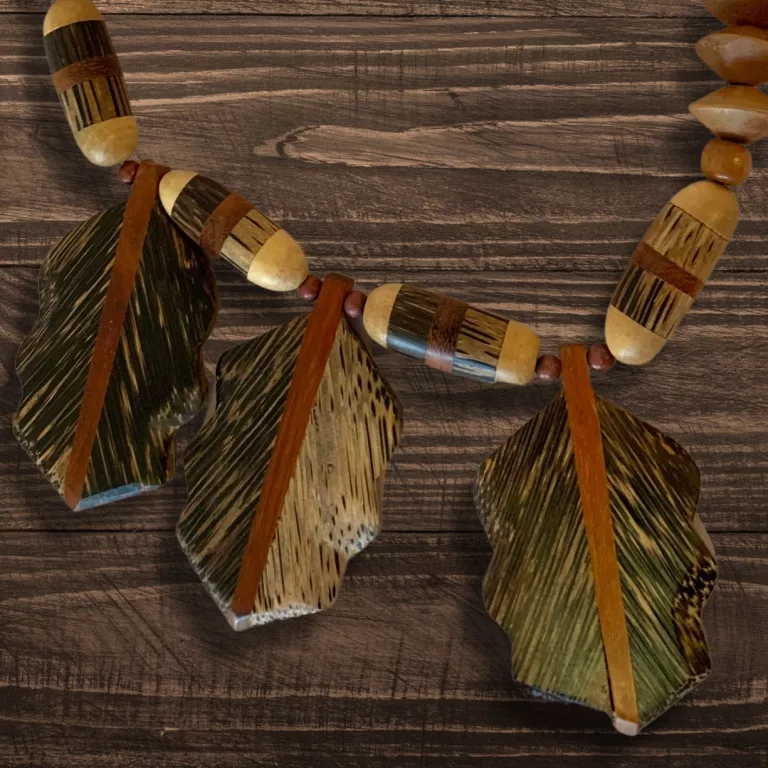
Modern methods involves creating artwork on a lot of materials like wood, leather, paper, plywood, bone, gourd, bamboo etc. But as a beginner, your best option is to start with wood pieces. Following wood are very popular among the pyrographers.
Pine
Pine is cheap and easily available almost everywhere. That makes these wood pieces a suitable choice to practice on. However, pinewood has grain variation, making it challenging to achieve the expected shade and finish. So my suggestion would be to go for it only if you need something for practicing and have low expectations.
Basswood
Basswood is, in my opinion, the best option for pyrography. But I would not use it for practicing purposes as it is not cheap. This is suitable for creating small art projects as it comes in small and limited size variations.
Birch
Birch is harder than basswood and not suitable for creating portraits. However, it is beginner-friendly and an excellent option if you want to create silhouette and lettering work.
Note
Other than these, you can also work with hardwood for pyrography. But in that case, you must apply a higher temperature to ensure that the wood burns properly. If you are a beginner, it is best to work with the wood pieces mentioned above.
Furthermore, you should avoid wood that contains chemicals, such as, treated wood, MDF etc. Since these contain chemical substances or is artificial, they come with various respiratory hazards.
Following video demonstrates the basic principles of entire operation.
FAQs
Is wood burning easy to learn?
It is pretty much easy to learn if you get proper guidance, training. And then it is all about practice.
What tools do I need for pyrography?
You will need a wood burner machine, a pen with interchangeable tips, a sealing agent, sandpaper, a table to work on, etc.
Do I need to know how to draw to do pyrography?
While it is not mandatory, knowing how to draw can be an advantage when you do it. But as there are options for transferring outlines from a printed image, you can do pyrography without having that skill. And while doing free hand strokes, your skills to draw will be helpful.
How do you burn a wooden design?
You have to transfer the design to the wood first. For that, you can use the carbon paper method or a stencil. Once the outline is ready, you can use a wood burning tool to make the design.
Can I do pyrography on freshly painted wood or surface?
You can try, but I can guarantee you that it will not go well. The heat will burn the paint and ruin the appearance of the piece when you apply heat on it. And it is a big no due to the health risks involved from toxic gas inhalation.
Can I burn a birch wood prepped with finish?
You can go for it, but it can cause certain hazards. The finish on the wood can become toxic when you apply heat. So you can either avoid it or make sure to wear a mask and use a fan when working on a pre-finished birch wood.
How do I get a smooth line of pyrography?
You can get a smooth lines by mildly sanding off the artwork. You can use a wire tip here.
How do I start pyrography?
You will need to buy some materials like pyrography tools, a wooden base for practicing, and essential safety tools. After that, you need to learn how to use the tools properly to start the real burn. You should start with simple designs to be use the tools.
How do you burn straight lines on wood?
You can do it on wood by using a metal ruler and the burning pen. If you don’t have anything like that you can simply draw straight lines on the surface and follow them using your pyrography pen.
How do you get thick Woodburn lines?
Use the pen with a thicker nib. In this case, you can use a solid flat nib. Or you can use a skew tip and drag the tool in lateral motion.
How do you make wood burn look smooth?
You have to use the pen at a steady speed. Also, the temperature should be stable.
EndNote
Perfecting the art of wood burning requires some dedication and practice. Once you get into the flow of it, you will discover that it is pretty therapeutic and one of the best ways to use your free time.
Make sure to practice with the pen regularly to master the strokes. Experiment with different nibs to find out which one works better for your pyrography type.