Mini Pyrography Tool: 7 Steps of Making This Cool Project
You can make a mini pyrography tool at home for sure! It is loaded with fun. If you are a pyrography enthusiast and into DIY craftwork, you can get a little more creative with your wood burning work. If you would rather use something more simple or portable than using a burner tool and a pen for pyrography, it is best if you know how to make it.
Bend 2 nails with pliers and attach them on either side of a mini DC on/off switch with the nails’ pointy ends upward. Connect the wires of a 2-slot AA battery holder to the switch terminals and glue the switch on the holder. Then bend a needle to your desired shape and connect it to the nail ends using terminal stripes.
The short answer did not make enough sense to you? Then why not read the full article to learn more?
How To Make It?
Here is a short step-by-step guide on how you can make a mini pyrography pen at home.
Things You Will Need
- Two medium-sized nails
- Needle nose pliers
- Wire stripper
- Mini DC on/off switch
- 2-slot AA battery holder with connecting wires
- 2 terminal stripes
- A long needle
- Glue
Step 1: Bend The Nails
Take 2 medium-sized nails and use a needle-nose plier to bend them. Take a section of the nails around the middle and bend it to a 90° angle. Then again, use the plier to grab the nail’s flat part and bend it to a 90° angle in the opposite direction. And the nails will look something like the picture below.
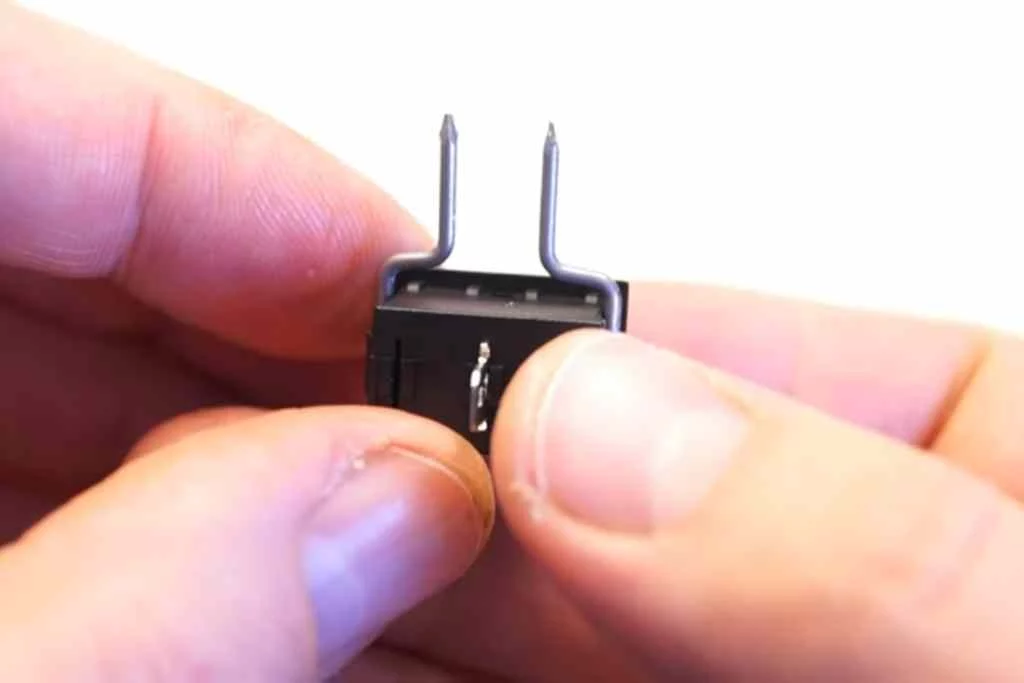
Step 2: Attach the Nails to The DC Switch
Now take a mini DC on/off switch and attach both nails on either side of the switch. Just slide the nails under the stripes and make sure the pointy parts of the nails are facing upward.
Step 3: Connect A Steel Wire To Switch Terminal
Take a small blue steel wire, long enough for both ends to reach the switch terminal and the one nail head easily. Use a wire stripper to strip both ends of the wire. Then twist and connect one end to one of the DC switch terminals and the other to the nail on that side.
Step 4: Connect Battery Holder To The Switch
The battery holder has 2 long wires. Use the wire cutter to stripe the wires’ loose ends’ tips. Then connect them to the switch terminals by twisting them.
Step 5: Glue The Switch To The Battery Holder
Apply glue at the sides of the switch, where you attach the nails to secure them to the switch. Then pour some glue on top of the battery holder and place the switch horizontally on it. Wait for the glue to dry completely before working on it again.
Step 6: Attach Terminal Stripes To Nails
Cut 2 terminal stripes and use a screwdriver to unscrew the attached screws partially. After that, insert the nail ends on both stripes and slightly tighten the screw.
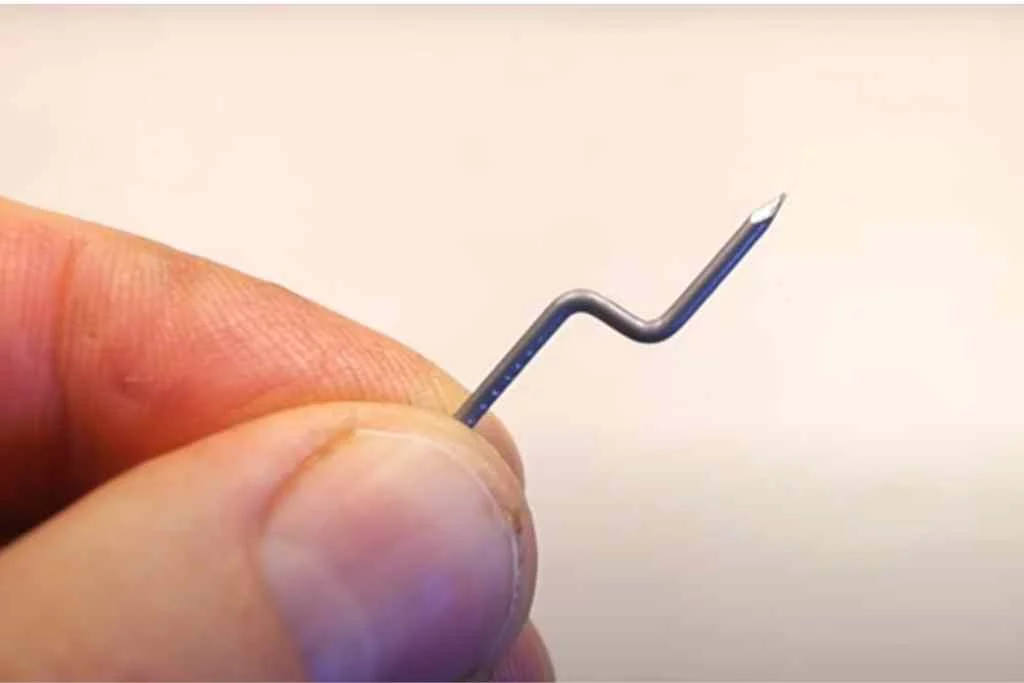
Step 7: Attach The Needle Tip To The Stripes
Take a long needle and remove its sharp end with the plier. Then bend the needle in the shape you want for your pyrography tooltip. Once you are done, insert each end of the needle into the terminal stripe ports and tighten the screws to secure them.

Step 8: Test The Outcome
Now that your mini burning tool is ready, it is time to test if it works well. So insert 2 AA-sized batteries and turn on the switch. Then wait for some time for the tip to heat up. After that, test it on a piece of wood to check it burns the wood correctly.
And if you want to watch a more detailed demonstration of how the tool is made, I recommend watching this video. You can watch it below instead.
EndNote
Learning how to make a mini pyrography pen is beneficial in many ways. One of the best things about it is that you can carry it anywhere easily and even keep it in your pocket. It is easy to handle and hardly poses any risk, as there are no external wires involved.
On the other hand, the downside of such a tool is handling issues and burning quality. Since the tool is very small, it can be a problem when you use it. Besides, the burning outcome may not be as good as standard pyrography pen tips.
More Reads
Different tools and devices and techniques on woodburning