10 Pyrography Textures You Should Know
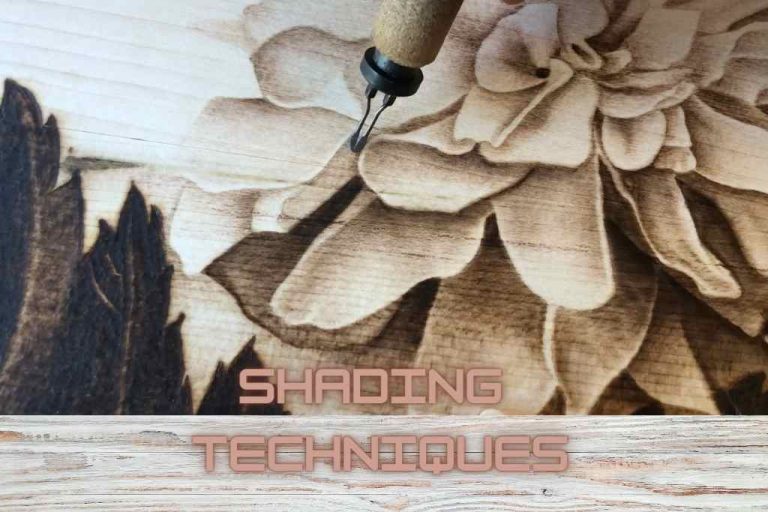
Since wood burning is a creative work, there is no harm in trying to take that art to a different level. Let’s talk about pyrography textures in particular. You may already know of pyrography shading, which is the art of adding various stages of shades and textures through burning. Are there any variations?
Yes, there are. You can create various textures, such as basket weave, moon over water, topography, rooster, big bang, burst, thread, flicker, fan palm, crushed velvet, etc. Whether decorating an object or lettering with pyrography, these textures create a more artistic look.
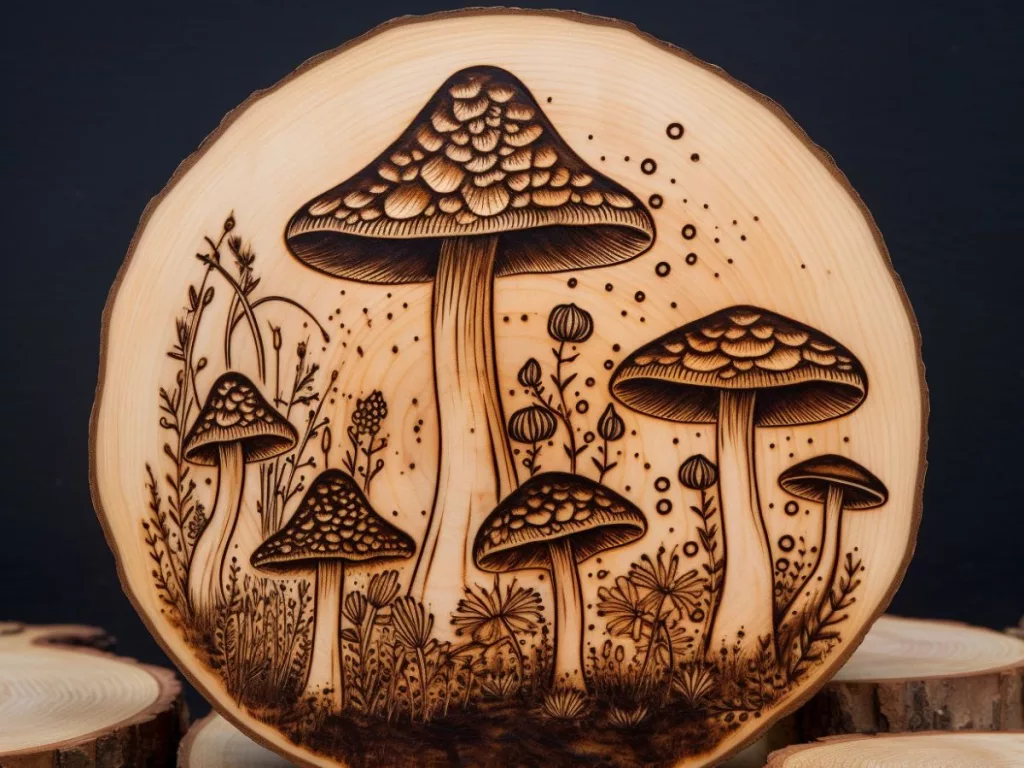
Now, how do you burn these textures? Are there any particular rules for that? You will find answers to all your questions in this article.
Variations in Pyrography Textures
These textures are excellent if you want something more than just regular wood burning and shading. This pyrographic art area allows you to decorate any object with beautiful designs. You can create anything from simple to 3D, or realistic pattern looks just by using texturing techniques.
So here are some of the commonly used and popular methods to create wood burning textures.
1: Basket Weaving
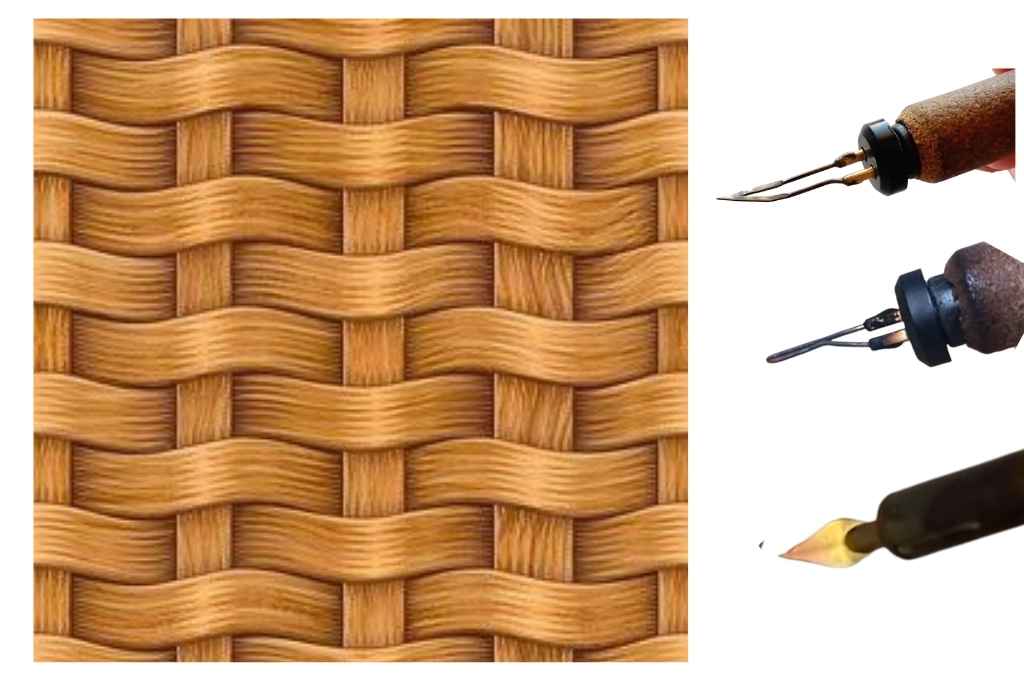
The basket weave texture will appear like woven baskets once you finish burning. To create this look, you will need- a skew tip, a writer tip, and a shader tip (optional and only for small texture burning).
For burning the basket weave texture, start with a skew pen tip. You can use a pencil to draw grid lines to make burning more convenient. Then using a small skew pen, burn the outer areas in small curves that go outward the grid.
Then pick the writer tip to burn the intersections of the curves. When you finish burning the basket weaves, they will appear like dark gaps of the weaves.
Then use the same pen tip to burn the inner edges of the bent curves. But you do not need to burn them too far inward from two opposite edges. Then again, burn the wood using a pulling motion creating a softer shadow. Make sure the middle area of the weaving grid has a lighter shading texture. You can further add color to the texture. This is a good read on adding color to pyrography.
2: Moon Over Water
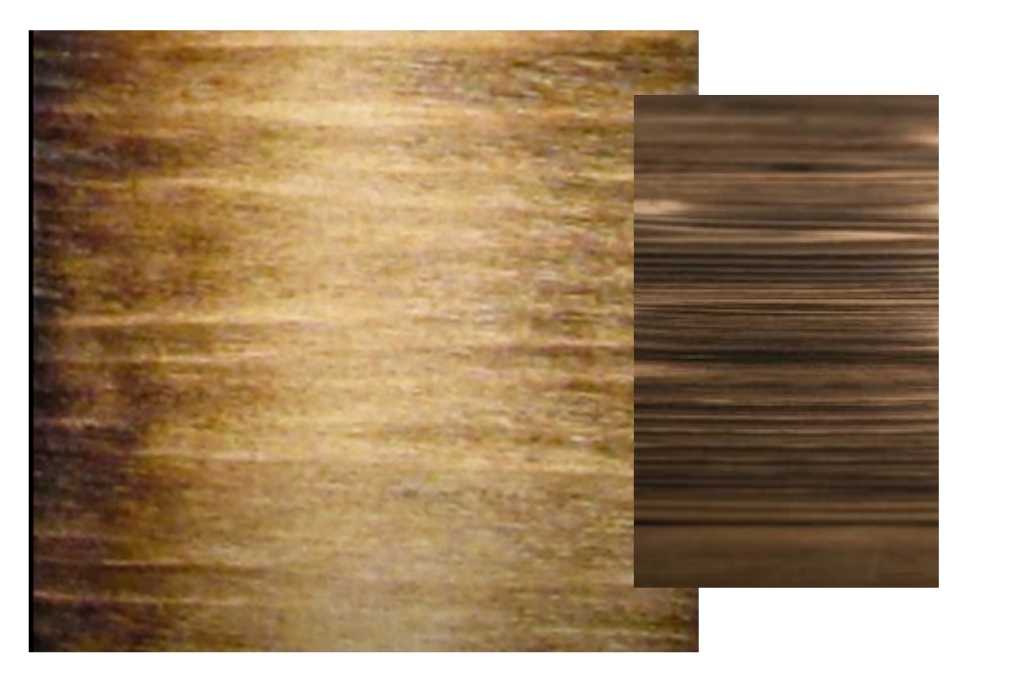
Creating the moon over water texture is very simple. But why the name? Well, because the texture looks like the moonlight illuminating water. And you can use a writer tip and a shader pen tip for creating such textures. You can use both wire and brass burning tips for this.
This texturing method is basically creating horizontal fading lines, starting from the opposite side and stopping midway. If you have already tried the weaving basket technique shading part, you will know what I’m talking about.
The trick to fade the lines is lessening the pen tip’s pressure as you go so the edges are darker than the middle. After creating texture on one side, move to the opposite side and apply the same method.
I am sure that you will enjoy it.
3: Topography
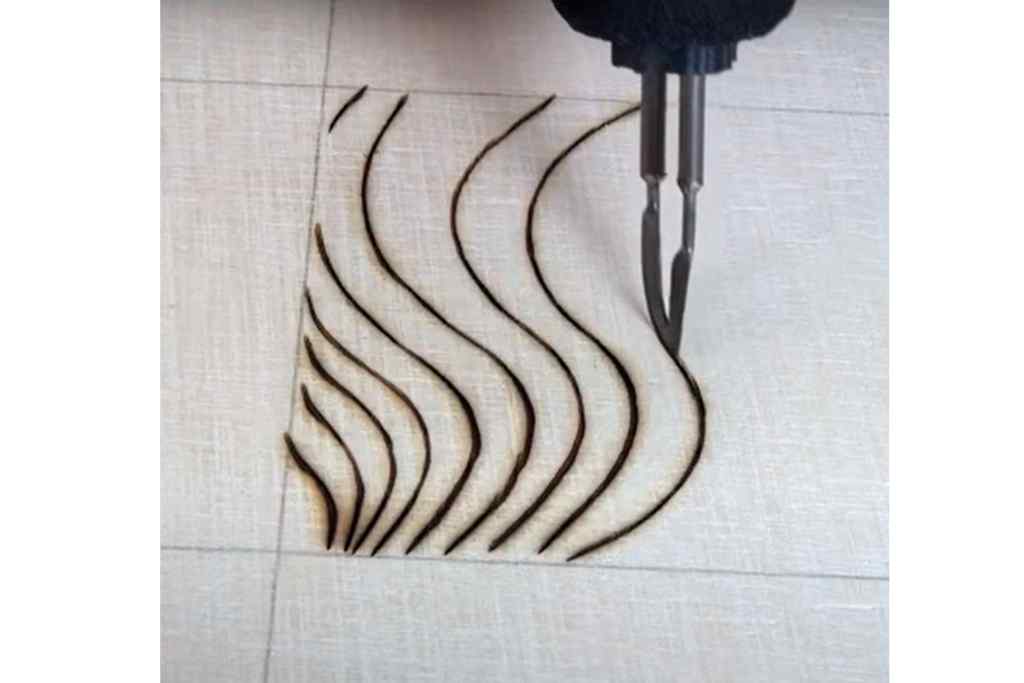
Have you ever seen a topography map? If you have, you can relate this texturing pattern to it.
Topography is one of the three commonly used textures for decorations. It is very simple, and you can create the texture just by using any sharp skew tip.
These are nothing but some random lazy and curving lines going in the same direction. These lines do not need to have the same space and flowing pattern.
4: Rooster
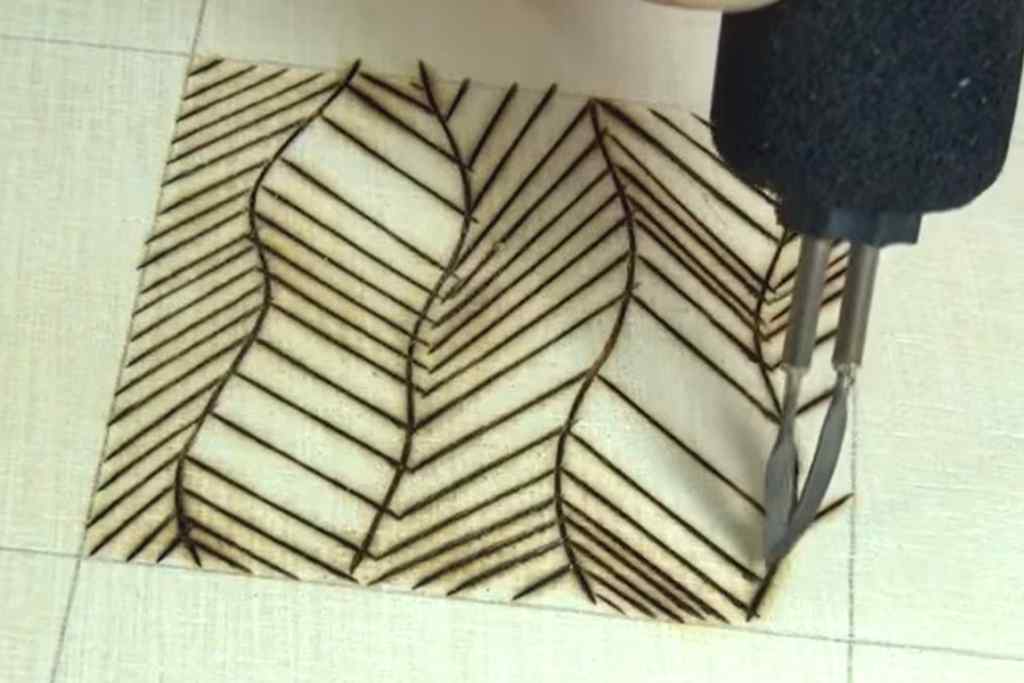
The rooster pattern is yet another decorative wood burning texture design. This one also requires a skew tip, metal or brass. And the process of creating rooster texture is pretty straightforward, even though the lines aren’t.
Use the skew pen tip to create two curved and wavy lines facing opposite directions. Then burn some parallel lines along the wavy lines, but they do not need to be so perfect. Keeping the pen in motion will help you achieve a better texture.
5: Big Bang
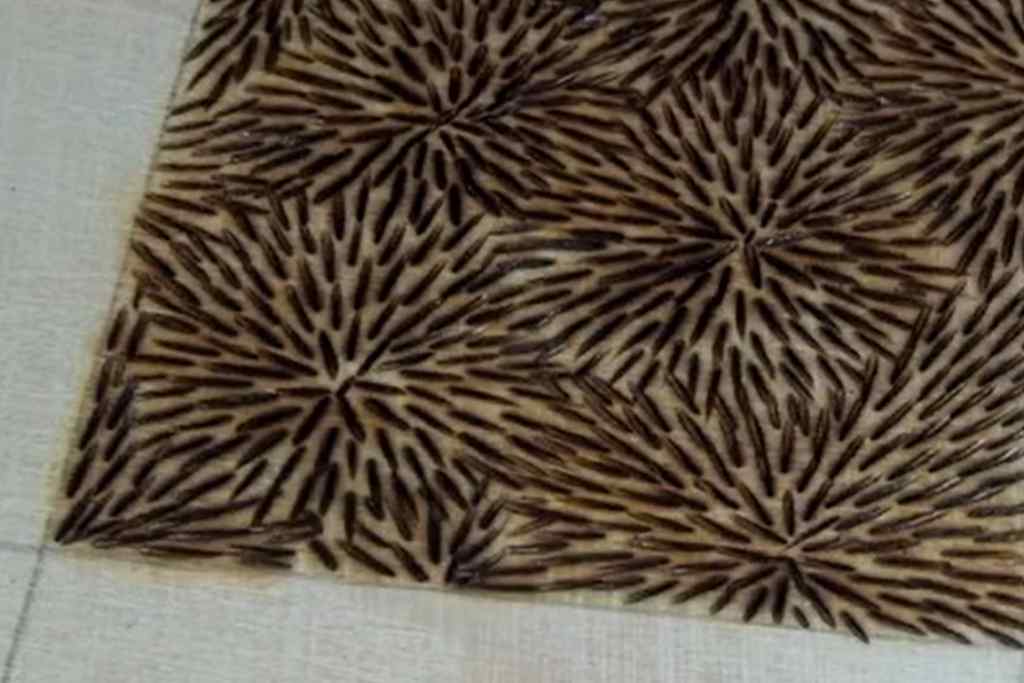
The big bang textures are very suitable for decorating the center area of an object. And you can do it using a skew burning pen tip of any size.
Choose a starting point and use the pushing pyrography motion around that starting point. You can either use the entire blade tip or use it partially in a tiling position. In this way, a portion of the blade will dig into the wood and create the big bang pattern.
If you want to create a more eye-catching design, I suggest going with multiple big-bang texture patterns positioned close to each other.
6: Burst
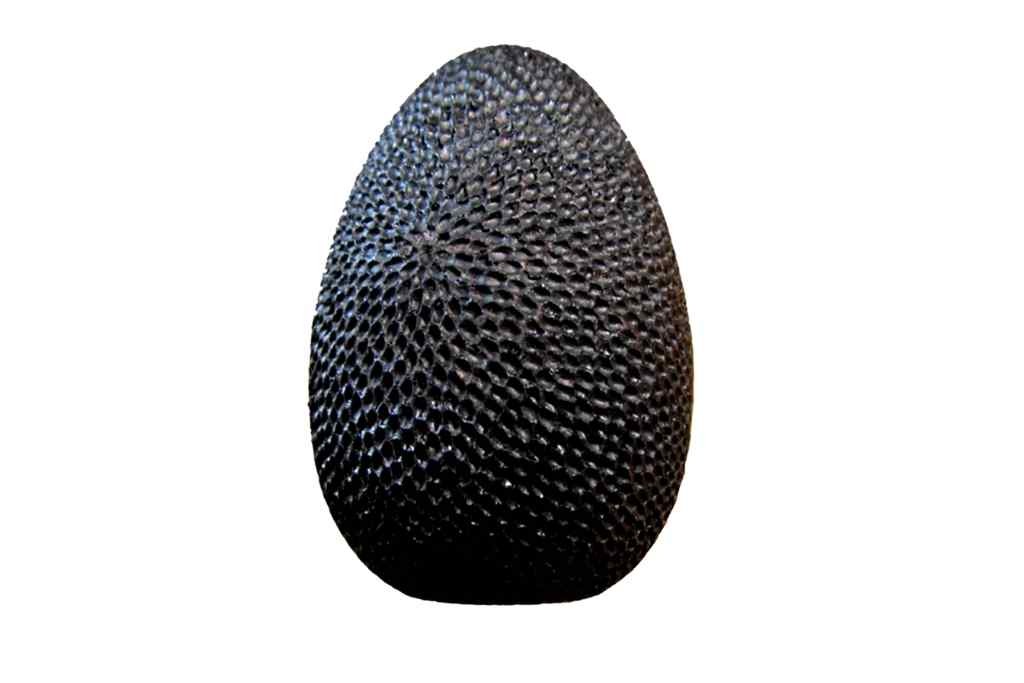
I also call it the “felt texture” because it is more visible and can be felt more. And the most magnificent part of this texture is that light can play tricks with its appearance if you burn a curved object. You will need a rounded writing tip or blunt nib for this project.
Choose a central spot for the first burn mark and then burn outward, centering around that spot. You can use a dot pattern or push method for creating this texture. Keep burning until you cover all surface areas of the object without missing any spot.
7: Thread
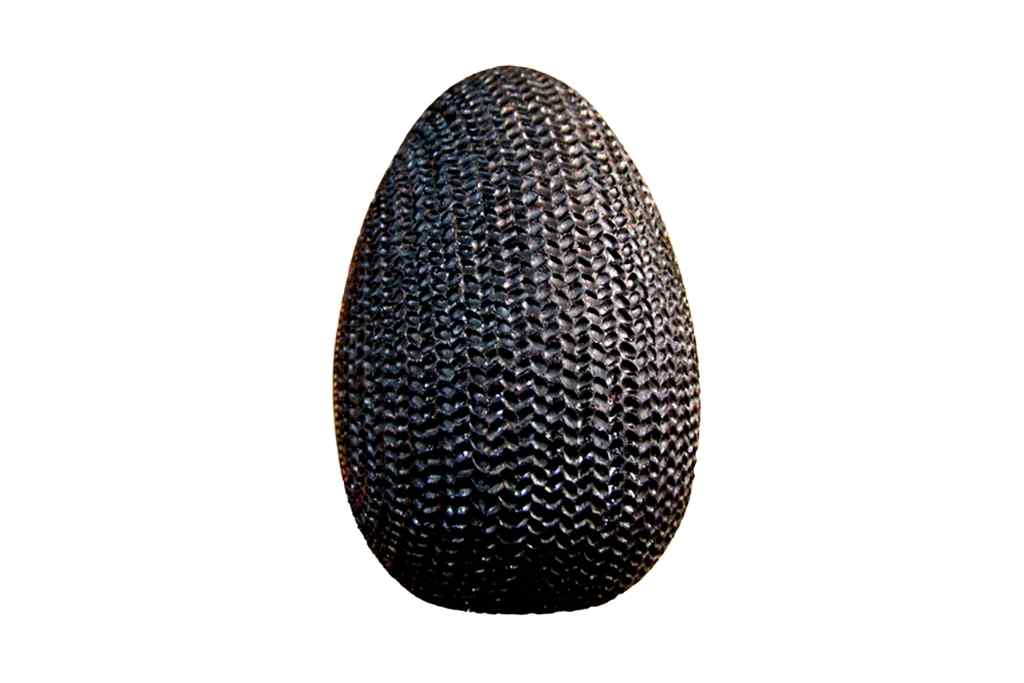
The thread texture is one of the simplest wood burning processes. It is comparatively simpler, and you just create the same texture in a repetitive manner. And you will need a blunt writing tip for this, similar to the burst texture.
Using the press motion, you cover the object’s entire surface as you burn in a threading manner. Try covering the whole surface by making oblong shapes with the tip to give it a better appearance. This texture suits any object, whether flat or curved.
8: Flicker
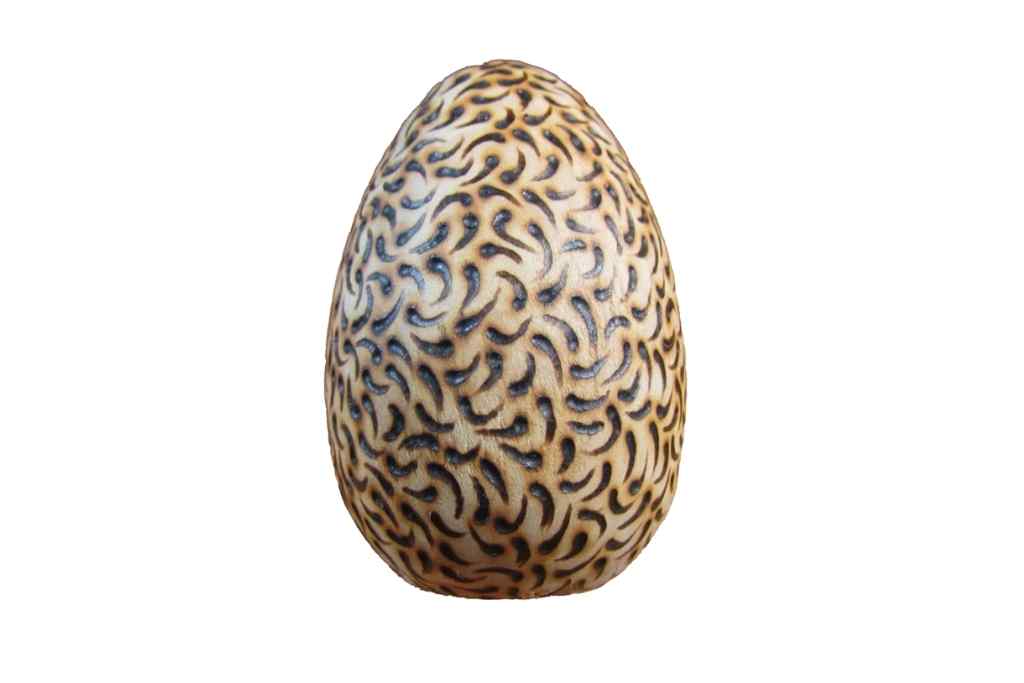
Unlike the previous two, you don’t need to cover the entire surface area if you use the flicker texture. And be warned that this texture is not exactly the easiest, even if they look like so. So be attentive with your blunt writing pen tip when you burn the texture.
You need to use three burning methods, such as push, flick and trail off, to create these tadpole-shaped textures. Simply take your pen tip off the surface while in motion to create the effect. The shapes should be created in random directions but in a neat way.
9: Fan Palm
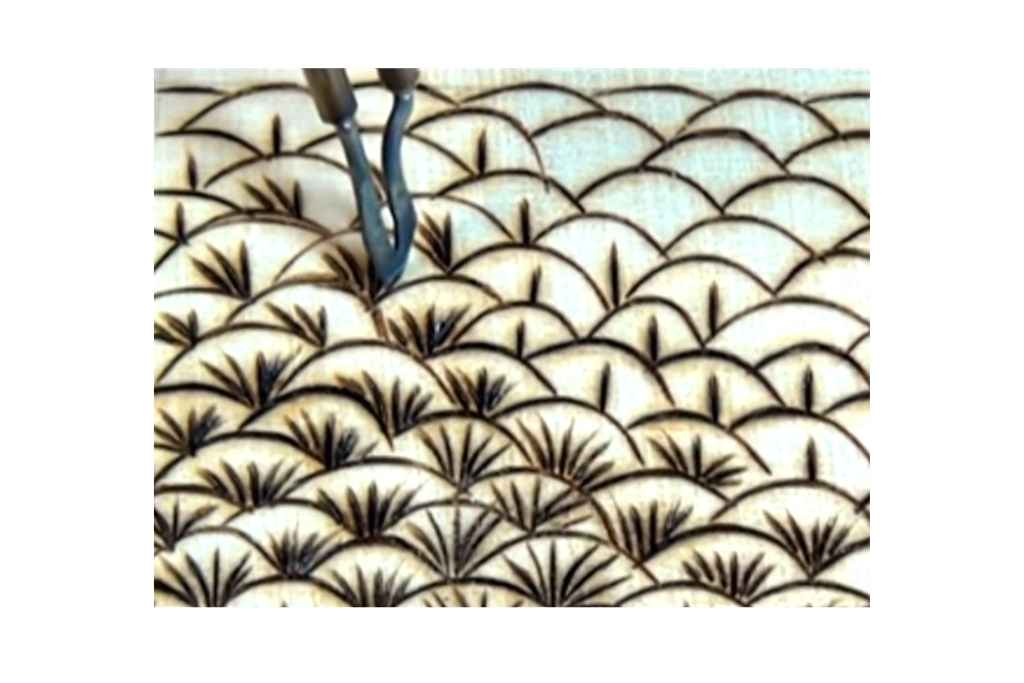
This texture looks like two things: fans and palms. Thus, it has the name fan palm. Draw this texture on something curvy, and you will see how fantastic they appear. You will need a skew burner pen tip for that.
Use the pen tip like a curving knife and create fan-like shapes from the edges. And create more curved arch shapes above the ones at the bottom. Do this until the surface area is filled with these arch shapes. Then create the palms by burning the wood in a stroking pattern from the curved valley’s bases.
10: Crushed Velvet
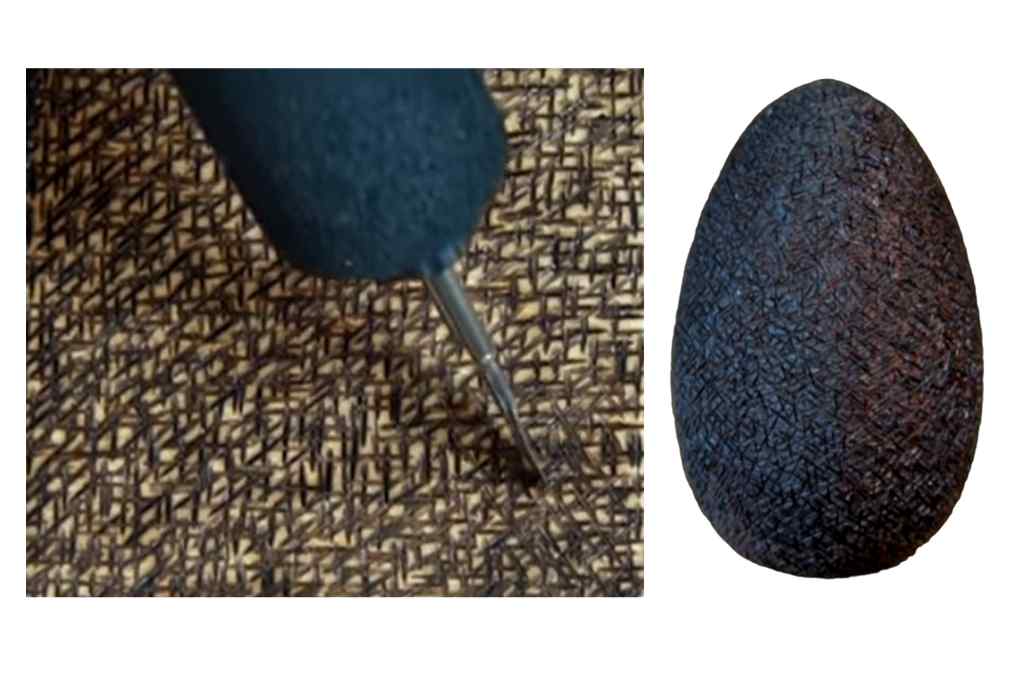
The crushed velvet texture is yet another skew tip work. And unlike other textures that make it challenging to know precisely which pen tip you used for pyrography, this one is the opposite. Here, you see the burnt reflection of what your pen tip looks like because of how the wood gets burnt.
Hold your pen at an angle so it touches the surface and burns the wood in a pressing motion. Keep burning it in zigzag directions and overlapping the burns until it covers the entire surface. But always begin burning in a straight direction so that you don’t have to rotate your hand or the workpiece often. Enjoy this video while learning more about it. And this article will help you understand shading process, which is of prime importance for adding textures. Moreover, once pyrography is done, you have to seal the art with sealants to secure the surface and bring gloss on it.
If you are a beginner, here’s an article for you to have the basic idea on pyrography.
EndNote
Pyrography is fun if you like getting creative with various shadings and textures. Not only are they peculiar in appearance, but they can also be intriguing. As for textures, you know there are many of them to experiment with. But, hey! Don’t forget to wear safety equipment and rotate your workpiece if needed to burn more accurately.
